


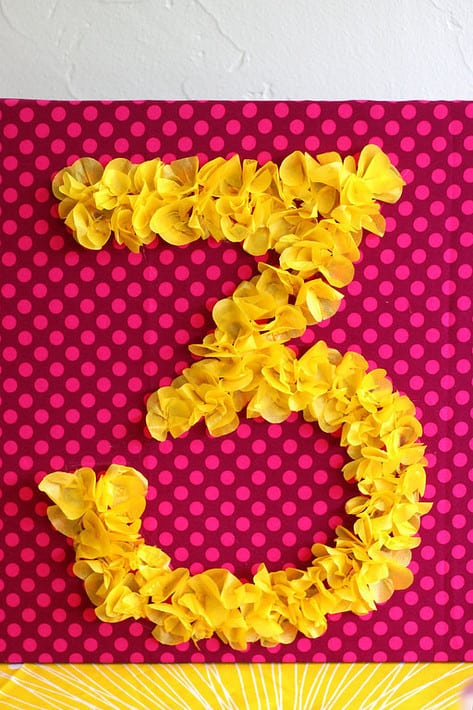
This Tissue Number Birthday Sign is another inexpensive and quick party decoration. Clare delighted in the fact there was a giant 3 at her party since she has been sharing the news of her 3rd birthday with just about anyone who will listen for a month!
Click here to get the DIY to make your own Tissue Number Birthday Sign.
Tissue Number Birthday Sign
I used my leftover tissue flowers from the party garland for the next step. Click here to get the scoop on how to make a stack.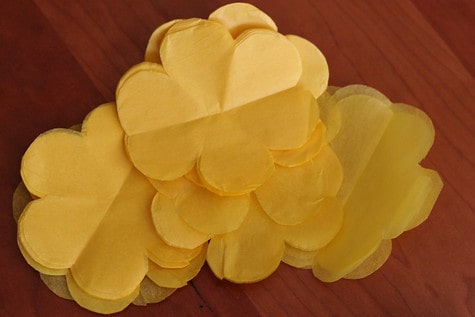
Ok, now that you have a stack of tissue flowers and a covered canvas, grab a chalk pencil and your glue gun. (Oh glue gun, my frenemy, you are so convenient, why do you hurt me so with your ouchy burning ways?)
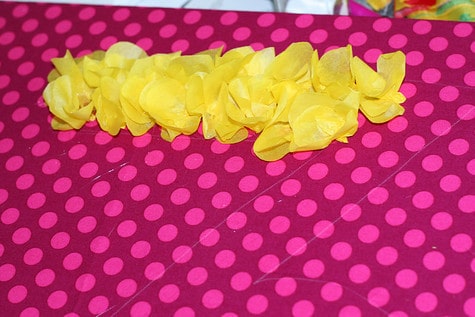
With your chalk pencil, draw your number with a single line, then go around it and box it out to a “fat”number.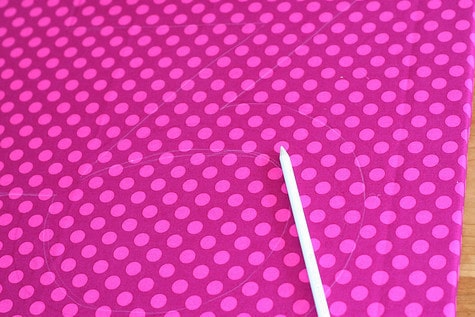
Now, grabbing a single flower from the center at the back, twist the center into a small stem and push the stem slightly to one side. Flatten the flower out just a little bit.
Starting at one end of your number, start hot gluing down flowers, overlapping so that none of the background is showing through. Work your way to the other end of your number.
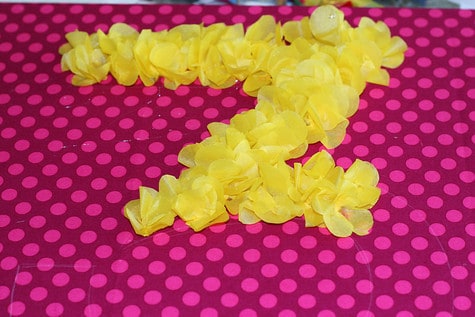
And you’re done!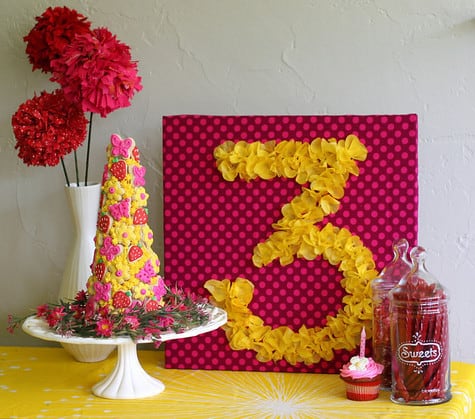
After the party, this is a fun decoration in kiddos room for the year!
i love this SO MUCH. i wish i could put one on the front of my house with my address. maybe i can, it's summer in LA??
Cute, cute, cute! The inner kid in me wants to cut and glue with tissue paper today!
YOu guys never cease to amaze me!
i love it! and i love jaime's comment about a house #! how fun!
WOW!!! So creative….love it!
Very, very cute – and I so love things like this where the process can be applied to all sorts of other things (like house numbers! Just pray it doesn't rain… :>)) I linked to this on my weekly roundup – thanks for sharing!
Thanks so much for a great tutorial! I used it for my daughter's first birthday party and posted a link to it from my blog (www.mom-planning-parties.blogspot.com) today.
Really great idea!
Yay, just cut out some flowers according to your directions and they worked perfectly. Next up, cover canvas and start gluing. Can't wait to share this with you. Making it for my daughter's 4'th birthday party next weekend.
Thanks for the great tutorial. I used it for my daughter's 1st birthday and added a sweet yellow frame to it also. I linked to it on my blog http://buzzycreations.blogspot.com/2011/07/ellas-polka-dot-party.html
[…] cute tissue monogram to display. She said the inspiration it came from an easy tutorial posted by Prudent Baby The only thing she did differently was glued the tissue flowers to a chipboard letter and then […]
I love this! I was wondering how to make a number that can be a prop for my daughter’s birthday photos, and I think this will be the plan!!
[…] Spotted on Prudent Baby […]
[…] can use an assortment of materials. My tissue number sign inspiration from Prudent Baby used fabric and an artist canvas. I plan to make another one for Lily’s room […]
I will be convinced I’ve read this same type of affirmation anywhere else, it needs to be gaining interest using the public.
I realised one for my friend birthday : easy, cheap, great looking : I love it!! Thank you for sharing.
The photo is on my blog, if you want…
Expected worth (EV) is essentially the amount you should expect you’ll earn as well as eliminate in the event that decision had been to become repeated numerous times. Therefore they are free to experiment with site content up to they wish, producing something that they really desire.
So cute. can I use this images n my website?
[…] Above is an easy DIY Tissue Paper sign you can make for your mantle or door. Get the tutorial here: DIY Tissue Paper Signs, or find an illustrated step-by-step in our book, Pretty Prudent Home (which also makes an […]