


Thanksgiving is right around the corner so it’s time to start planning your pretty table, yay! Here’s a tute for a simple reversible table runner using bias tape.
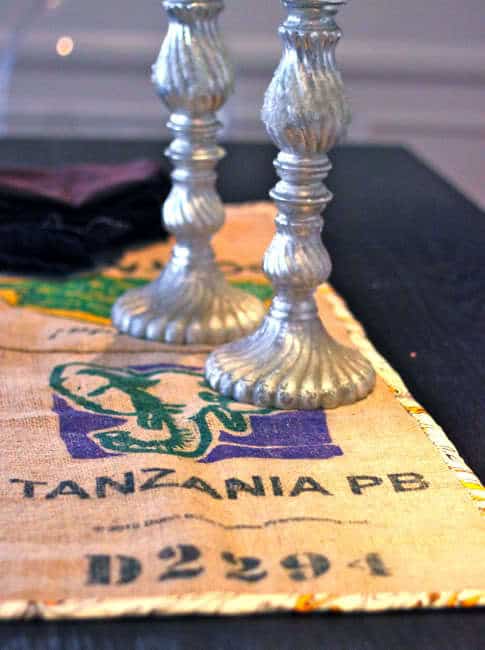
You can change it up and make it your own with different fabrics and bias tapes. I did a little quilting and used some old burlap coffee sacks for mine, and added some homemade bias tape.
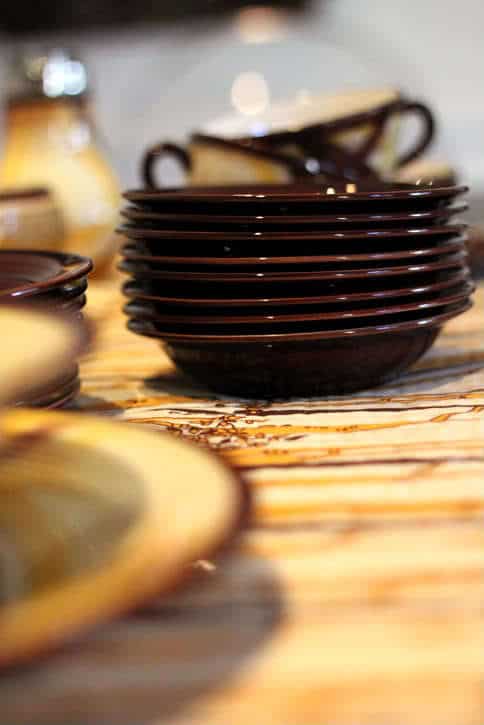
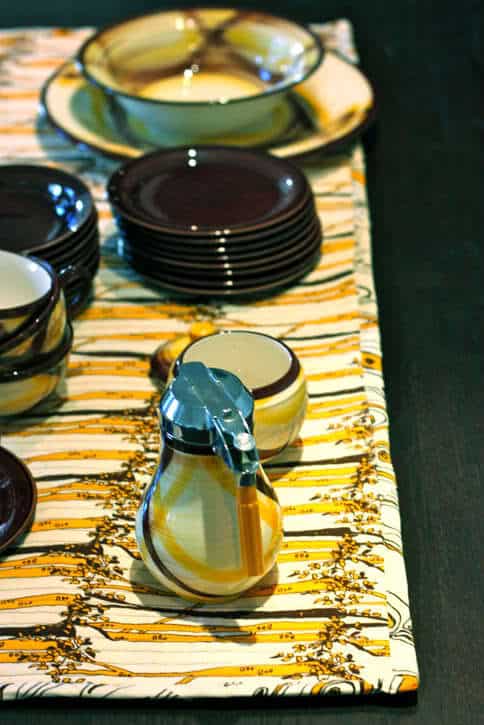
I made a small one, perfect for piling up the pretty dishes and having a buffet on holiday mornings.
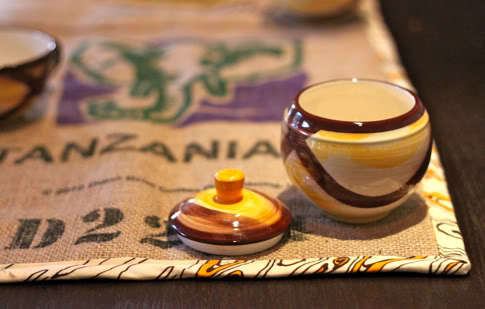
How gorg are those vintage dishes? They were Carleton’s Grandma Jane’s wedding dishes, I’m so excited to save them to give to little Scarlet Jane one day.

This is a fun project to customize, much like our Fat Quarter Apron. Get the Bias Tape Table Runner tutorial after the jump…
Reversible Bias Tape Table Runner
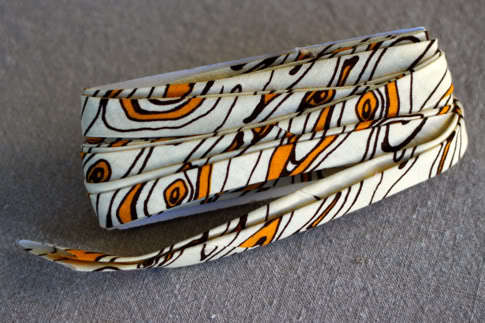
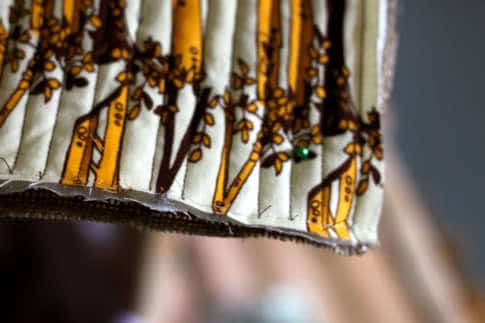
You’ll need about 4 yards of double fold bias tape (store bought![]() or handmade). I used this bias tape I made with Tina Givens Opal Owl Grain in Ivory:
or handmade). I used this bias tape I made with Tina Givens Opal Owl Grain in Ivory:
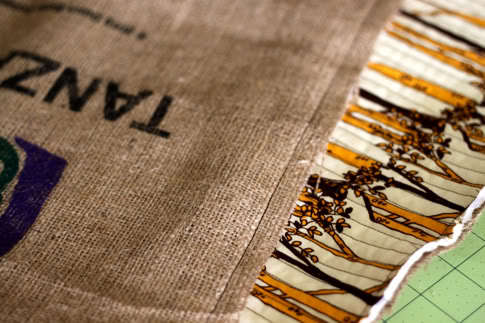
And you’ll need two 1/2 yards of fabric, you can use two different coordinating or contrasting patterns. I went with Tina Givens Opal Owl Bark in Ivory for one side, a solid taupe for the other, but then I covered up the solid taupe with two burlap coffee sacks. I picked up the coffee sacks when Jacinda and I were in Minnesota earlier this year, at Dunn Brother’s Coffee they give them away for free when they’re done with them! So rad! I also used 1/2 yard of quilt batting![]() and quilted mine, but if you don’t want to quilt then leave out the batting, but then I recommend using 1/2 yard of interfacing
and quilted mine, but if you don’t want to quilt then leave out the batting, but then I recommend using 1/2 yard of interfacing![]() to give it some heft.
to give it some heft.
1. Create a batting or interfacing sandwich by laying one fabric right side down, then the batting or interfacing, then the second fabric right side up.
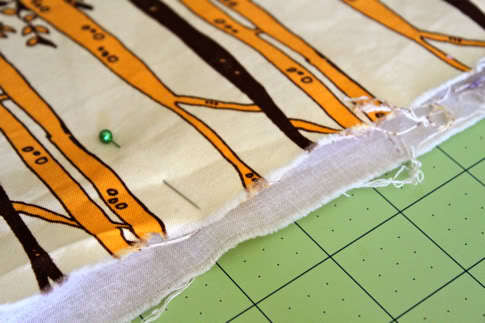
If using interfacing, go ahead and iron it on. If using batting, pin all the way around:

2. Now sew the three layers together with a straight stitch all the way around. Remember at the corners to leave your needle in your table runner, life the presser foot, pivot the fabric, then continue to sew to get a nice sharp corner.
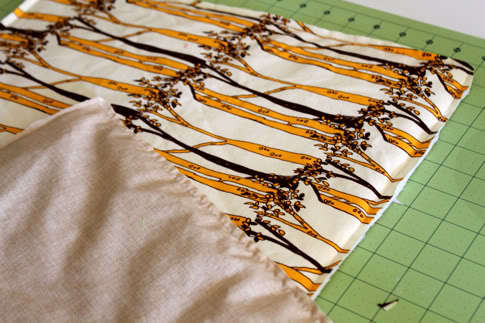
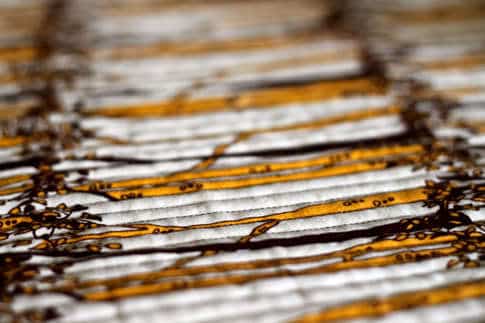
3. Now I quilted all the layers together. I couldn’t find my walking foot, so I just used the regular foot and it worked fine. I started sewing straight lines 1/4″ apart all the way across the table runner. This took a little bit of time but was superfun, because sometimes it’s nice to just sit and machine sew. here it is halfway through:
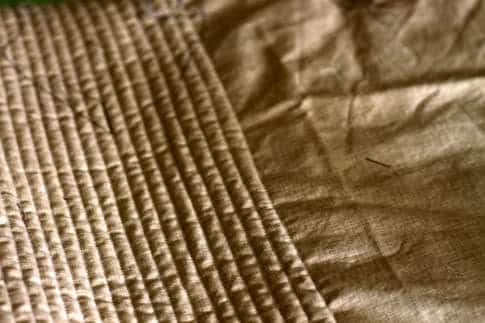
The view from the other side. I used brown thread in the spool and taupe in the bobbin so it would match both sides:
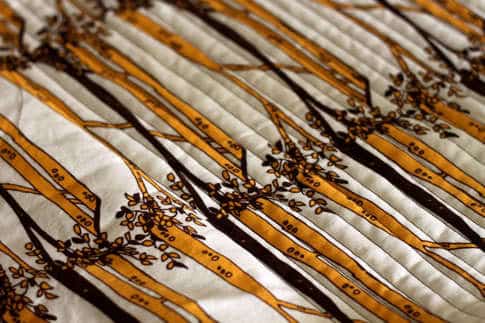
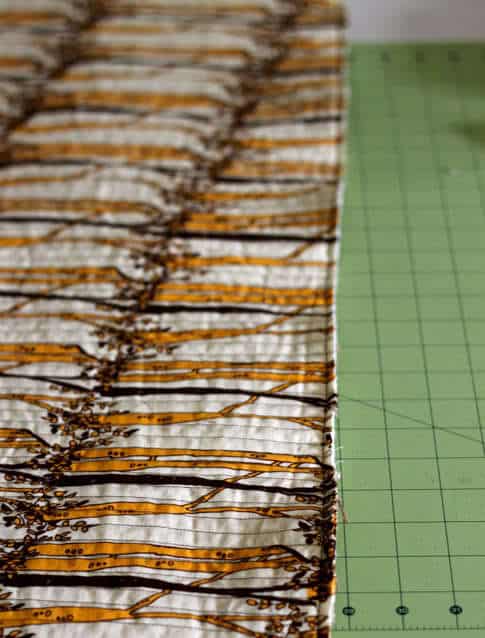
Continued to quilt my straight lines:
Until I got to the end:

So now it looks like this:
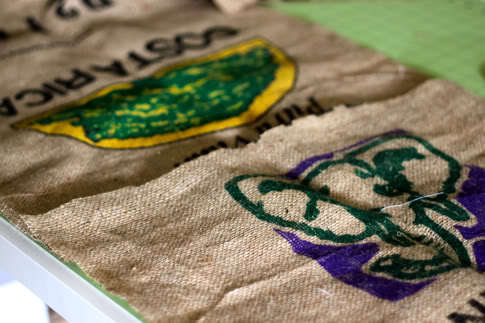
4. Now I could have left it like that and moved on to attaching my bias tape, but I wanted to use these coffee bags, so I trimmed them and aligned them to see how I wanted them to lay out:
Then I sewed them together in the center right sides facing, then unfolded (to get a piece the size of my table runner):
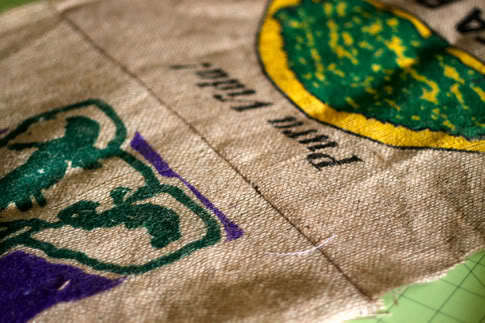
Then i pinned the burlap coffee sack piece onto the taupe side of my table runner with the right side out:
And proceeded to sew it down all the way around the edges. Once again, this is an extra step that I only did because I wanted the tree side quilted and the burlap side unquilted:
5. Now trim your edges. Now it’s time to attach the bias tape. I already did a tutorial on attaching the bias tape to this exact project, so head over to our post How To Sew With Bias Tape to get the rest of the steps!
So do that, then you’re done! Toss it on the table and get ready for The Season of Cozy and Thanksgiving!
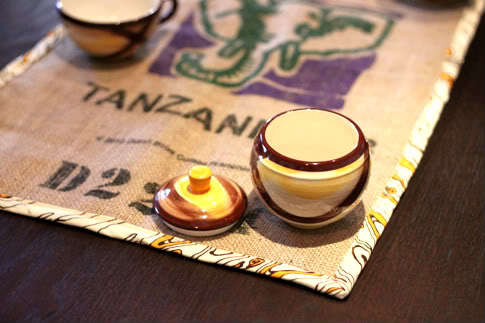
And reverse it out when you’re in the mood…
Why is it whenever I see a table runner I automatically get visions of miniature cartoon people running on it like a treadmill? It must be this getting-dark-at-4-o'clock nonsense already effecting my brain…
Wow this is pretty – I used your bias tape method to create tons and tons that I am using to make cute little hooded towels for my kids now
that's so cute – the coffee bags make it very Anthropologie. where did you get those?
this is beautiful! I bought a $7 bias tape doodad to make my own, but I haven't used it yet….I'm nervous about cutting the fabric at the right angle and not messing up and wasting beautiful fabric. I'm gonna look through your tut again and hopefully gain the confidence to try it!
I love the quilted look. I recently made a small chenille lovey blanket and I almost didn't want to cut between the strips because the quilted look with simple straight lines looks so, ummm, what's the word… Well it looks thick and warm and I just want to lay under it!
I absolutely love this table setting. It's so organic and woodsy. I imagine some posh pilgrims and fancied out Natives having Thanksgiving dinner on this setting. So beautiful.
-Bethany
I cant wait to make this! It's perfection. The coffee bags are beautiful, especially with that fabric.
great idea! i got these old feed sacks at a yard sale because i fell in love with the graphic and they have been sitting in my fabric stash for a year! now i know what i am going to do with them – thanks!
Carlee
Yay yay yay yay! I have been wanting to make a table runner!
How do you keep your lines straight?
Ever made a fat quarter quilt? As in leaving each FQ it's original size then sewing together w/ batting (a blanket) and the back? My idea for my 1st quilt for Hubby for Christmas.
Yes – still working on it!
Yes – Christmas is coming – QUICKLY!!!!!!!!
How would you machine quilt it?
Hi! I love this project. I live in Minnesota, literally five minutes from Dunn Bros, so I have a collection of coffee bags, now. Did you wash your coffee bags before using them? Any other tips for working with this type of burlap? Thanks!
Never made a table runner. Well now I have an excuse to go shopping!!!
I did 2 of your table runners for Christmas, one was a present and I had planned on giving away the other one, but haven't had the heart. I decided to keep it and made soemthing else for mom 🙂 Thank you!
[…] 1 – Bias Tape Table Runner […]
i like vividads for table cloth
Great and interesting article.Thank you for sharing.