


Ever since Jacinda posted her DIY Nap Mat Tutorial I’ve been sooo excited to make one for little Scarlet. So when my mom took her for the day, I got to work. 
The only change I made was to make the pillow insert removable by creating an envelope flap. This is by far and away Scarlet’s most favorite thing I have ever made for her.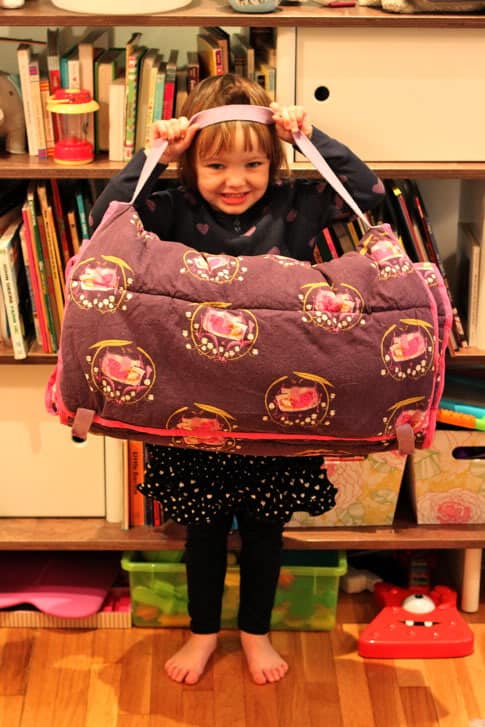
I’ll give you the measurements and details on the envelope flap and more pics of my DIY Nap Mat Part 2 after the jump…
And remember this week’s favorite commenter gets to pick some pom pom trim from Jacinda’s holiday stash!
DIY Nap Mat / Bed Roll Part 2
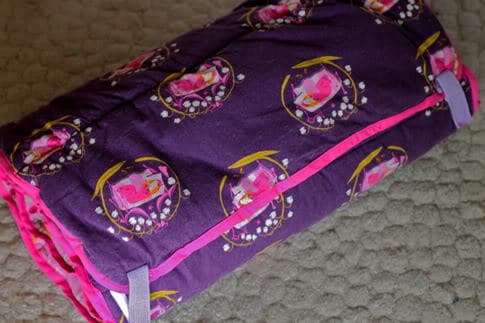
So I made mine with Heather Ross Far Far Away Sleeping Beauty in Plum which I thought was so appropriate for a nap mat! The plum is sold out but Fabricworm still has the natural, green, and my fav, gold. The pink side is Heather Ross Far Far Away Roses in plum (same as I used for the Wine Bag Tutorial), which Fabricworm also still has in gold (and it’s on sale!) – I love the idea of a gold nap mat!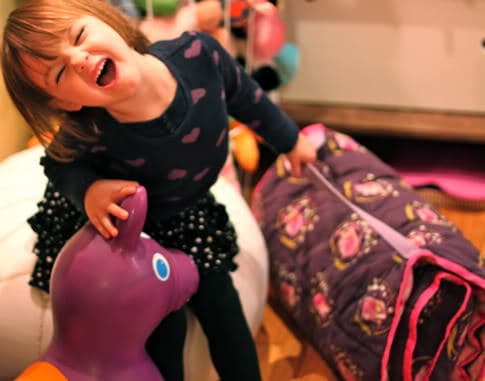
So instead of two 2’X6′ panels, I created an envelope pillowcase separately. I started by sewing a pillow insert as per Jacinda’s instructions, making it 1’X2′. Then for the body of the nap mat I used two pieces of fabric 2′ X 5′ (i actually had to piece together a few pieces of fabric to create two panels 2’X5′ but it worked out well, because I just sewed my quilting lines along the piecing lines and you can’t even tell). Then for the pillow front I used one piece 1′ 1/2″ wide. I laid it right sides facing across the top of my mat base and sewed it on so the top panel is now 2’X6′. For the pillow back I cut two pieces 1.5′ wide by 1′ 1/2″ tall, then I overlapped them and basted them together to creae a panel 1’X2′, laid it against the back of the mat right sides facing and sewed it on to create a 2’X6′ panel. Then I proceeded with Jacinda’s tutorial.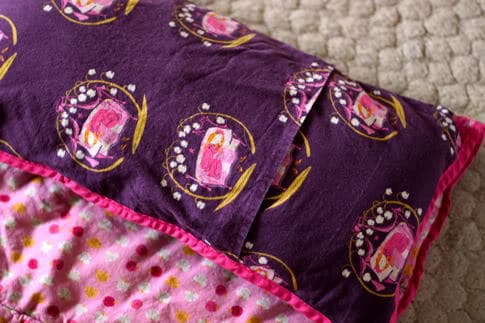
One other thing I noticed is that my nap mat is not quite squishy enough. I used 6 layers of low loft batting (one quilt batting package in full size). Next time I will use mid or maybe even high loft, just so it’s a little cushier.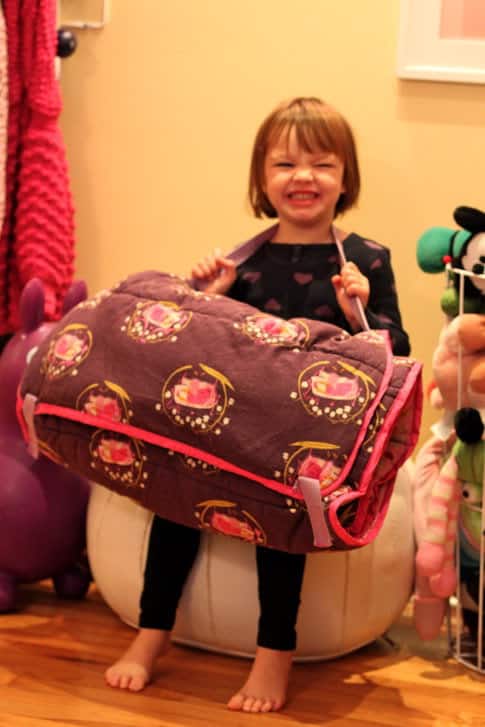
Also, I didn’t have enough of the pink fabric, so I did the pillow front in purple, and I like the contrast. Oh, and I should mention that all of these pics were taken after about 50 trips through the washing machine (potty training) and the nap mat has held up great!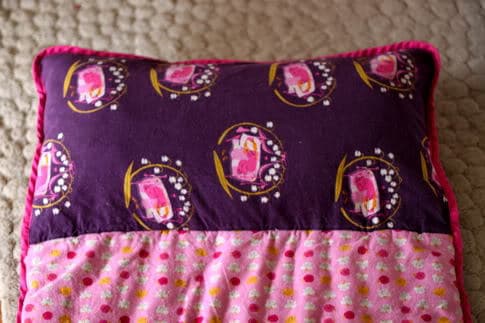
One other change I made was not to attach a blanket. This was only because my daughter will only sleep with one ratty blanket that she has had since she was born. This was a great project, the only problem being that now my daughter insists on sleeping on it every single night. It doesn’t matter what I do or where I hide it, she will come out in the middle of the night, climb on things, find it, unroll it, and sleep right there. But whatever, it’s pretty cute?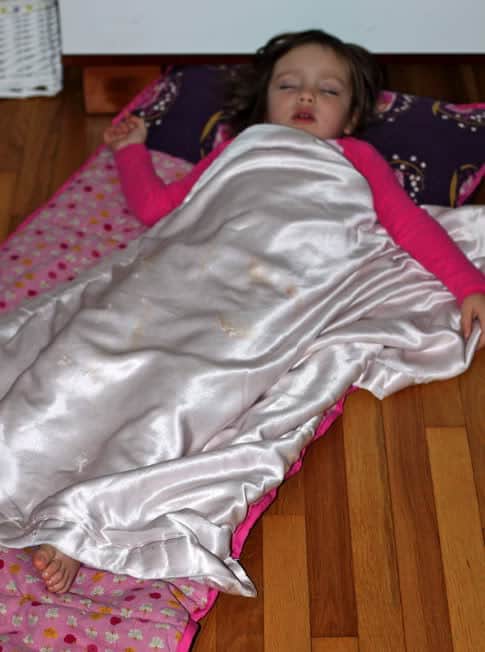
Now, this was some fancy fabric, but I wanted to tell you I am working on one from an old sheet for Scarlet’s best friend and it’s turning out super cute as well, so I say make one out of anything you can grab!
Oh, love the modifications! You have given me some great ideas for when I get around to making my daughter one!
I am looking forward to making this! With the holidays over I finally have the time 🙂 Happy New Year!
The nap mat is awesome! And I couldn't help but notice that you have a Yo Gabba Gabba kid, too!
I so need to make one of these! Could you lay this down in her bed so she stays in bed?
I really want to make one of these for my little guy to use at school. I like the idea of being able to take the pillow out for washing.
thanks!
Little sleeping beauty!
Painfully cute! I think that I just got an idea for Christmas presents for several of my neices!
can you imagine the time-savings of just putting this on her bed? No making the bed in the morning, no stripping sheets daily, no arguing about staying in bed! Oh my goodness, I have GOT to find some fabric to do this.
This is so great – I actually made one for my nephew and had problems getting my machine to go through all the layers, especially with the fleece blanket. I wanted to try to make one for my own son but was put off by wrestling the fleece again! This is a good motivator to try again…
Thank you so much! We have added it to our ever-growing list of patterns at mysewingcircle.com linking back to your blog. Our members will love this!
~jewel
Love Lindsay and Co.'s idea of putting this straight on the bed!
Looks so cuddly and fun I kinda want one for me too. Trying to think of a way to make that happen…maybe family camping parties in the living room with our nap mats 🙂
She is sooo beautiful! My daughter makes the same "smile" face. Adding this to my list of fun projects!
This will be a project in my near future! I can't wait!
Ah, CANNOT wait to make this cute little "bed" for my toddler! I just found your blog a few weeks back when I dove into the world of sewing and am DYING to make everything on here…though…I did just somewhat recently learned to thread my sewing machine. This may or may not be a problem for me. 🙂 I am totally addicted though and will overcome the evil forces of pattern interpretation and pesky slipping ball fringe. I have determination on my side and a ludicrous love for bold patterns and bright colors…so I feel that I will prevail. Thank you. I love the inspiration.
I love this!!!! I teach kindergarten and my students still take naps and my TA and I are sewers (or try to be) and I would love to make one for each of my students! But that will never happen… so we are thinking of hosting a tutorial session and inviting the moms in the class to make one for their bundle of joy! This was an alternative for making them myself! But for sure when I have kids I am going to make them!
I already started on one for my nephew! 🙂
P.S. I love the option to remove the pillow.. that was genius!
Love this idea, I'm going to make one for my little girl.
I know this is off topic, but where did you get the shelving unit in the third from the top picture? Love the mat!
hi daily handmade! that was a bit of a splurge, it's the oeuf mini library.
The original nap nat tutorial link isn’t working…. Can i get a good link pleease?
The link to the tutorial is not valid. This looks so cute for a gift, help?!