


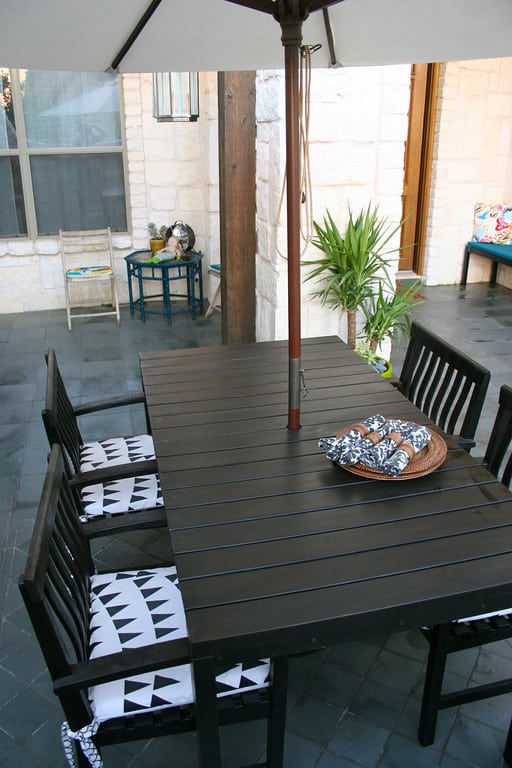
After much research, I came to the conclusion that no fabric cushion was going to survive the soul-draining afternoon sun of my Texas Patio. Plan B – Disposable slipcovers. I set out to make the simplest possible covers for my existing cushions from inexpensive {but fun} fabric with the full intention of replacing them next season. Do you have a box cushion that you want to cover in a jiff? Here’s how to make the Laziest DIY Cushion Slipcover.
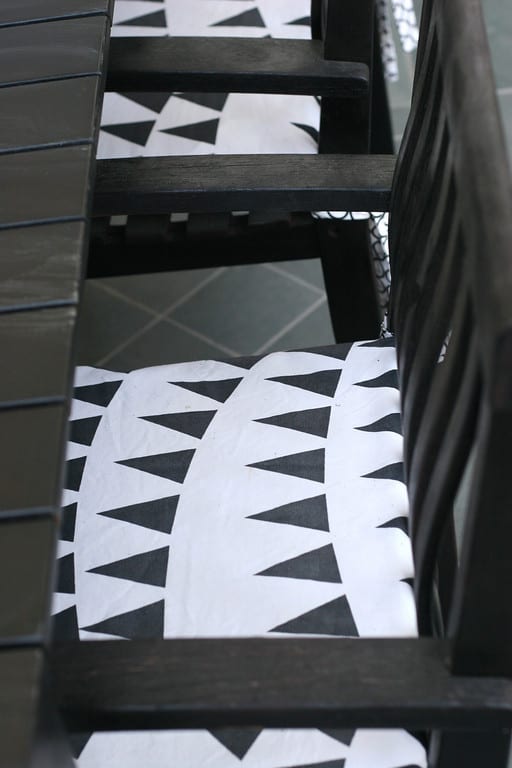
And actually, I’m loving the way the black is fading (yes, it is already fading after a month) so maybe we will keep these around even longer than planned.
Wash and iron all fabric.
1. First make your ties. You will need 1 yard of fabric for 4 cushions. Each cushion needs 4 finished ties.
Cut strips 2.5″ wide by 12″ long. Place 2 together, right-side-facing. Sew around 3 sides, leaving one short end open. Snip corners and turn right-side-out with the help of a crochet hook or chopstick. Iron flat. Set aside.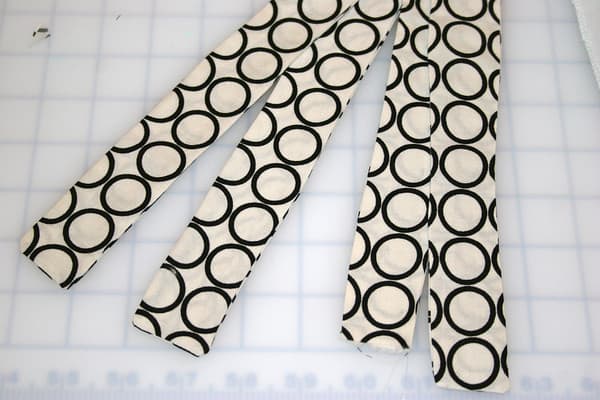
2. Measure your cushion. In this case, my cushion was 20″ wide x 18″ high and 1″ deep.
3. Cut your squares of fabric. Upholstery-weight fabric is recommended. Cut and sew one cushion first to check fit.
Cut the top – width + depth + 3″ (or 24″) x height + depth + 3″ (or 22″), so, 23″ x 22″
Cut the bottom – width + depth + 3″ (or 24″) x height + depth + 3.5″ (or 21.5″), so, 23″ x 22.5″
4. Finish the edge of the top fabric where the cover will open (at the back-rest.) A serged edge was perfect for this but a narrow double seam works as well. 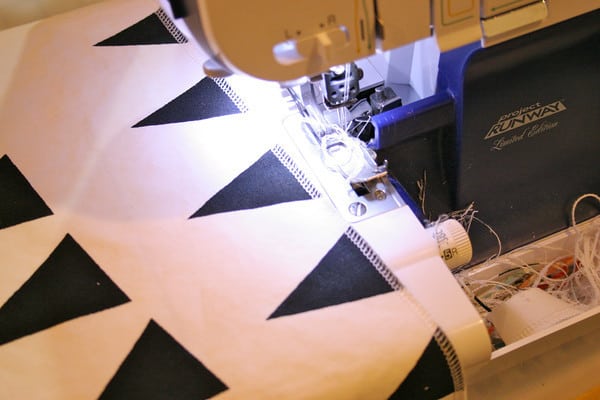
If serged, fold over and straight stitch.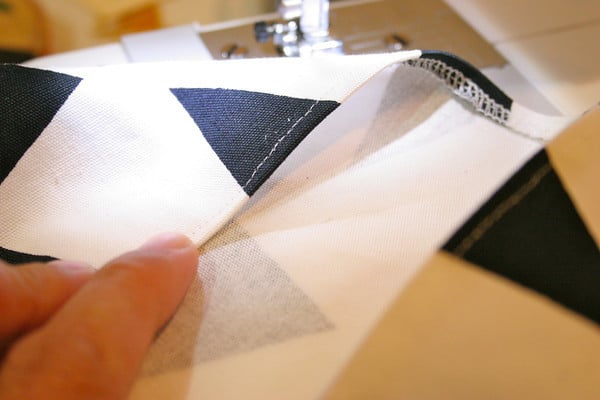
5. For the bottom fabric, simply serge the top edge, or do a narrow folded seam.
6. Line up the top and bottom fabric (right-side-facing) with the bottom excess hanging over on finished edge.
7. Sew or serge around the three unfinished sides.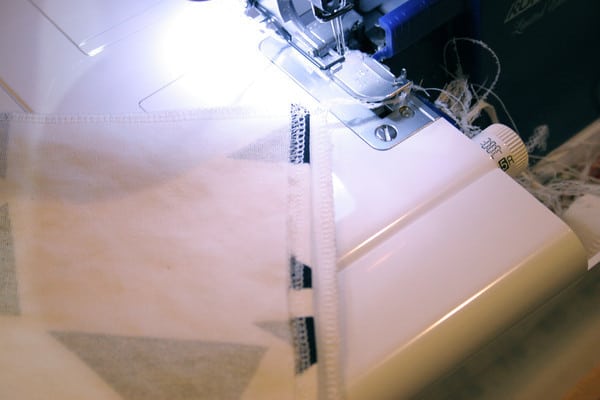
8. Open the case so it is laying flat as shown.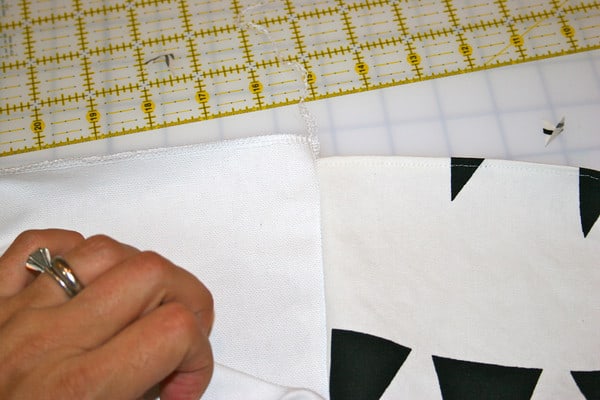
9. Fold in the top at a 90 degree angle and make a crease with your nail.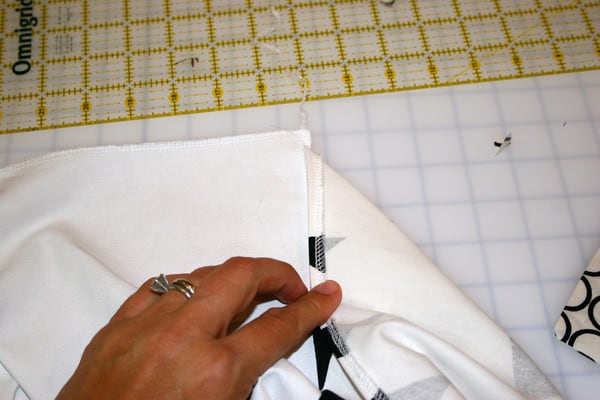
10. Fold the longer (bottom) fabric over the same way as shown below. Crease.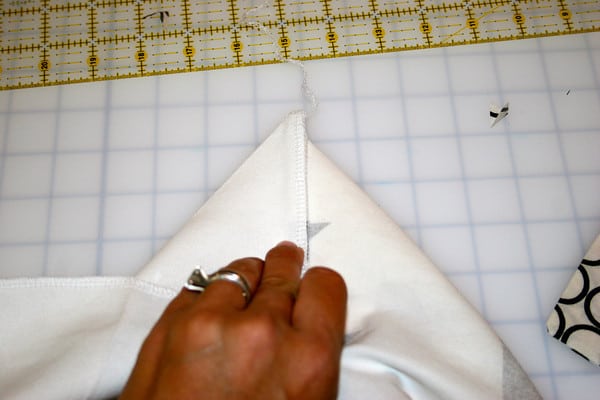
11. Open.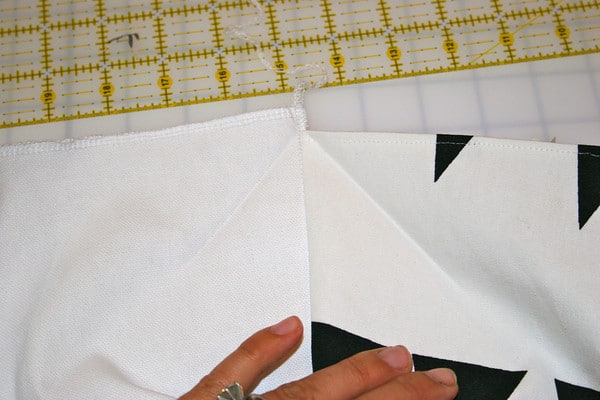
12. Place the open end of two ties in corner.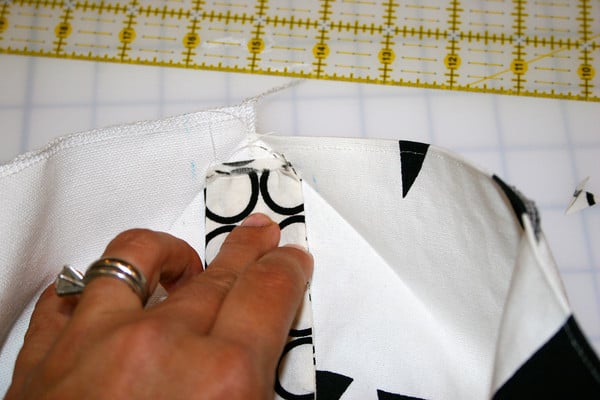
13. Fold back up with ties inside and draw a line 1/2″ longer than measured depth of cushion. 1.5″ in this case. Double check that ties are above that line inside and pin.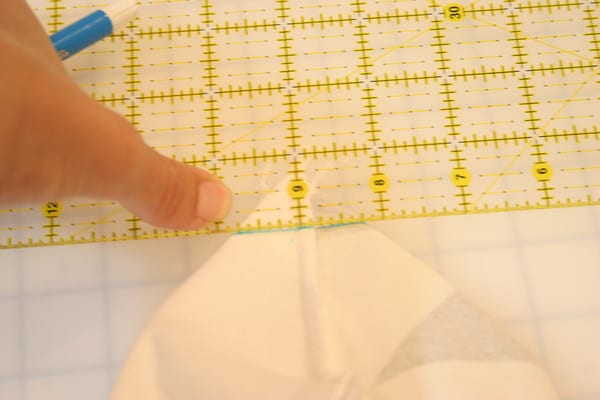
14. Sew along line with back-stitches at start and end to secure. Repeat on other side.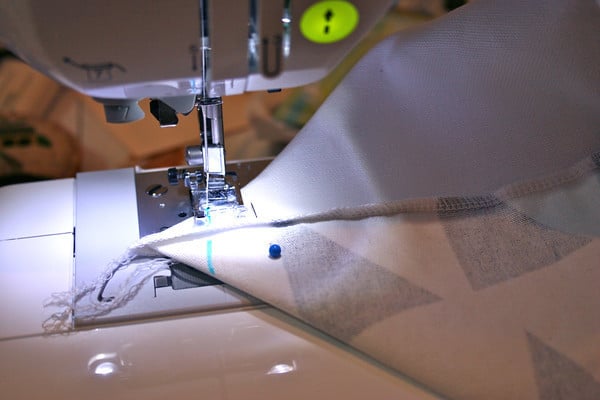
15. On inside corners of cushion, fold so that seam runs down center as shown, mark 1.5″ corner and sew along line with back-stitches at start and end to secure.
16. This is what the inside gusseted corners will look like.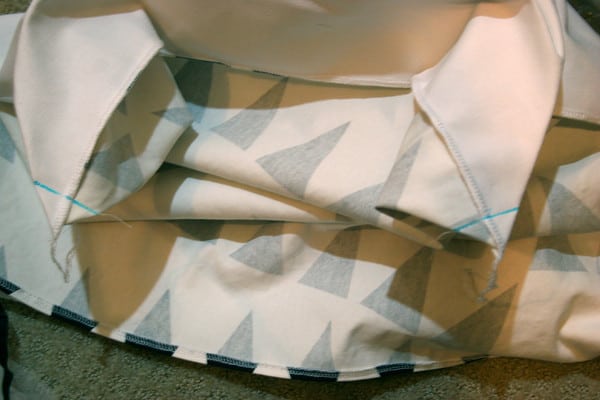
17. Turn inside-out.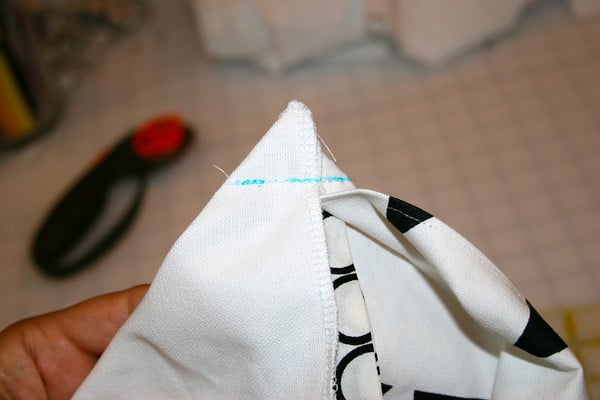
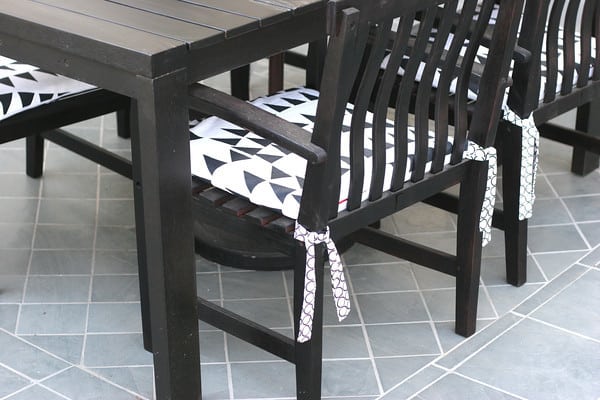
This is what your tie corners will look like.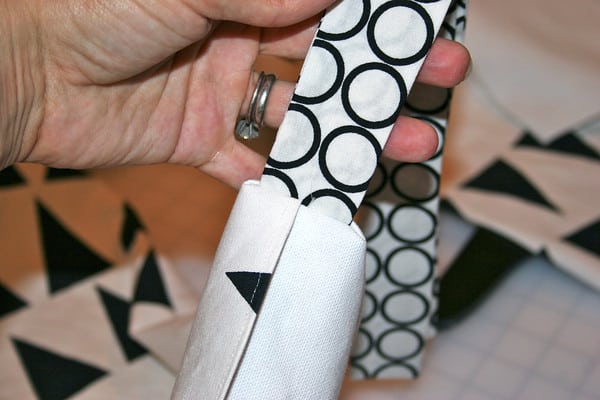
18. Add buttons, snaps, velcro, or just tuck in place for added laziness.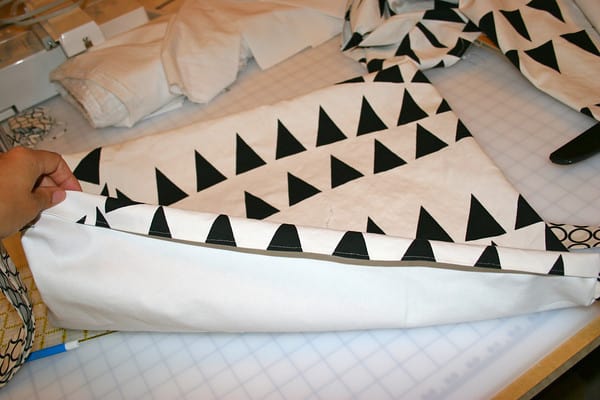
And you’re finished! Stuff your hideous maroon cushions in there and pat yourself on the back for a job mediocrely-done!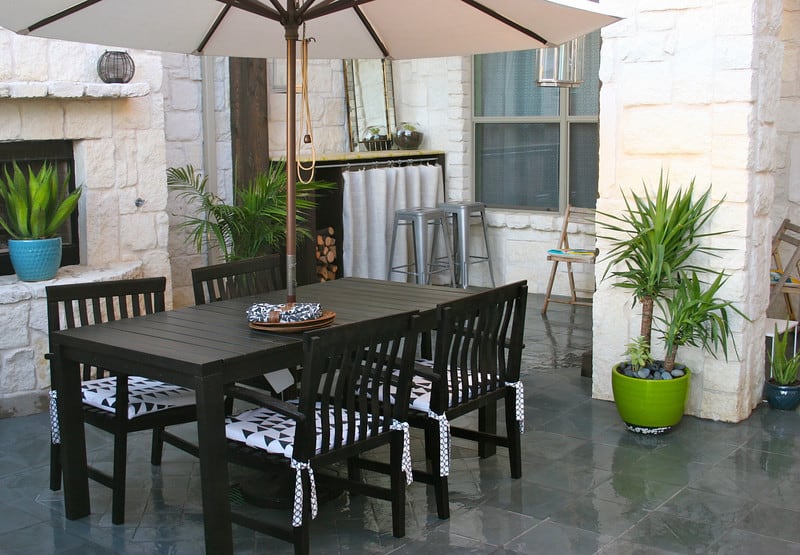
Perfect! I need a super easy project like this for a set of chairs in my house. xoxo
I love, love, love the pennant fabric! Can you tell me where I might find that fabric? It would be perfect for recovering my glider cushions in my nursery!
Hi Ali-It's from Ikea. It's a few years old. I just tried to find some on Etsy & such for you but there isn't any right now. Send me an email to remind me and I will find out the name.
I don't think they look mediocre, they look awesome. Especially those nice gussetted straps. I love that RK circle fabric, I want it in every color. Also, I want a patio 🙂
What do you think is the best way to send succulents to Texas from RI? I have some real nice ones I'd like to give to you!
Your last sentence made me crack up. 😀
I.must.do.this! I am nothing if not a queen of mediocrity.
So excited I found this! My mother in law recently redid her Master bedroom. She still needs to do the long cushion for her reading window area. I'm sending her over here for this tute, and she'll probably be hooked to this site like I am!!
I am still a beginner at this so I have a question for you. I see the bottom fabric is different from the top. Did you get one yard of each for 4 cushions? I’m so anxious to make these for our porch chairs!
[…] Source […]