


Photo credit: Arne Zacher
In Bulgaria there is a centuries old tradition of celebrating Baba Marta aka ‘Grandmother March Day.’ It begins on March 1st and continues all month long. The entire celebration is all about bidding adieu to winter and welcoming in the fresh blooms of spring. Along with the festivities, is the tradition of making Martenitsa adornments to give to friends and family, which you wear all month long to promote happiness and prosperity. We’ve been learning quite a bit about this tradition from the Martenitsa Story and through these projects from The Saturday Market Project, and wanted to share it with you. Here is my version of the bracelet and puppet…
I used the materials I had around the house, but would love to have picked up the gorgeous mule spun, Imperial Ranch Yarn from The Saturday Market Project shop. I could spend all day looking through their supplies – cotton thread from France, a Japanese marbling kit, and these needles (swoon). Not to mention their list of projects and stories, including this feature on my favorite, hidden supply store in San Francisco.
I’ll let the The Saturday Market Project take it from here with these first two tutorials…
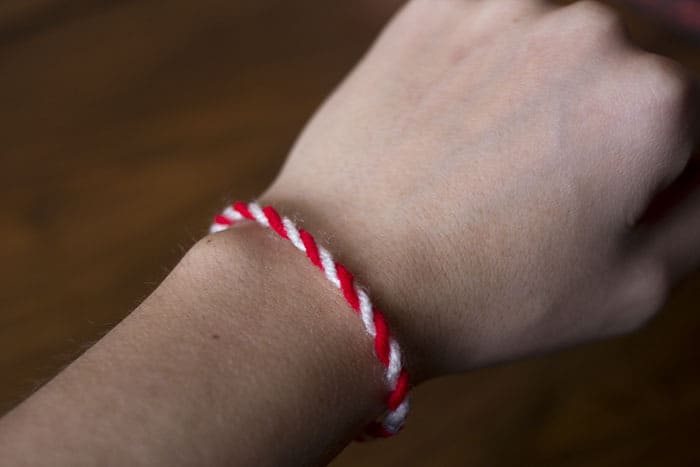
Martenitsa Bracelet
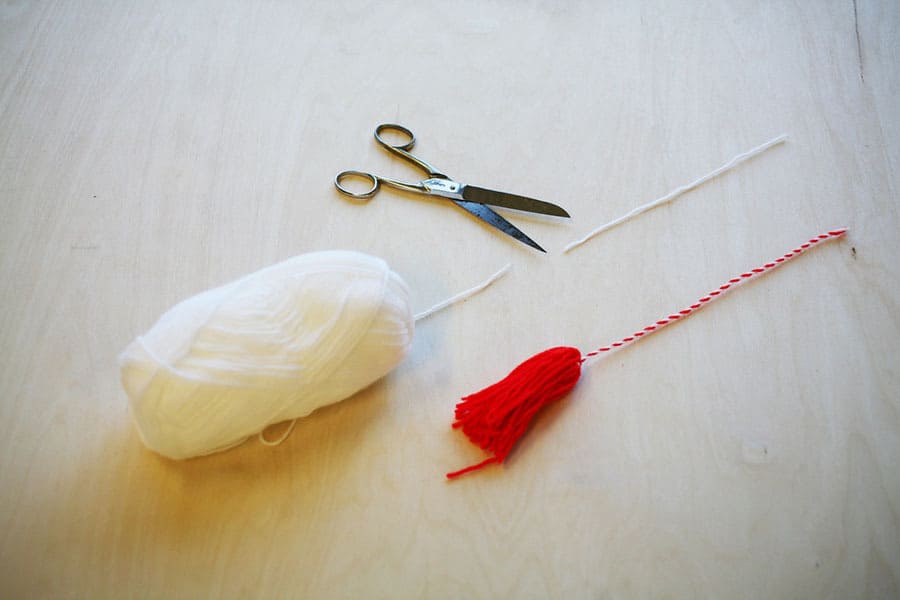
You Will Need:
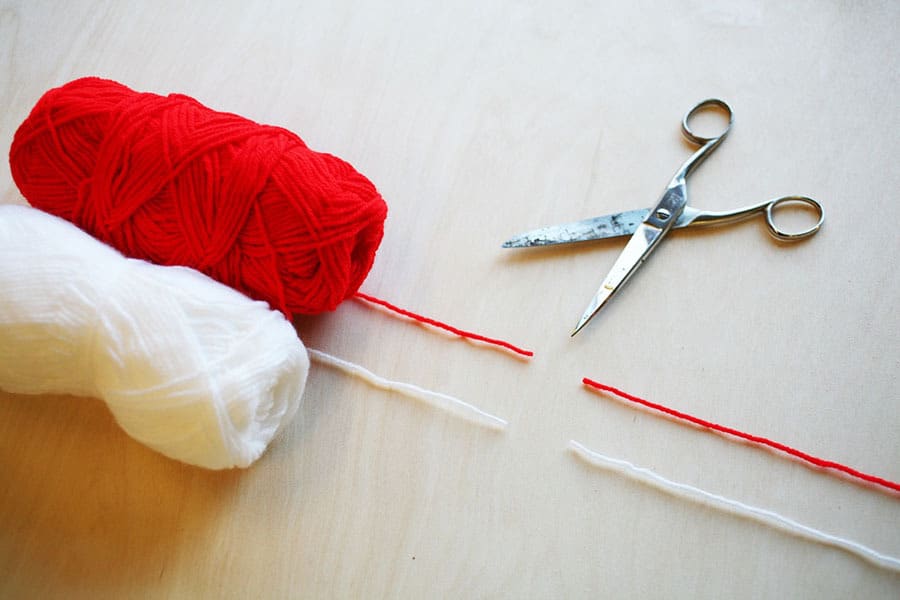
– Red and White Yarn
– 4 x bulldog clips
– A pencil
– Scissors
– Card (piece of cardboard or chipboard, even a cereal box will be just fine) about 0.04″ (1mm) thick
– A ruler
– Tweezers
– Safety pins
– A Cutting Mat & X-acto Knife (optional)
BRACELET STEP ONE
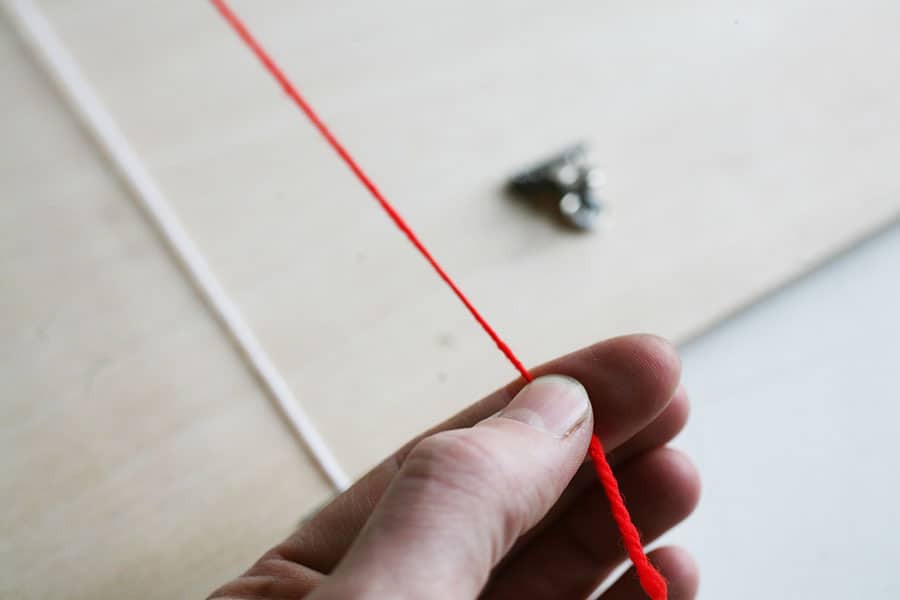
Cut about 20″ (50cm) of both red and white yarn. This is a good length as it can be used for a few bracelets or other martenitsa variations.
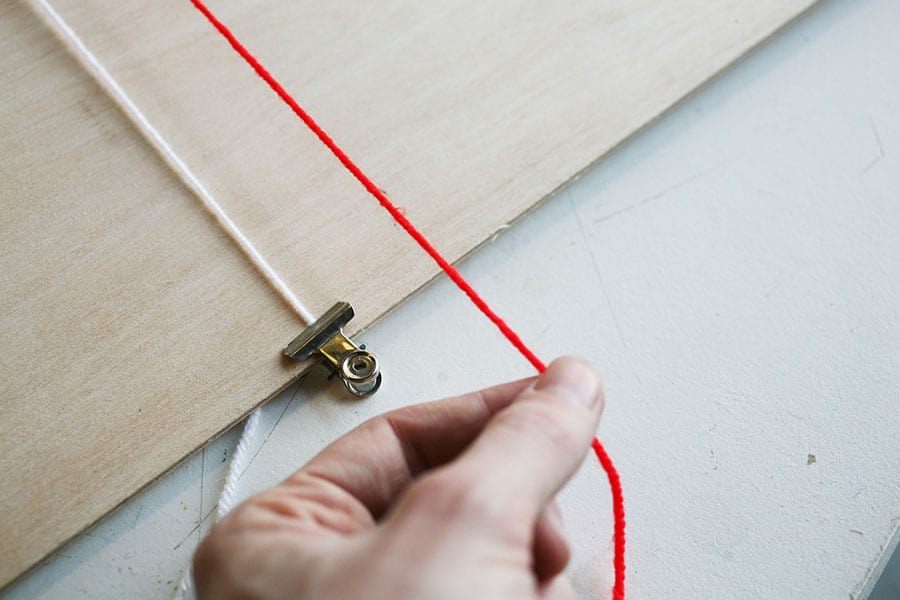
BRACELET STEP TWO
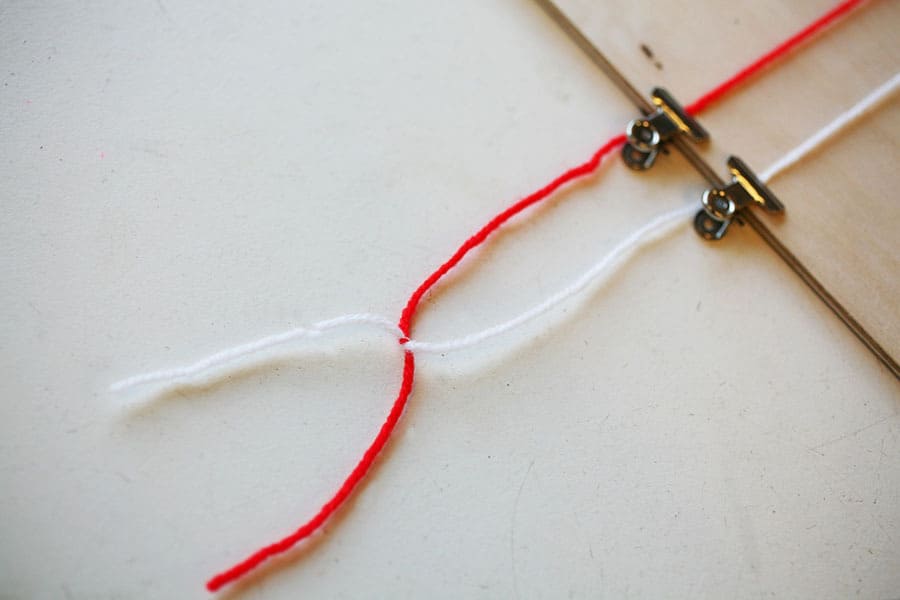
Attach both ends of each yarn to something (e.g a board or table) using the bulldog clips. Once one end is secure, pull the other to make sure the strings are straight and have a tiny bit of tension. Then mount the other ends, again with bull dog clips. Make sure you also leave around 6″ (15cm) of excess yarn at either end.
BRACELET STEP THREE
Once the yarns are in place, un-clip one end (of either color) and start twisting clockwise until the thread wants to twist on its own. When it gets to this point, pull on it slightly to make sure it stays straight. Attach the yarn with the clip again. Repeat this process with the other color of yarn.
BRACELET STEP FOUR
When both threads are properly twisted and attached back with the bull dog clips, take the untwisted, excess yarn at one end and tie the red and white yarns together.
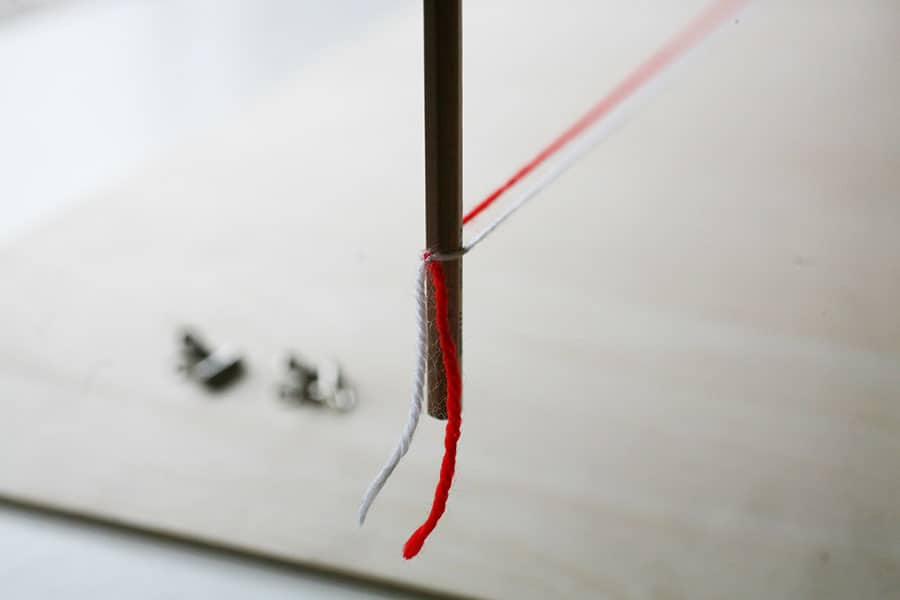
BRACELET STEP FIVE
Place a pencil by the knot between the red and white threads. Pull to make sure the tension is kept and release the bull dog clips.
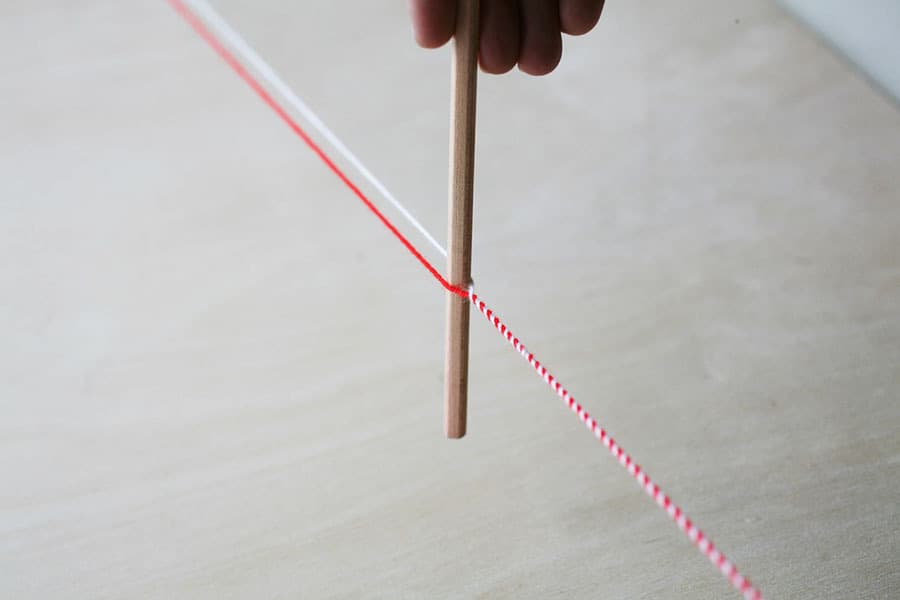
BRACELET STEP SIX
Start twisting both threads by turning the pencil anti-clockwise. Keep the tension with the pencil as you twist the entire length of the yarn, making sure all is equally neat. You can regulate the tension by moving the pencil either towards or away from the twist, this way you can control it and make sure it doesn’t become too tight or too loose.
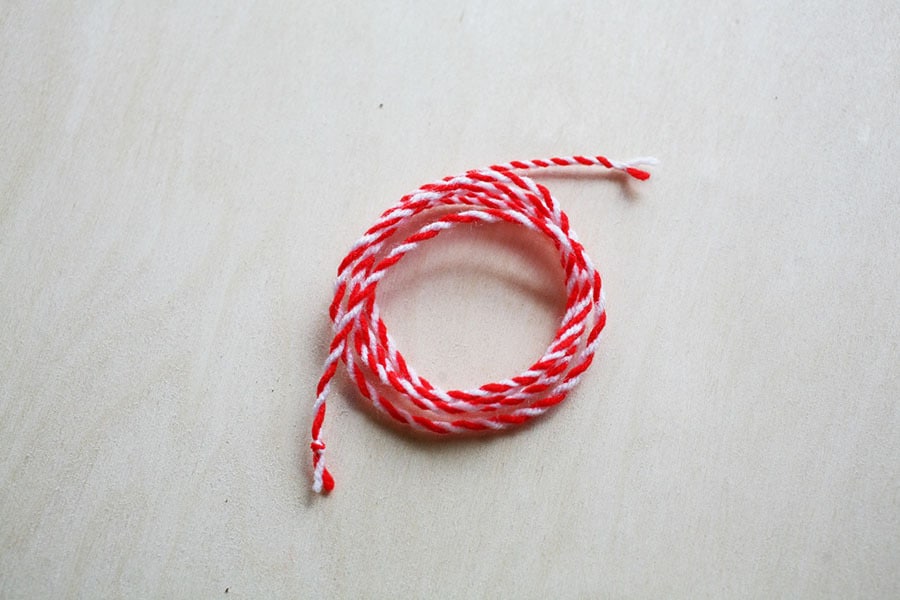
BRACELET STEP SEVEN
When the entire length of the yarn is twisted you can release the bull dog clips. At this point the rope is done. You can now make a second knot on the other end to keep the twist and tension in place. Job done!
BRACELET STEP EIGHT
Tie it around the wrists of friends and love ones!

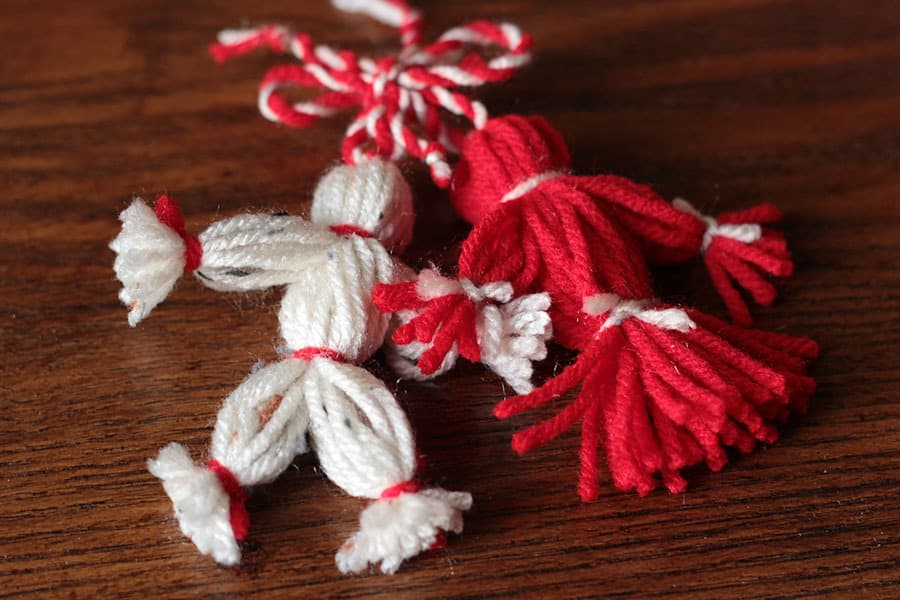
Martenitsa Puppet
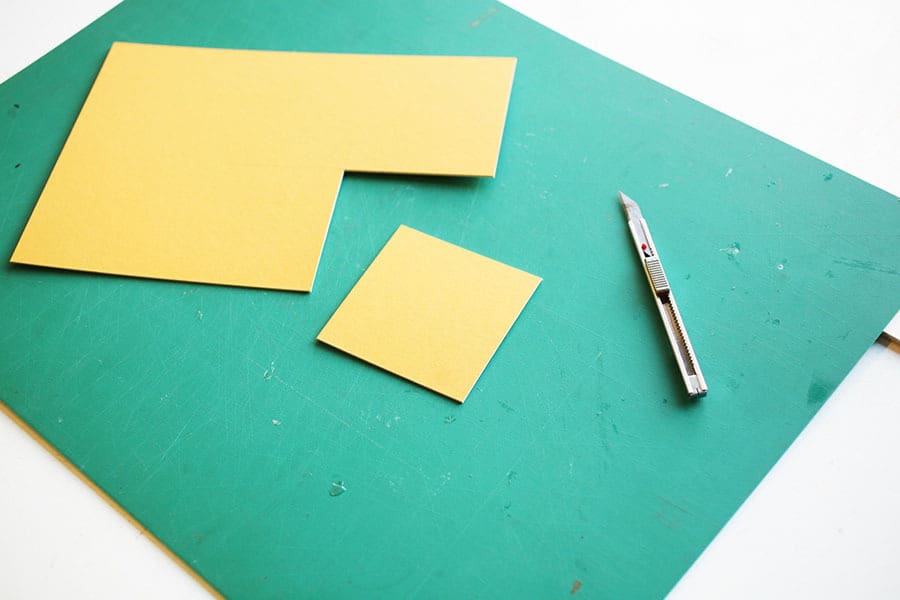
PUPPETS STEP ONE
Cut a piece of card to 4″ x 4″ (10 x 10cm). This way you know the maximum length of the martenitsa doll will be slightly less than 4″. It also means you can shorten it to anything less than 4″. To make a larger one, simply make sure the size of the card you cut is bigger than the size of the doll you’d like to create. To begin with however, 4″ x 4″ is a good, comfortable size to work from.
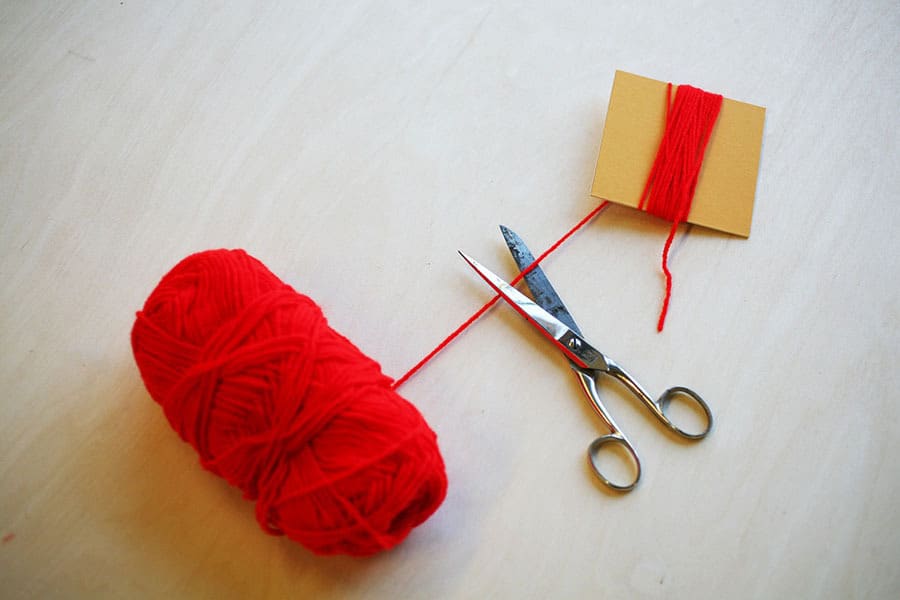
PUPPETS STEP TWO
Wind the red or the white yarn around the card, making about 20 – 50 revolutions. When you have finished winding, snip the end of the yarn.
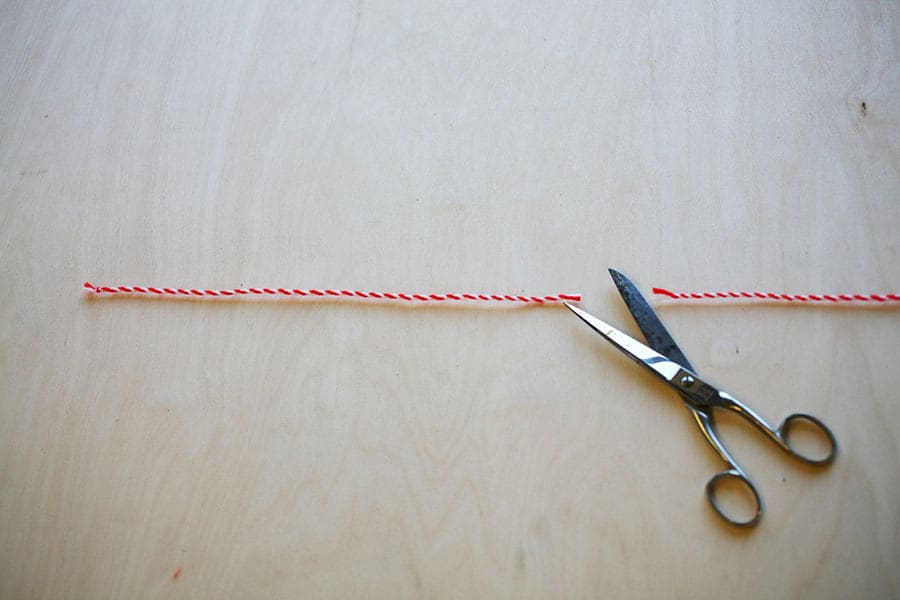
PUPPETS STEP THREE
Cut about 8″ (20cm) of your bracelet rope.
PUPPETS STEP FOUR
Thread the rope underneath the wrapped yarn in the middle of the card and make a knot.

PUPPETS STEP FIVE
Turn the card over and snip through the middle of the wrapped yarn.

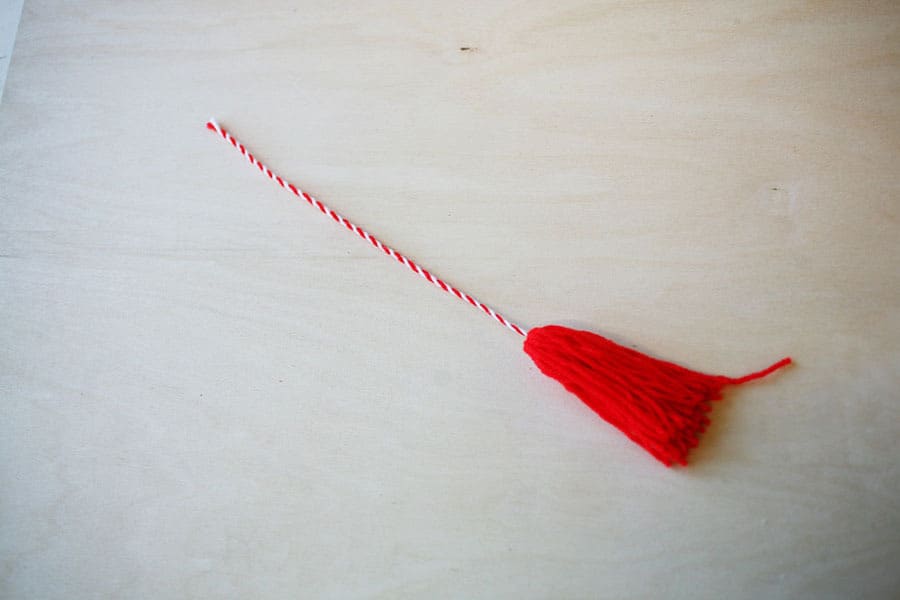
PUPPETS STEP SIX
Pick up the bundle by the rope and stroke down to make a neat lock of yarn.
PUPPETS STEP SEVEN
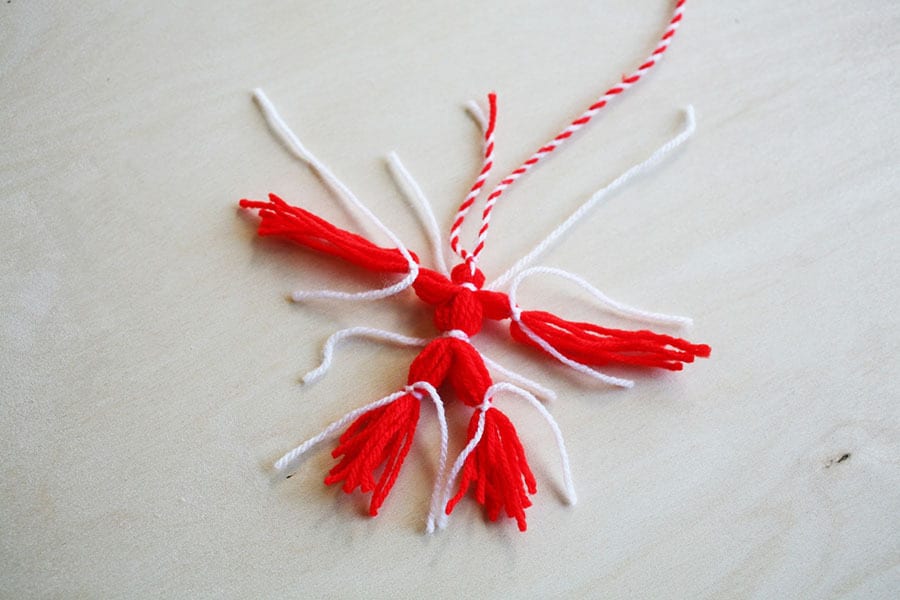
Take a piece of yarn in the color you have not yet used. Traditionally red dolls are tied with white threads and vice-versa. Feel free not to follow this if you prefer, but the contrast does look effective!
PUPPETS STEP EIGHT
Tie the yarn around the tassel at the top to form the “head”. The smaller you make the head the smaller the whole martenitsa can be. Use the same color you’ve used for the head to tie arms, waist and legs in this order. This is for the male puppet; the only difference between male and female is that the female puppet doesn’t have legs. The yarn under the waist should be left to form a “skirt”.
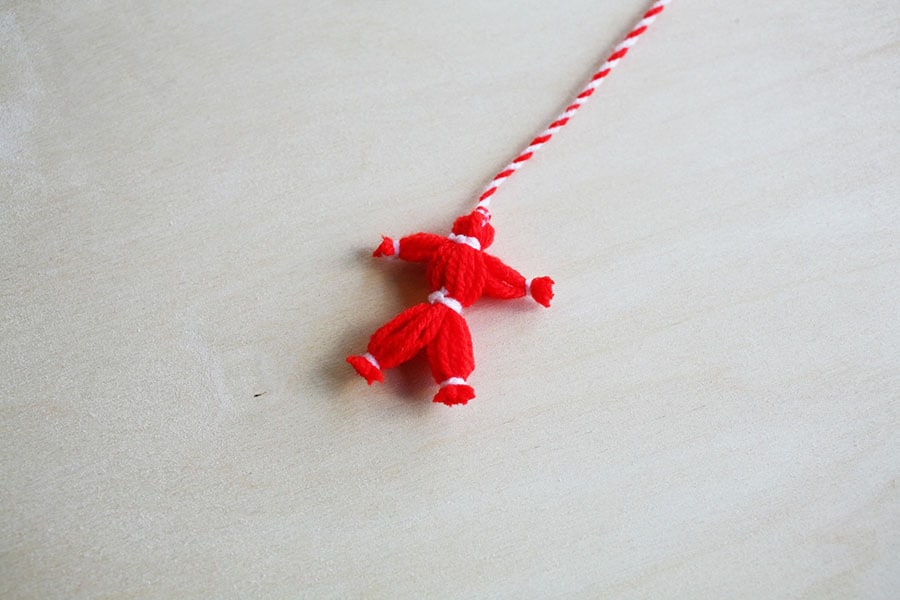
PUPPETS STEP NINE
Trim all loose threads (on the head, arms, waist and legs) close to the knots to neaten. Lastly, trim all the yarn ends after the knots, making sure they are all the same length. Once this is done, repeat the process using the yarn in the opposite colors.
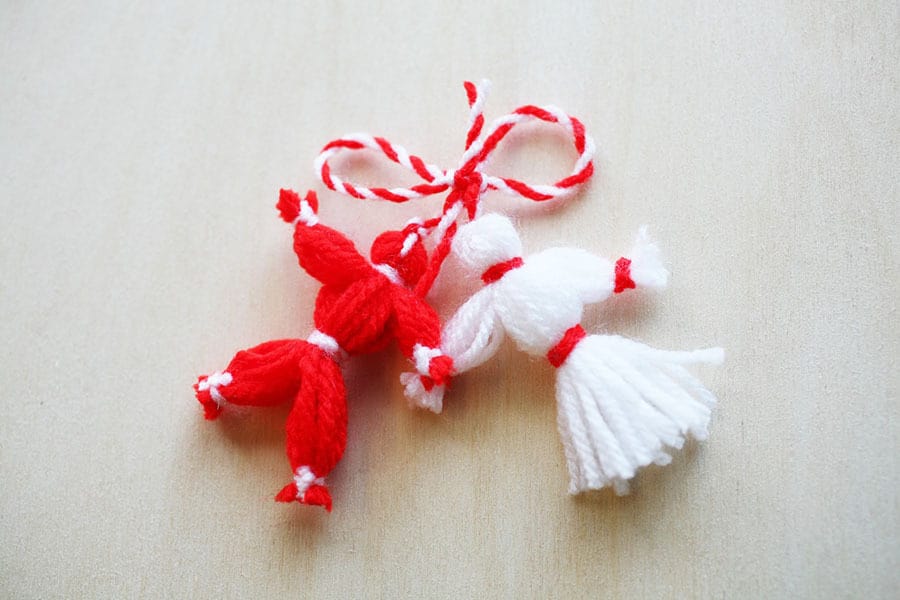
PUPPETS STEP TEN
To finish, tie both the red and white tassels together by their twisted ropes, making a nice knot with a bow.
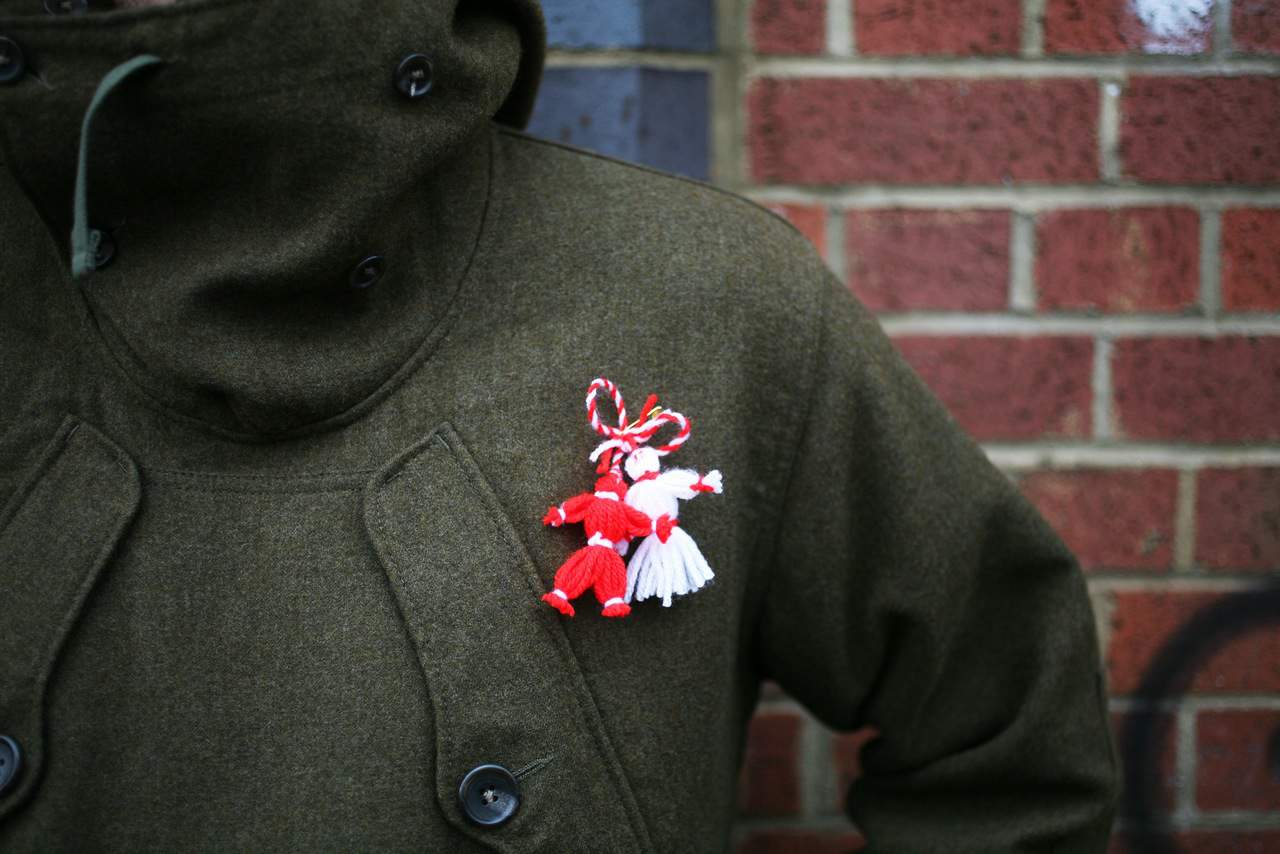
PUPPETS STEP ELEVEN
Use a safety pin and attach to the coats and jumpers of family and friends!
Martenitsa – The “Secret” Unique Amulet of Bulgaria
http://tinyurl.com/ozd8w7m
Wow, yarn dolls!
[…] Martenitsa Bracelet & Puppet Tutorial – 1 freebie(s)? […]
[…] week we shared the first two Martenitsa tutorials (bracelet and puppet dolls) from The Saturday Market Project. If you missed that, here’s a little background on the […]