


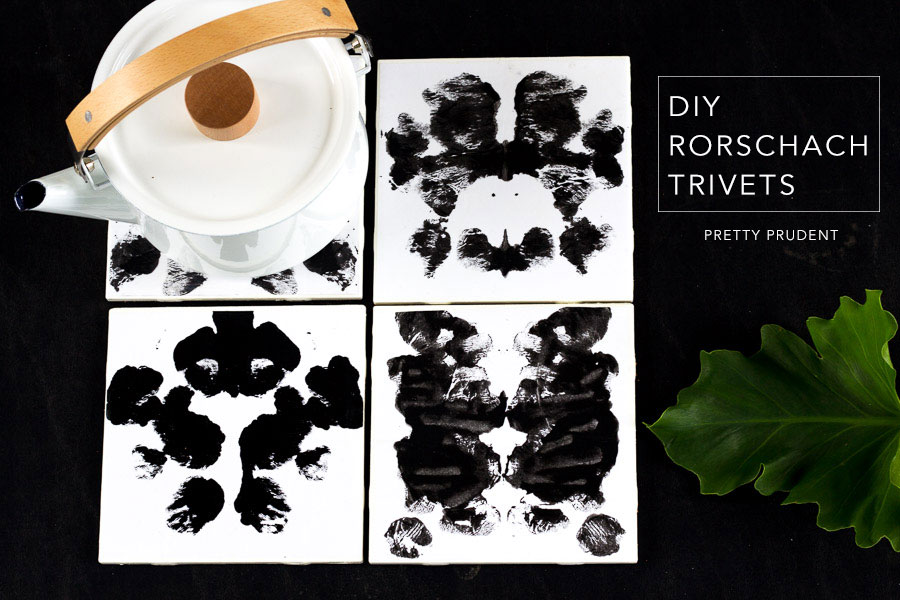
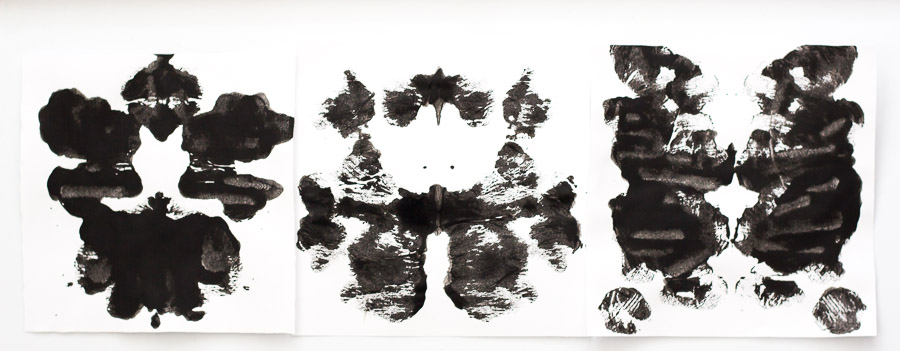
 Before we jump into this tutorial I have a question, what do you see on these trivets? Leave a comment at the end of this post letting us know. I’m so curious!
I took a psychology class in college and became pretty obsessed with all the personality tests we learned about, especially the Rorschach Inkblot Test. I’m also an ENFP on the Myers-Briggs, and you? I was inspired by this test to create a new spin on our Kid Art Trivets tutorial. I ended up making a bunch because I just loved how different they all turned out. Now I just want to have friends over so I can find out what they see.
Learn how to make Rorschach Inkblot Trivets after the jump…
Materials:
6×6 inch White Tiles
– Mod Podge
– Paper
– Acrylic Paint
– Foam Brush
– Wax Paper
– Scissors
– Cork roll or 6×6 inch cork tiles
– Acrylic Sealer
– Polyurethane Spray
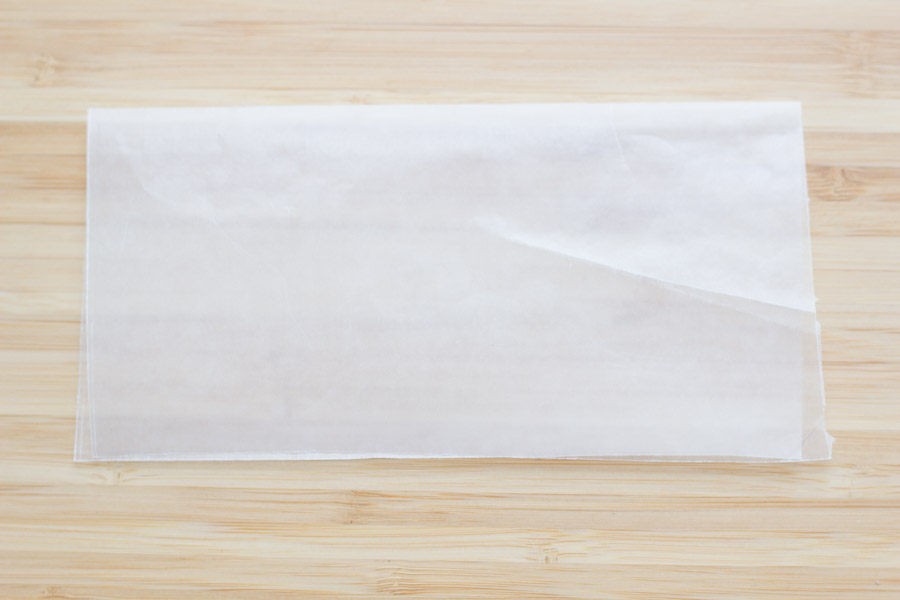
Place your tile on a piece of white paper and trace around. Measure about 1/8 of an inch in on each edge and cut, so that the piece of paper is a bit smaller than the tile. Cut a piece of wax paper the same size.
Fold your wax paper in half.
Open it back up and drop a few drops of black paint on one side.
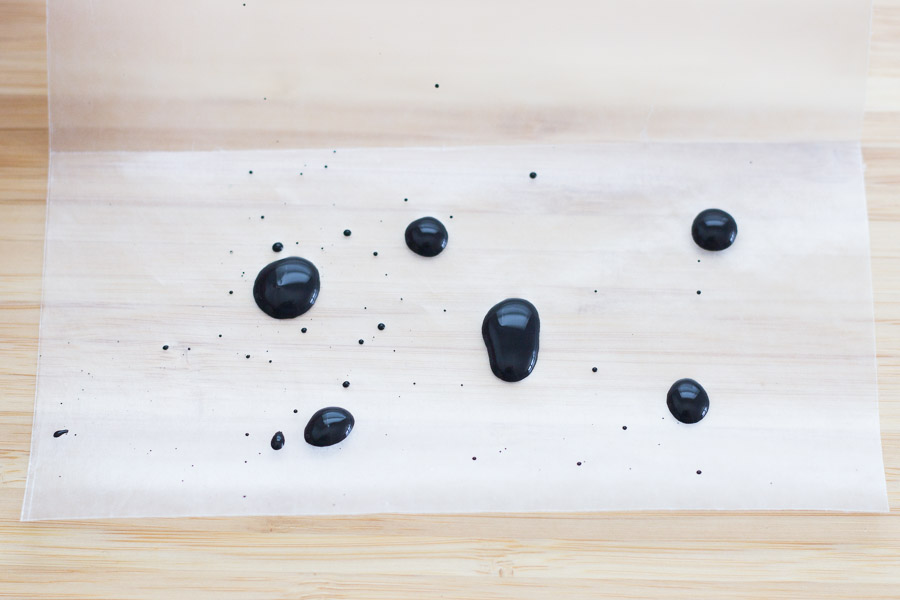
Fold the wax paper again.
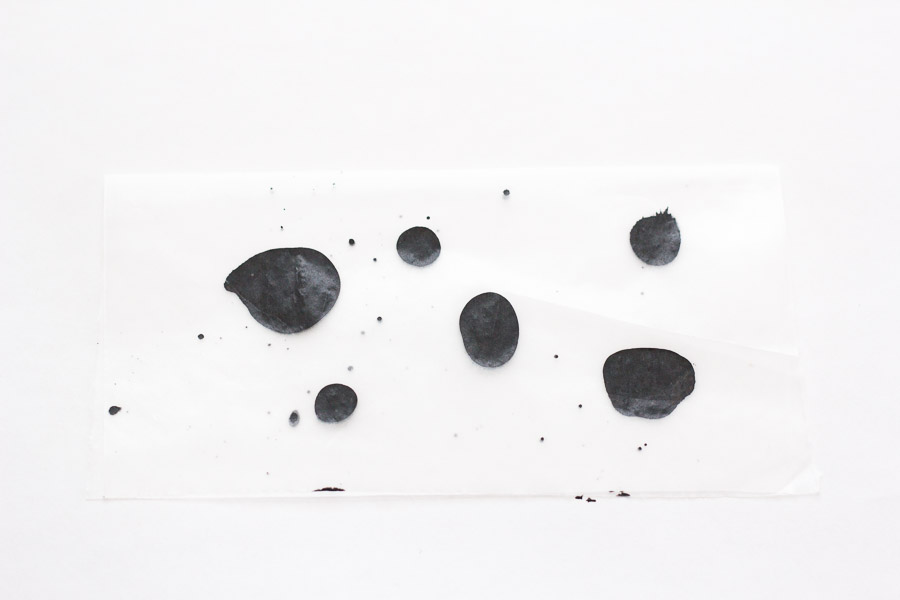
Press it down with your palm so that the black paint spreads out.
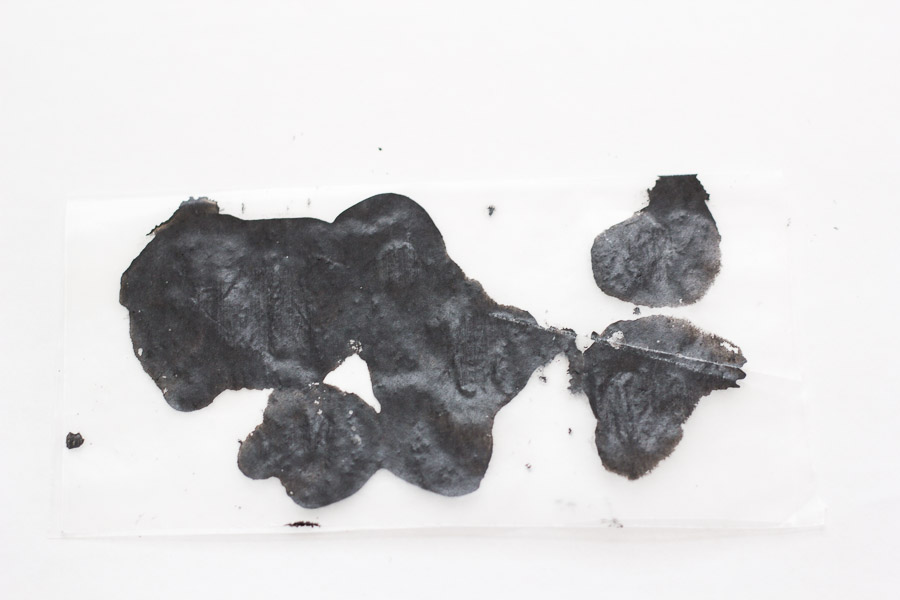
Open it up to reveal your design, and then press the wet paint side onto the paper.
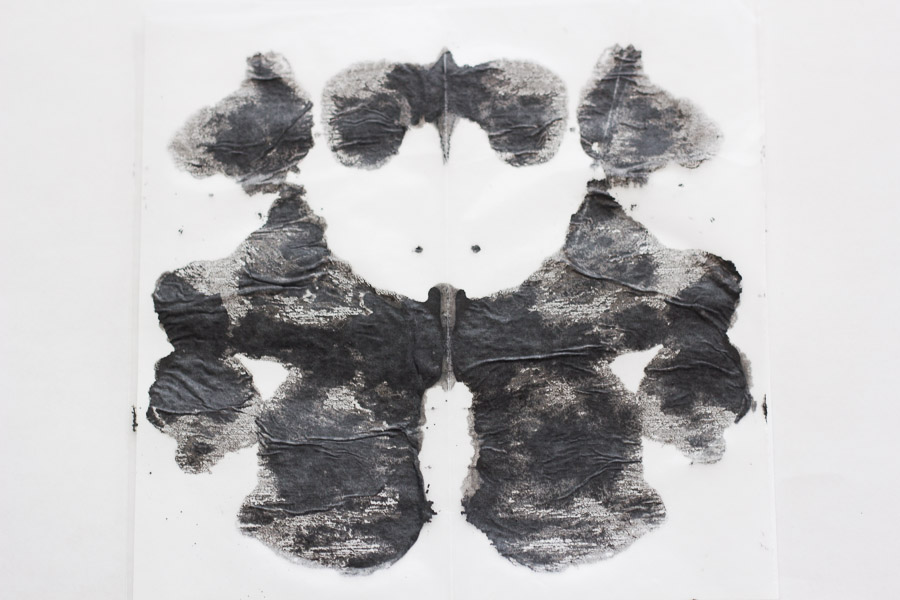
Remove the wax paper to reveal your image.
Make a few designs to use and choose from.
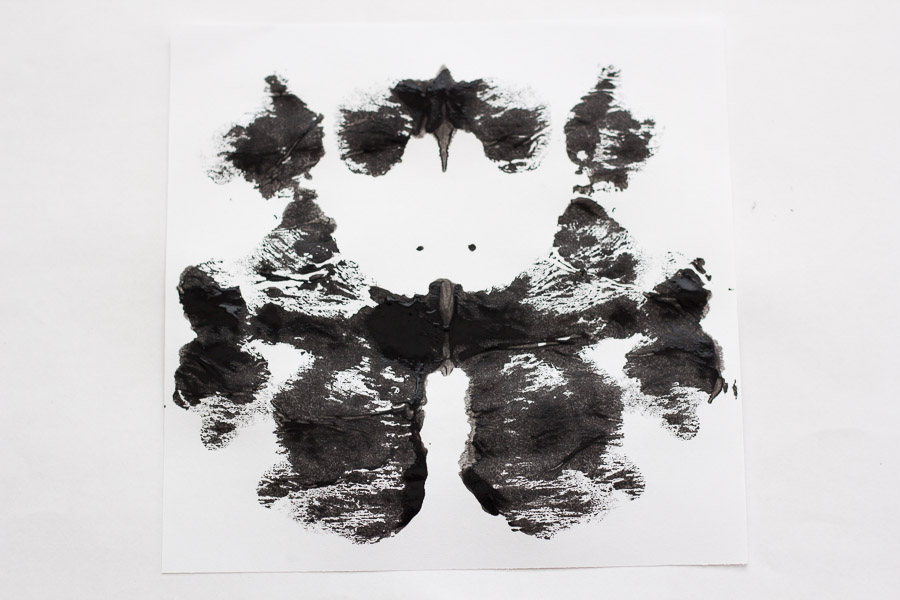
Once the paint is dry, spray both sides of the paper with acrylic sealer and let dry.
The acrylic sealer helps keep the paper from getting really bumpy after you apply Mod Podge.
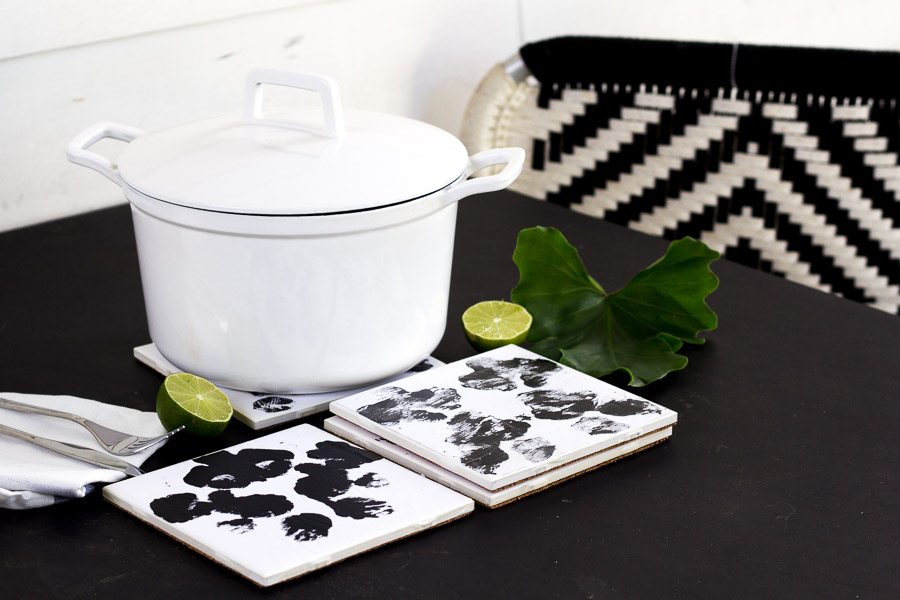
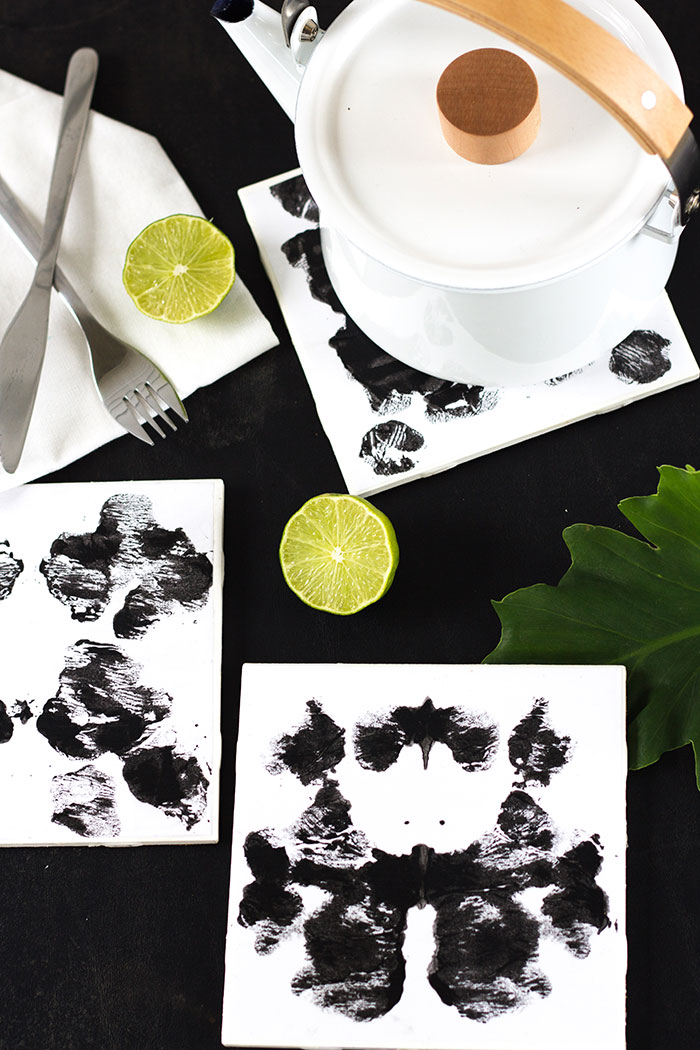
Complete your trivet by adding Mod Podge, a polyurethane seal, and a cork base. You can find Jaime’s detailed instructions for these steps on her Kid Art Trivet Tutorial.
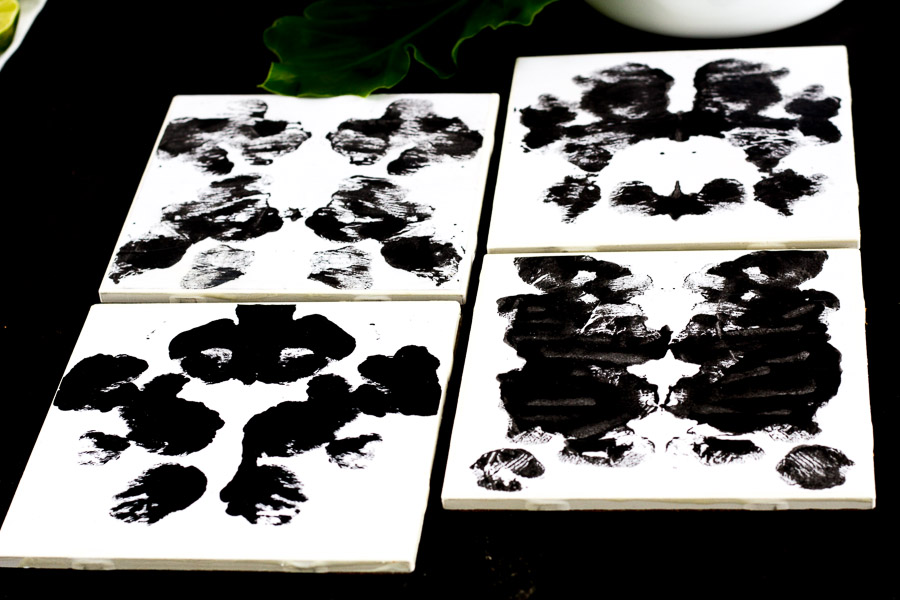
The top right one looks like two guys back to back in baseball caps getting ready to chug a beer! Lol. What does that say about my personality? Fun article!
love your trivet craft… so cool! i don’t really see anything when i look at blots like these, but the top right one i do see a pelvic bone. yikes!
[…] DIY Rorschach Inkblot Trivets – 1 freebie(s)? […]