


Look! My daughter finally has hair! Oh, and in other news, here is a tutorial on sewing a simple peasant top. Isn’t that fabric the sweetest? Anna Maria Horner voiles light up my life, this one is Little Folks Four Square in Sweet.
You can use this tute a few different ways. You can make the top just like this, with the gathered waist, or just a straight top, or an A-line dress, or make one for yourself. If you haven’t sewn sleeves before, this is a great top to start with, because the gathering makes the sizing forgiving.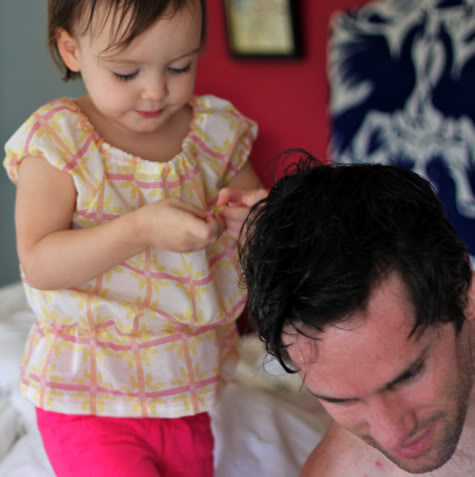
Soon she’ll be able to put ponytails in her own hair instead of daddy’s! I can’t wait! Get the full Peasant Blouse Tutorial after the jump…
How to Sew a Peasant Top
1. First cut your fabric.
If you are sewing a top, go ahead and cut two rectangles for the front and back. For the top pictured (worn by my 2 year old who is the height of a 3 year old) I cut two rectangles 15″X17″.
If you are sewing a dress, you’ll want to cut them more A-line. Use these patterns (originally made for the Pillowcase Dress tutorial) as a guide:
Baby Dress Template size 0-3 months:
Baby Dress Template size 18 months – 2T:
You’ll also need to cut two rectangles for the sleeves. The length should be twice the depth of the sleeve plus one inch, and the width should be the length you want the sleeve about doubled, or more if you want a longer sleeve. I cut my sleeve rectangles 13X7. For a 0-3 month size, cut a rectangle 8.5″ X 3.5″.
You’ll also need four pieces of 1/4″ elastic.
1 piece for the neckline: Cut this your child’s chest measurement plus two inches. I did mine 18″.
1 piece for the gathered waist: Same thing, I cut mine 18″.
2 pieces for the sleeves. Your child’s arm measurement plus 2″ – I did mine 7.5″.
2. Take your two rectangles (the front and back of your top) and fold them in half. Cut the sleeve and neckline out per the pictures above: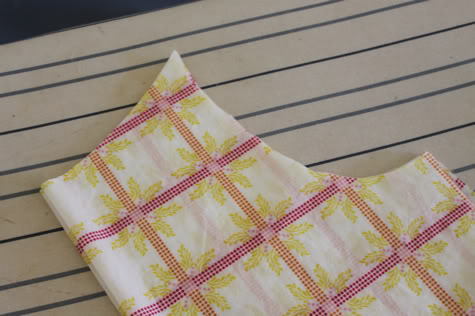
3. To cut your sleeves, fold the rectangles in half along the width: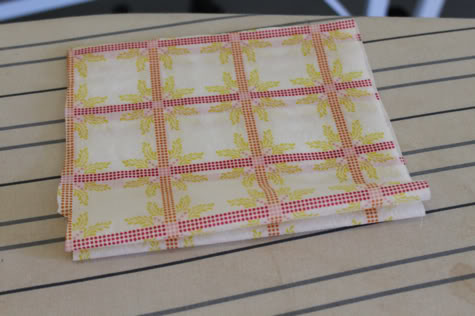
Lay your dress piece on top, with the fold of the sleeve piece to the inside, trace the neckline and armhole, and cut: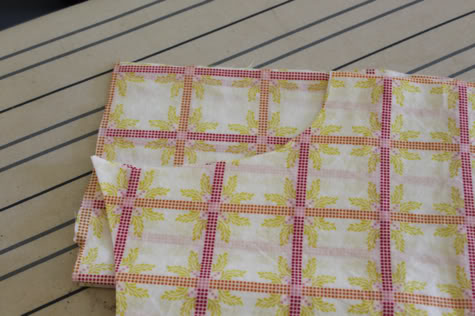
When you unfold the sleeves, you now have two pieces that look like this: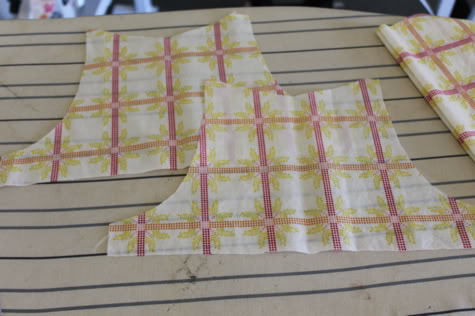
4. Now lay one pieces of your dress right side up. Lay a sleeve piece right side down with the armholes aligned and pin in place: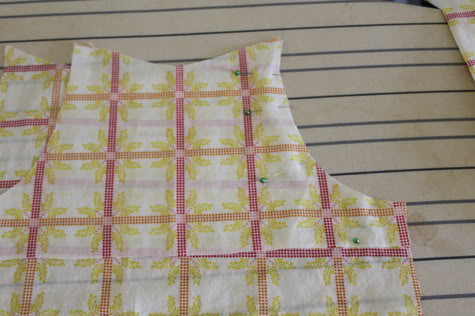
Sew up the armhole: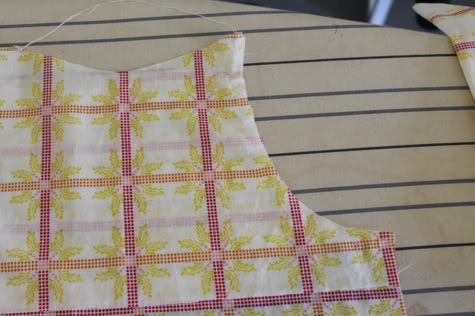
Finish the edge by serging, sewing with a zig zag stitch, or cutting with pinking shears. Then lay the dress right side up again. Take the other sleeve piece and align it with the other armhole and pin in place: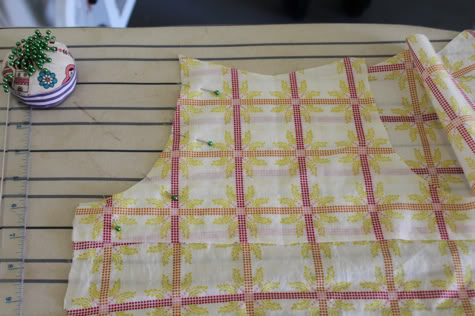
Sew up the armhole and finish the edge: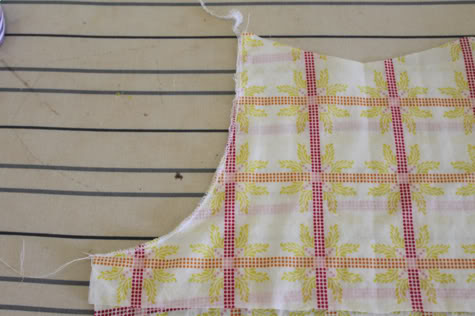
5. Now take the other side of your top and lay it right side up:
Take the assembled side and align the unsewn armhole edge of one sleeve piece right side down and pin: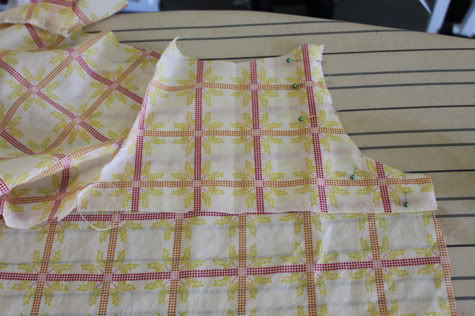
Sew in place and finish the edge: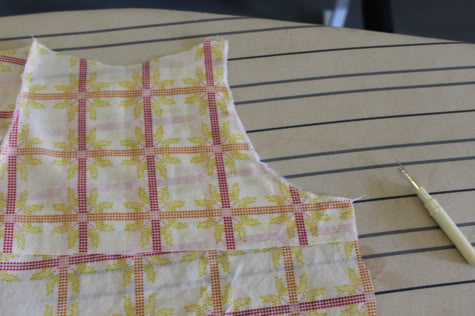
Now align the other unsewn armhole edge of your sleeve with the other unsewn armhole of your dress and pin:
Sew in place and finish the edge: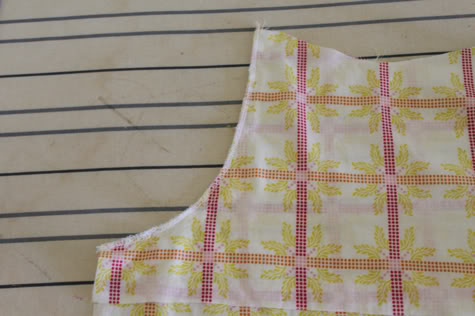
Now your sleeves are attached to both sides of your dress/top and you have a boxy piece like this: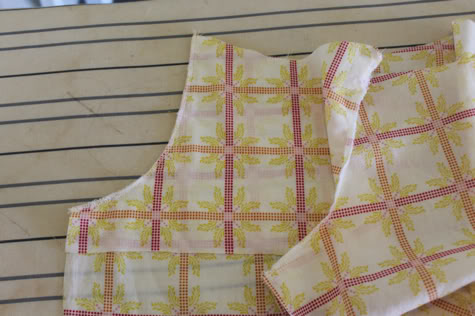
Flatten it out and align the two edges of the top, still right sides facing: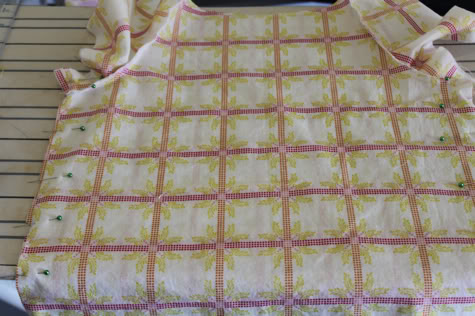
Sew in place all the way from the edge of the sleeve down the side of the dress/top: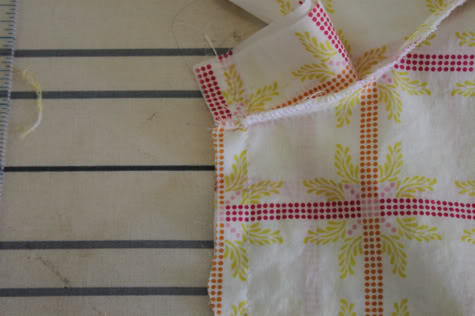
Do this on both sides. Now your dress/top is assembled.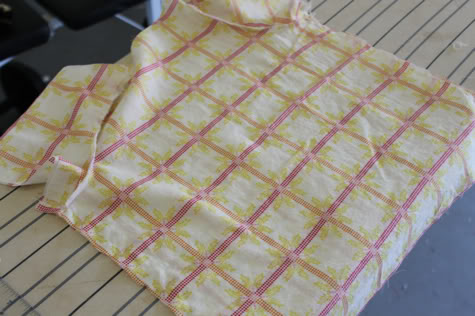
6. Leave your piece inside out. You may want to take scissors to the top edge to smooth it out (if your sleeves and neckline cuts were wavy). Fold the entire top edge down 1/4″ and iron: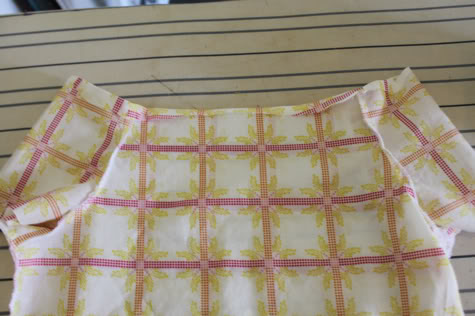
Fold it down another 1/2″ iron and pin in place: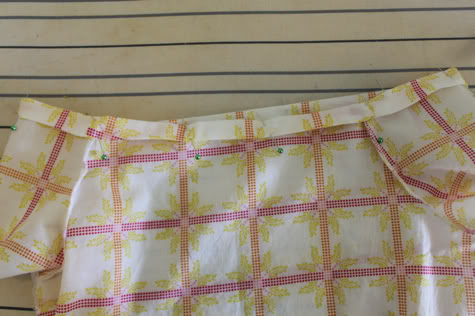
Sew your casing along the edge, leaving a hole near one armhole seam, back stitching at the beginning and end: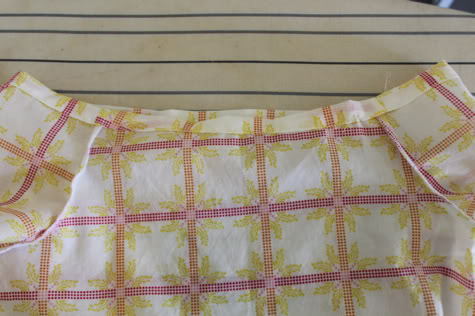
Close up of the hole:
Repeat this process on the opening of each sleeve, leaving the hole at the armpit area: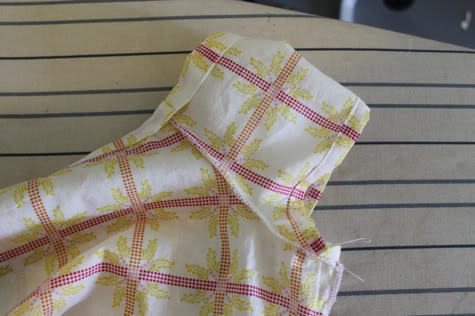
7. Now take one of your long pieces of 1/4″ elastic and feed it through the hole with a safety pin: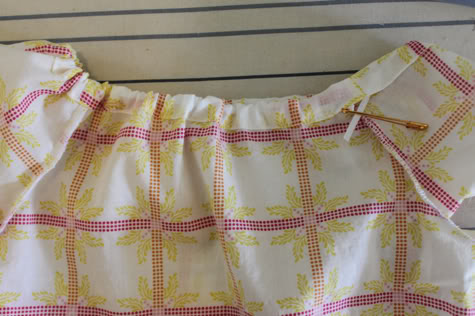
Sew the elastic together so it lies flat: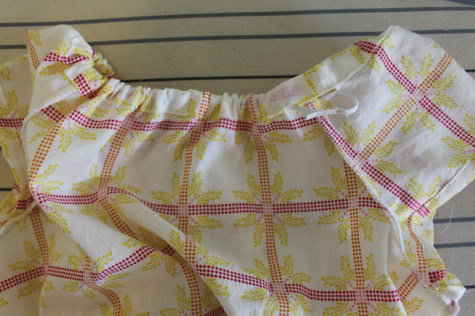
Push it back into the casing and sew the hole closed: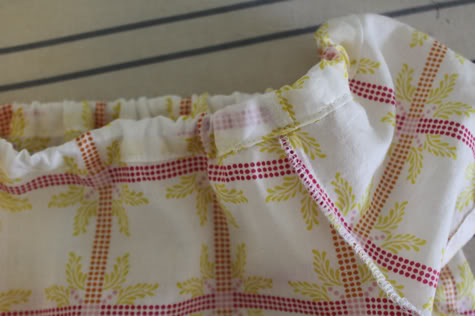
Repeat on each sleeve with your smaller pieces of elastic: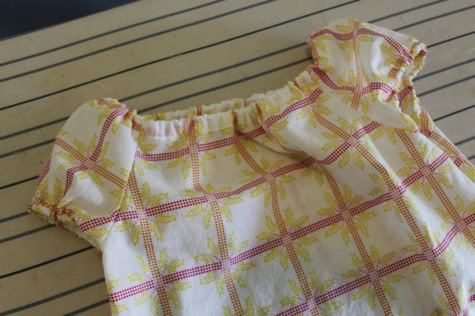
8. Now to hem. Fold the bottom edge in 1/2″ and iron, then another 1/2″ and iron, then sew in place with a straight or blind hem stitch: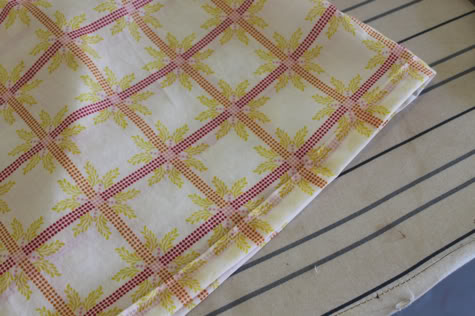
Now you can call it a day here and be done with it, or you can add a little gathered drop waist like I did.
9. So to add the waist, flip the bottom of the dress up and iron it at the place you want the gather to fall: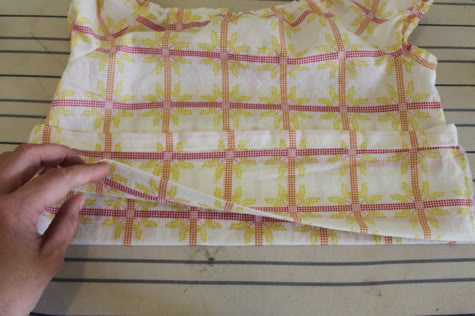
Sew all the way around the dress 1/2″ in, leaving a hole to feed your elastic through and back stitching at the beginning and end.
When you flip the dress back down it will look like this: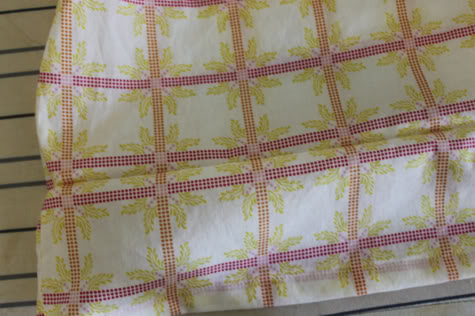
Feed your other long piece of elastic through the casing you just created: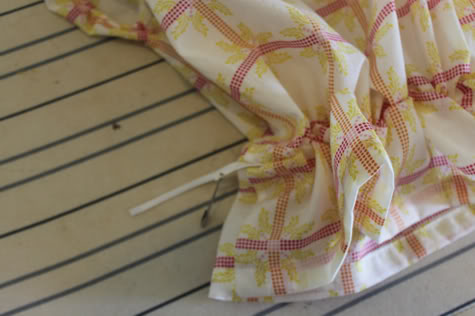
Sew the elastic together so it lays flat, fit it back inside the casing, and sew the hole closed: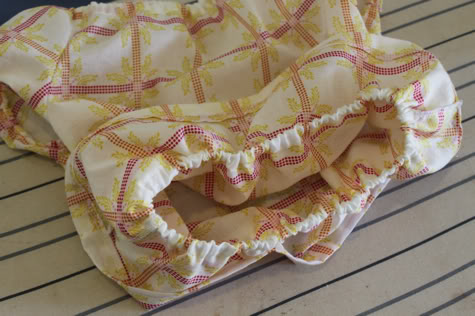
Flip the bottom back down. 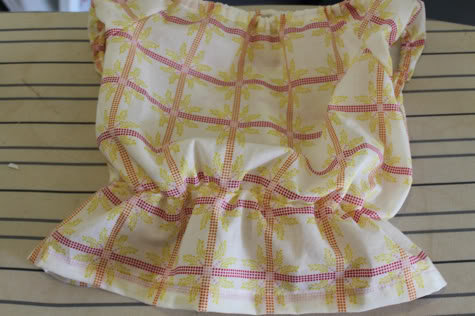
Done!
What a cute top!!! I linked to your tutorial on Craft Gossip Sewing:
http://sewing.craftgossip.com/tutorial-peasant-blouse-for-a-baby-or-toddler/2010/05/24/
–Anne
Oh my! Thank you so much for this!! I've envisioned sewing a top in this style for my daughter, but had no idea how to make it happen! Can't wait to try!
Cute as a bug! BUT, what about us MaMa's! I want one for myself! Tell us how to supersize it and maybe add a little more alure! Ha! Thanks!
I was just going to get to work on figuring out one of these for my daughter…it's scary how you can read my mind!
Oh yeah…plus your daughter's measurements are the exact same for my 2yr old girlie:) I get asked all the time if she is 3:)
LOVE this! Those voiles are gorgeous – so is your little girl!
I was looking for some simple mother/daughter patterns for summer tops and this is perfect! So excited to try it out, maybe even tonight! (Because I really need some new summer shirts, too.) 🙂
Love it!
I love LOVE that we have little gals the same size!! Thanks for the constant inspiration!
These are going to be perfect for the texas summer! So cool!
Visting from the SWN site where you're top tutorial was featured.. its an awesome tutorial.. you've described everything in such simple steps.. thansk so much!!
LOVE it! I had a little trouble with the arms both times I made it and when my daughter lifts up her arms the whole shirt comes up….but even with those I love it and made two 🙂 Here is my version:
http://www.prudentbaby.com/2010/05/peasant-blouse.html
i love the elastic near the bottom! so cute!
Bellissimo!!!
Era da tanto che cercavo questo modello per fare una camicetta per la mia bimba (8 anni)
dovr� adattare le dimensioni….ma ci prover�!
Grazie 🙂
Laboratorio Delle Fate
I just whipped up a little different version of this using some shirring at the neck. It was meant to be much smaller but I totally measured wrong, so it ended up fitting my 8 month old instead of my soon-to-be newborn cousin! You can check it out on my blog: http://prettybittyblog.blogspot.com/
I am making this right now. I am in love with it so far 🙂 I cant wait to finish it after I take my son to school 🙂
Its really nice to see this one. When i see it look little bit tough, but when i make this my its really wonderful.
thanks
Anitha.Ch
Awesome. Thanks so much for the tutorial. And for the pictures of your daughter wearing it. It gives me hope that my daughter (who also has very little hair) will look cute in one too. 🙂
Thank you this is gorgeous! I have adapted it to fit my almost 6 year old and it looks great, i have linked it on my blog
http://sew-dottie.blogspot.com/2010/10/im-in-love.html
Nice tutorial! Thanks for sharing.
This pattern also works great for a quick nightgown. I had only a yard of flannel fabric for my 14 month old daughter and couldn't fit any of my patterns on it so I came across this. I am so glad, it worked perfect. So cute too! Easiest nightgown ever made.
I made this tonight for my youngest, Lucy and it came out so cute. My plan is to make one for my other two girls, Lily and Lena as soon as I get some more elastic.
I didnt see instructions for cutting the neckline. I have read the instructions several times.
I am so excited to find this tutorial on making a peasant blouse. I have been wanting to make one for myself for a long time. I have 2 granddaughters that I plan on making one for (for practice) and then I will attempt to make one for me! Thanks for the great instructions and pictures!
How do you extrapolate the measurements given to make larger sizes? I'm still working on this and so far it looks cute except I messed up the sleeves. My first time trying sleeves!
your hubby is one handsome man
Thank you, thank you, thank you! I made this shirt for my 6 year old daughter and another one for my 8 year old daughter. You can view how they turned out here:
http://tossells.blogspot.com/2011/08/new-dress-for-anna-without-pattern.html
and
http://tossells.blogspot.com/2011/08/more-sewing-projects.html
Wonderful tutorial…so thankful to find this gem : )
Hi! Thanks for the wonderful tute! I've made several of the peasant dresses for my DD (who's almost 2) and just yesterday I made myself a peasant blouse, out of a shirt taken (ahem, stolen) from my husband's closet. Couple of notes for anyone else attempting the same thing. 1) Make your beginning rectangle more of a trapezoid (i.e. wider at the bottom) since we have hips, our daughters don't. 2) Make sure that when you cut your armholes on your sleeves you should probably make sure that they at least face the SAME direction (even if it's not correct).
If you haven't already guessed, these are things I learned the hard way when I made my shirt. However, it still turned out pretty fabulous, if I do say so myself;) I've gotten a lot of requests for me to make them for others. Sweet!
Thank you for this tutorial! I had fun making a summer top for my girl. I plan to make fall top with longer sleeves too!
[…] crafting news, I also stitched up a little Easter dress and headband for my little one. I used this tutorial. It’s the second peasant dress I’ve made for Lil (she wore a long-sleeved […]
[…] Un altro tutorial per un vestitino simile lo trovate su “Prudentbaby” . Share this:TwitterFacebookLike this:Mi piaceBe the first to like […]
[…] Un altro tutorial per un vestitino simile lo trovate su “Prudentbaby” . Craft Tutorial cucito Tutorial cucitoVestiti per bambini Leave a […]
[…] block for a true peasant top should look like, and thanks to these super-helpful tutorials here and here, and this tutorial & free pattern guide I quickly drafted a pattern and knocked out another […]
You could definitely see your enthusiasm within the paintings you
write. The arena hopes for even more passionate
writers such as you who are not afraid to say how they believe.
All the time go after your heart.
This post gives clear idea in support of the new people of blogging, that truly
how to do running a blog.
Hi there, just became alert to your blog through Google,
and found that it is really informative. I’m gonna watch out for brussels.
I’ll appreciate if you continue this in future. Many people will be benefited from your writing.
Cheers!
Pretty! This has been an extremelу wonderful post. Thank
you fοr providing this info.
[…] probably not missing too much.) for the pattern, i followed this tutorial by prudent baby, here. obviously i didn’t do the whole gathered waist […]
[…] i would call it. i made using the same pattern that i did for the peasant top, posted here. again, this is the tute i […]
[…] back to the top. I wanted to make a peasant top and found some good tutorials here and here, but I completely messed up my sizing as I’m prone to do without a proper pattern! […]
Thanks for the tutorial. I’ve just finished a blouse for my baby-girl. It’s just gorgeous.
[…] can find many patterns available online. I modified the pattern to a 12-18mo from sewmuchado and prettyprudent. I am not quite sure if it is the generic 12-18mo but it definitely fits my baby. I took 2 nights […]
I really love this top, and would like to make it for me! I am a beginner, can you help me? How can I convert this to adult measurements? I am a small/size 2
If anyone would help me I’d be grateful! lol