


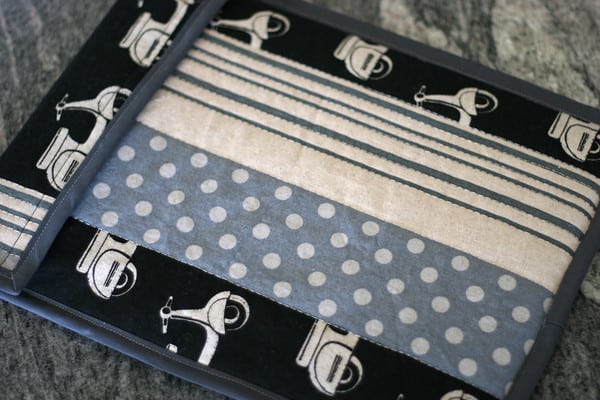
We love to give handmade gifts, right? But they are not always appreciated by the men folk. Here is a super-easy project that even the most manly-man would dig. If it is filled with a brand new Macbook Air![]() , it might get you an extra smooch under the mistletoe but it’s also nice for an existing laptop, a ipad, a kindle or any bit of technology needing extra cushion and jelly-finger protection.
, it might get you an extra smooch under the mistletoe but it’s also nice for an existing laptop, a ipad, a kindle or any bit of technology needing extra cushion and jelly-finger protection.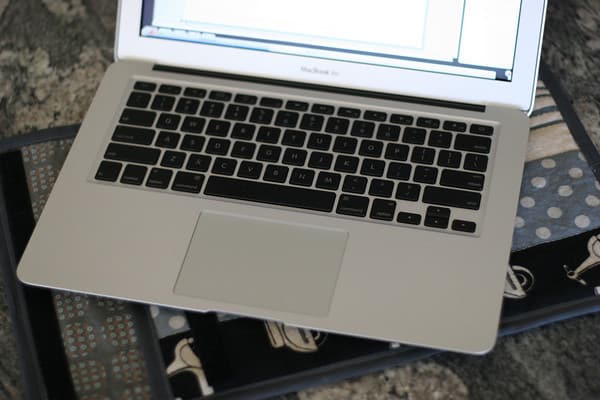
Get the Laptop Sleeve Tutorial after the jump.
1. Measure your computer (or look up the specs online.) My computer measured 9″ x 13″ x 1/2″.
Your inside fabric panel will be: height + depth + 1″ (9″ + 1/2″ + 1″) by width + depth + 1/2″ (13″ + 1/2″ + 1/2″) for a total of 10.5″ x 14″.
For the outside panel (which includes the flap) it’s the same width (10.5″) by 18″ (this left an approx 4″ flap)
Cut a sandwich of your outer fabric, batting and lining fabric for each of the two panels. The entire Spring 2010 Echino line is uniquely masculine. My lining fabric is from my stash. You could also add a layer of vinyl for water-resistance or just go with oilcloth for the exterior. This would be pretty awesome.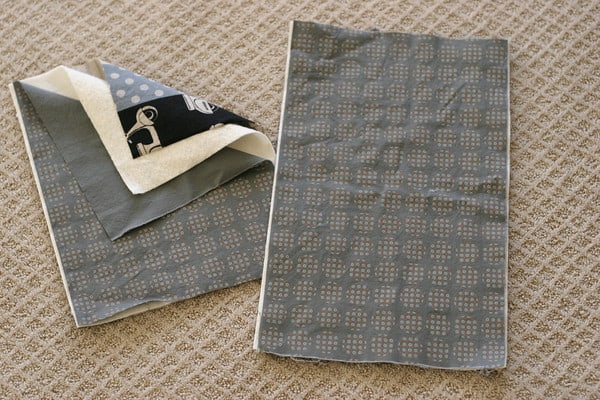
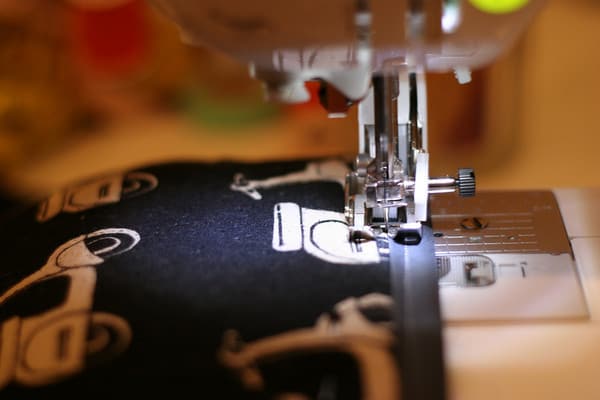
2. Baste stitch all the way around the outside of both 3 layer panels. I used my walking foot![]() for this project and it was a dream but a regular foot would work fine.
for this project and it was a dream but a regular foot would work fine.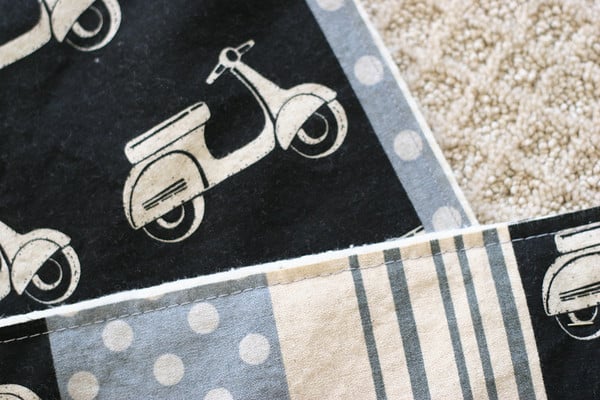
3. Add any desired quilting through all layers. I machine-stitched along the existing lines of the fabric using my new metallic silver thread from the fine folks at Kreinik. This stuff is lovely! And it gave me an excuse to try out my new Deluxe SideWinder ![]() from Simplicity. I just filled two bobbins with this gorgeous shiny stuff and sewed with one bobbin as my needle thread and one as my bobbin thread. Easy-Easy.
from Simplicity. I just filled two bobbins with this gorgeous shiny stuff and sewed with one bobbin as my needle thread and one as my bobbin thread. Easy-Easy. 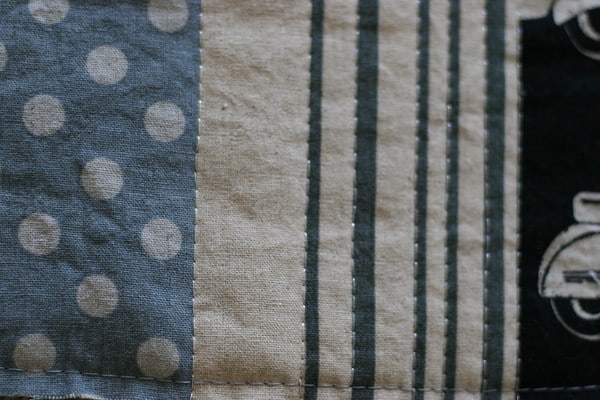
Can we just stare at all this machine-friendly metallic thread for a sec? Ahhh gorgeous.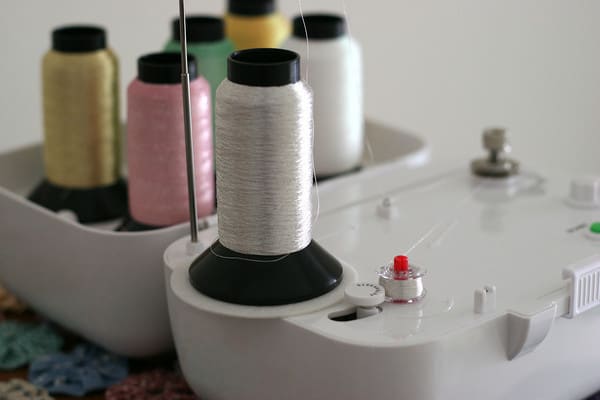
But back to the manly laptop case.
4. Along one short side of your inside panel, single-step stitch bias tape to edge. 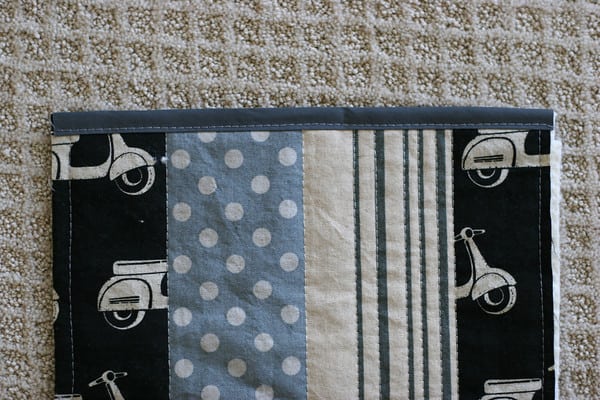
Note: If you would like to add a small pocket for business cards, etc. do it now before you sew the two panels together.
5. Line up your two panels so the sides and bottom of your envelope line up and pin together.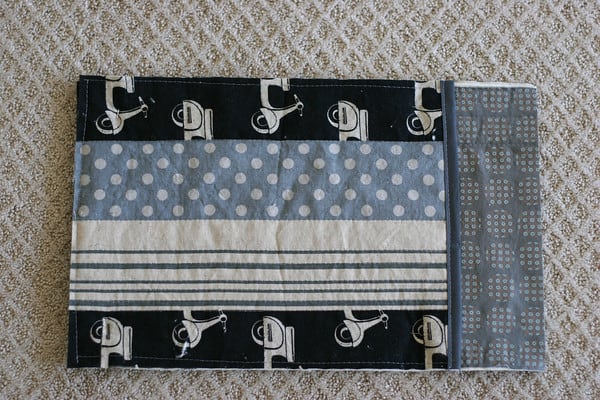
Note: I used my back panel upside-down so that the flap and inside panel faced the same direction when closed.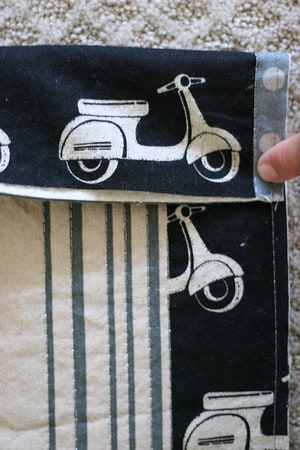
6. This is a good time to trim up unruly threads and uneven edges. Round the edges of your flap if you like, I was happy keeping mine square. You can also baste the panels together very close to the edge but it didn’t seem necessary in this case.
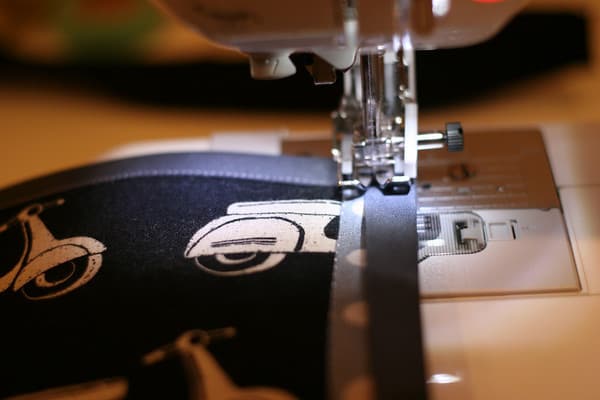
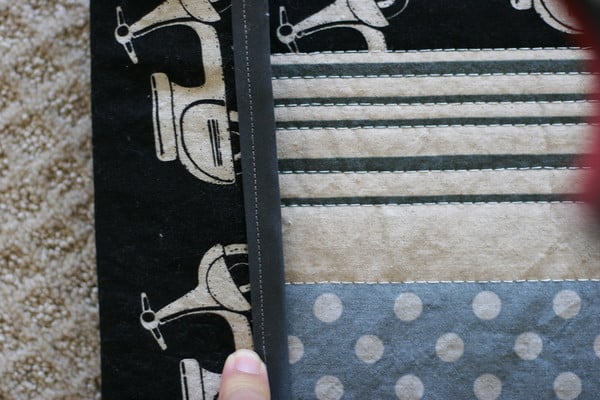
7. Use our Bias Tape tutorial to apply 1/2″ double-fold bias tape all the way around the outside of the open envelope.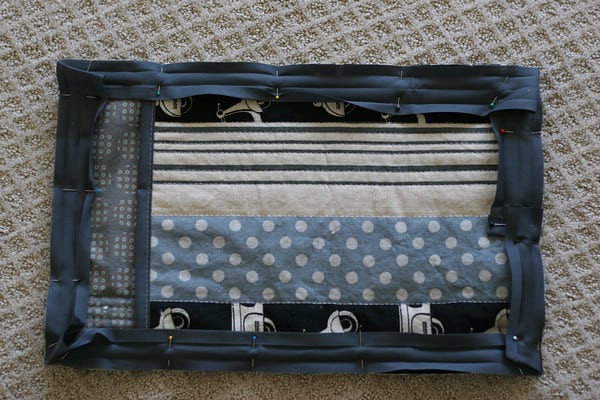
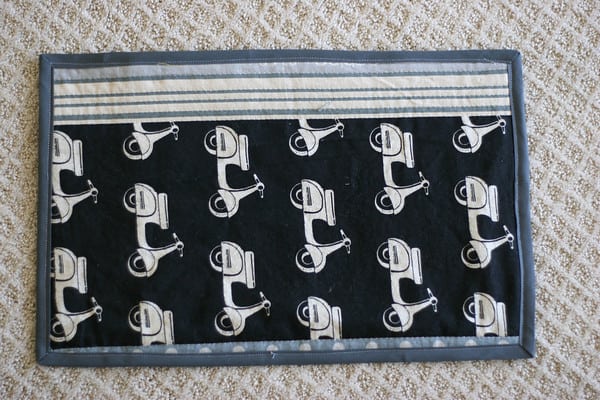
8. The basic envelope is finished. All you need is a closure.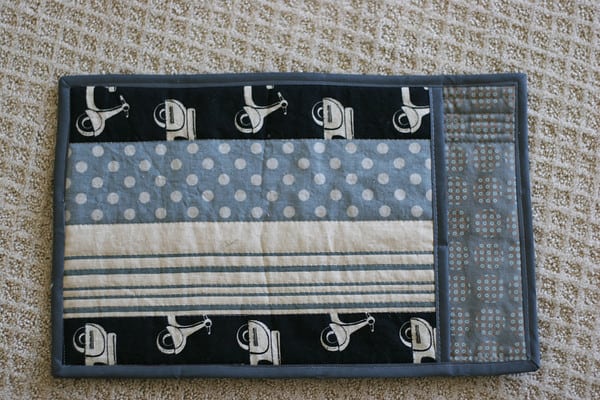
9. You could add a button but I stuck with Velcro strips, which I aligned along the flap and flipped into the corresponding spot on the inside panel.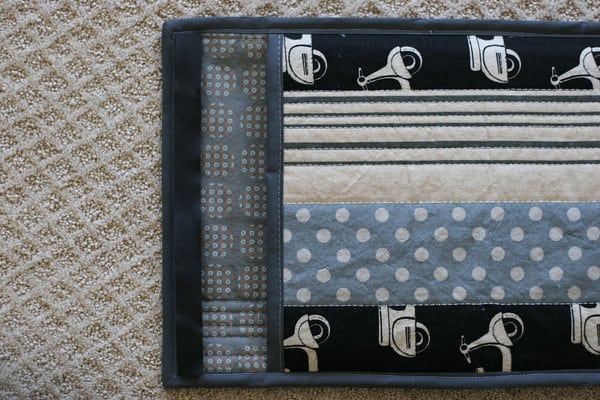
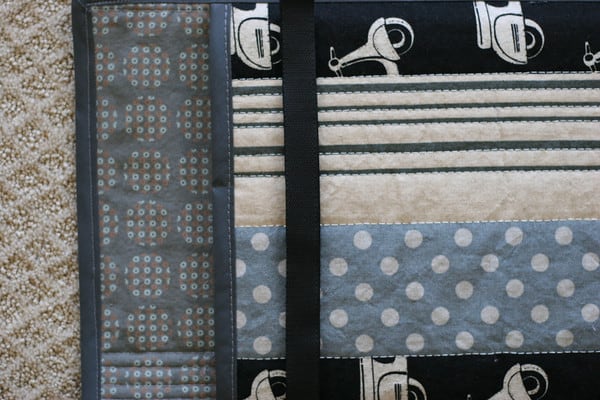
9. Pin and sew Velcro into place. I machine stitched for speed and durability but it was a bit awkward. 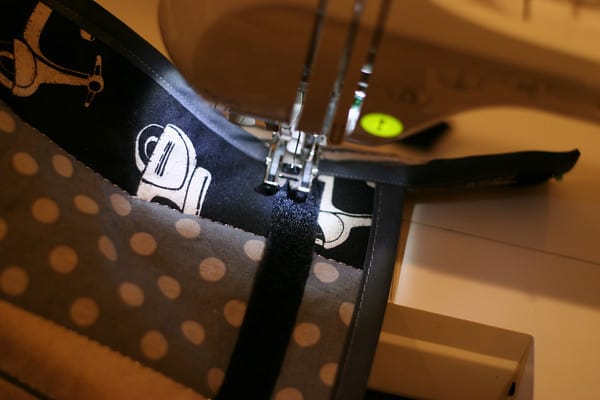

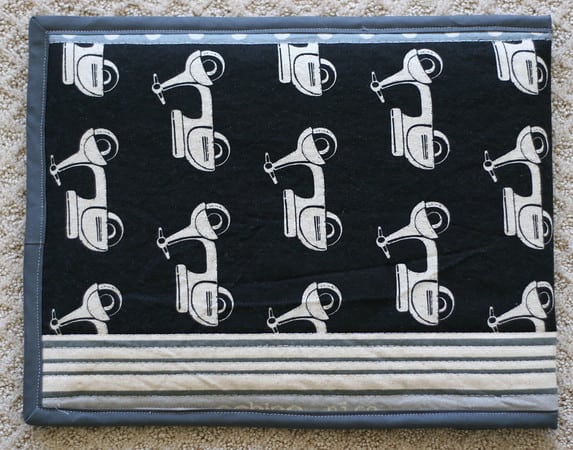
10. And that’s it! One gift down. Wasn’t that fast 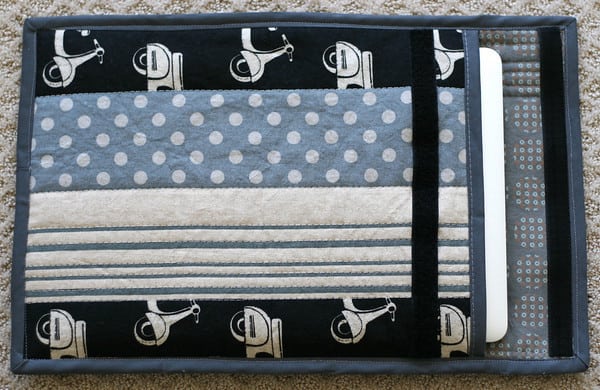
A mini version of the Toiletry Bag would make a nice side gift to hold power cords and such.
What do you think? Would your man like this? Mine just came over and gave it the thumbs up. Too bad this one is for me! Leave a comment and you could win a sweet key fob kit.