Team Texas had a wildly productive weekend of garden preparation; buying plants, installing an irrigation system into our raised beds, and planting.
We were all ready to go to Home Depot and design an irrigation system from scratch. Imagine our delight to find that someone has already done the work. The guys at the “Depot” introduced us to DIG Irrigation Products drip and micro sprinkler system (not a sponsor, just love their stuff.) DIG has created an awesome FREE Drip Irrigation Installation Guide which guided us through what to buy and how to put it together. Down the line, if we want to install misters, sprinklers, faucets etc, we can easily add them on. It’s really amazing. For now we just need a basic irrigation system to keep my lazy butt from killing the entire garden.
Here’s what we did…
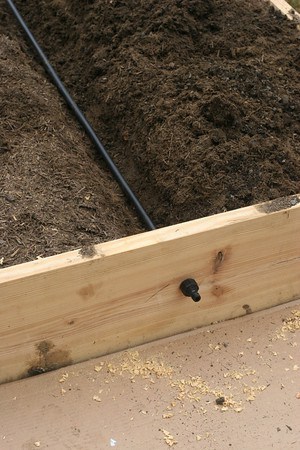
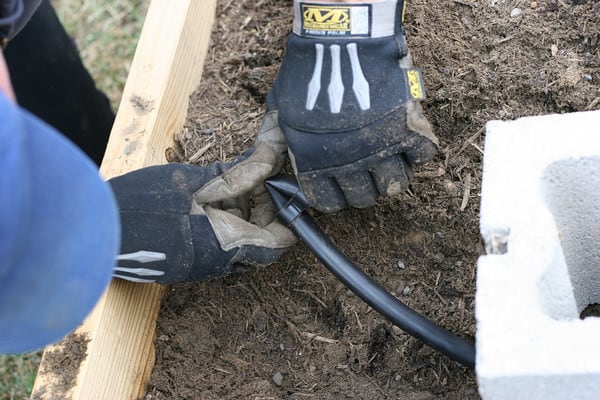
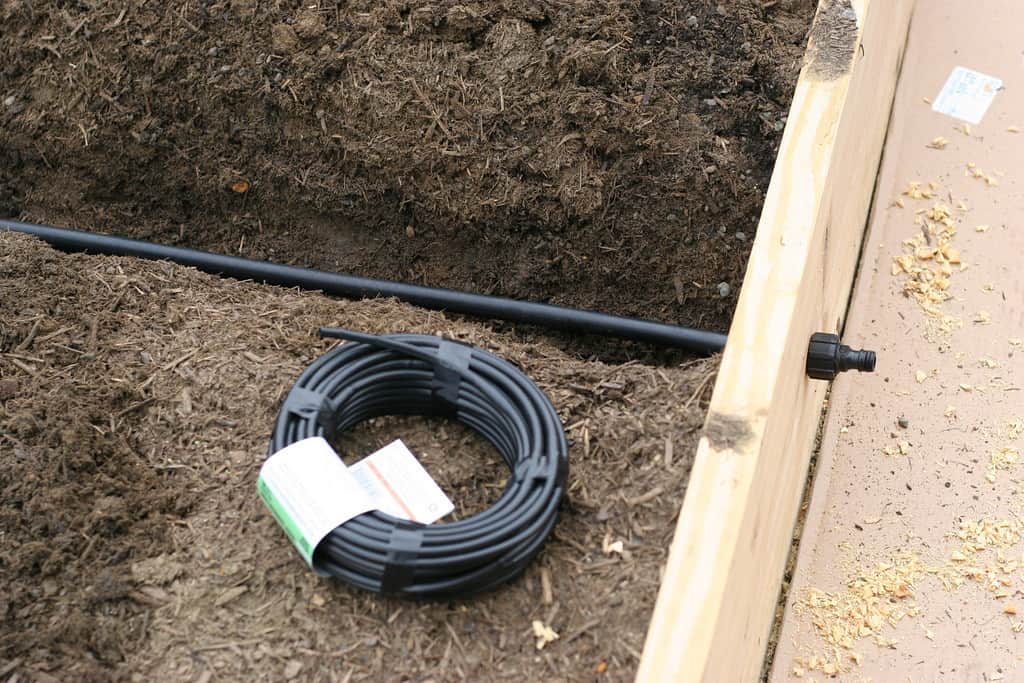
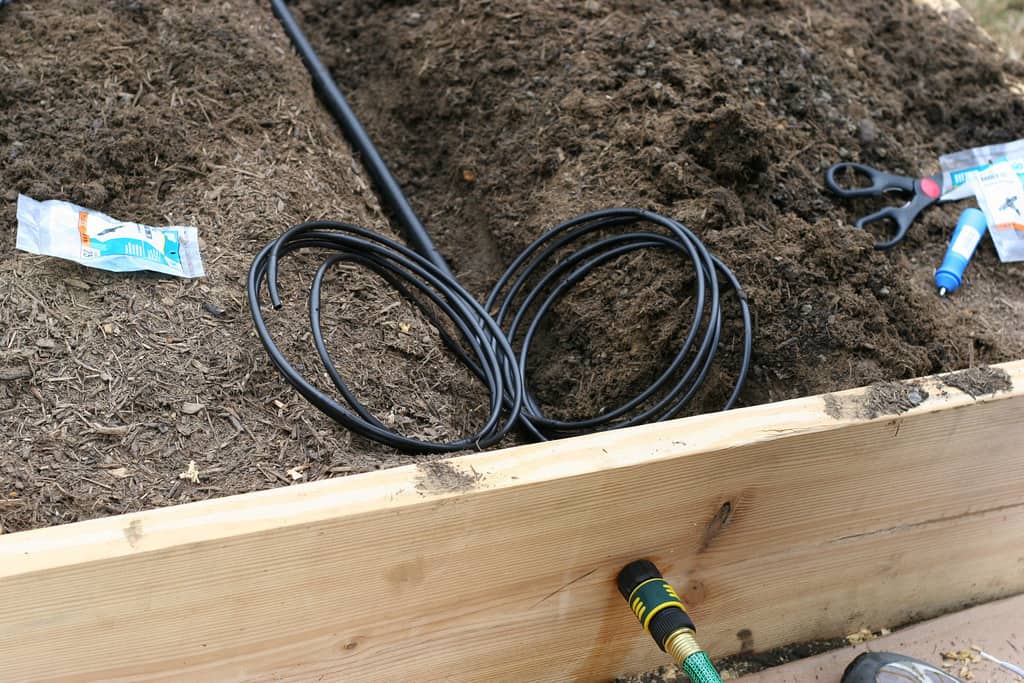
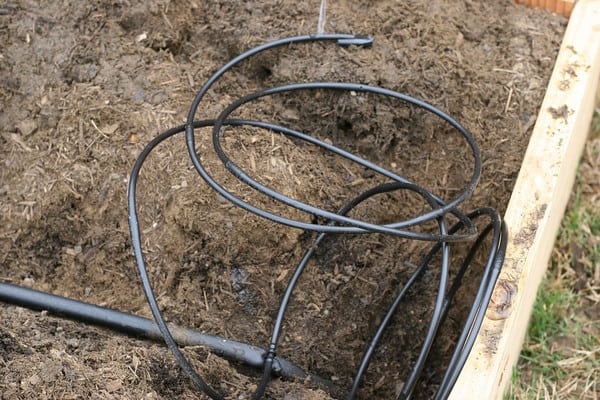
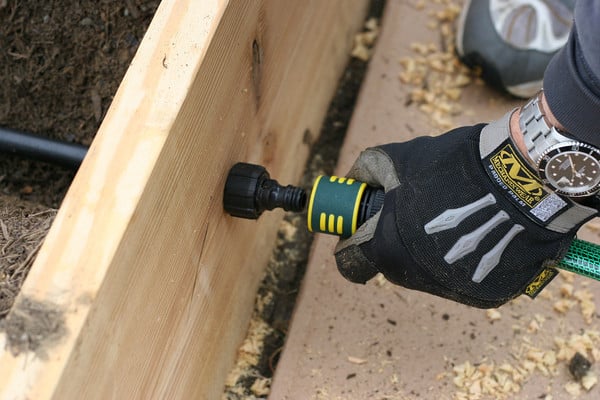
1. drill 1″ hole through ends of bed approx 6″ from top. A hose transition attaches the 1/2″ poly-tubing irrigation mainline (thick black tube) to the quick disconnect hose attachment.
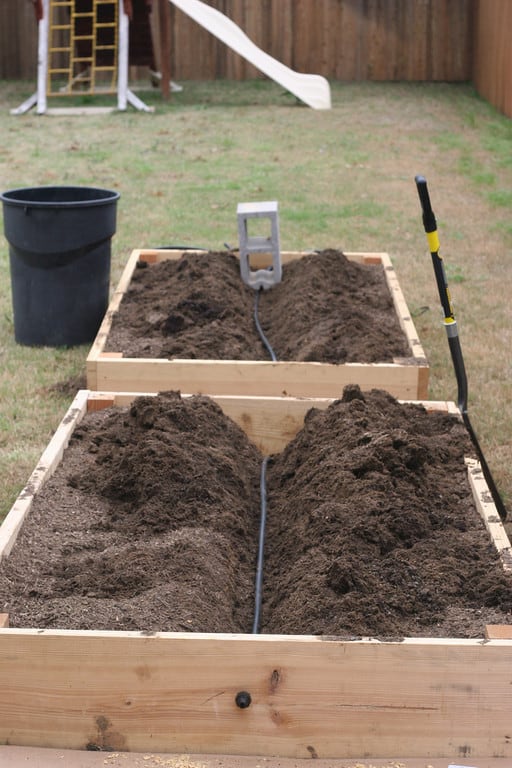
The cinder block just holds the tubing flat while it relaxes
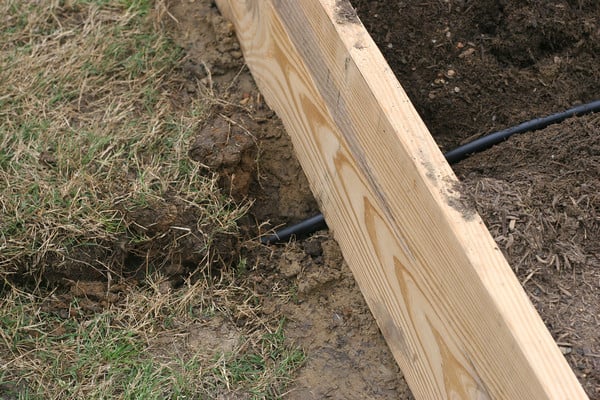
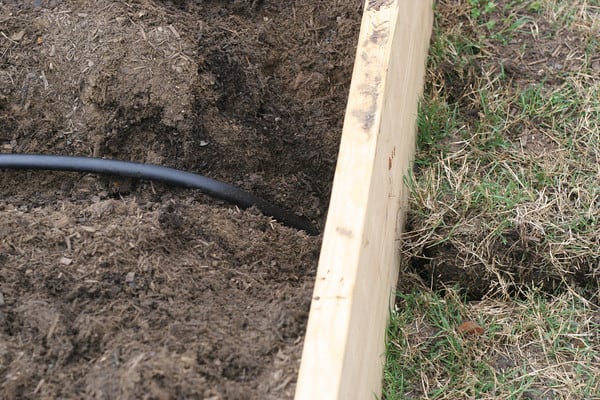
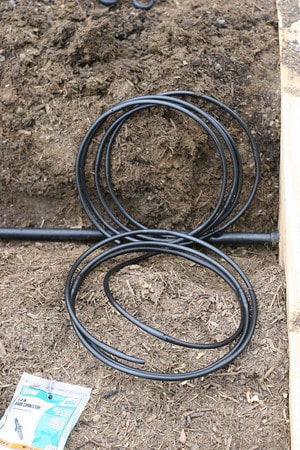
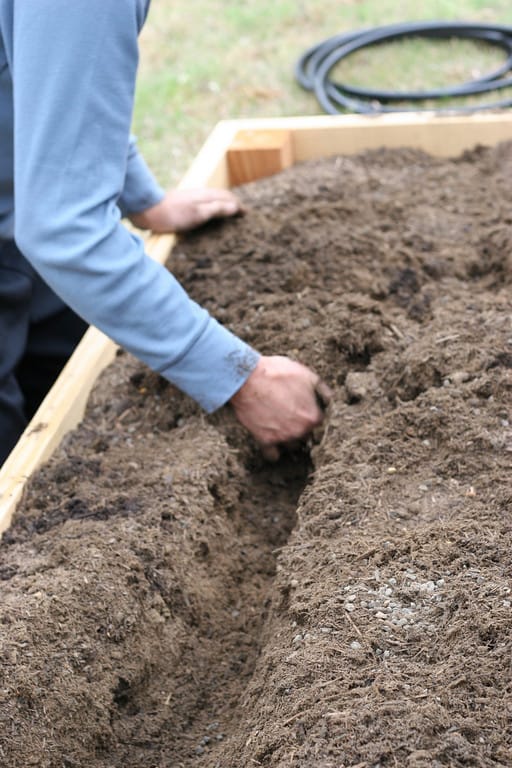
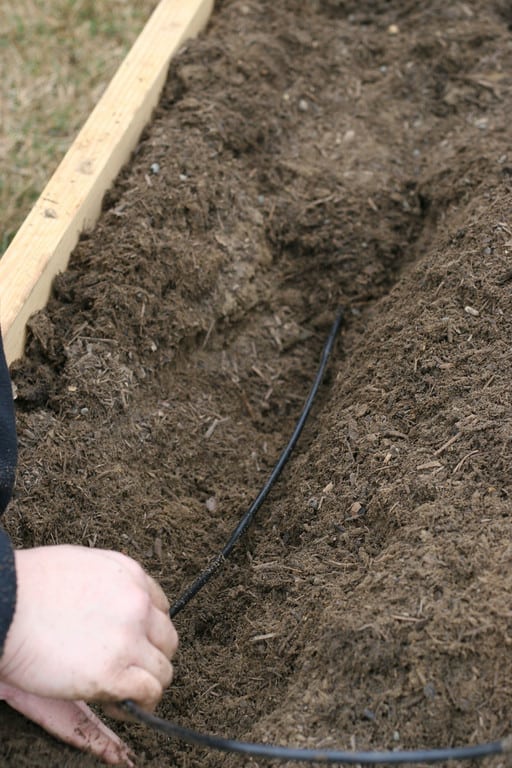
The mainline runs from the end of first bed, along the center in a 6″ ditch and under the opposite bed wall to next bed. Between the two beds, the mainline is buried approximately 6″
Then the mainline comes back up under the second bed’s end wall and into a 6″ deep trench down center of bed.
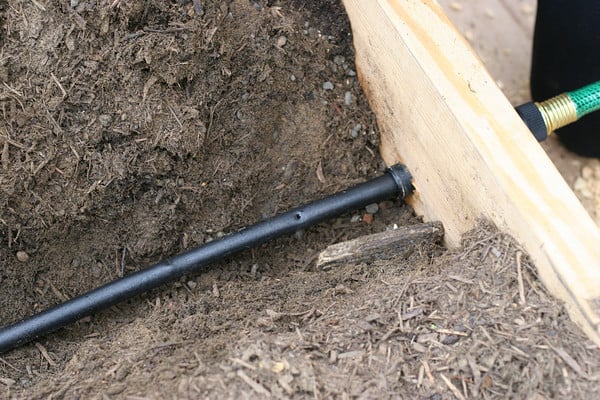
At the end of the second bed, a Figure-8 Hose End is used to seal the end of mainline.
The hose goes into Figure-8, is crimped and inserted back into Figure-8 Hose End.
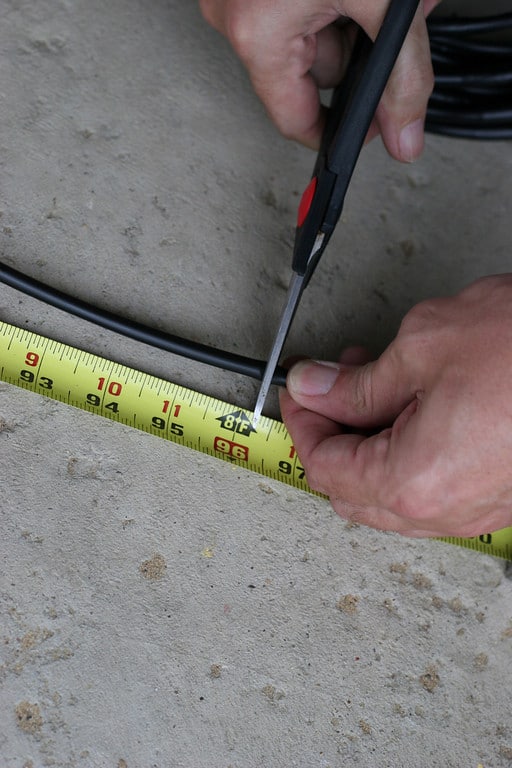
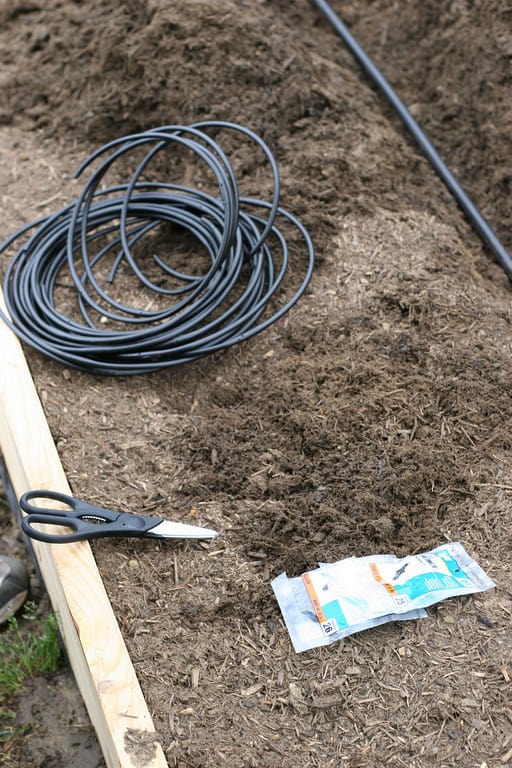
1/4″ flexible micro-tubing/drip tubing. 50 feet cut into 6 – 8′ long pieces.
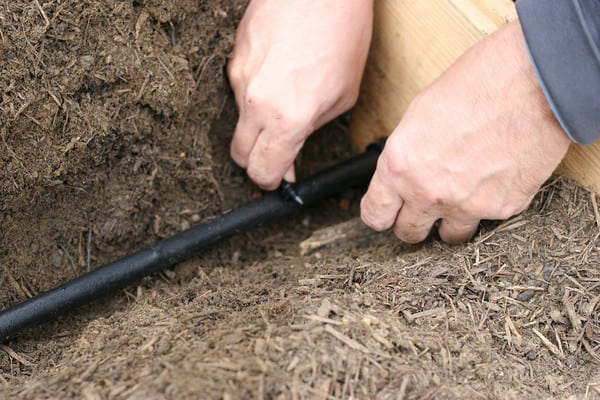
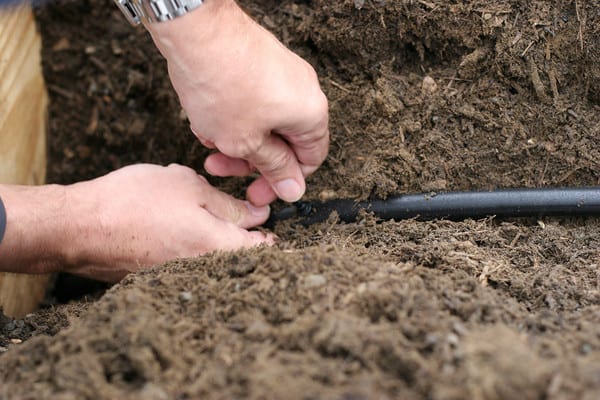
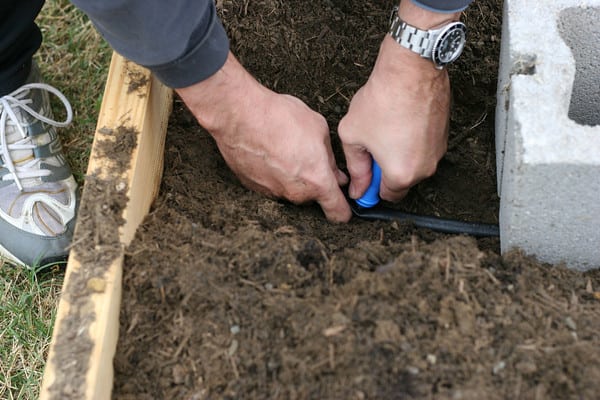
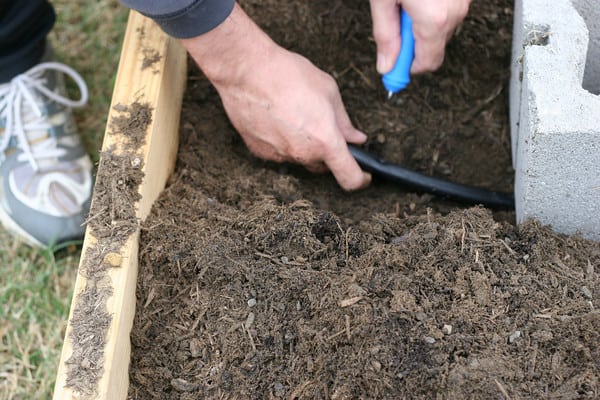
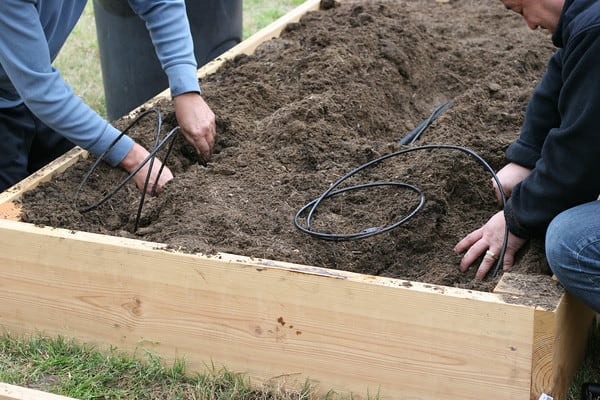
Use the DIG Punch Tool to poke a hole at the beginning of the mainline in the first bed to begin drip-line installation.
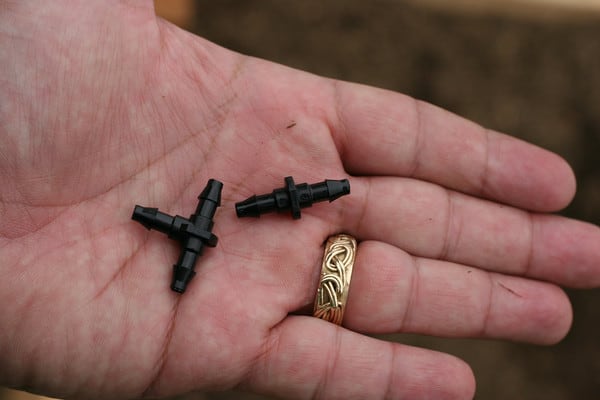
Install 1/4″ tee for 3-way layout of 1/4″ micro (drip) tubing.
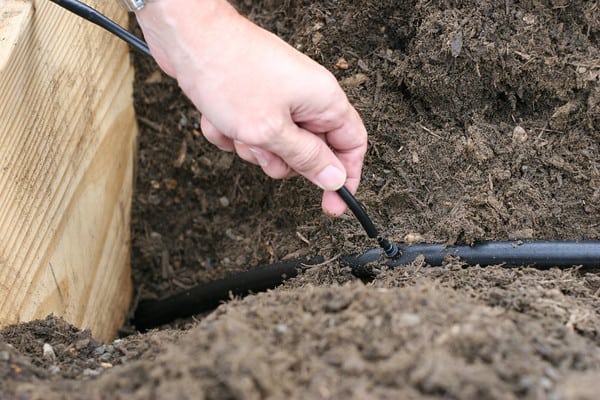
Attach one 8′ length of micro-tubing/drip-line to once side of tee.
And another 8′ length of drip-line to the other side of tee.
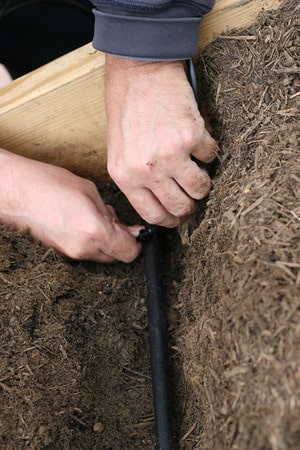
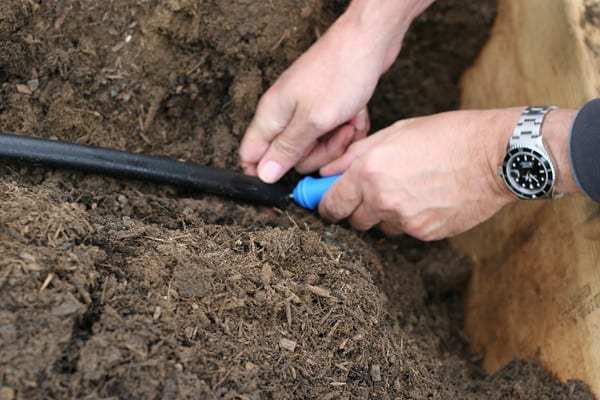
When you get the the other end of the first bed, install a 1/4″ Barb connector for a single dripline.
Attach single dripline
Now, in the second bed, repeat all steps for adding the tee with double drip-lines and the barb connector with a single drip-line.
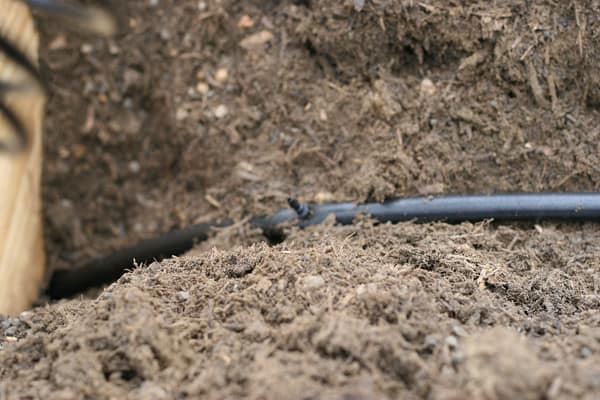
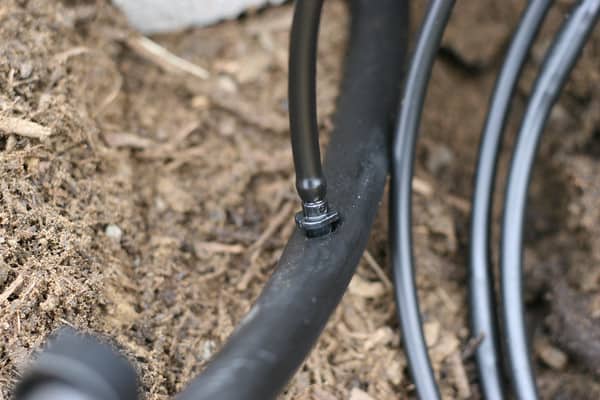
Close-up of barb connector with drip-line installed.
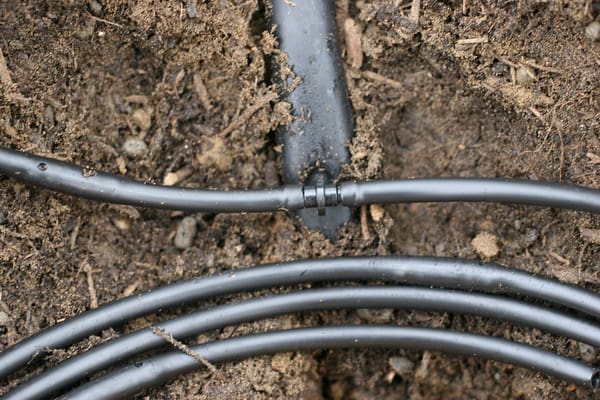
And here’s a close-up of the Tee with drip-lines installed.
And here’s what the Tee and the Barb connector look like.
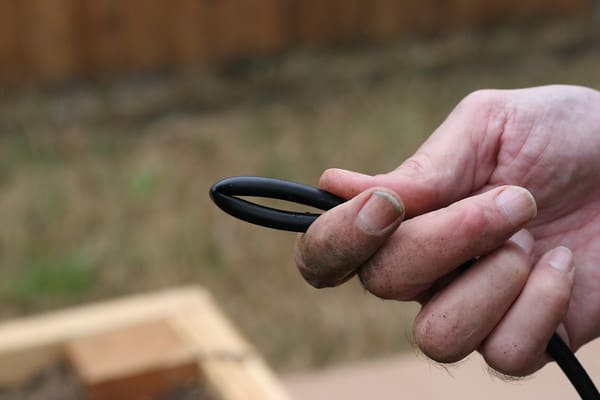
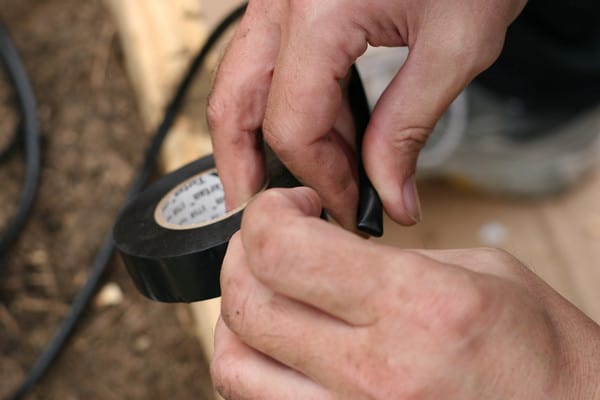
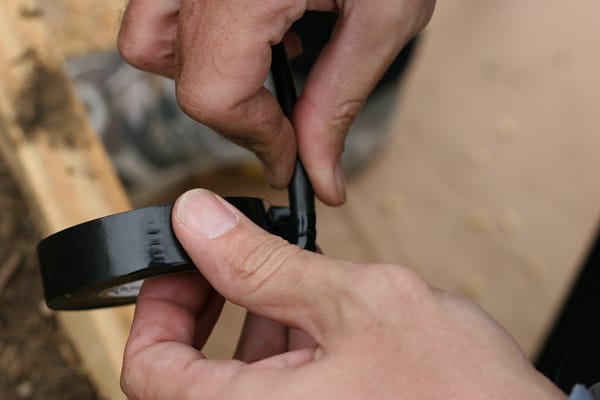
At the end of each drip-line, fold over to crimp and tape closed.
Now you want to test system for leaks at ends & connectors.
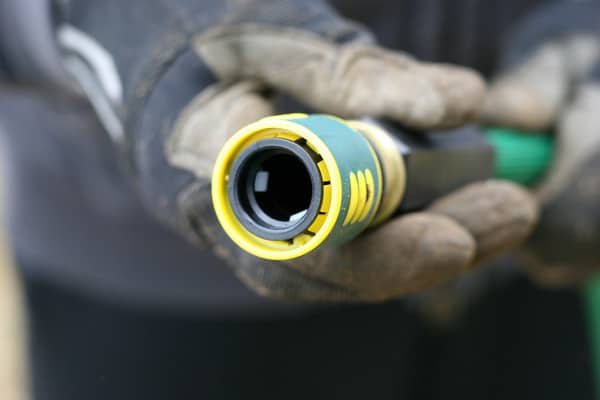
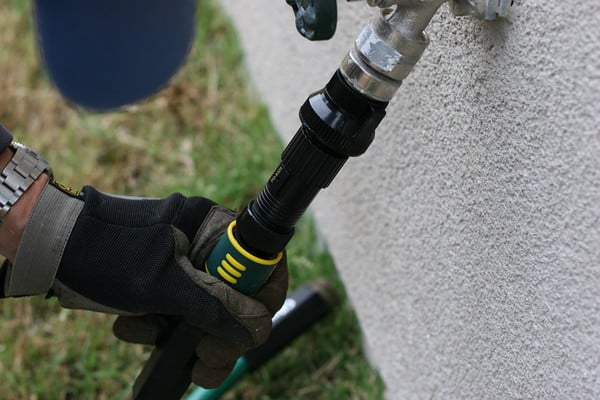
Attach quick disconnect hose to outside of bed.
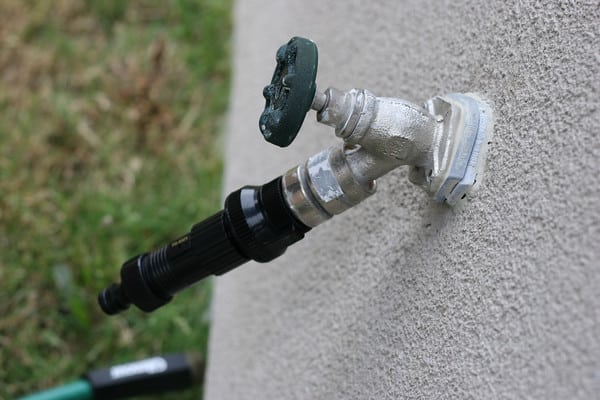
At the faucet there is:
1. a check valve prevents dirty water going into water system
2. A pressure regulator that gives you the 25lb of water pressure needed for the system vs. the 40lb of typical house water pressure.
3. The nipple for quick hose disconnect.
Attach quick disconnect hose to faucet.
If everything looks good, start burying your drip-lines at 6″ deep. The two drip-lines that come off of the tee go out one foot and then down the length of the bed. The one drip-line that comes off of the barb connector at the far end runs back to the start along the center with the mainline hose.
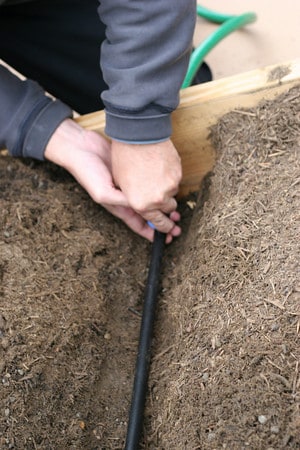
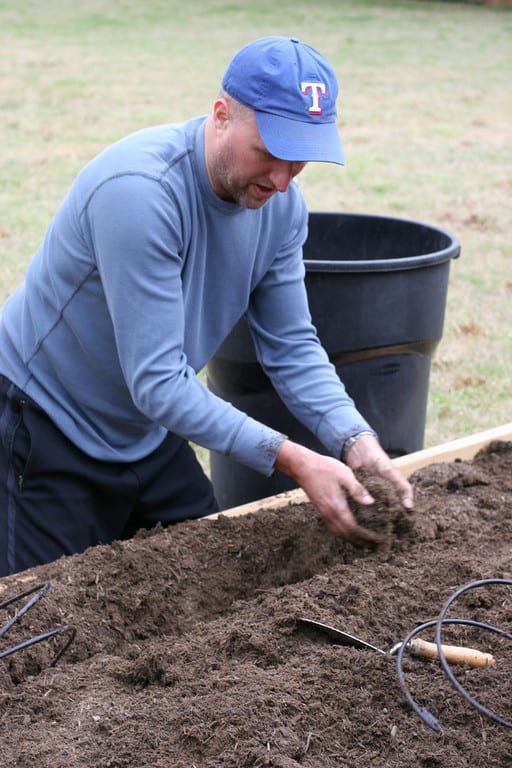
Digging trench.
laying drip-line.
Burying drip-line.
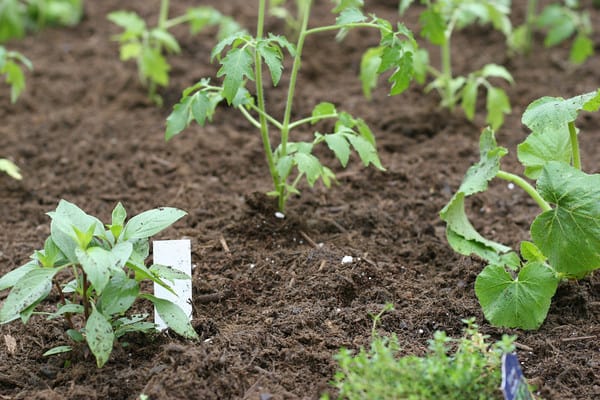
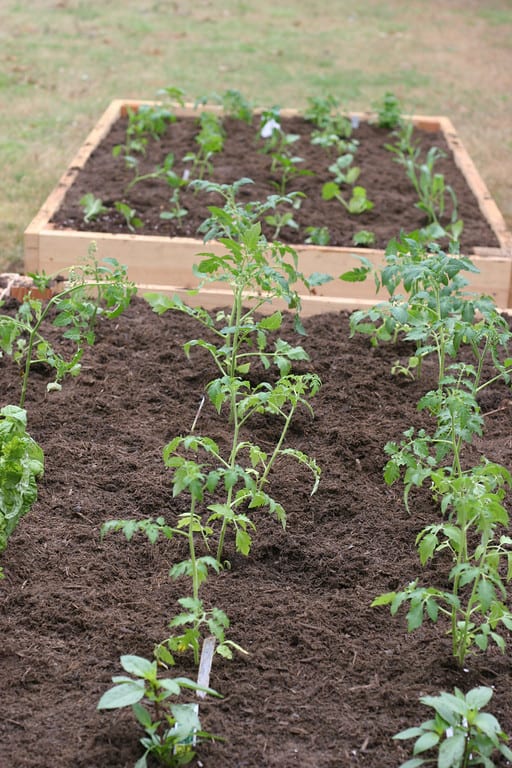
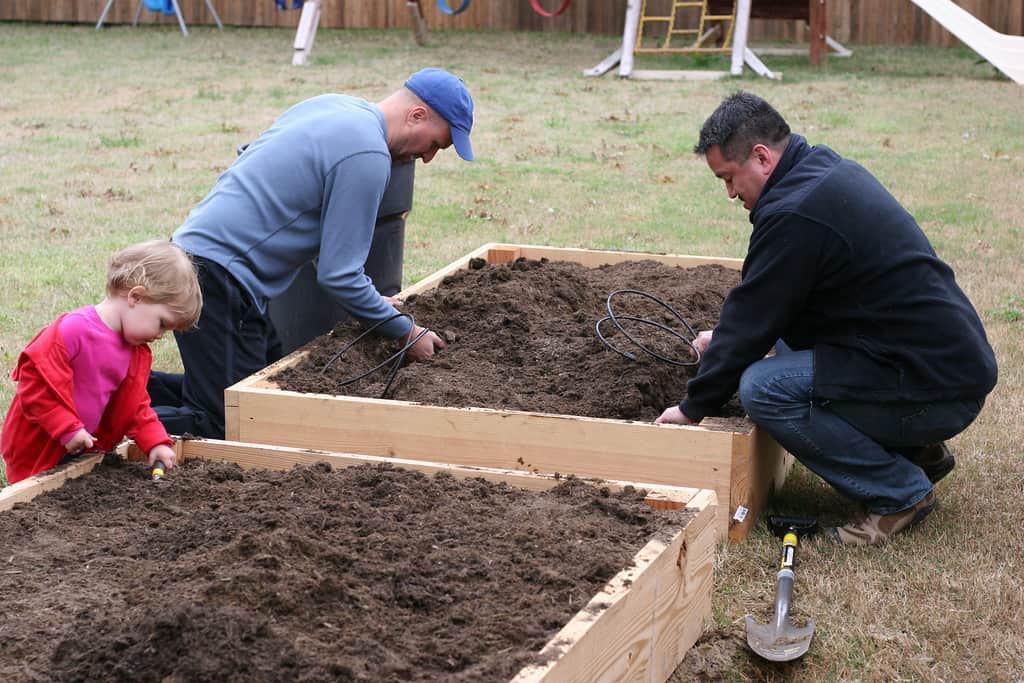
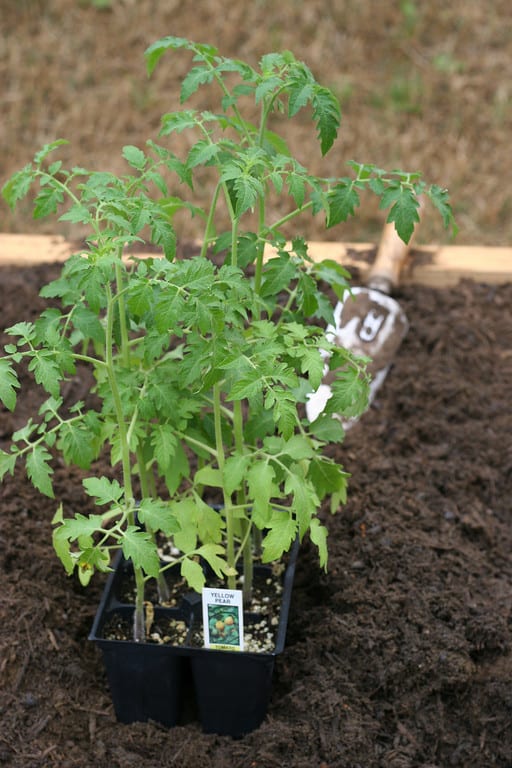
And once you’re all finished you are ready to plant! You don’t want to plant directly on a drip-line. Here we have laid our irrigation on a 1 foot grid creating 4 columns the length of the bed. This makes it easy to avoid the buried tubing. More to come on what we are planted shortly!
So what do you think? Easy enough to try? Did we do it all wrong?




Thanks for the idea! We might be doing this ourselves soon!
My irrigation method is: collect rain water in a big barrel. Use 3 small children to pour buckets of said water over plants. I guess your's might be a little classier…
I love it and a I am totally inspired to set up my own irrigation system. The only question I have is do the cute men come in the kit from DIG?
Thanks so much for the play by play- all the pictures really helped me understand, as I am soooo visual.
This system is something I'll definitely be keeping in mind for down the road, but since I'm in a rental right now, I'll be watering my little garden spot by hand this season.
Just wondering if you can install a timer on at the faucet so it self waters while we are away on trips?
Yes! You surely could.
I think it was a really interesting post! I'd love a raised bed garden to tend but I'm not too sure how enthused hubby would be to install that lovely drip system! For now I'll have to settle for patio tomatoes and my indoor herb garden! =)
I have to show this to my husband! Our raised beds didn't do so well last Summer because I was chasing our toddler, pregnant, and it was way too hot to go outside. Thank you so much for the information!
Thanks for the idea…I'll be showing this to hubby tonight! We are building our raised beds next weekend (if the frost stays away). Love the little cutie helping out! Mine is about the same age and I hope she gets a lot out of the gardening experience this summer…including tons of fresh veggies!
Way too much work for me, but kudos to you!
This is really helpful! I hope my husband is up for the challenge this Spring 🙂
Great post & great idea! I'm inspired 🙂
Great post, I'm on a bit of a gardening kick right now, so suggestions and tutorials are always welcome. now I just need to figure out how to modify it for my container gardens…
Yeah, Yeah, Yeah! I have been looking for an easier way to keep my poor veggies alive each year! I ALWAYS forget to water mine so I need some help! I can't wait to hit up the Depot to save my poor veggies! Thanks ladies = )
you are making me so jealous… not quite warm enough here to get out and play in the dirt. (we do have a mean compost going right now thought!)
This makes raised bed gardening so much less intimidating! So grateful for the info – and the courage! Thanks!
wow!! Im sooo inspired!! I sooo cant wait for spring break to get here cause now I have an idea for the new flower bed and how to keep all my pretty flowers blooming all summer long!! Thanks ladies!!
I love this post! My husband and I just expanded our raised beds and I was wondering why since we usually don't have time to keep up with the smaller ones…….this would make it so much easier THANKS!
Ummm…This looks hard. I'm speaking from a NOVICE – Is there a word that indicates less than that? – "gardener" with no green thumb. If I plan to water the garden daily or if we have a sprinkler system pointed at our lil' 4×4 raised garden, do I need to do this?
I like irrigation for my garden because its allows you to go out of town, or gives you the insurance in case you cannot get outside one day. No its not necessary. However “having a sprinkler system pointed at it” Is not the way to go either. Many plants do not like to get their leaves wet, Or flowers will turn brown if the petals get excessive water on them.
Committing to go out there daily and hand water is the best way to go about it if irrigation is not available. This method looks easy enough. I’m just a little curious about how pricy it is.
This is great! I've been square foot gardening for about 4 years now and have dreamed of having an irrigation system (I'm a terrible garden water-er)….so glad to have seen this post!
Do you think my condo association would fine me for setting up one of these babies on our balcony? A girl can dream right 🙂
Beautiful!! Maybe my raised beds will get a treat this year!!!??
Have not been able to find an easy system… and I think this might be it!!! Thanks! Will look for it this weekend!
awesome idea!!! I was contemplating making raised beds but don't know the first thing about what/how to plant in them–your post got my wheels turnin' 🙂
I love how it's all hidden! I wish my husband would bury our lines like that.
I think my lazy butt would love that too… I want to deserve my nickname, though: Laura Ingalls! So I think we'll start our garden beds the traditional way (but I bookmark this, just in case ;-))
Thanks for sharing!
linedupuy(at)hotmail(dot)fr
LOVE IT!
I have wanted to a make a rasied garden bed and this make me want to do it more!! What a great post!
You forgot to mention when your "team" is coming to my house!
caroline
Did you use a weed barrier on the bottom of your beds, or just put the soil in on top of the grass? Our bermuda grass is a PAIN and I can just see it coming up through our raised beds!
jen_waller(at)sbcglobal(dot)net
So this may be a dumb question…but…can the drip line just be hooked up to a rain barrel? I'm going for the ultimate in lazy gardening!
@nursenicki, I’m sure you could hook it up to a rain barrel instead or have both options. If you put a spicket on the rain barrel for your hose to hook up to and run it to the attachment on the raised bed (like what they have).
Looks great! You can also put a timer on your faucet. Last year we had our timer go off every third night for half an hour and our crop did great.
i think its great. def not the most boring post, although i havent really seen too many uninteresting ones. i LOVE gardening, and ijust have my garden too, i have 1 ong 8×4 garden instead of 2 4×4. i made mine the same way as yours too! great minds think alike lol. anwyays, thanks for sharing. i would consider doinga drip line, had i not spent ALL my money on the plants, seeds, and soil. will bookmark for future reference.
Hmm too bad I didn't find out about this before I planted my seeds… and then replanted them after a surprise frost. Instead I spray it down with the hose twice a day. Maybe next year!
Hi! Thanks for all the great comments & questions.
Parrotts-I don't think the rainbarrel would provide enough water pressure. Water tower? lol
Jen-We have Bermuda too. Total pain! Yes, we laid down weed block fabric at the bottom, stapled to the bottom of the raised bed. That Bermuda is not to be trusted. Vile Weed!
Leah. The DIG brochure (avail at Home Depot) has options for container gardens too!
But most of all I just want to say that this is an easy project that a mama can handle on their own. My husband did ours because he is into this stuff but don't let a reluctant huz stop you. You can totally do this!
Thanks for showing how easy it can be to create a clean setup. I am definitely ready to try this when I build my new beds!
Now, just add on a timer at the faucet and you can have itg worry free. Watch for rain which is when you turn off the irrigation system until it actually needs watering again. If you have a rain barrel, you can incorporte that into the system. I use a solar pump on top of a rain barrel with an irrigation system.
This is perfect! I’m starting my own garden this summer and I’m planning on doing raised beds so this is perfect for me. Thank you!
I would love to know how your plants did…healthy, productive, etc.? If it was a success will you share with us how often and for how long you let the system water each time? I’ve been using a 1/4″ micro system in my raised beds for years but I’ve never buried the tubing… maybe that’s the key? Garden has been moderately productive but I’m never sure about how long to run the system. I’m in Southern California where it gets pretty hot in the summer. Thanks!
Hi Paige, I’m actually in Texas so I’m not sure my experience translates to beautiful California. I’m actually still learning that you cant grow much here in the summer at all. too hot. Learning more each year! We will be using these beds again this year. I think the only difference between above and below ground is appearance, honestly!
I really appreciate the play by play photos. I too live in Texas. This is a must because of the droughts we get into as well as the scorching heat. Great blog.
Did something similar, just added a auto timer to turn the water on for me. As the weather gets wetter here, I changed the frequency and time to meet the conditions. Haven’t killed anything yet and have more produce to share.
I use a drip system on all of my above ground plants but never thought of burying in garden. Do you punch holes in micro tube so all of the water soaks in ? I use all of dig products and have not seen tubes with holes in them. Let me know, cause I water garden 2 times a day when hot and kind of ties my down. (water by hand). Thank you so much
[…] Prudent Baby shares how to make an irrigation system for raised gardens. […]
wow this looks really do-able for my area, would love that for our flower beds a tthe front of the house. We are in complete sand and it dries out soooo fast.
Where does a person find a solar pump for a rain barrel? we are totally wanting to collect rain water and use for watering our lawn or garnden/landscape, if you any of the readers have had luck with the collecting rain please share!!! Hopefully you also have a way to avoid mosquitos lol?!?
thanks again
Thanks – WOW What a wonderful post! and all the pictures too.
I added an irrigation system to my garden last summer but didn’t like how it watered so I went back to watering by hand. Its relaxing in some ways for me to water it.
I have a new idea about raised beds if you want to check out my blog
http://www.raisedurbangardens.com
I sure love yours too!
thanks again for the super great post!
happy gardening
Melanie
Can you please tell me what type and size of boards you used to construct your raised beds? Also, What hardware did you use to connect the boards? Great post. Thank you for sharing.
Sorry Sandy, I missed this! Here’s how we made the beds if you still need the info.
http://prudentbaby.com/2011/03/prudent-home/how-to-build-a-raised-garden-bed-2/
Maybe I missed it in your post, but do the 1/4″ tubes come up out of the ground or stay buried? What kind of ends did you put on the end of the 1/4″ tubing? Drip? Sprayers? I have irrigation in our SFG too, but not buried. I like the idea a lot!
Hi Corynn – Just seeing this! We buried but I sometimes think I would prefer they lay on the surface to get to short roots. Whatever you prefer. We folded over and clamped the ends of the 1/4″ tubes.
Hey everybody, this is the easiest way to automate your irrigation. Add a timer at the faucet spigot and your ready to go. Run a main line with a half inch poly pipe and then punch holes in irrigatiot and run your drip lines from. Plus it is the cheapest option, well worth the time, cost and effort!
Hey everybody, this is the easiest way to automate your irrigation. Add a timer at the faucet spigot and your ready to go. Run a main line with a half inch poly pipe and then punch holes in it and run your drip lines from. Plus it is the cheapest option, well worth the time, cost and effort! You can put drippers or misters on the 1/8 inch tubing. I use this in my flower beds and in my raised bed vegetable garden.
What an awesome system! We are trying out raised beds for the first time this year. Would be wonderful to have a watering system like this.
I have seen someone use this system along the top of front porch roof for hanging plants and put on a timer so when they r away their hanging plants dont die…. great sustem and great idea for raised beds!!!! I will have to try this and connect to my rain barrels. 🙂 thanks
This is what I’m looking for. Step by step, guide for an irrigation system for my Raised Bed Garden. I am about to start gardening, and your guide is perfect to install irrigation system on my own. I hope I can do it successfully. BTW your baby seems so excited for the gardening.
Thank you so much for the pictures. This will helps a lot.
– Rita
heads up irrigation
Ahhhhh! I needed this two weeks ago. I just got the new raised bed planted Oh well, next year. This is great.
How much did you spend?
I just bought mine from home depot for around $30
Thanks for the GREAT post! I am just starting my garden and bought the garden Dig kit but haven’t installed it yet. I saw that you posted in the comments about burying the lines vs having them on the surface…where are you with that now?
Any update on how this all worked out?
What emitters do you attach along the length of the drip lines to irrigate the bed? Are you attaching emitters inline or using barbed Ts? How do you avoid the emitters getting clogged with dirt over time?
I found this very imformative, my own experience on two occasions, asking for drip hose at my local HD’s resulted in blank expressions and “huh”
Those are available at Lowes. It’s called mister landscaper
I followed the directions but put a splitter T and then ran it to 2 pair of 4×8 beds. I have quite a bit of leaking from the connectors where they come off the main line. Did you do anything to keep them from leaking? Looks like you just stick the tee barb and the straight barb right into a hole you punched. What keeps that from leaking?
Thanks!
[…] Here’s a step by step tutorial with pictures for an Irrigation System for Raised Bed Gardens: http://prudentbaby.com/2011/03/prudent-home/irrigation-system-for-raised-bed-garden-2/ […]
What an awesome system! We are trying out raised beds for the first time this year. Would be wonderful to have a watering system like this.
Wonderful, just what a blog it is! This blog has provided the helpful data to us continue the good work.
The blog was full of information that helps me a lot in understanding the irrigation system for garden.
[…] Irrigation System for Raised Bed Garden […]
It’s the best time to make some plans for the future and it’s time to be happy. I’ve read this post and if I could I wish to suggest you some interesting things or advice. Maybe you can write next articles referring to this article. I desire to read even more things about it!
The written piece is truly fruitful for me personally; continue posting these types of articles.
Wow what a lovely article it is and the idea of raised bed gardening and irrigation is amazing that I have never thought of before.
Tell us how u acheived all that wonderful looking dirt/soil?
How is the 1/2″ tubing connected to the quick connect on the outside of the bed?
[…] have also both seen our kids respond well to planting, growing (and then eating) their own food. Along these same lines, my kids love to be given the […]
I love seeing the planning. Great pictures, too!! I tried using PVC on the surface but it needs work. I just need to make some adjustments to your system for low pressure watering so I can use my rain barrel water rather than the high pressure (not free and full of chlorine)city water.
[…] got a functional garden that taps into the existing sprinkler system to water our vegetables using easy to install drip lines. Our box gardens are not perfect, and they aren’t in the best shape this year. I’m […]
2 questions:
1) Are there holes already poked in the 1/4” tubing?
2) If it’s under the soil, will the plant roots find their way into the holes of the tubing to get more water?
[…] More Details Here […]
[…] Irrigation System for Raised Beds – Make watering your raised beds a breeze. […]
I tried this system and I tried soaking hoses underneath mulch… and the soaking hoses were so much easier that I threw away all the connections and pieces for this system. It may not be quite as efficient, water-wise, but it is a million times easier to install and work with.
A system like this can also be automated using battery powered controllers, available at the big box places and garden centers, that mount at the faucet or somewhere downstream. Have used them on a couple of systems and they have worked very well.
You went to so much effort with this post and then forgot to show a photo of all the drip lines layed out before you buried them to show the final set up???
good ideas
very brilliant idea, I’ll try it in my garden
previously I never thought this way, I will try
Natural Beauty Tips
That’s a Very nice idea i’ll try!
this is very nice, so i will try later
[…] Read more […]
[…] pictorial instruction will guide you through installing this self-watering system in a raised bed garden. The hardware is already pre-assembled and the system can be added on to as […]
WOW! THANK YOU SO MUCH!! WHAT A FANTASTIC TUTORIAL! YOU REALLY BLESSED THIS GARDEN NEWBIE!! IMMENSELY!!