


Now is the perfect time to learn How to Build a Pallet Daybed!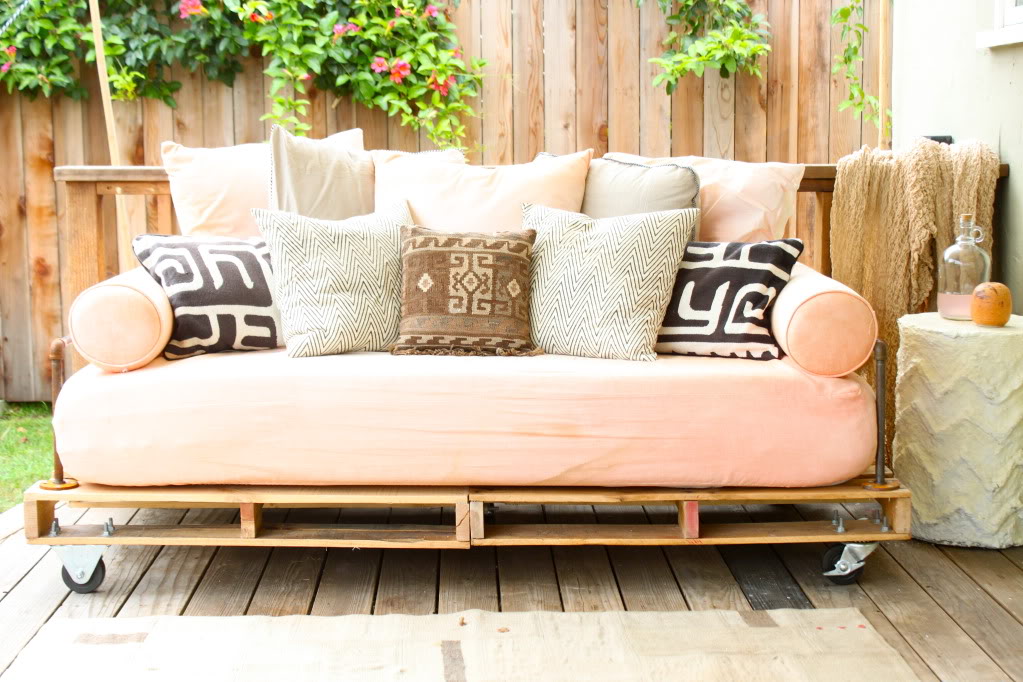
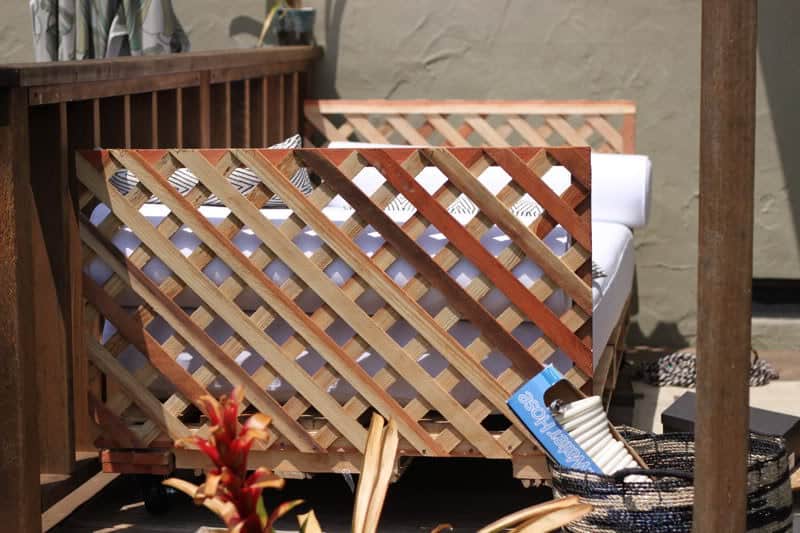
The highlight of My New Backyard patio redecorating scheme has most definitely been this pallet daybed. I really wanted a place to sleep outside with my daughter, and a comfy couch to relax on with friends. I didn’t have the funds to invest in a fancy piece of outdoor furniture, and I knew that with the weather as it is in Los Angeles, I could leave this outside pretty much all summer. I also knew that I would, at some point, need to move it under the awning to keep it dry, so I put it on wheels. And finally, I knew I would need arms, because I’m just not comfy on a couch without arms. So here is the DIY Pallet Daybed I came up with.
I built this myself, with no help at all, in just a few days. I’m a crafty person and comfortable with tools, but I’m not an advanced woodworker by any stretch of the imagination, and this project was simple enough for me, so I know you can do it if you want to. Let me show you how to make your own DIY Pallet Daybed after the jump.
How to Build a Pallet Daybed
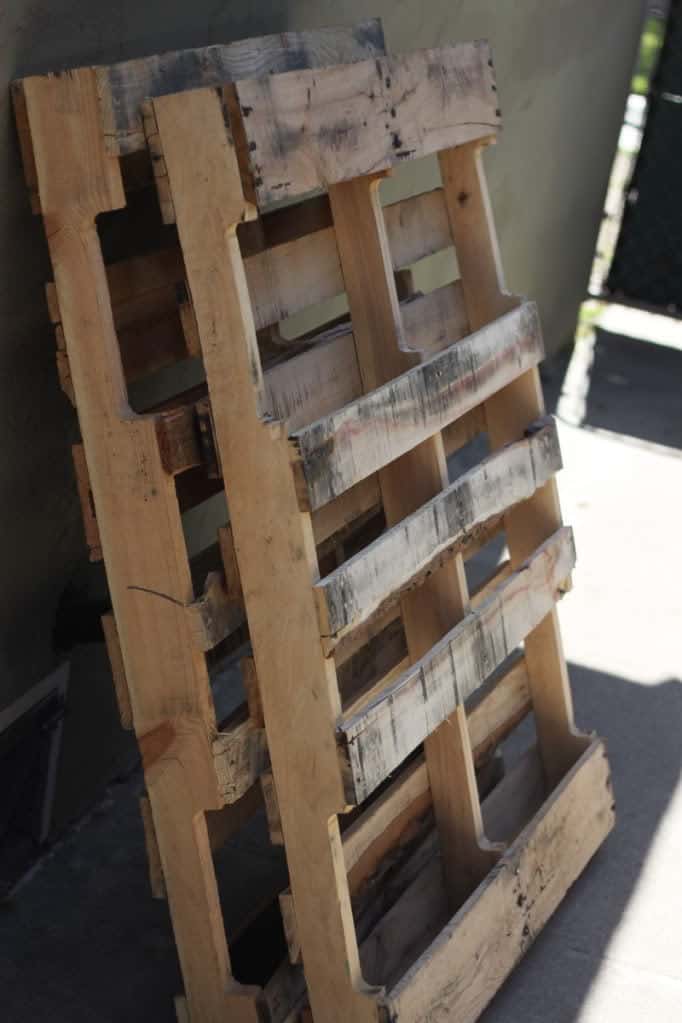
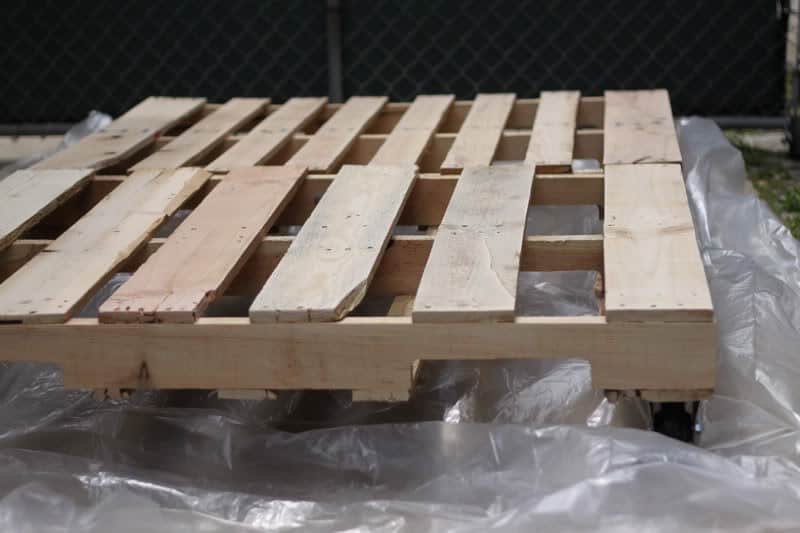
First let’s talk dimensions. A standard twin mattress is 39″ X 75″, but there’s a few inches difference between most mattresses, so pick your mattress first, then your pallets. Pallets come in many sizes, I used 48″X40″ which is fairly standard. I just went downtown to an area I like to call the “pallet district” where there’s tons of spots that sell pallets to any takers who drive up. If you google your city and pallets or look in the yellow pages, you will find the pallet distributors in your area. Most will only deliver large amounts, but are happy to have you drive in and purchase a few. Ask for the nicest, newest, least chemically-est pallets they have. These were the finest pallets I could come by, and they were $3 each.
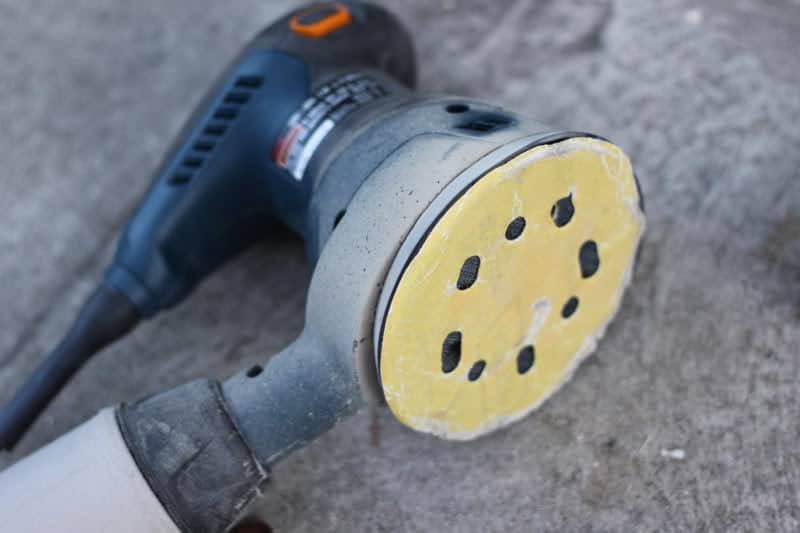
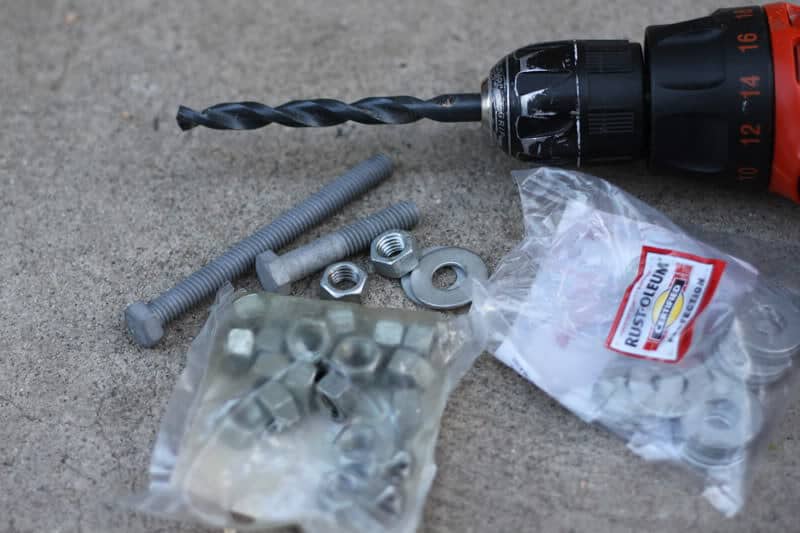
Next I stocked up on supplies. I used my Membership Rewards points to get a gift card to home depot, which I then used to buy 5 large (4″) casters (2 that don’t move at all, and three that swiveled with locks), some outdoor polyurethane and a brush, and sanding discs in 60, 180, and 220< grits.

I also got myself a new orbital sander because I somehow managed to lose my first one. Sanding your pallets is really the most important part of this project, because no one wants to get splinters from their furniture. I don’t recommend doing this by hand, unless you realllllllllyyyyy love sanding.
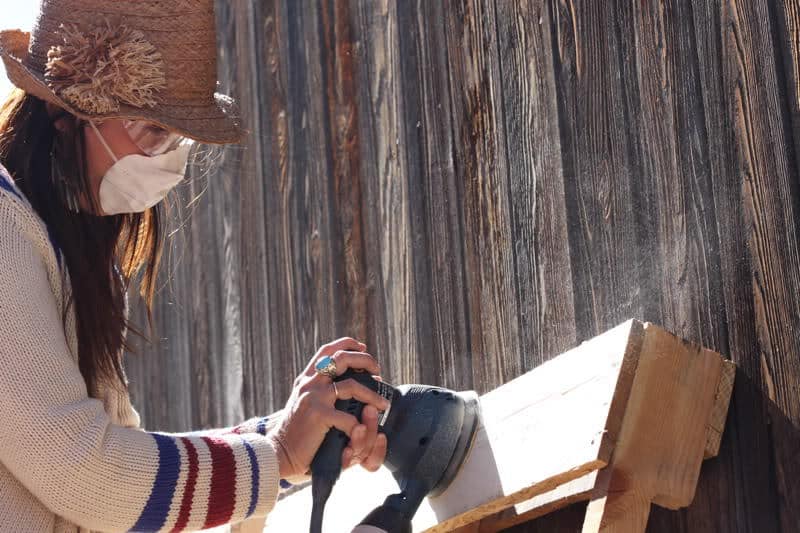
First things first, sand those pallets down. Start with the lowest grit (60) and move up. Make sure you wear eye protection and a mask to keep all that nasty dust and chemical treatments out of your lungs and eyes.
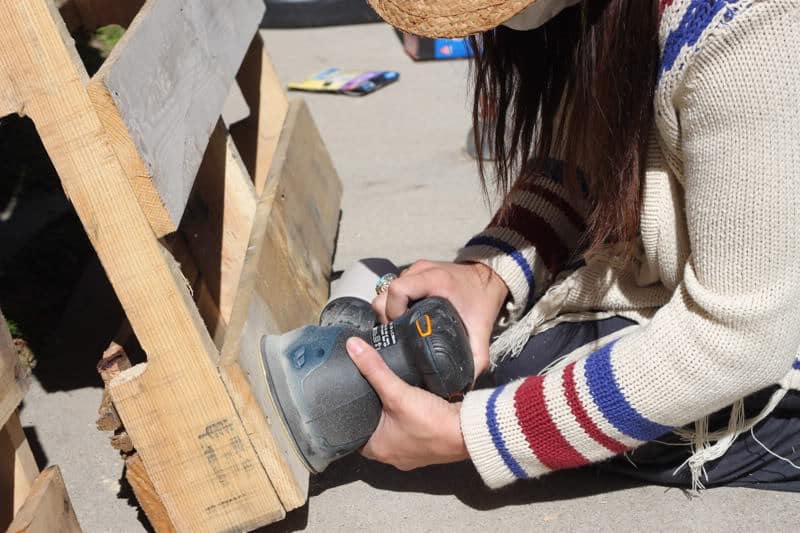
Keep sanding for a long time, until you have a nice, smooth, splinter-free pallet.
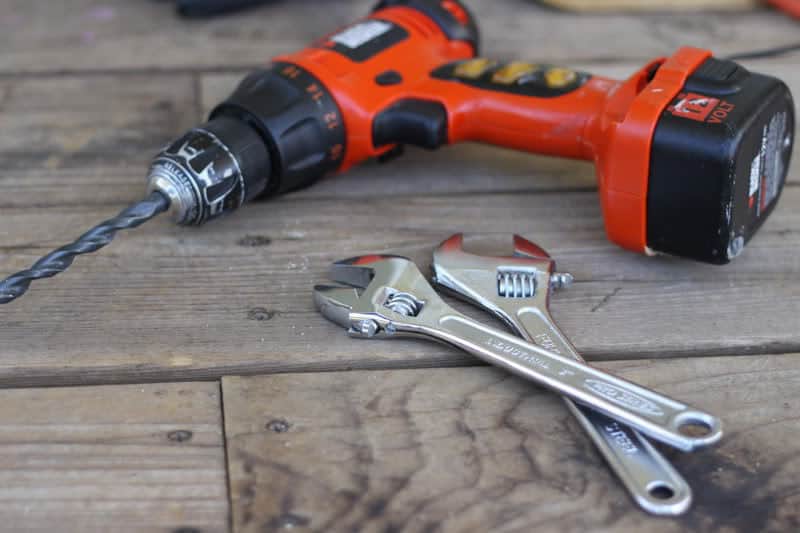
I also picked up a 3/4″ drill bit, and lots of 3/4″ bolts and nuts, and a pile of 3/4″ washers. I got three 3/4″ X 3″ bolts for attaching the two pallets together, and 20 3/4″ X 2″ bolts for attaching the casters to the pallets, and enough washers (23 minimum) and nuts to secure them all and account for any I might drop while working (no one wants to go back to the hardware store for one washer, so get extras).
Now, originally I had planned to leave the pallets their current size and make a back for the couch out of a third pallet. So I didn’t cut the base pallets down to size at this point. But once I had it all assembled I realized that with a back it would be too deep for my deck, so then I had to go back, cut it down, and reattach the casters. So I advise you cut your pallets to size first. You’ll be attaching the sides with the wood frame, which on these (and most) pallets is the 48″ side. So you would have a base that is 48″ deep and 80″ long. So you would want to cut the 48″ side down to about 40″ to accommodate your twin size mattress, for a final bed base that is 40″X80″ (for a 39″X75″ twin mattress and room for the arms we will add later). But you’ll see that I did that backwards.
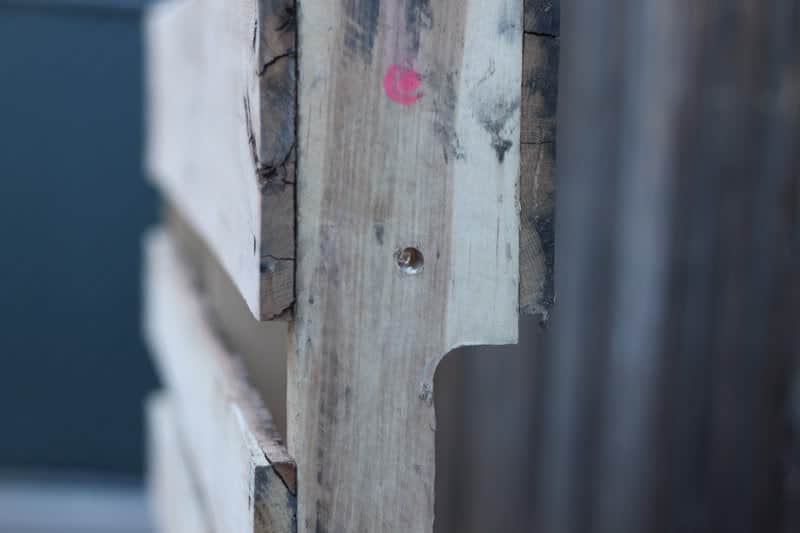
So, now it is time to drill holes to attach the two pallets together. Carefully measure and mark three holes on each pallet, one close to the front, one close to the back, and one in the center. Drill the holes with your 3/4″ drill bit.
Bring the two pallets together and insert the 3/4″ bolts.
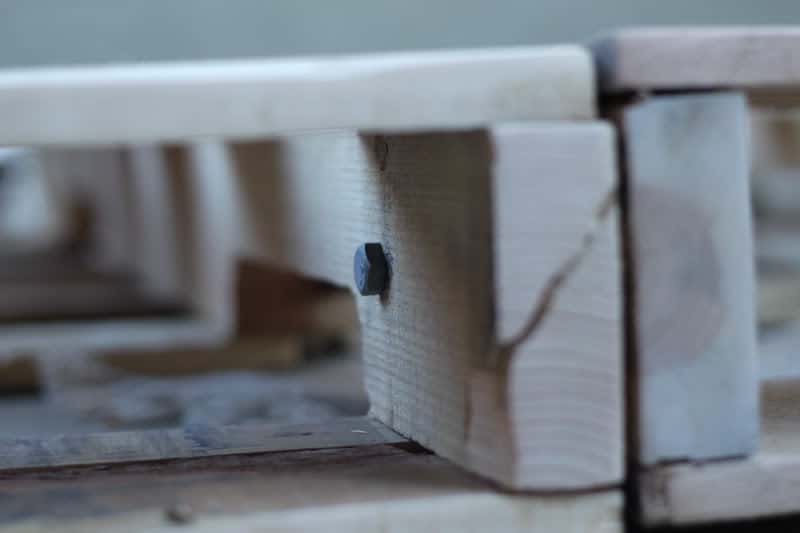
Secure with a washer and nut,
and tighten with wrenches.
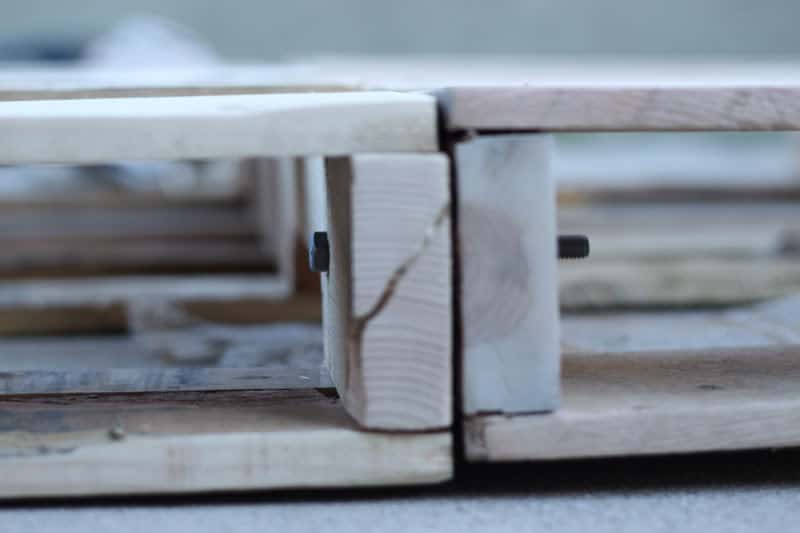
Now your pallets are attached to each other right down the center.
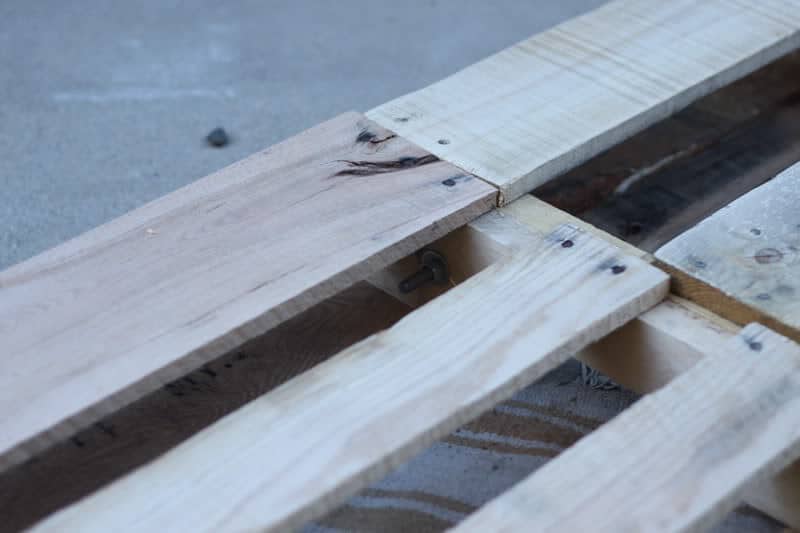
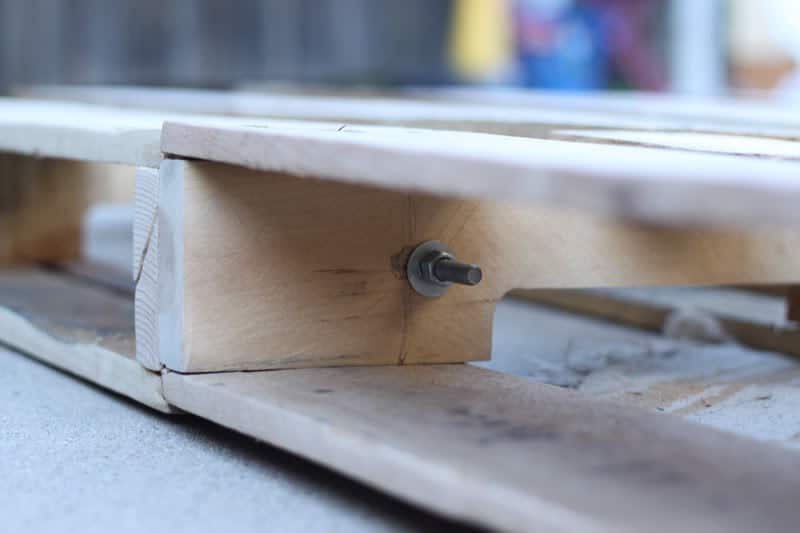
Now it’s time to attach our casters, so keep that 3/4″ drill bit out.
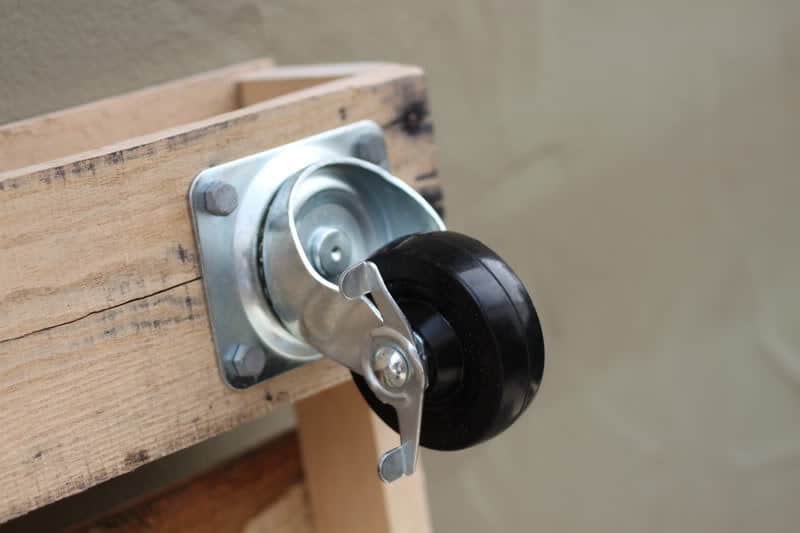
Place your casters on each corner. I used two static casters on one end, and swivels on the other, which makes it easier to move the bed around. Mark the holes carefully, and drill.
Attach your casters with the 3/4″ X 2″ bolts.

Secure each bolt with a 3/4″ washer and 3/4″ nut. Tighten with your wrenches.
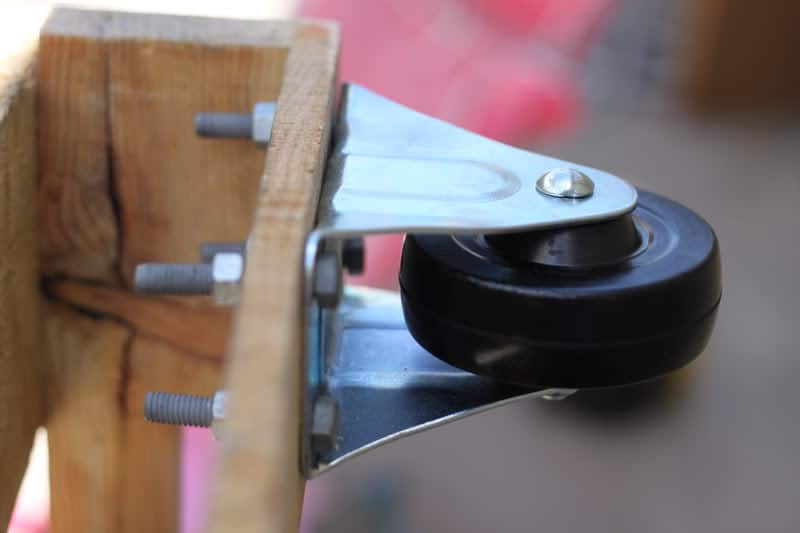
Repeat on all four corners, and put one in the dead center of your bed.
Now you have the base of your bed. You’ll want to treat it for outdoors so it doesn’t rot on you. You actually should probably do this before you attach the casters, but I did it after and it was fine. I coated it in several coats of polyurethane, letting it dry between coats. But as I said before, I realized this was too wide for my patio, so….
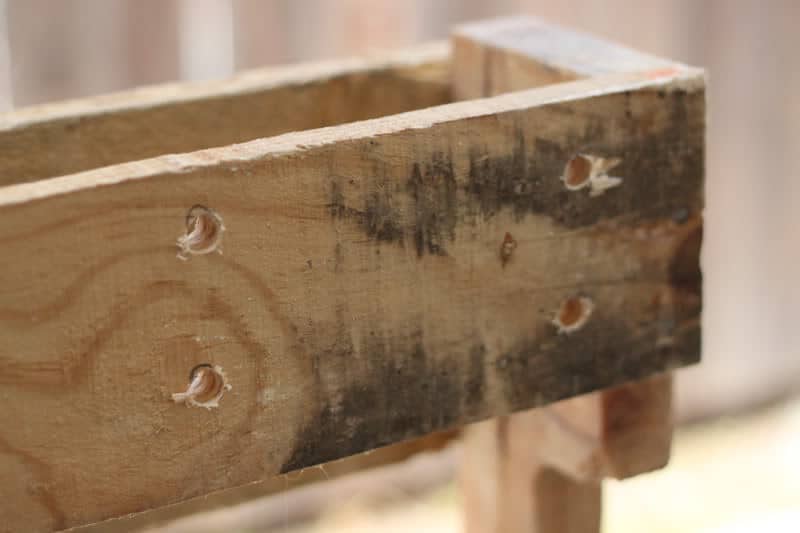
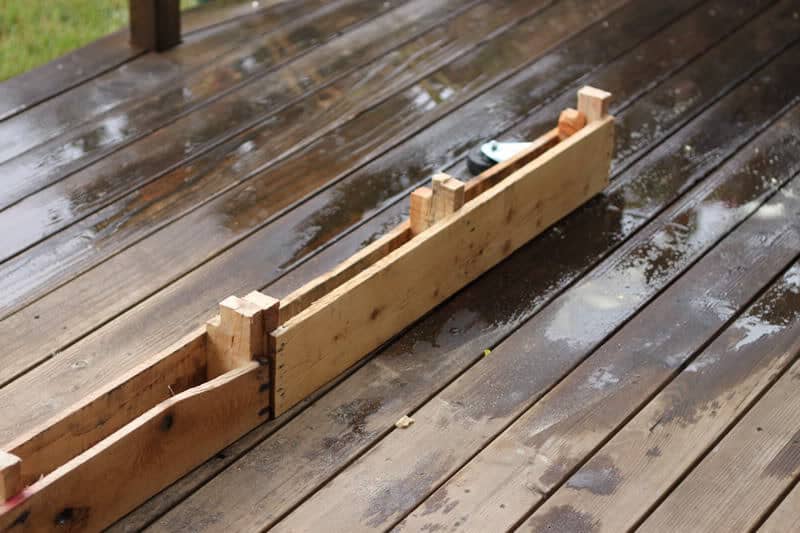
I had to use a circular saw to chop it down to size, remove the two back casters, and reattach them. I also had to remove the center caster and reattach, so the bed would stay balanced. This also required adding some wood to the base of the pallets in the right spot to attach the casters too. Kind of a pain, which is why I suggested doing this first. Measure twice, cut once, right? Ah well.
Now I wanted arms on my daybed. Originally I had thought I would use garden trellis and then place a pot of bougainvillea and have it grow to cover. But no matter how I braced or rigged it, it wasn’t sturdy enough. And also it just looked weird, I realized I probably wouldn’t want to sleep with bougainvillea in my ears and such. So I took that off and went to plan B.
Pipe and flange! This worked out perfectly. One thing to consider when deciding what lengths of pipe to purchase is the thickness of your mattress. I went with a thick mattress (10″) so the final height of the bed base would be 18″, a standard seating height (4″ casters + 4″ for the thickness of the pallet + 10″ for the mattress thickness). Then I knew I would add bolsters at the sides, so I went with 12″ pipes for the sides of the arms to support the bolsters. For the cross piece, you’ll need to look at your pallet and where the wood hits. With the placement of the wood slats on my pallet, 22″ pipes worked best for the cross pieces. So I purchased four 12″ pipes, two 22″ pipes, 4 flanges, and four corner pieces, making sure all of the female/male connecters would fit properly. I also purchased 16 wood screws to attach the flange to the pallets.
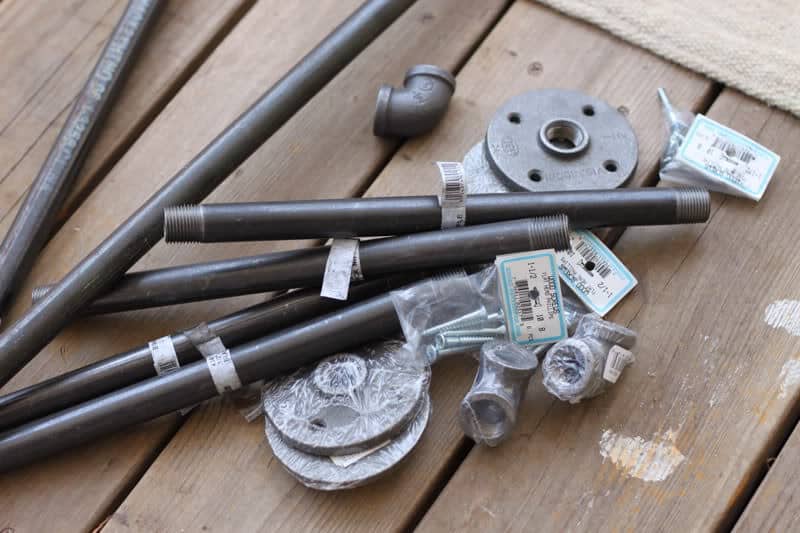
Firs things first, I cleaned the pipe with a good grease-cutting cleaner (dawn dish soap works like a charm to cut grease). Then I went ahead and assembled each arm by attaching the two 12″ pipes to the flange, attaching the corner pieces, then screwing the 22″ pipe across. Then I simply screwed them into the pallets on each 40″ side.
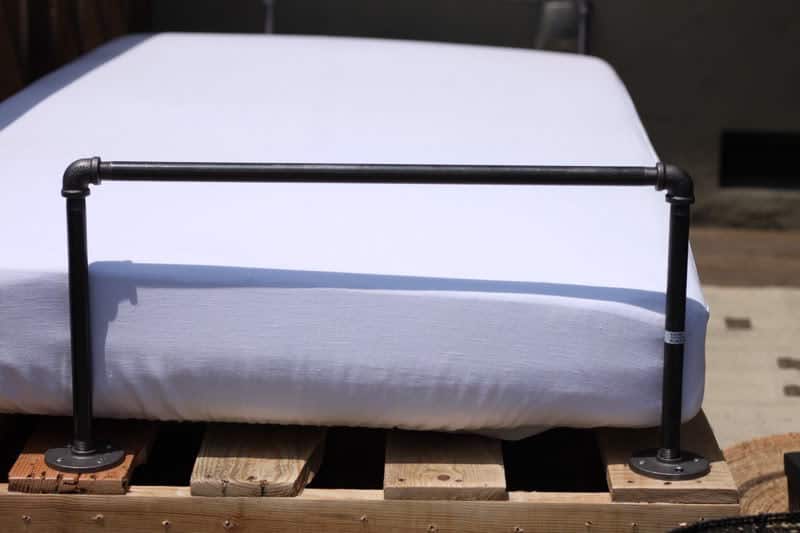
This worked out perfectly.
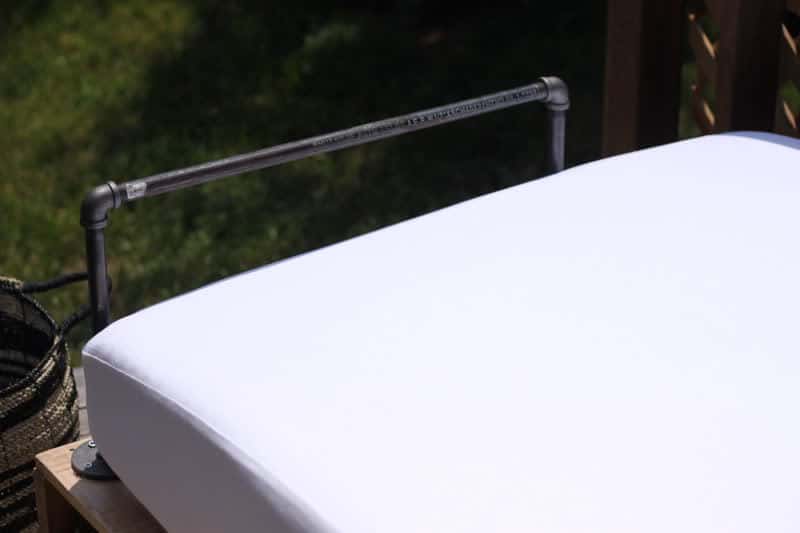
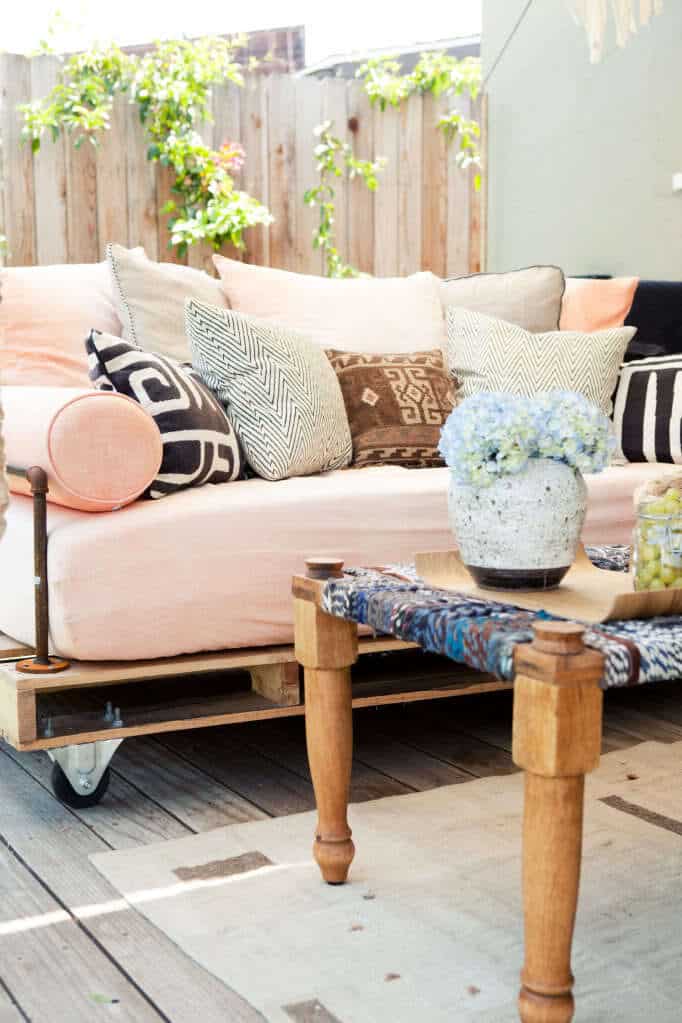
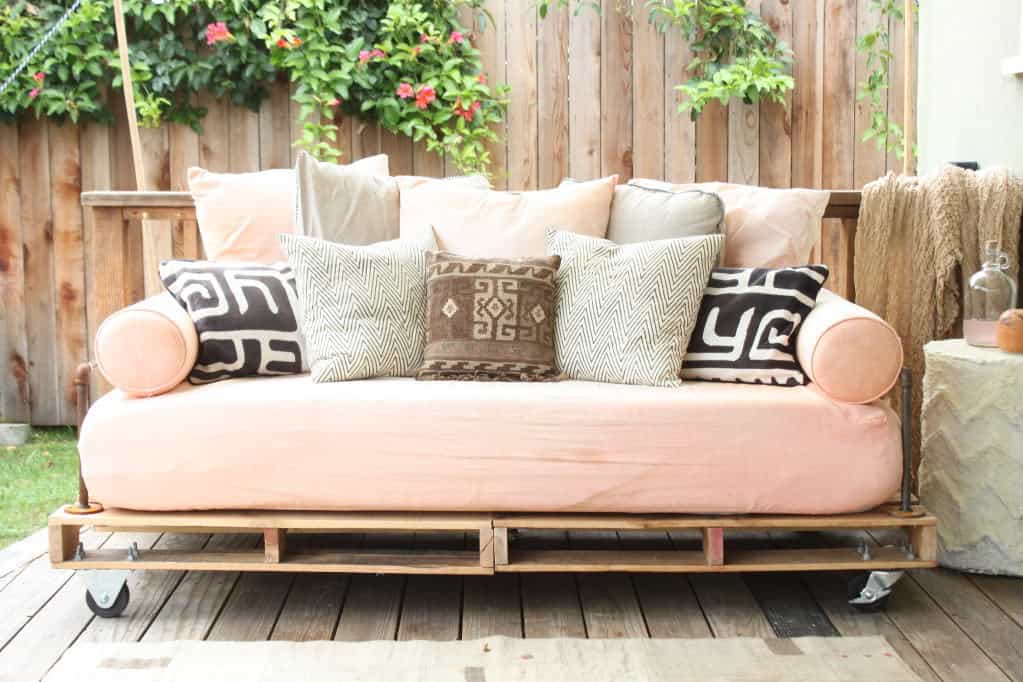
The bolsters are supported by the arms, and now my kid and I have a comfy place to lay our heads. And now you’ve learned how to build a pallet daybed.

The key to a comfy daybed isn’t a fancy frame, in my opinion, it’s pillows. Lots of ’em.
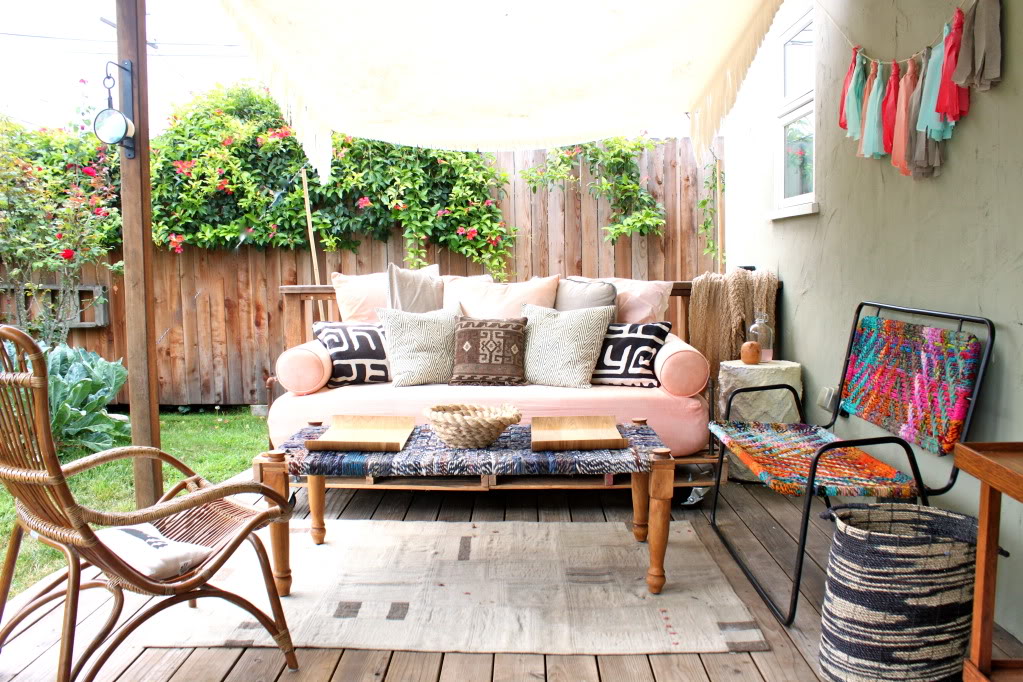
And some shade. Learn How to Make A Simple Canvas Awning here.
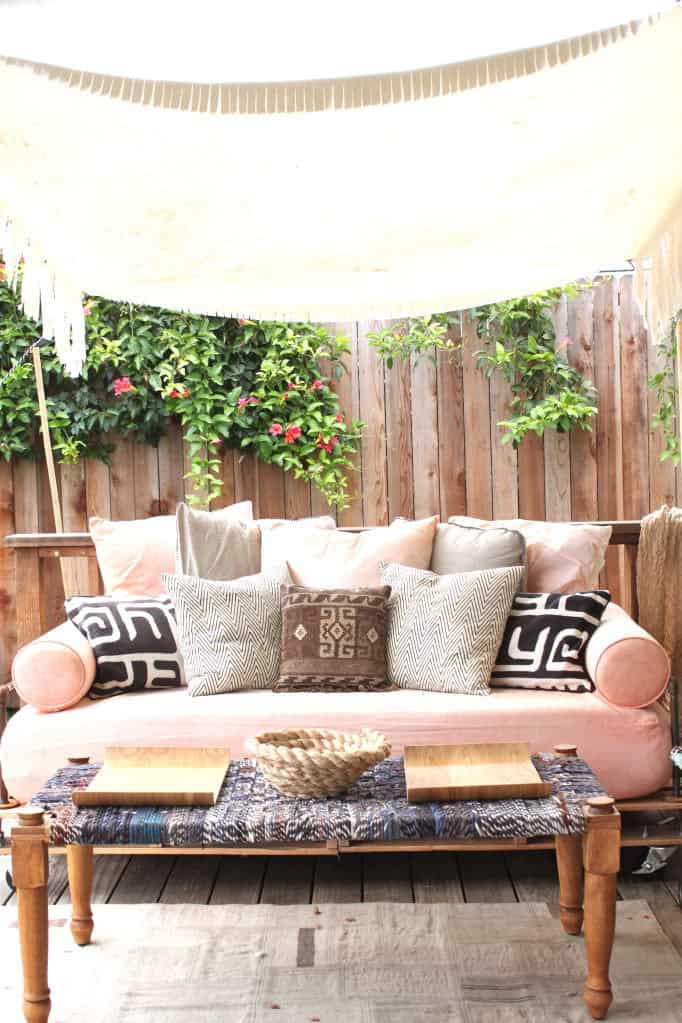
So all in all, the pallet base cost $56 (for pallets and casters), and the arms another $30. So here is my $86 DIY pallet daybed frame. I also purchased this memory foam mattress and a waterproof bedbug-protecting cover for it to keep it nice and clean. I used my Membership Rewards points for a gift card to West Elm, where I purchased linen bolsters and a daybed cover in white, then dyed them. I topped it off with some purchased pillows and some hand sewn pillows. And that’s that.
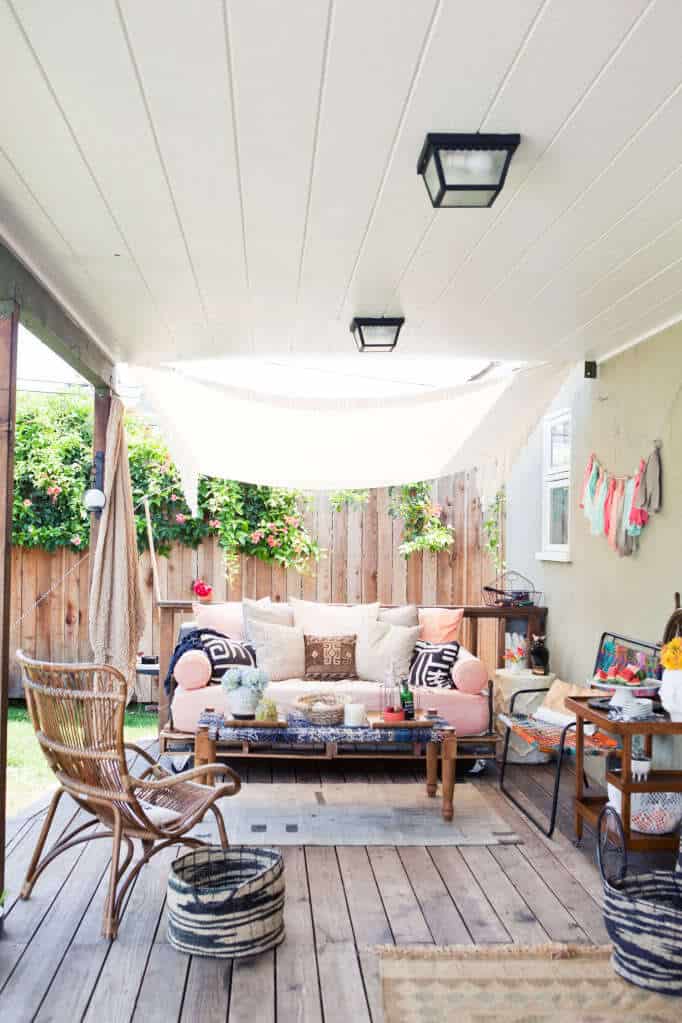
I can’t even tell you how much joy having an outdoor bed has brought to our family this summer. We entertain friends on it as a couch, and we take naps with our kid outside. If you have the inkling to try learning How To Build a Pallet Daybed, I say go for it. It was a very simple project that even a non-woodworking expert like me breezed right through. If you do try it, send us a picture!
Originally posted July 25. 2011, Updated April 20, 2020