


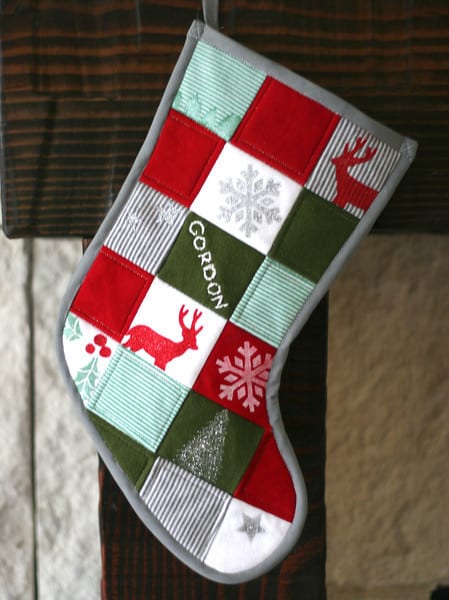
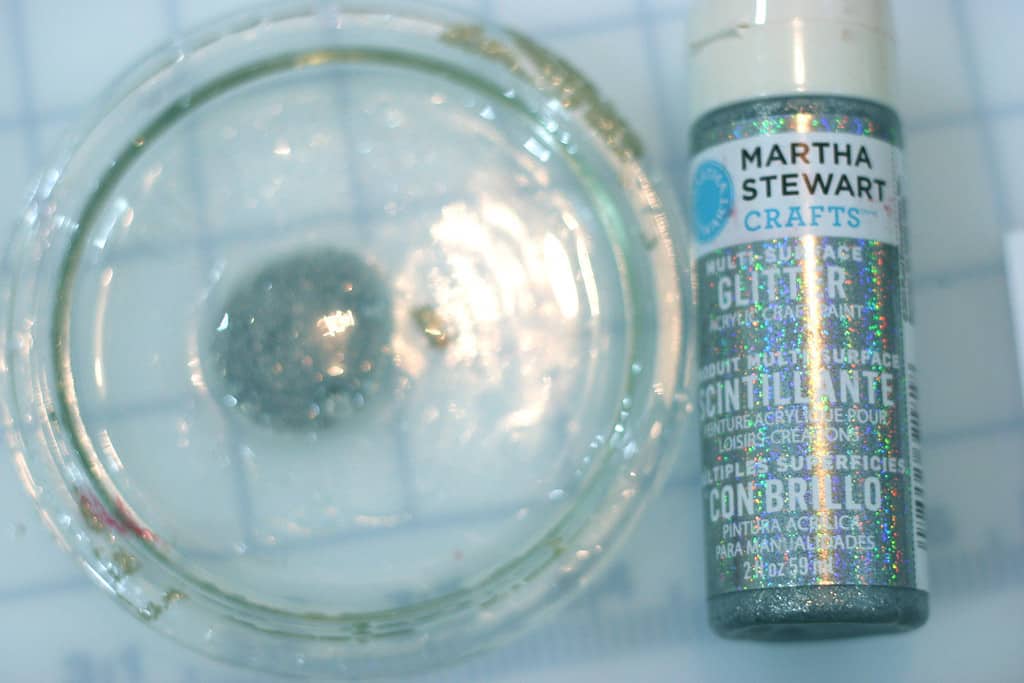
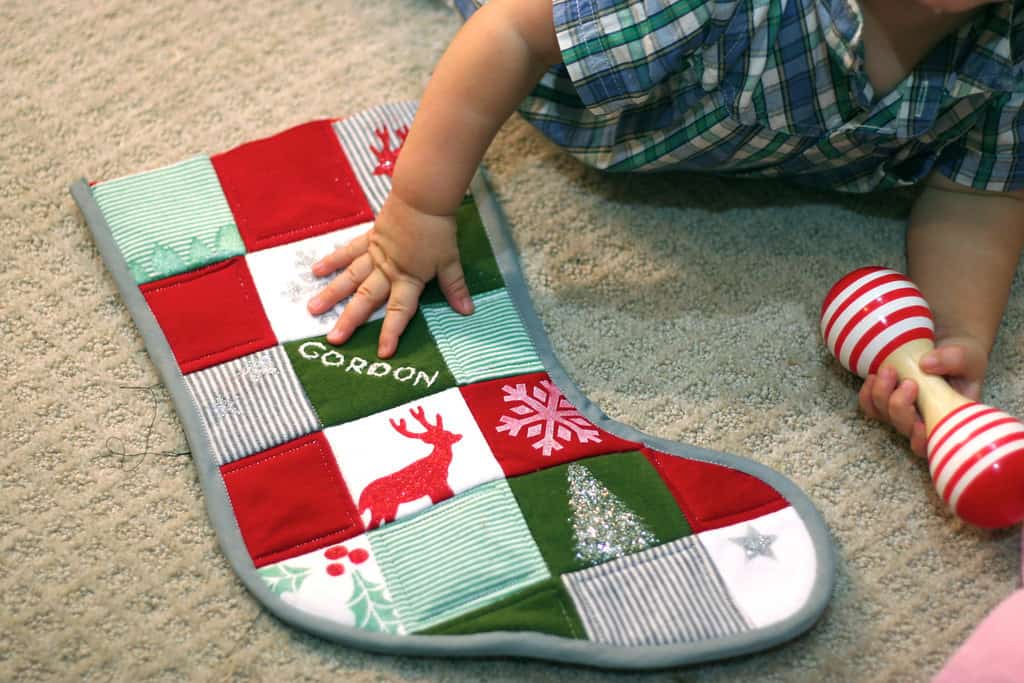
Do you have trouble parting with those adorable tiny clothes? Turn some into a keepsake Christmas stocking for baby! Inspired the gorgeous new Martha Stewart Craft Paint that I was invited to try out, I stenciled, patchworked and stitched up a stocking that will always remind me of when he was a sweet lil’ dumpling. Want to make one? Here’s what I did…
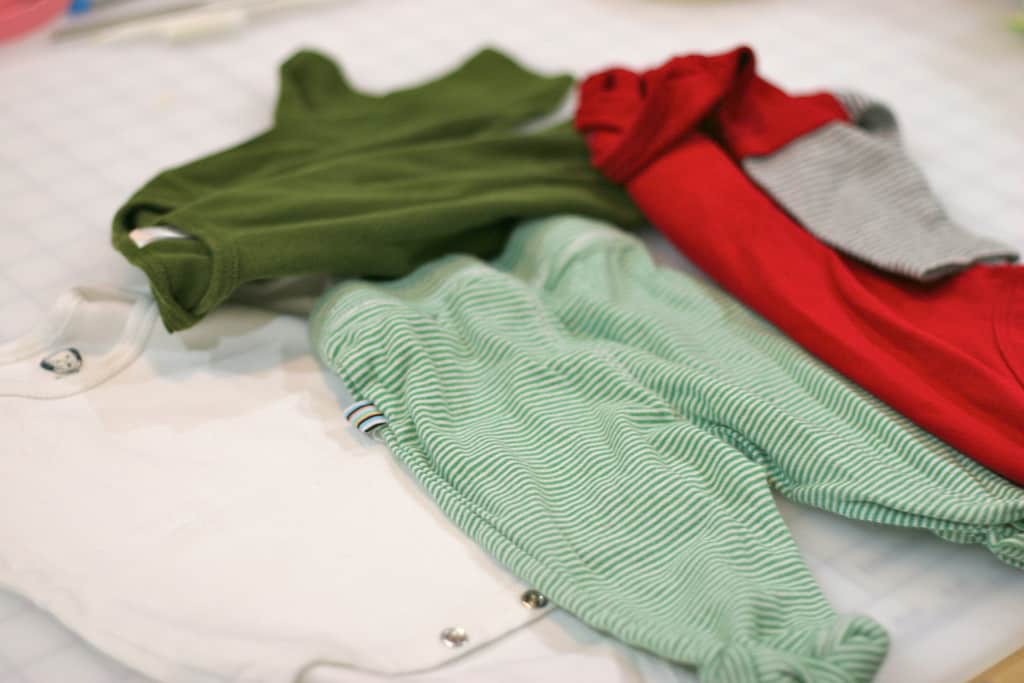
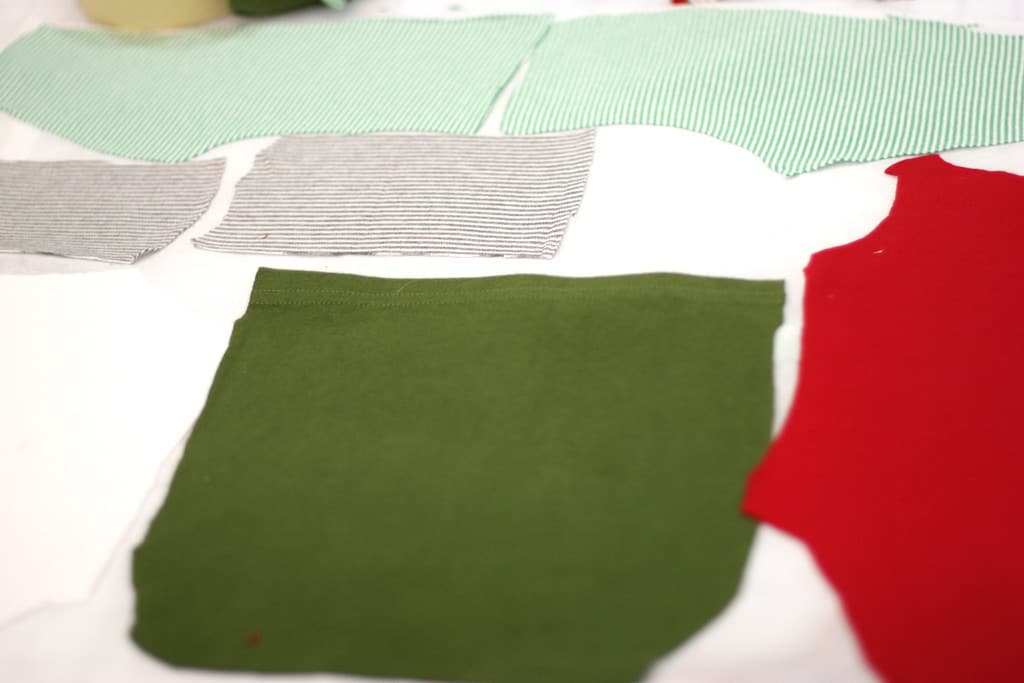
1. Collect some sweet little clothes. t-shirt graphics would be fun to incorporate but since I was using the paint, I decided to use all plain clothing.
2. Cut off the neck, arms and snaps and slit the seam up the sides.
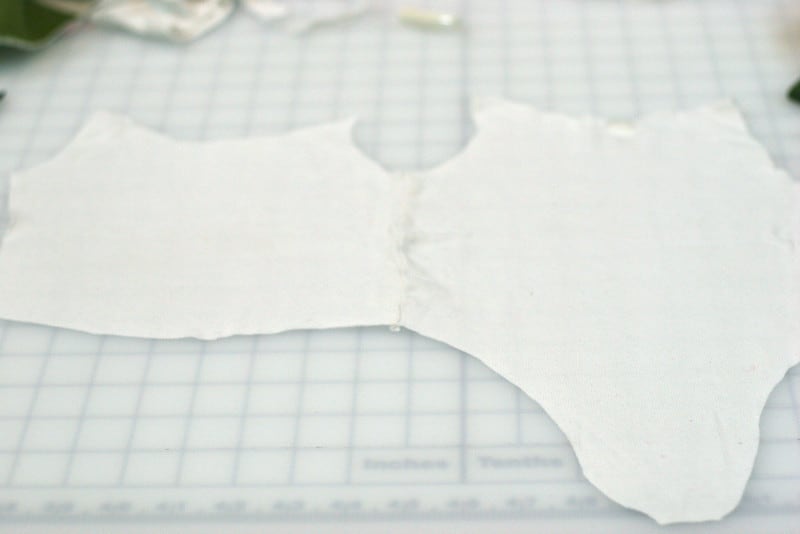
3. Iron the pieces to light-weight interfacing.
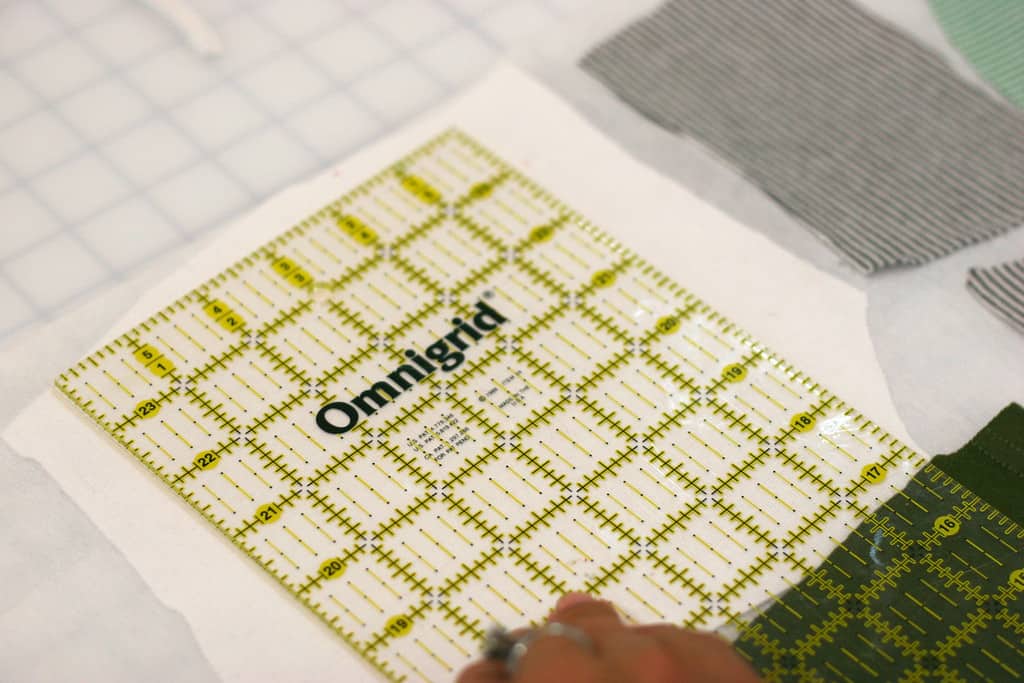
4. Cut into 3″ squares with a nice square ruler and rotary cutter if you have them. I used a total of 19 squares for a 10″x15″ finished stocking. Feel free to make yours bigger by using more fabric.
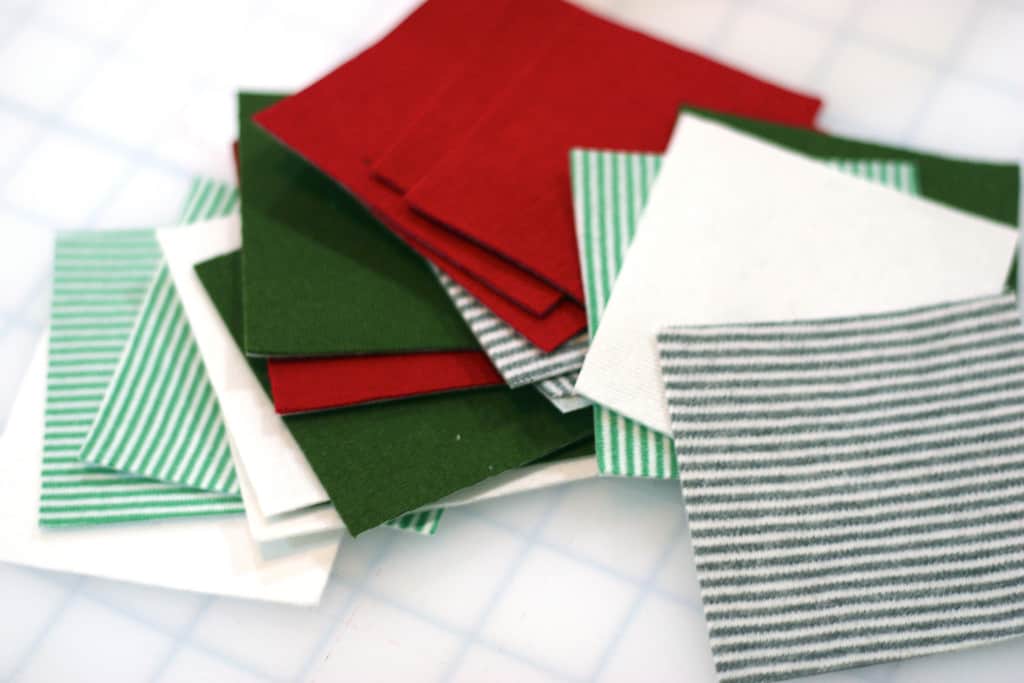
5. Your squares.
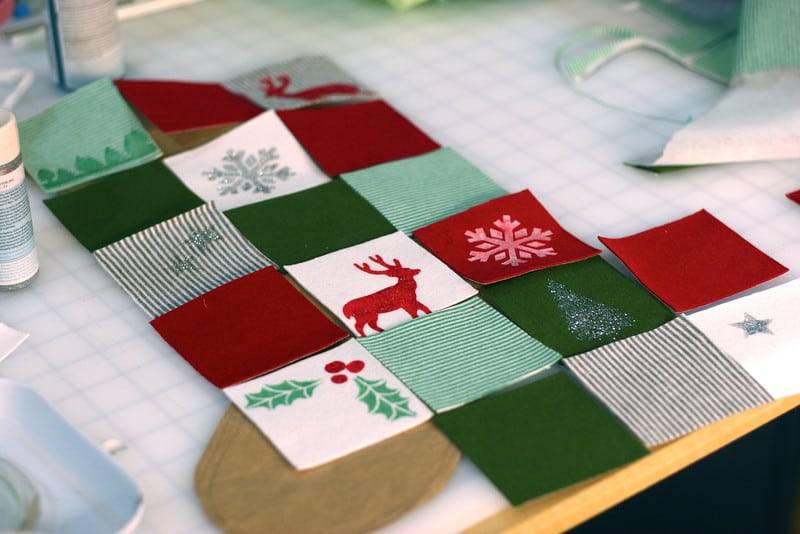
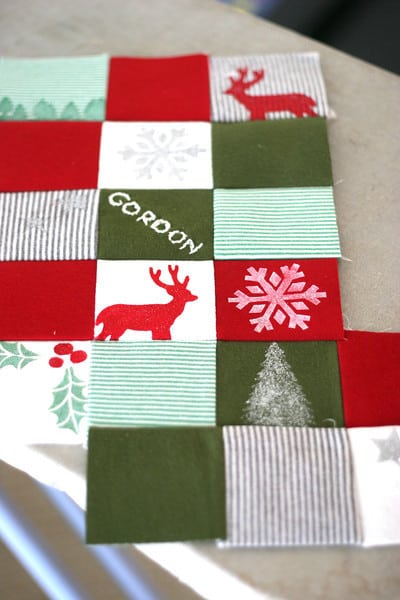
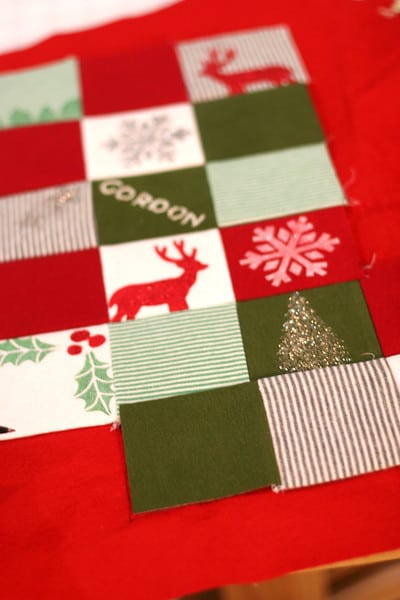
6. Lay them out in a color arrangement that suits you. FYI, the toe is pointing to the left in this picture but most likely you will want a toe pointing to the right. Moving on.
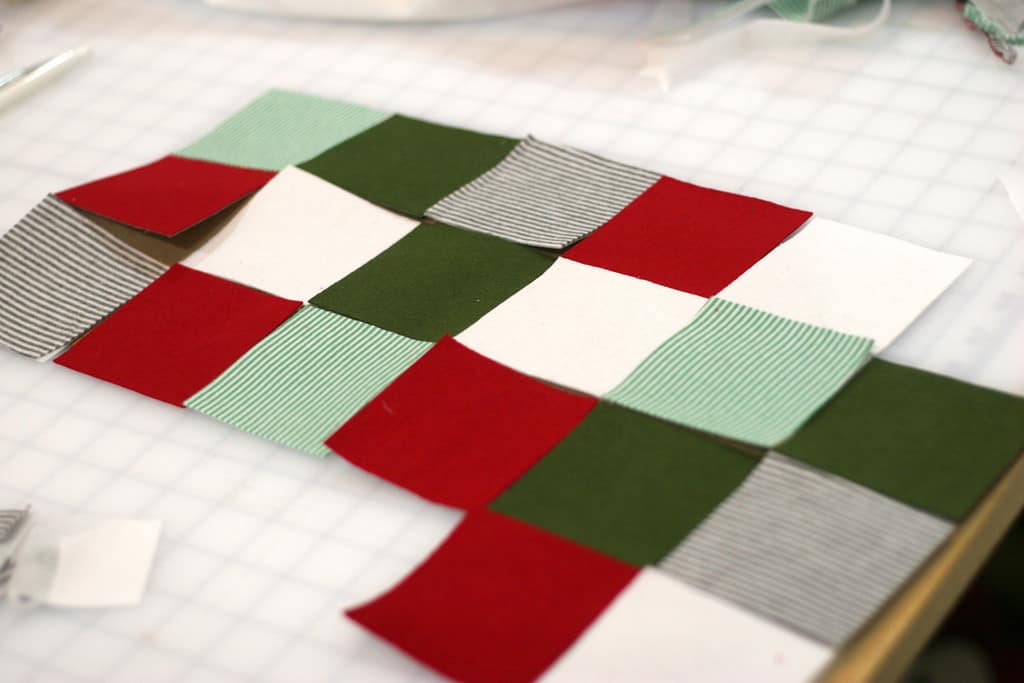
You have your composition. Now is the FUN part. Let’s paint!
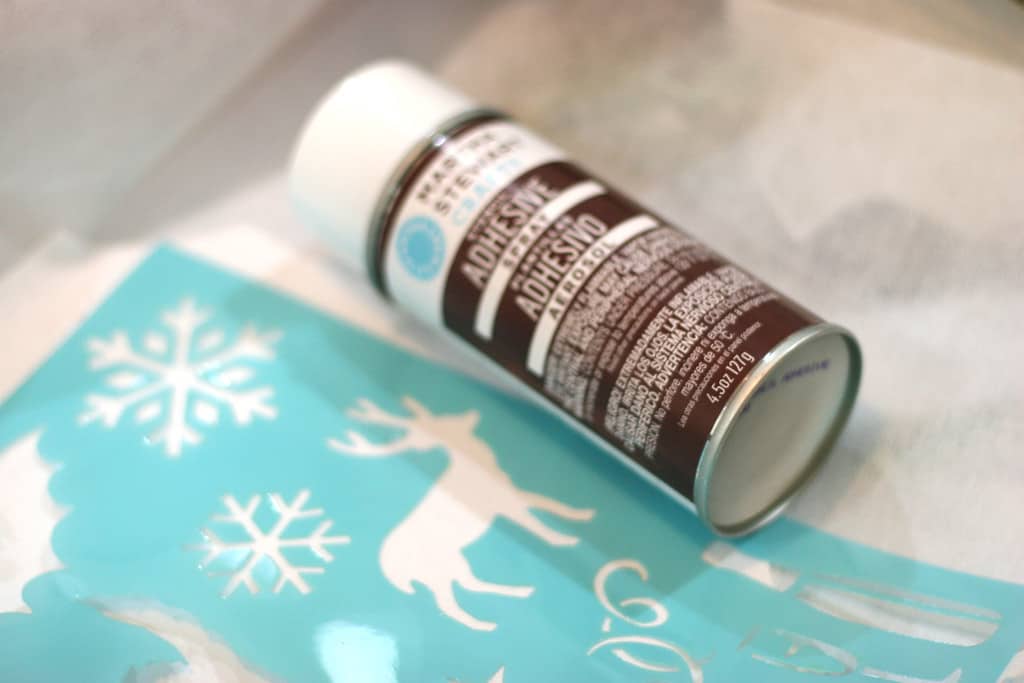
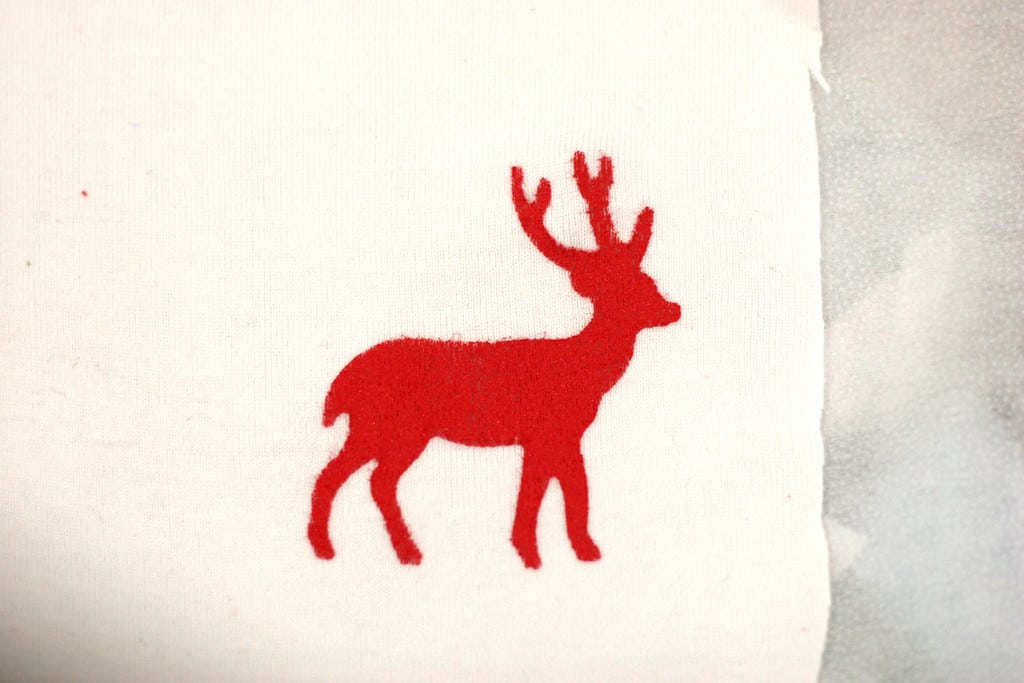
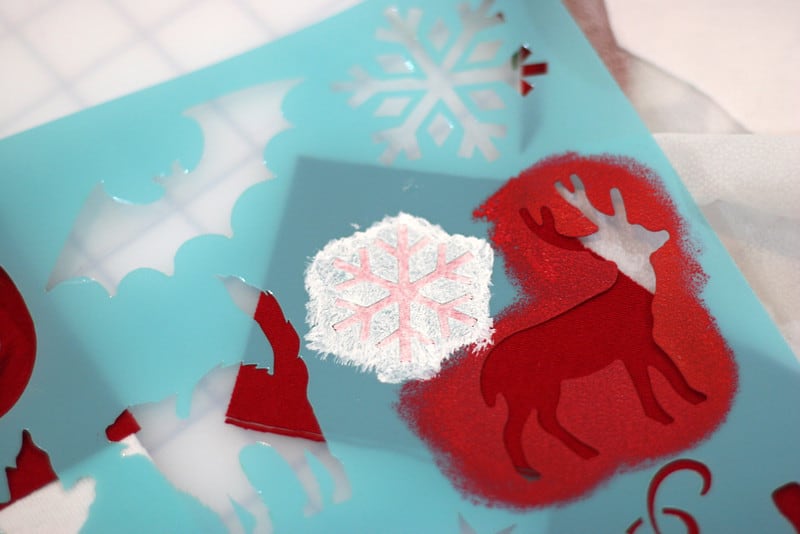
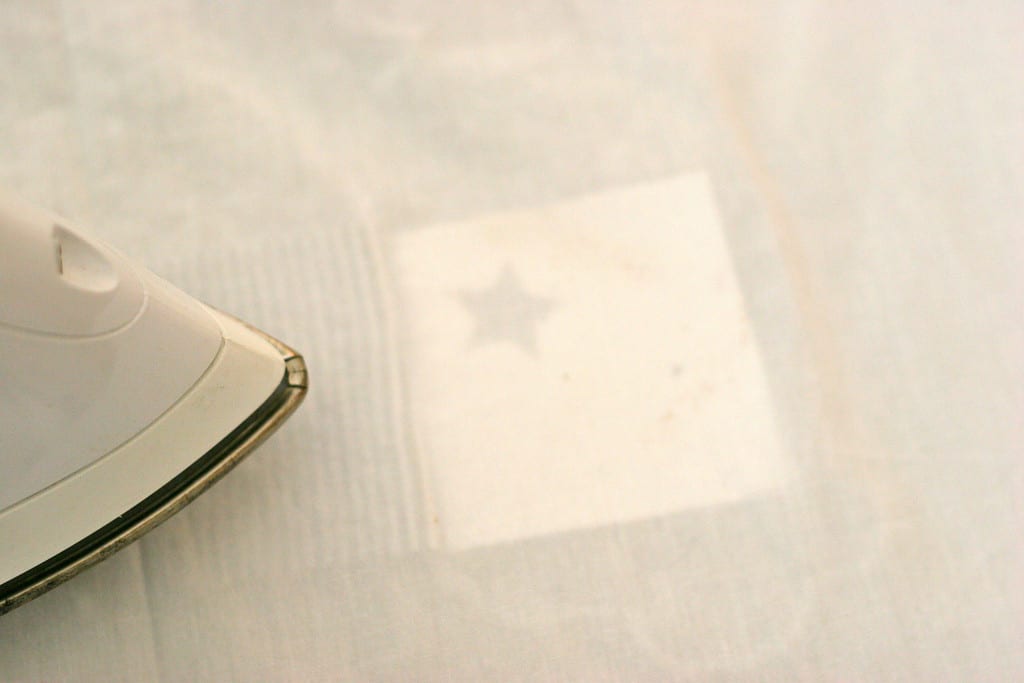
This new line of Paints is incredible in that you can use it on ANY surface, including fabric. I gave the back of the Holiday icons Stencil a quick spray with the Stencil Adhesive and laid it on a scrap of test fabric. I was a doubter on the adhesive spray but it’s really, really awesome. It makes the lines so crisp!
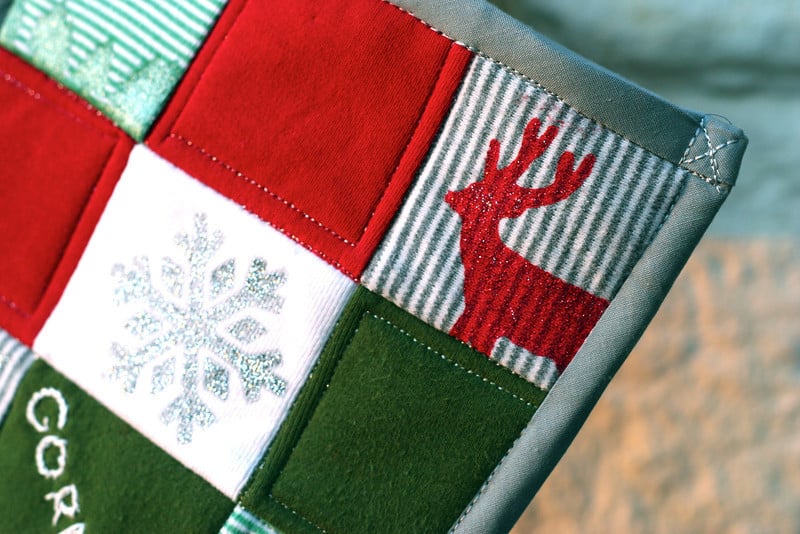
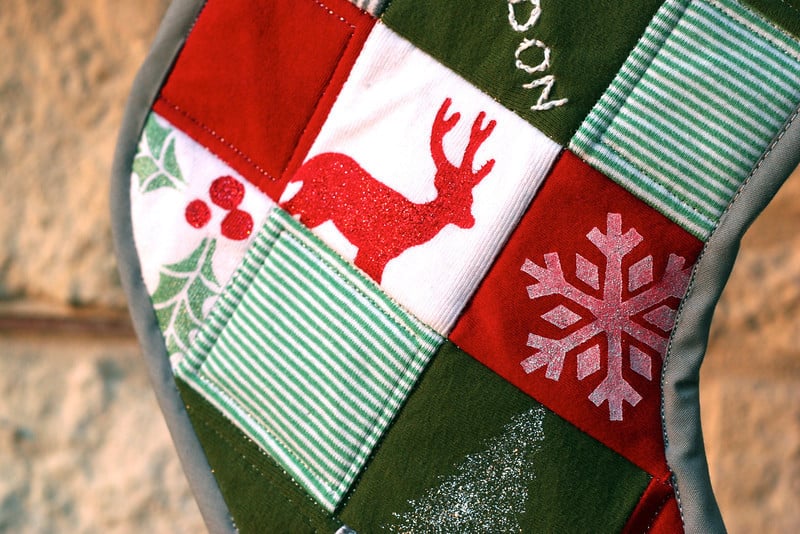
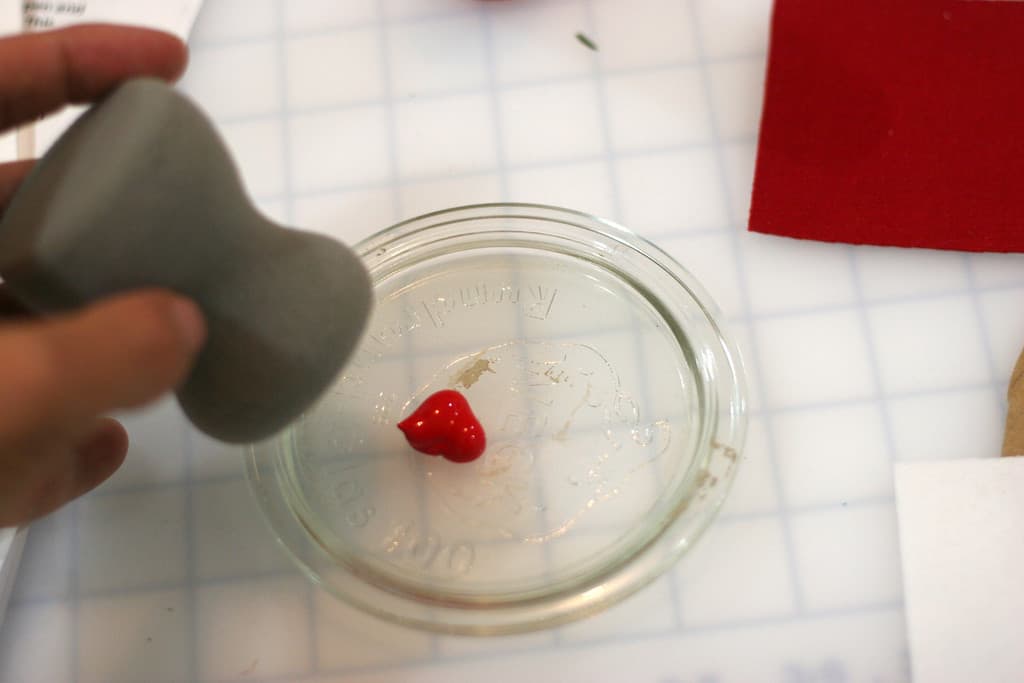
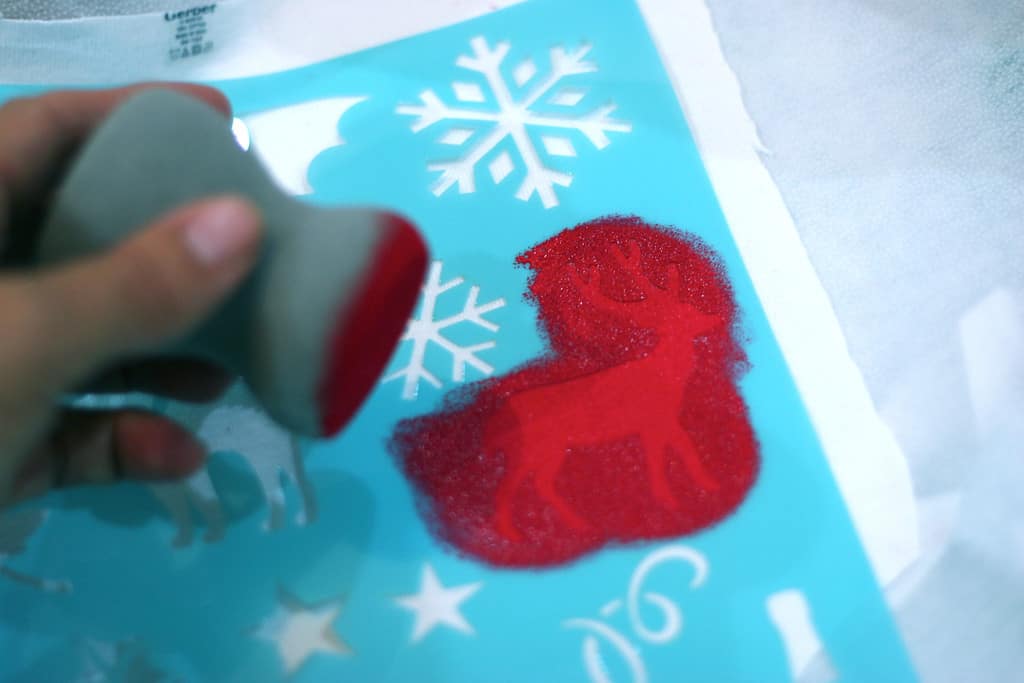
First I used some Habañero Satin Paint and tried a reindeer. Love!
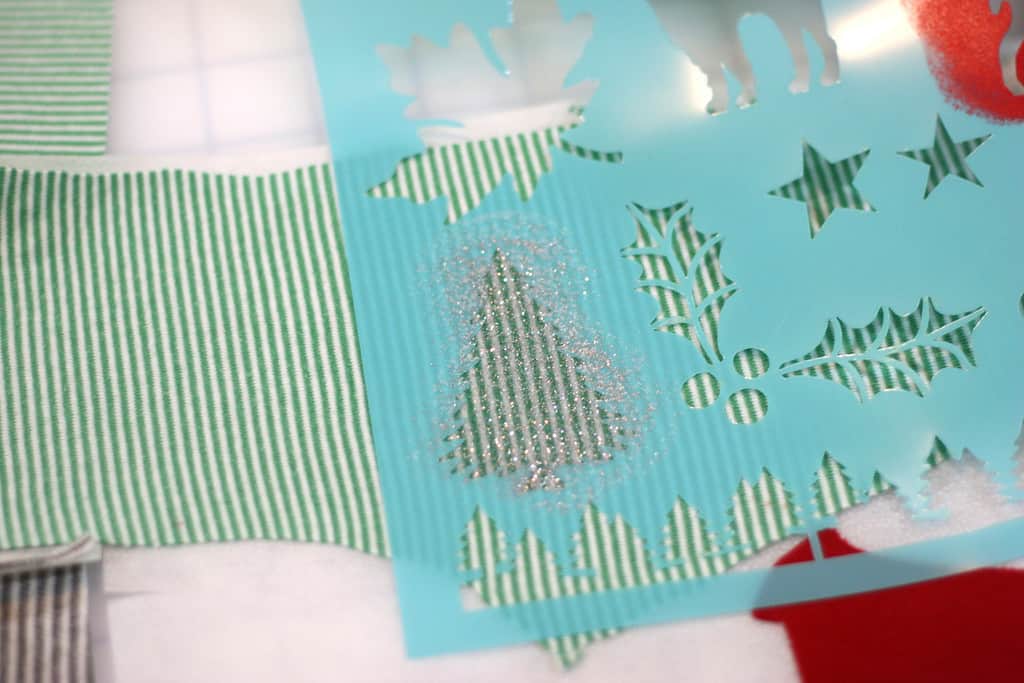
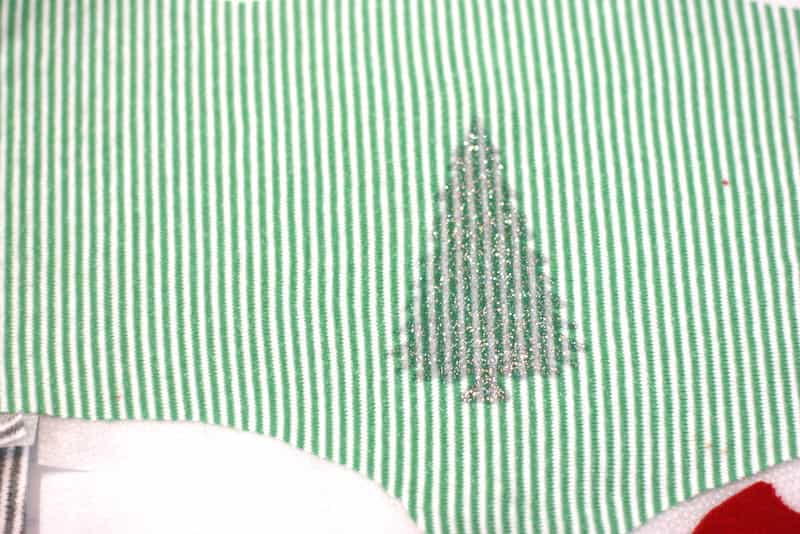
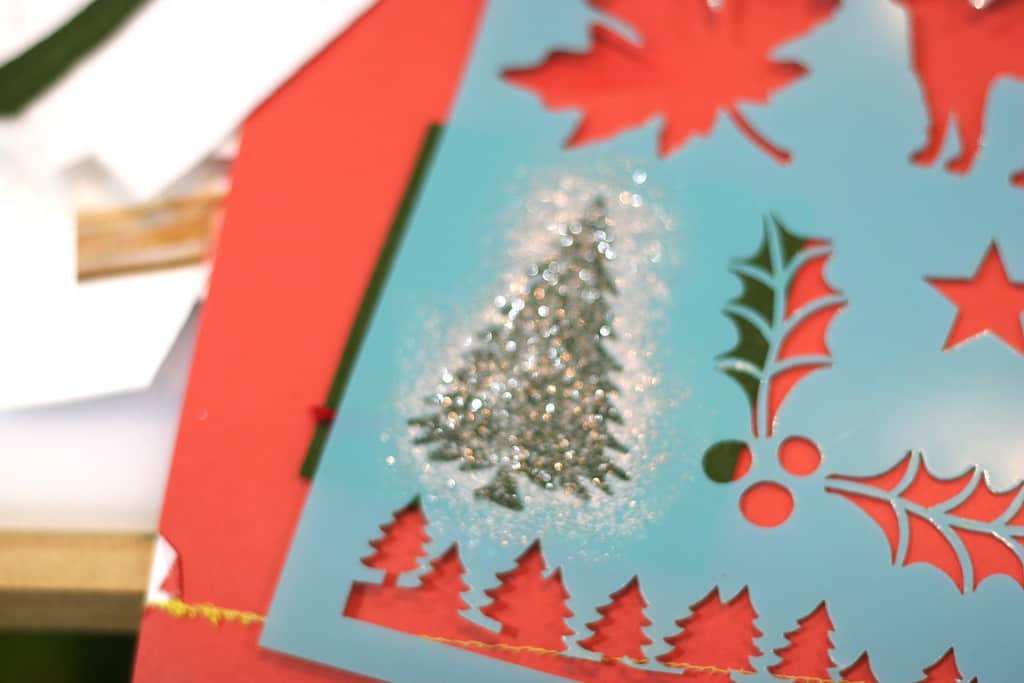
Then I tried some glitter paint for a Xmas tree.
And of course a white snowflake with glitter on top!
Ok. Stenciling is super fun. How did I not know this?
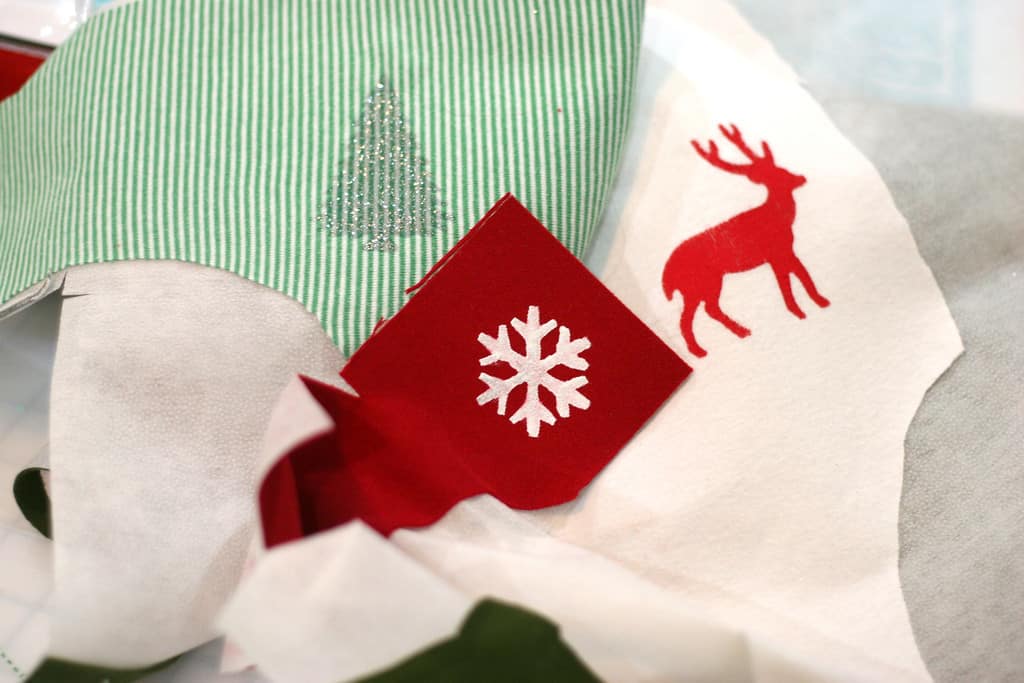
7. Move on to adding stencils to your squares.
9. Add them back to the layout to keep an eye on your composition.
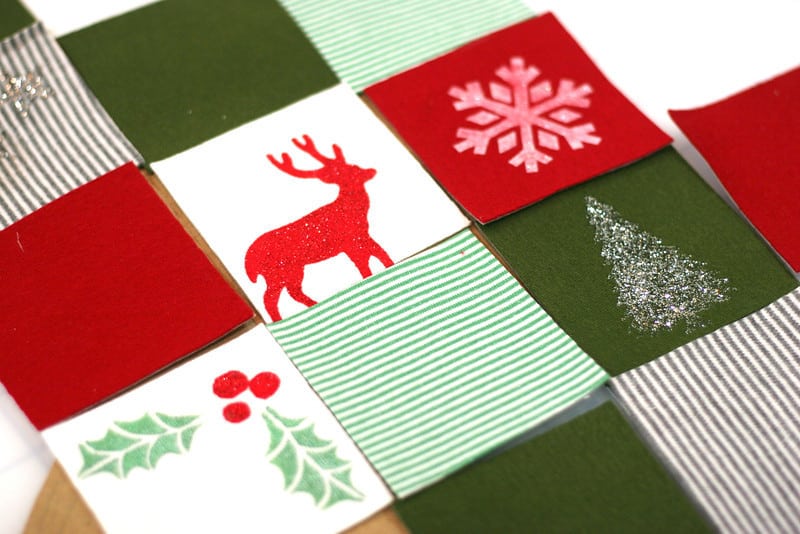
10. Don’t fill in all your squares. About half looks good. I might have gone overboard but stenciling really is addicting. Note that the toe is pointing the correct way now.
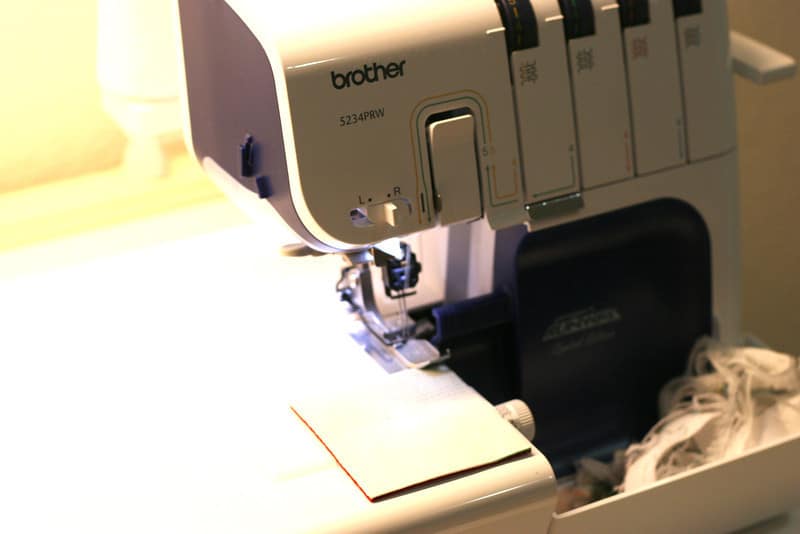
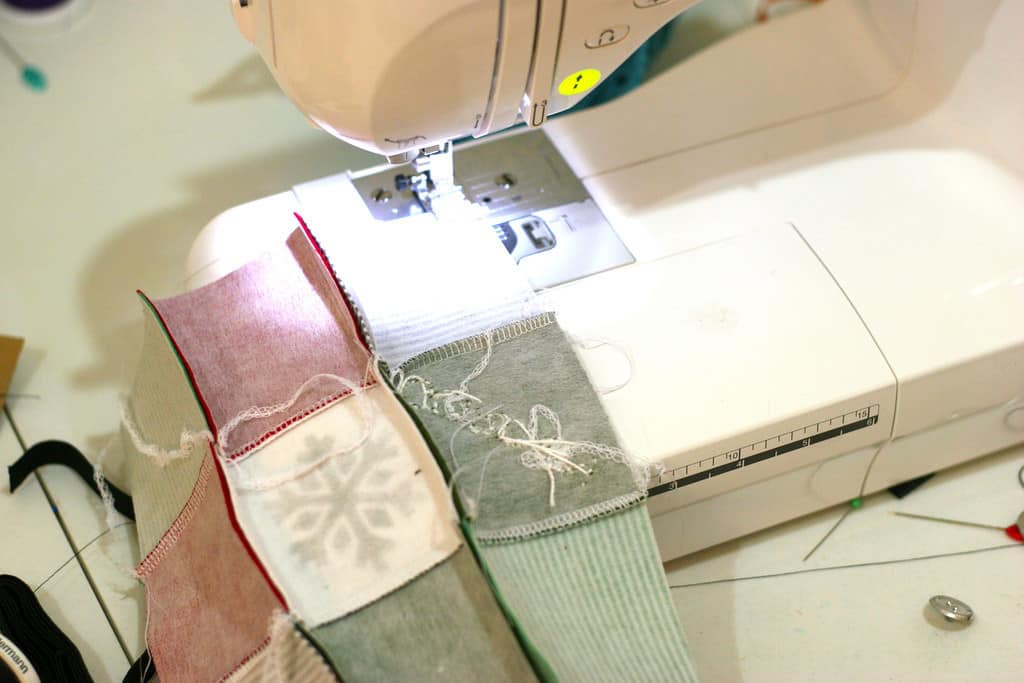
11. Start sewing or serging your rows together.
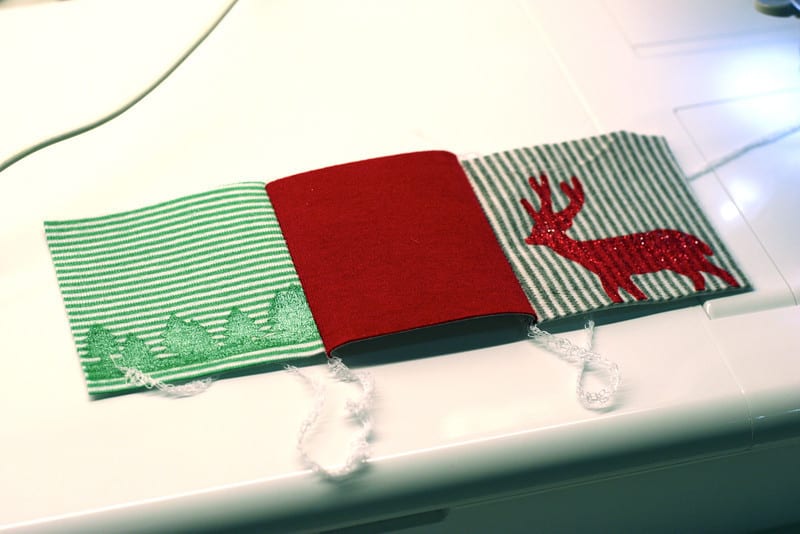
You will lose about 1/2″ per square in your total dimensions.

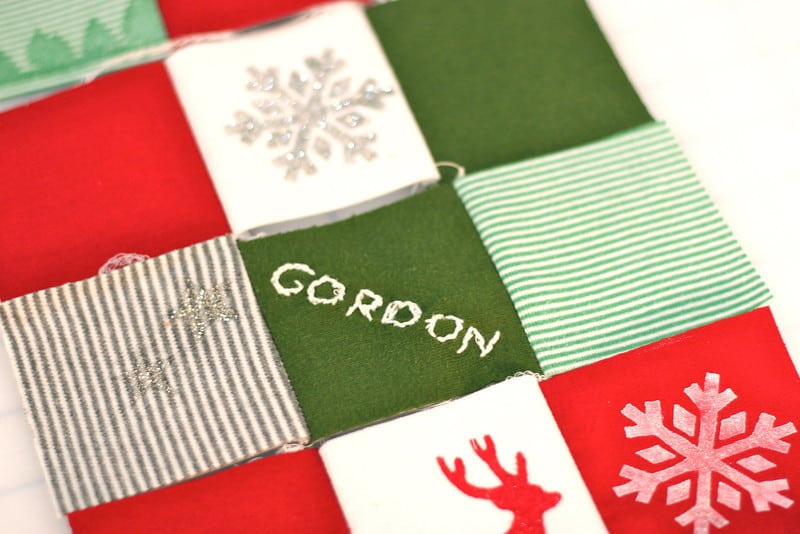
13. If you fancy, you can add a little embroidery by hand or machine.
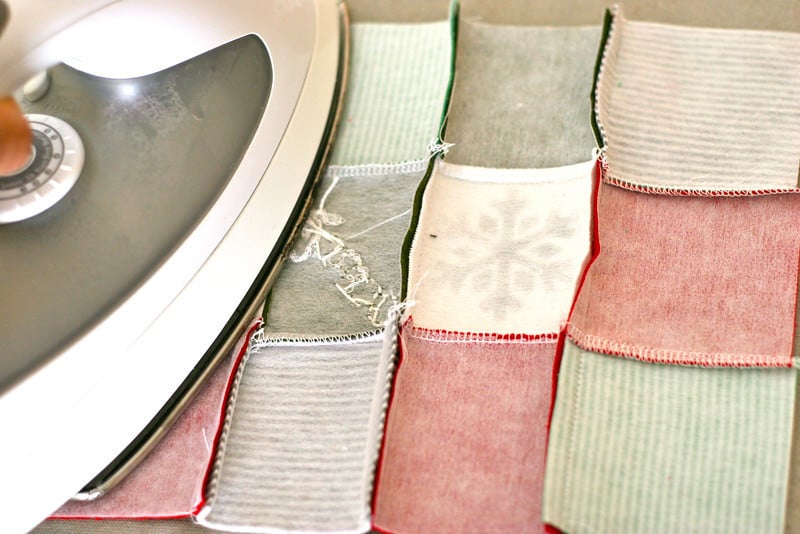
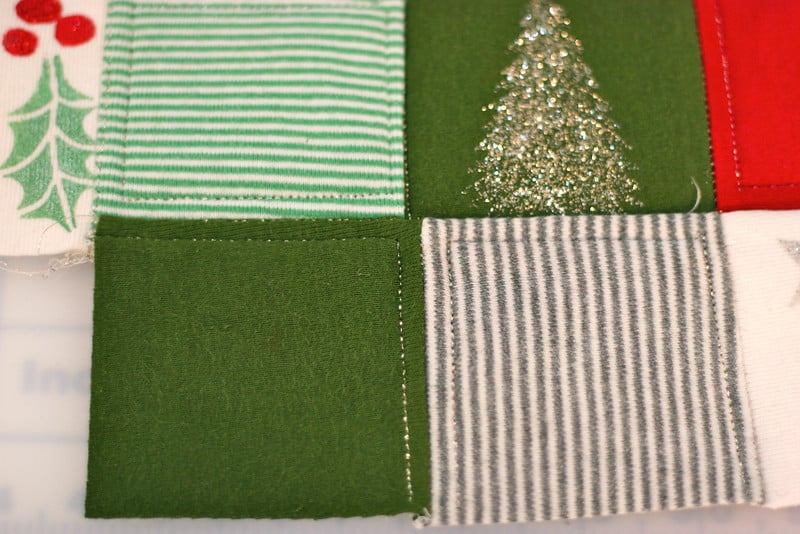
14. Iron your rows flat. This will “set” the paint into the fabric and also flatten your seams. Iron both seams in one direction, ideally towards the darker color.
15. Now sew your rows together.
16. Iron all of the seams flat.
17. Oh, now we are getting somewhere!
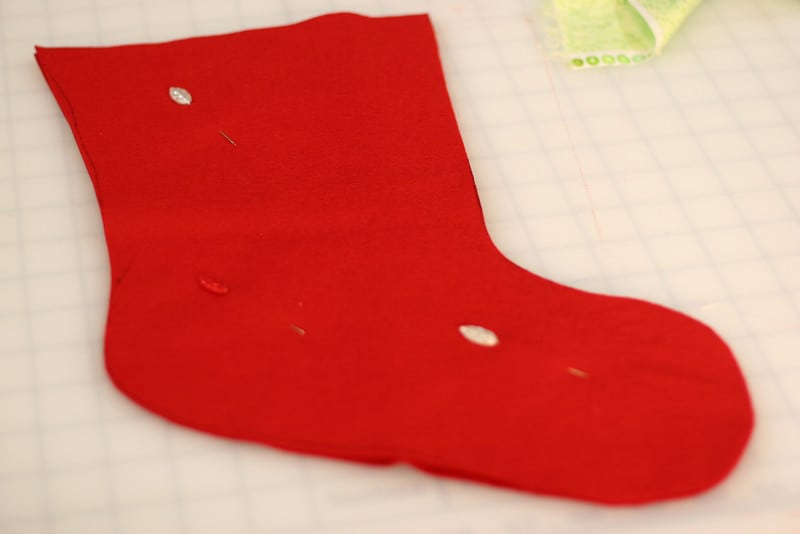
18. Lay your stocking top on a piece of wool felt and trace.
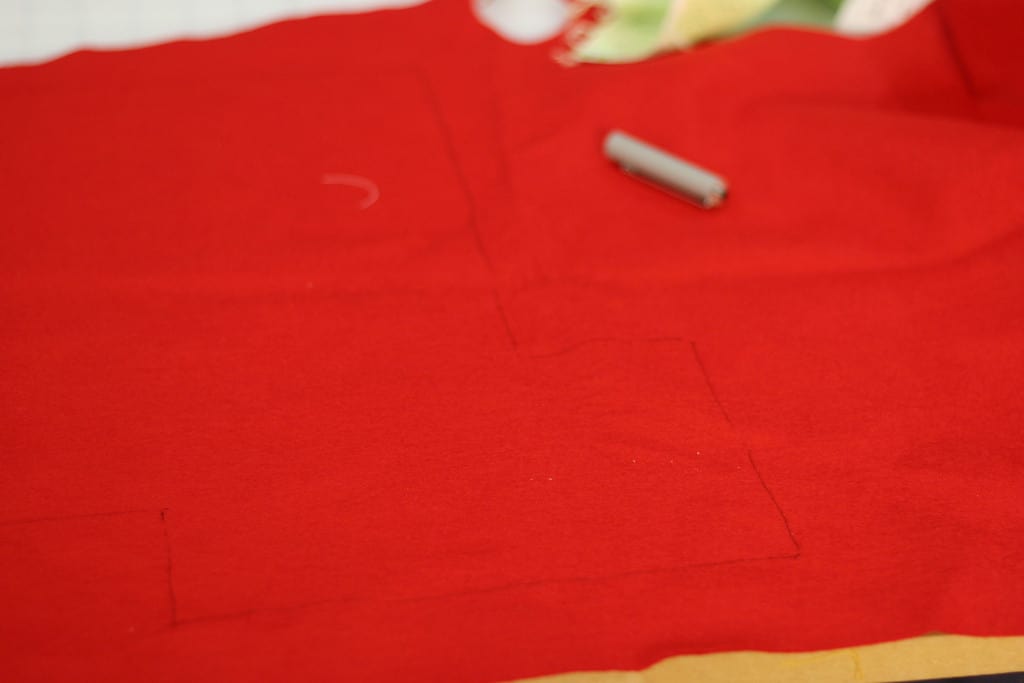
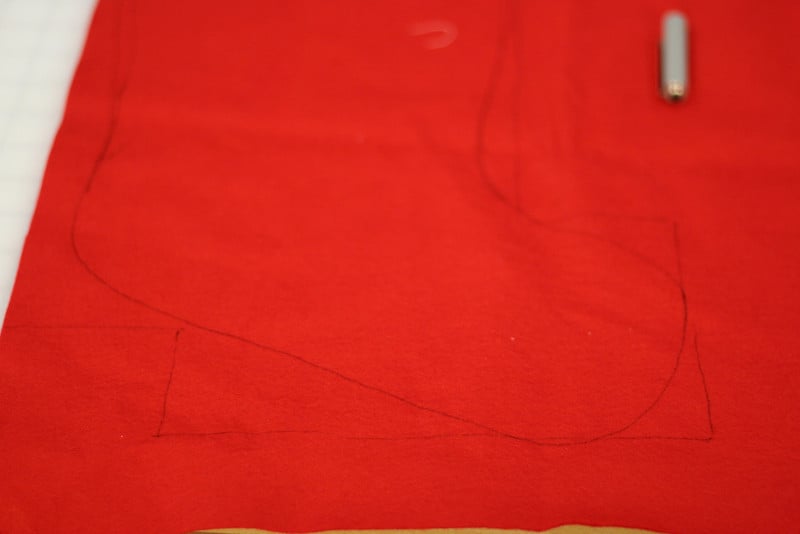
19. Freehand draw your stocking shape within the box.
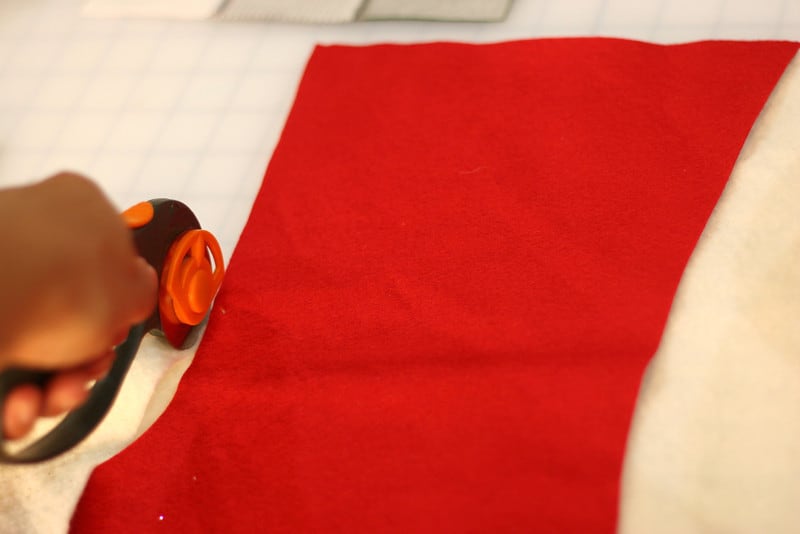
20. Double up the layer of felt.
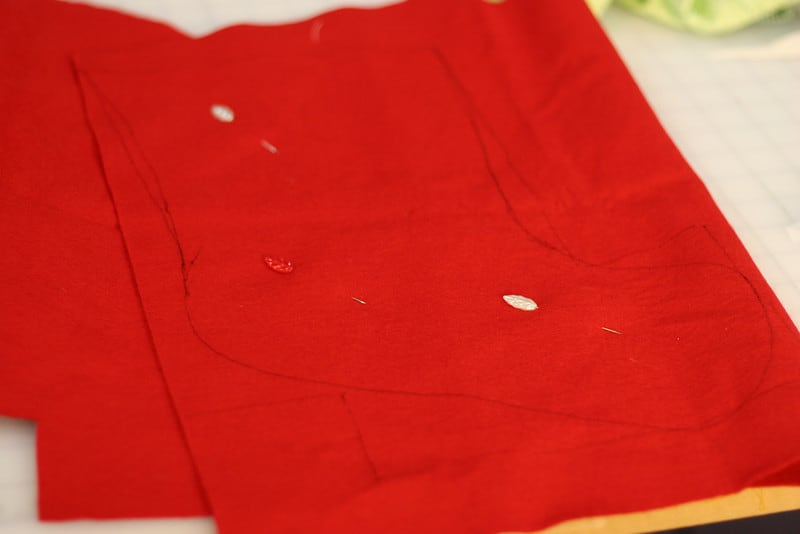
21. Cut out stocking using a rotary cutter. One layer of felt will be the backing for the stocking front. The second will be the back of the stocking.
22. If you would like to add a layer of batting to add some “puff” to your quilted stocking top, cut out a layer of batting the same size now. I used one layer of low-loft.
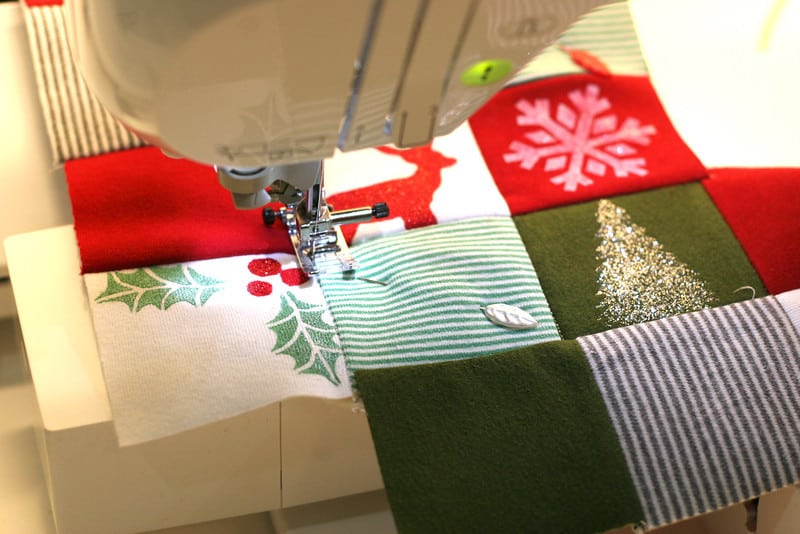
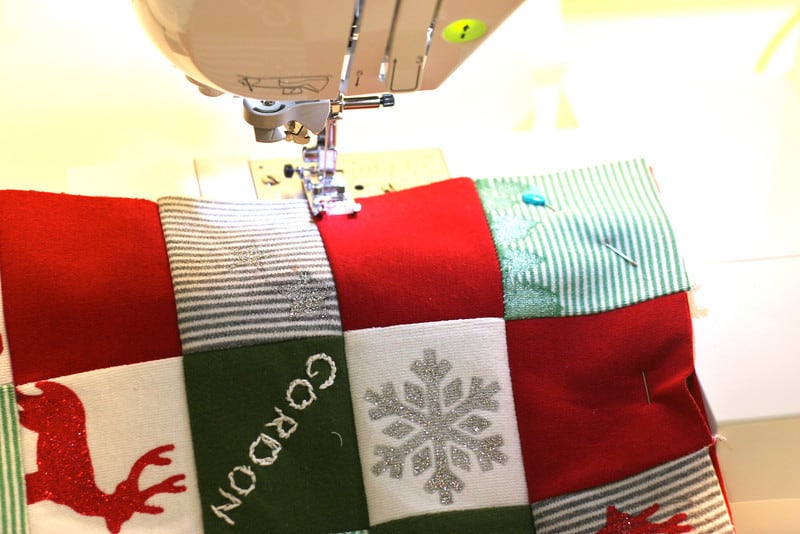
22. With your batting pinned between the stocking front and the felt backing, “stitch in the ditch” down each row. At every stop and start, remember to secure with a back stitch or two. I used some gorgeous silver thread and a decorative stitch designed to look hand-sewn. Apparently, I am very bad at hand-sewing as mine looks nothing like this.
23. On my unpainted squares, I added a row of decorative stitching, 1/4″ from the edge in the same silver thread.
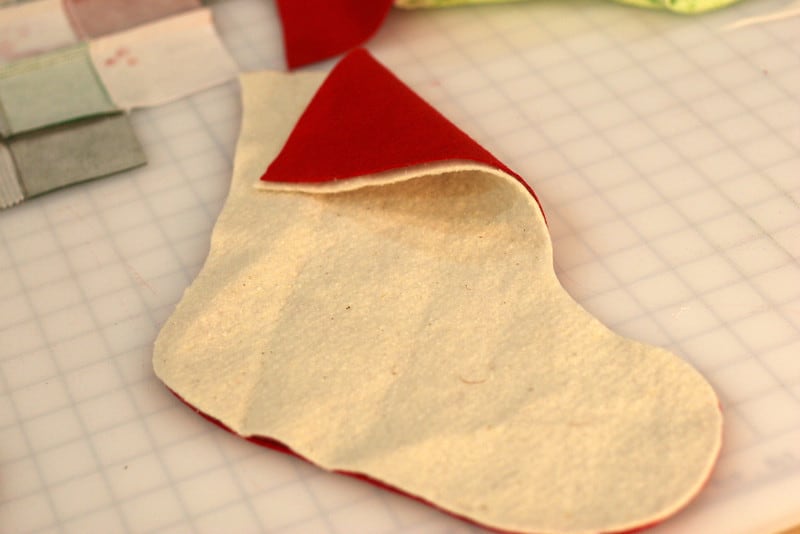
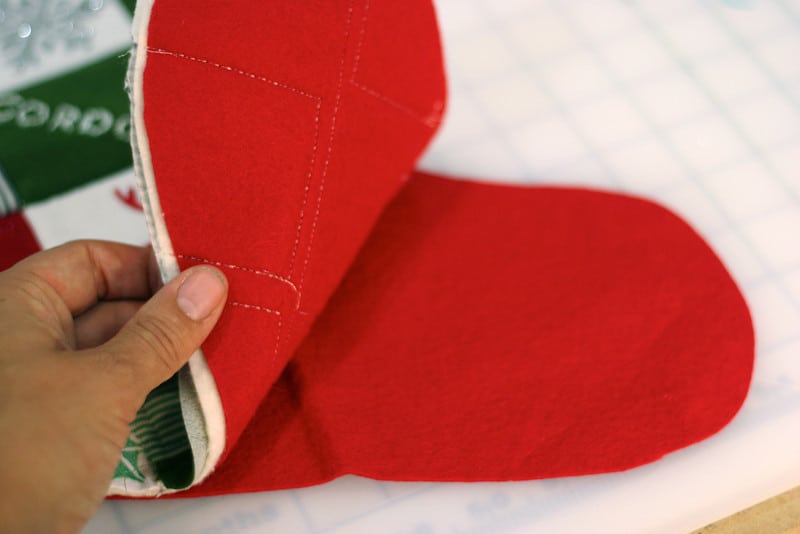
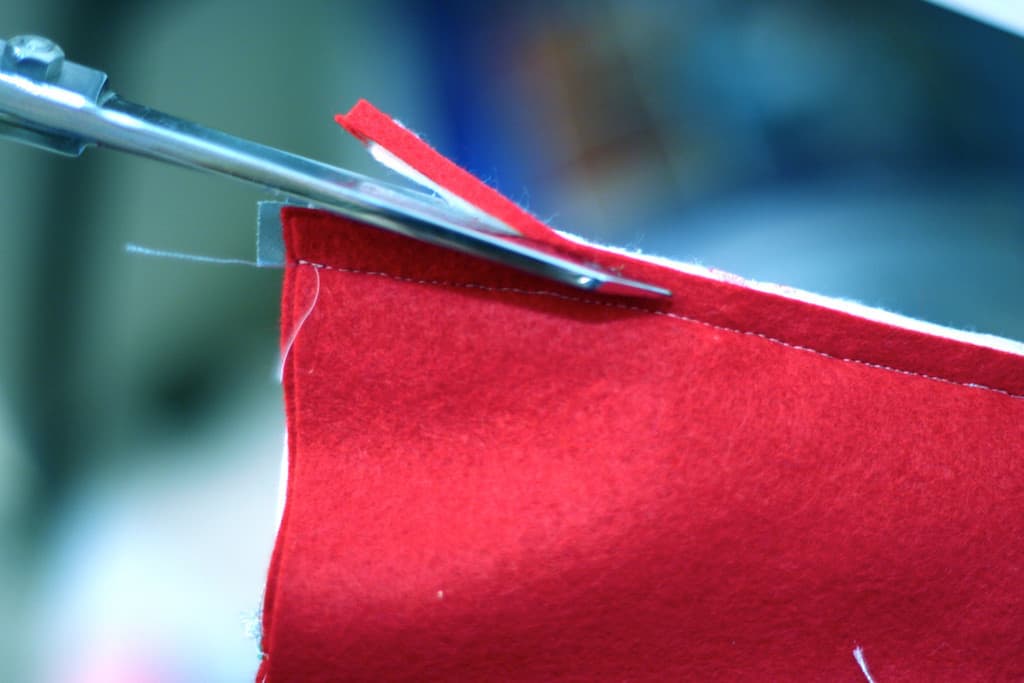
24. Flip over your top and use the felt backing as a guide to trim the front of the stocking.
Looking good.
25. Lay the stocking top on top of the back layer of felt.
26. Pin your layers together.
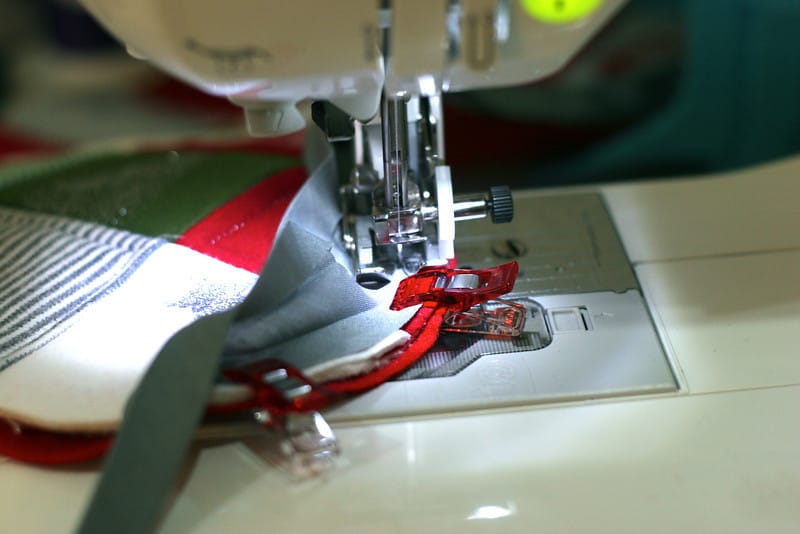
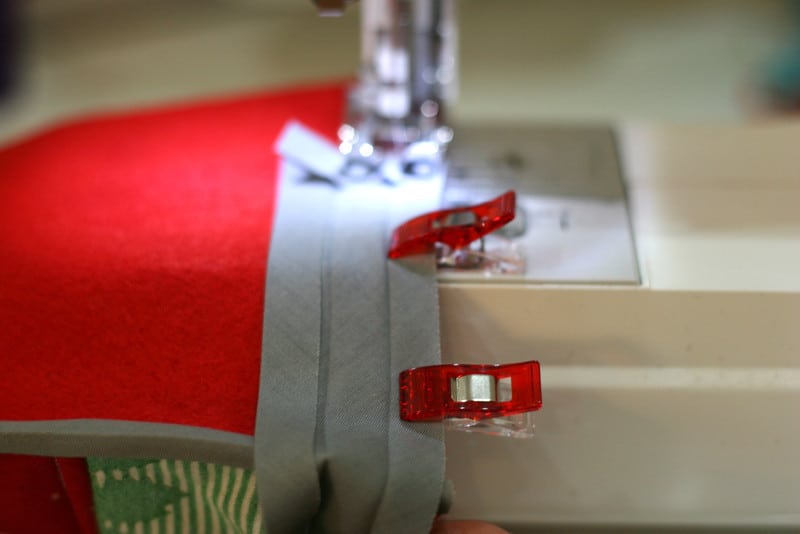
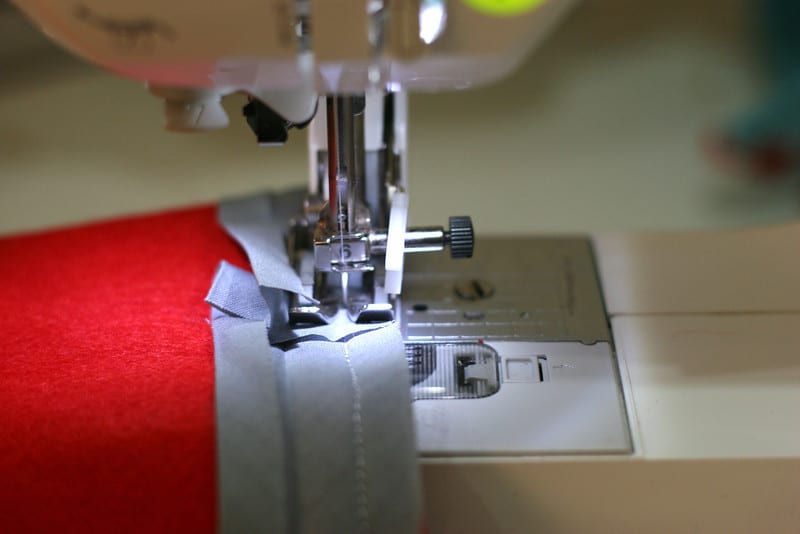
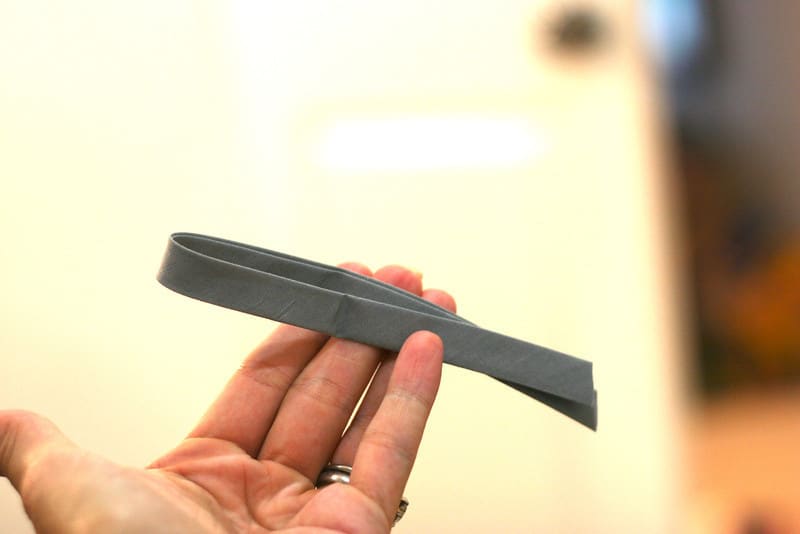
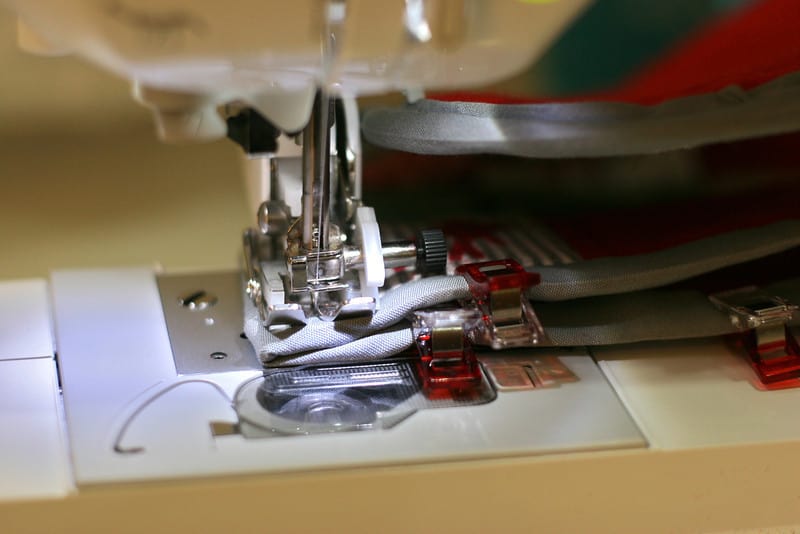
27. Grab your store bought or handmade 1/2″ double-fold bias tape. If you have store bought, one side will be slightly wider. Use the shorter side first. Open folds of tape and pin to the edge of the stocking starting at the top edge. Start sewing about 3/4″ down from top of stocking along first crease in from the edge.
28. Sew all the way around, stopping 3/4″ from the top.
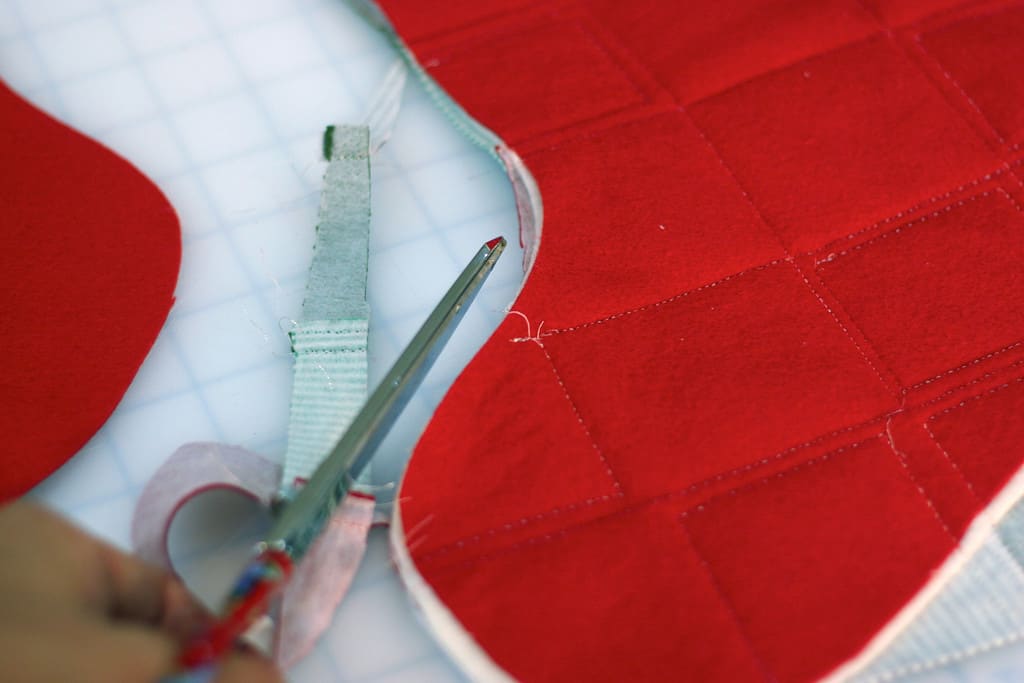
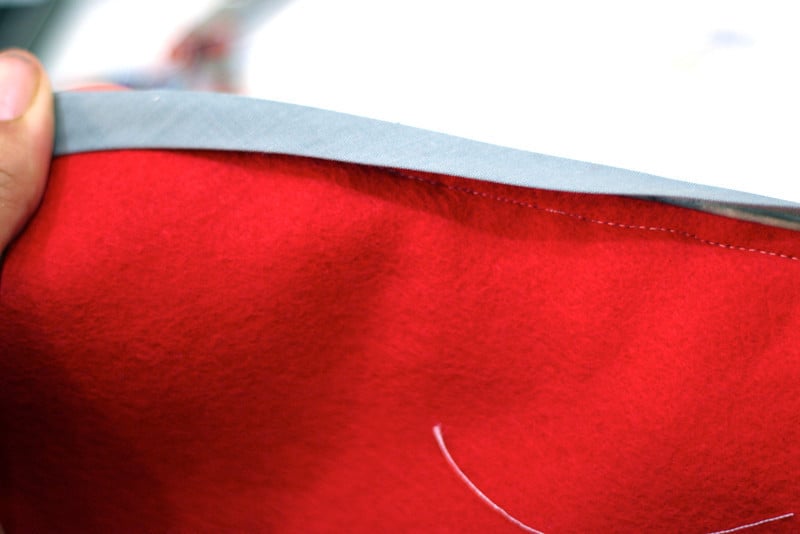
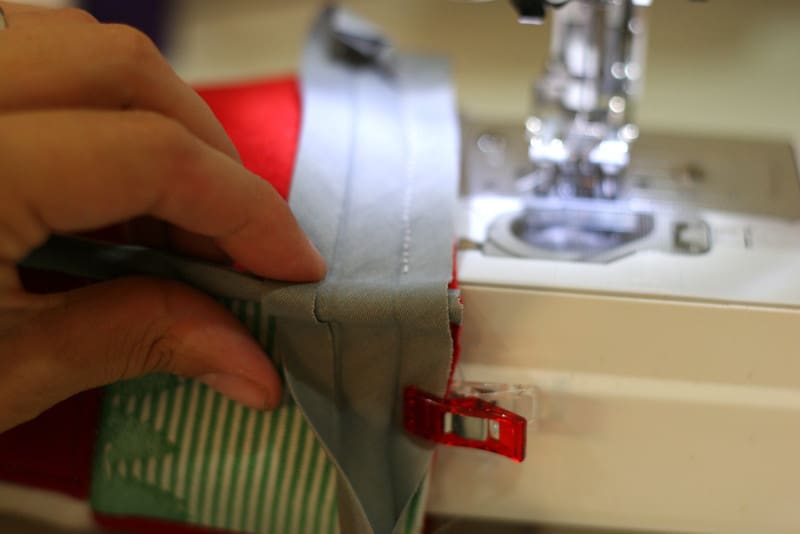
29. Wrap your bias tape around the edge of the stocking. If the tape covers the stitch line, you are ready to move on. If not…
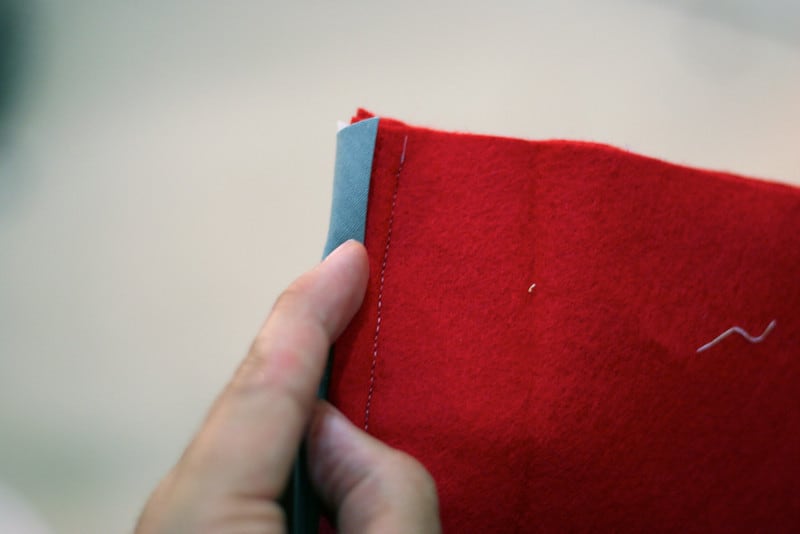
30. Open the tape back up and trim the layers of the stocking inside the bias tape.
Ahh. That’s better.
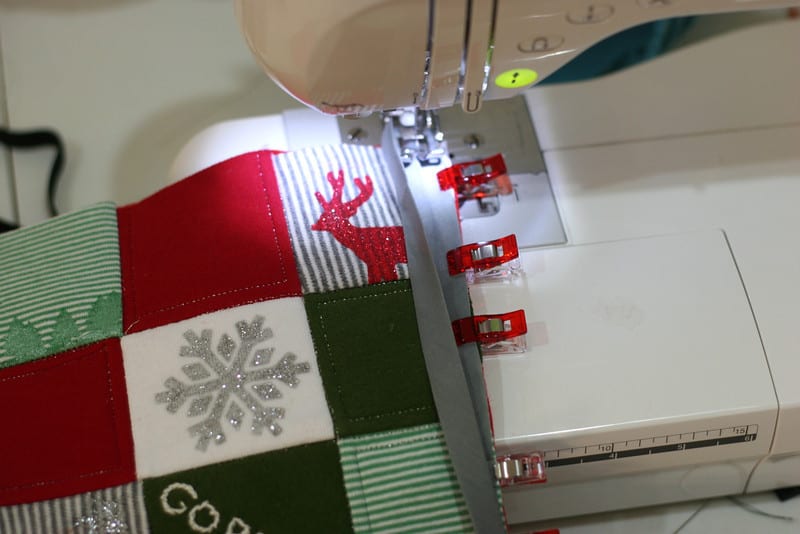
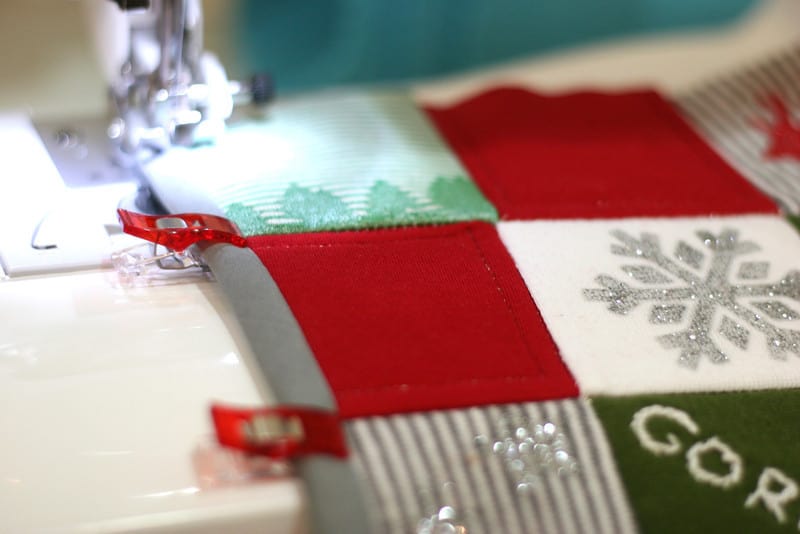
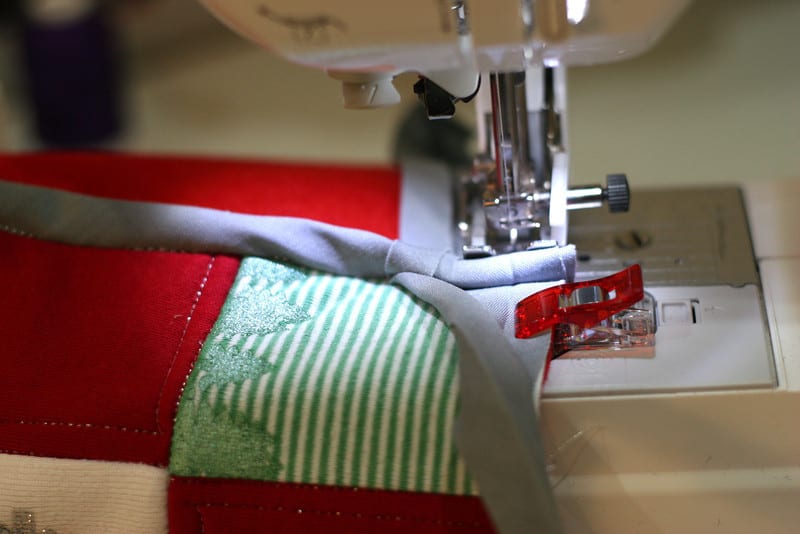
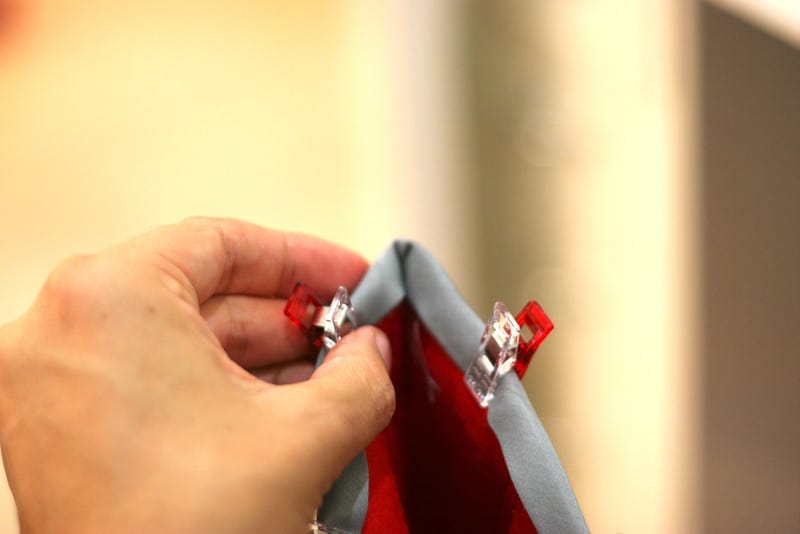
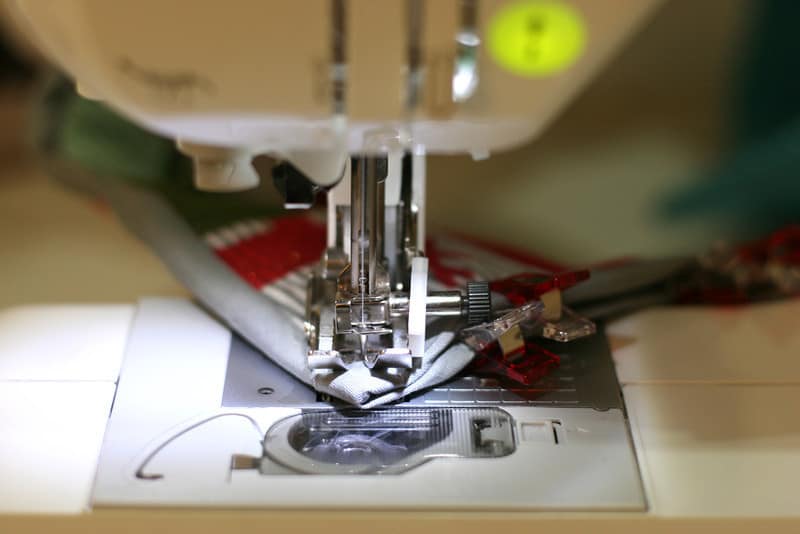
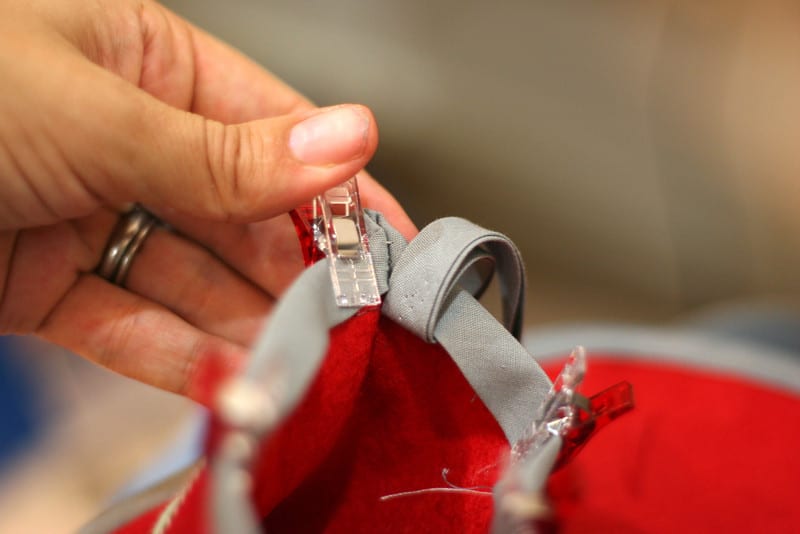
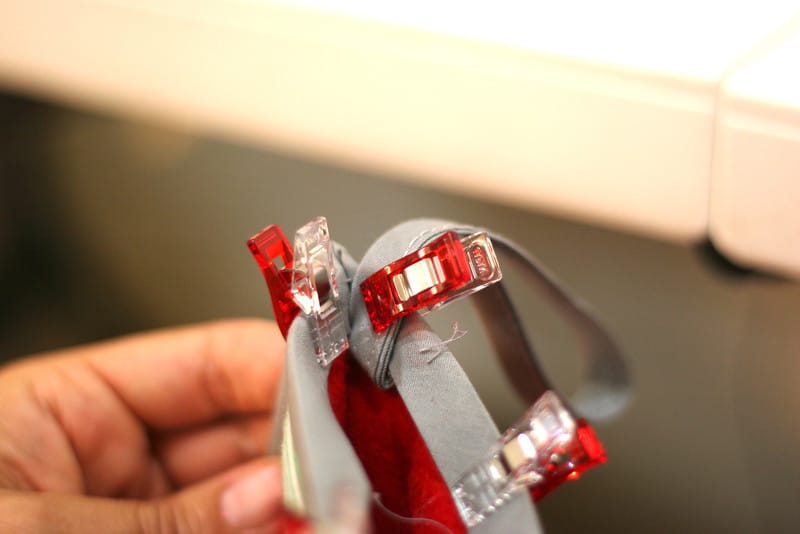
31. Now wrap the bias tape around the edge, covering the stitches on the back. I love these Clover Wonder Clips for holding binding in place. Start stitching “in the ditch” 3/4″ from top, proceed all the way around and stop again 3/4″ from the top. Stitching “in the ditch” means you are sewing right in the line where the two fabrics are sewn together.
Almost there!
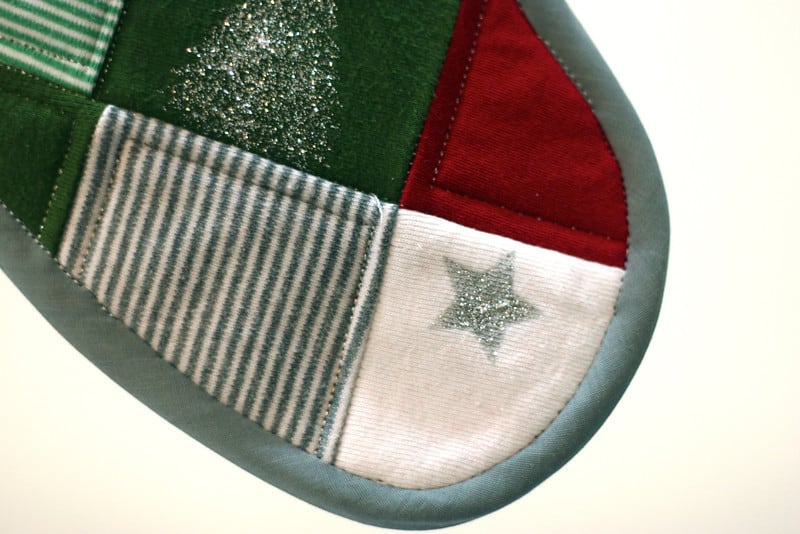
Time for a Quality Control check.
Looks like it passed!

Now to finish the top!
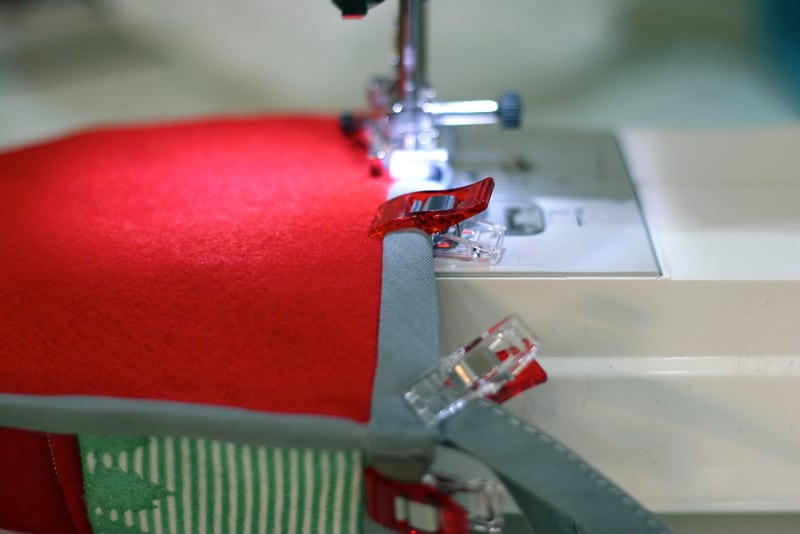
32. Starting on the back side of the stocking, fold the end of the bias tape up and pin along top edge of stocking all the way around. Sew along the crease in the bias tape closest to the top.
33. Stop 3/4″ from the edge of the back side. Secure with a back stitch and remove from machine.
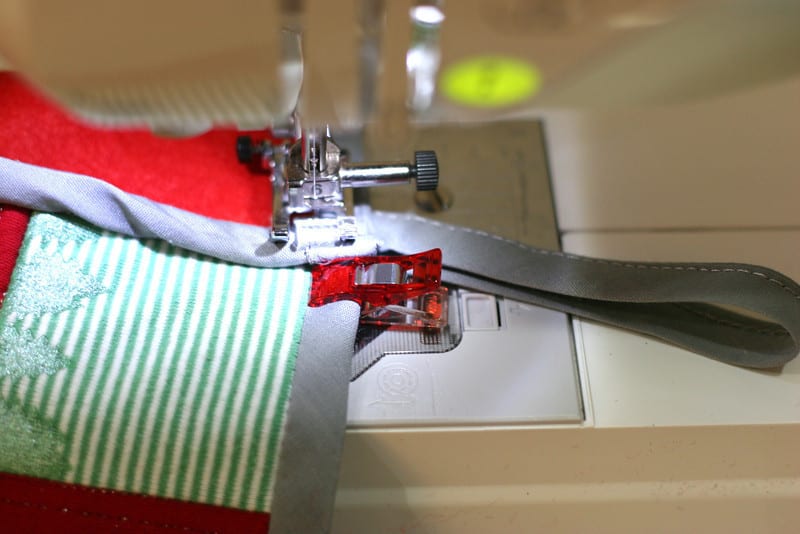
34. Being careful to keep bias tape flat to fabric, flip the edge “up” and continue sewing 3/4″ in from edge.
35. Repeat on front, and turn to finish back.
36. When you get to the back center, overlap the end over the initial folded end and sew overlapped.
37. Cut a length of bias tape or ribbon to use as a hanging loop.
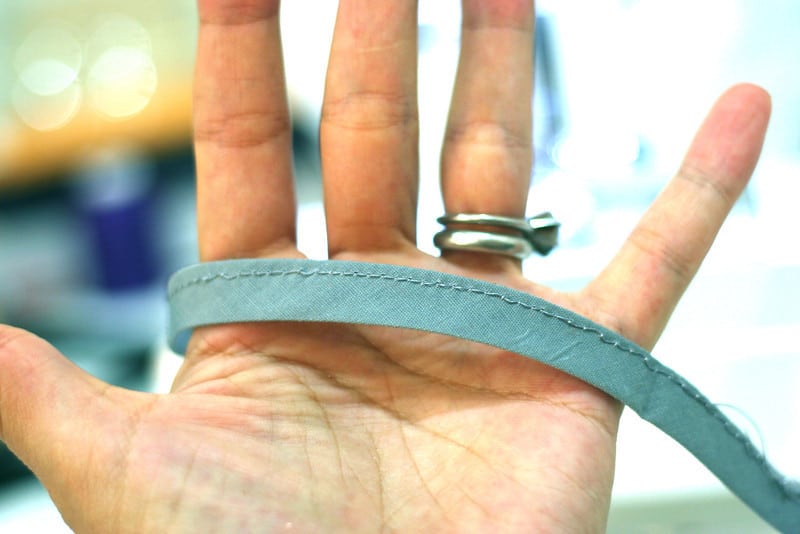
38. If using bias tape, sew it closed. set aside.
39. Turn the bias tape over open edge to inside stocking. Tuck corners inside space left unsewn. If you didn’t leave enough room, rip out a few stitches.
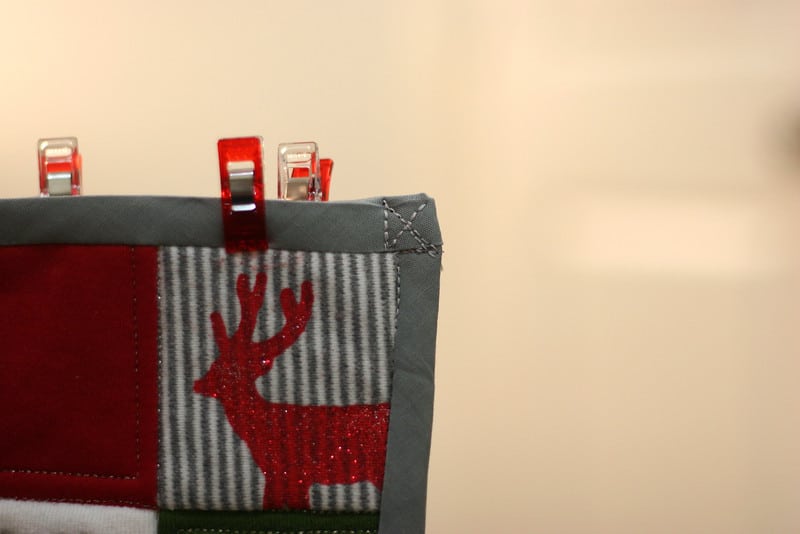
40. Close stocking flat and secure corner by sewing a box. You can add an x through the box as decorative stitches if you wish. Use forward and back stitches on each side.
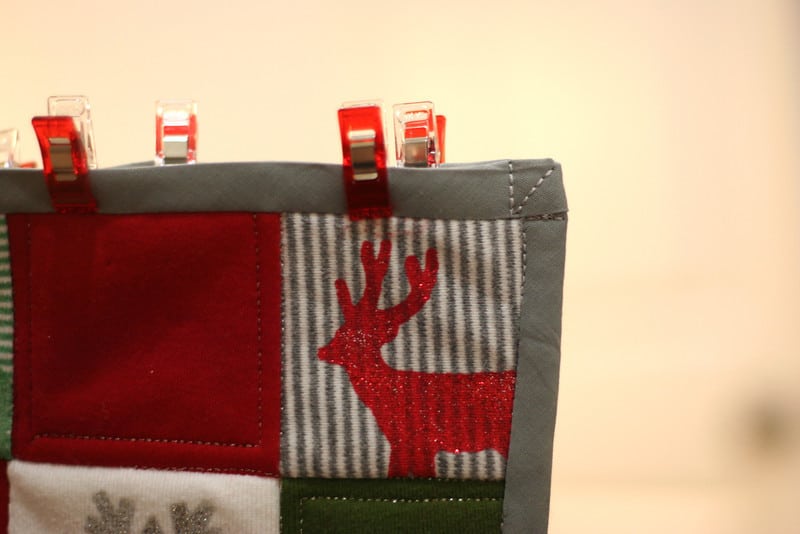
41. Repeat on other side.
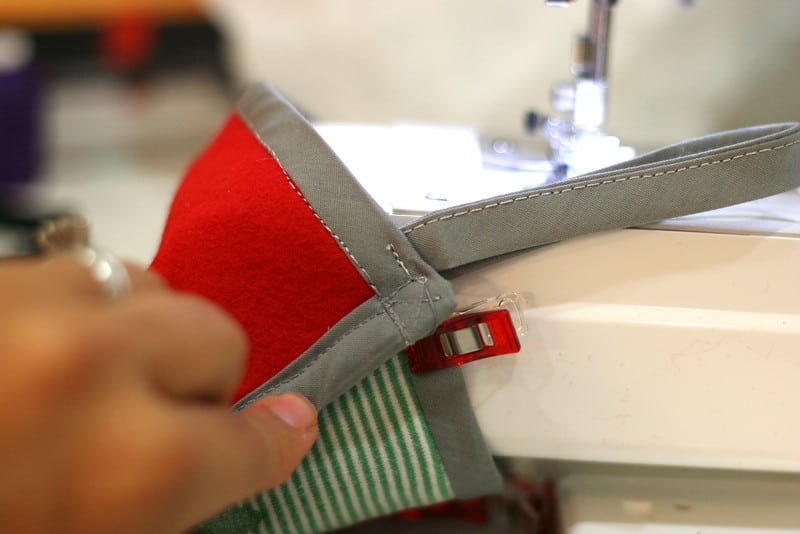
42. Grab your loop of ribbon or bias tape and tuck the ends up under the bias tape in the back left corner.
43. “stitch in the ditch” along the front and back of stocking opening, securing with back stitches at both ends.
Add a few more stitches above to secure loop.
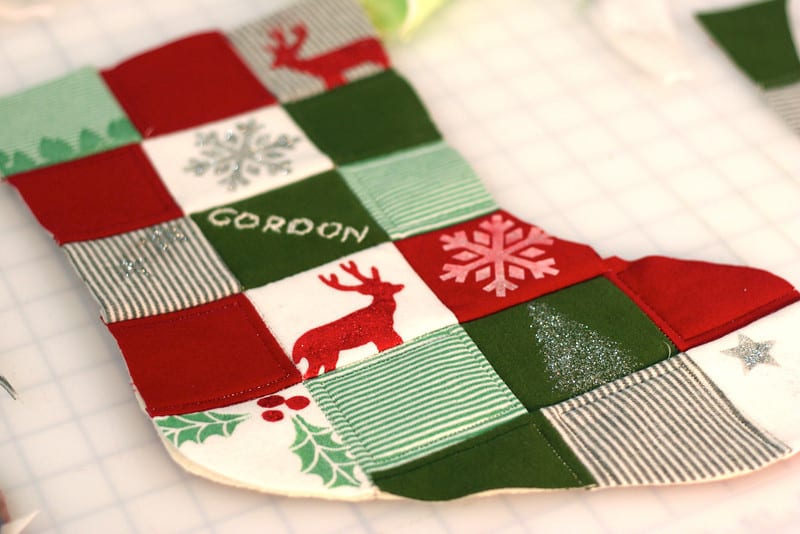
And you are finished! It seems like alot of steps but this is a really fun project with a million ways to personalize. And how about those gorgeous glitter paints? I may have over-done it but isn’t it the season for glitter?
Visit the Martha Stewarts Crafts site to watch videos and see more gorgeous tutorials using these new paints.
I was sent free supplies to create this tutorial and was paid for this post. Guess what I did with the money!? I went out and bought more paints. I have a problem.