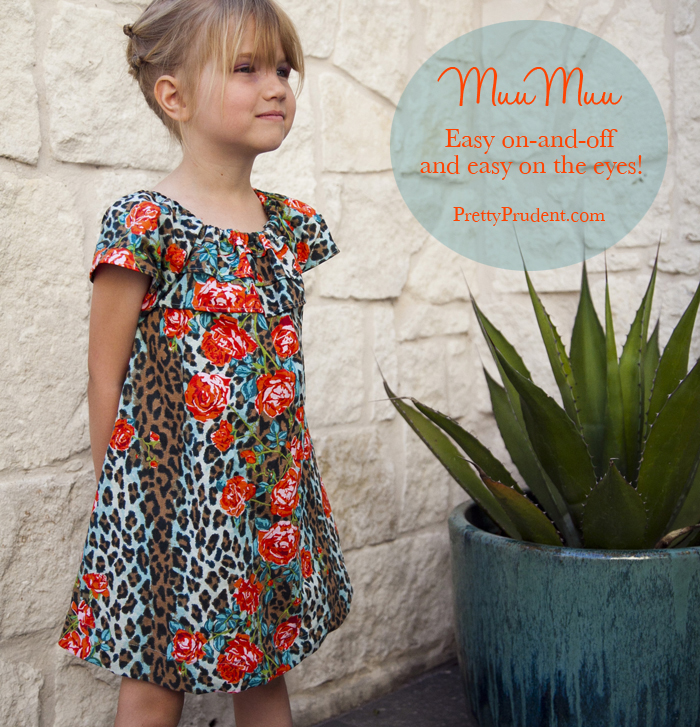
As much as my girls love the beautiful prints on cotton dresses, they will typically gravitate to the the easy on-and-off of knit. They are independent young women on the go and just can’t be bothered with buttons and ties. Here is a dress that combines the beauty of cotton with the ease of stretch, in the form of an elastic neckline. With our muu muu free pattern the MuuMuu (or house-dress) has never looked so cute.
I can’t help but wonder if I could pull this off in grown-up size.
Read on for the free printable muu muu free pattern and step-by-step tutorial.
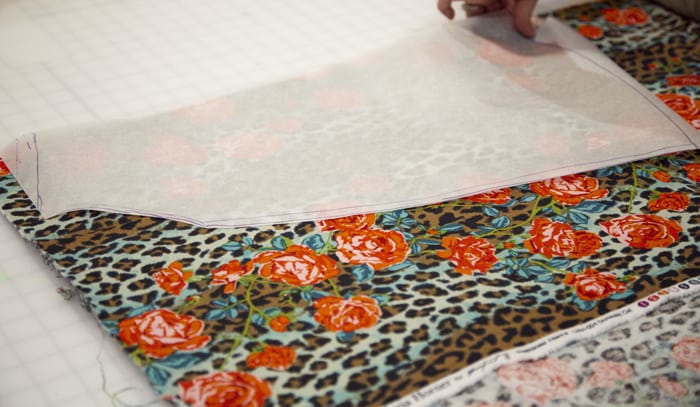
For this muu muu free pattern you will need 1.5 yards of cotton or linen fabric like this Clare-selected Anna Maria Horner Field Study Linen, Domestic Cat Aqua and 22″ – 1/4″ elastic.
1. Print out the pattern at 100% and piece together as shown on first page. Fits most 3-6 year olds (approximately 30-40lbs) * Click here for printable pattern.*
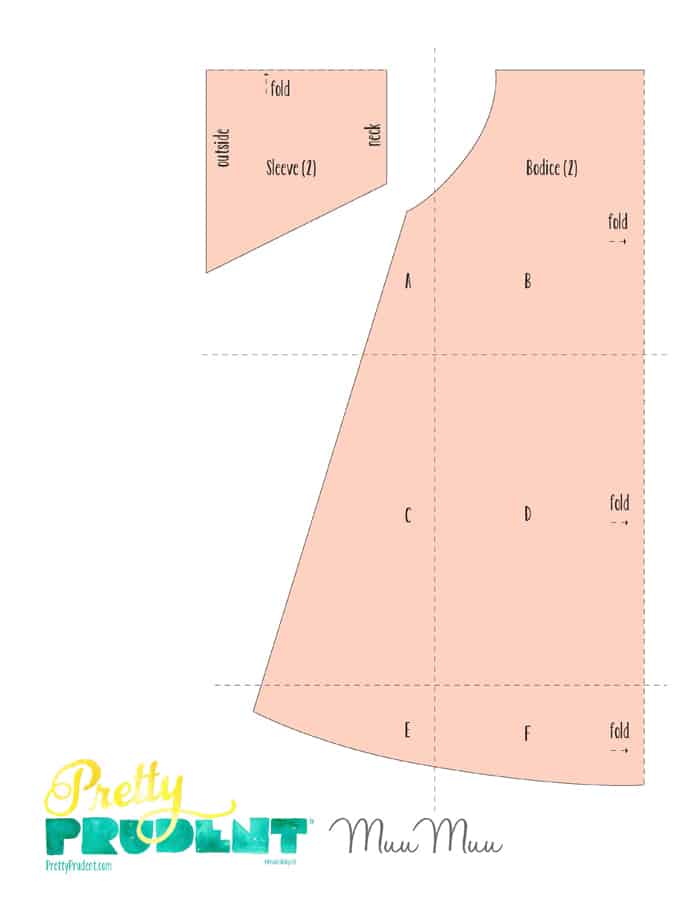
For Reference Only – click link in text for full-size pattern
2. Lay the fold of the dress panel on the fold of the fabric. Cut 2. One for front and one for back.
2. Cut 2 sleeves with fold of pattern piece aligned with fold of fabric.
3. cut 3 – 2″ strips of fabric at 12″, 15″ and 18″, which will be the three tiered layers on the front.
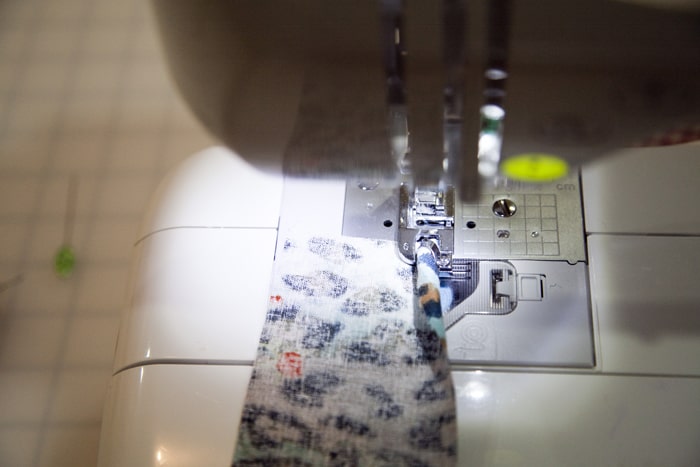
4. Hem one long edge of all three strips 1/4″ and 1/4″ again. Although challenging with linen, a narrow hem foot would be helpful here.
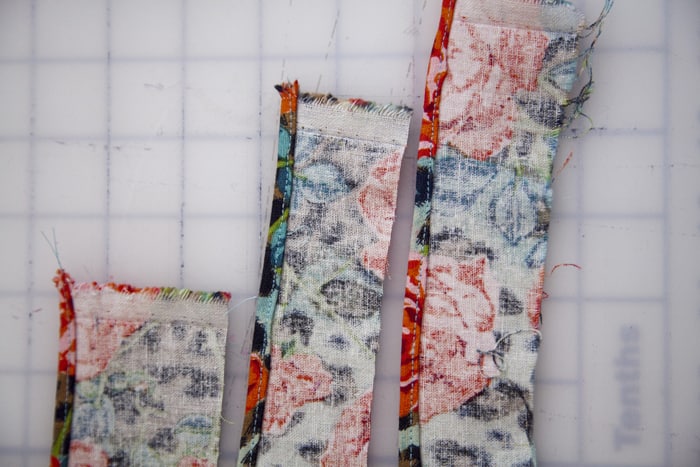
5. Starting right above the arm holes, position your strips. The bottom of the bottom strip should hit at no more than 4.5″ down from the top of the dress because you want the strips to overlap about 1/2″ each.
6. For the top strip, lay the strip, right-side-up under the top of the dress with top edges aligned.

7. Sew along the top edge with 1/2″ seam.

8. Wrap strip up and around front and press flat.
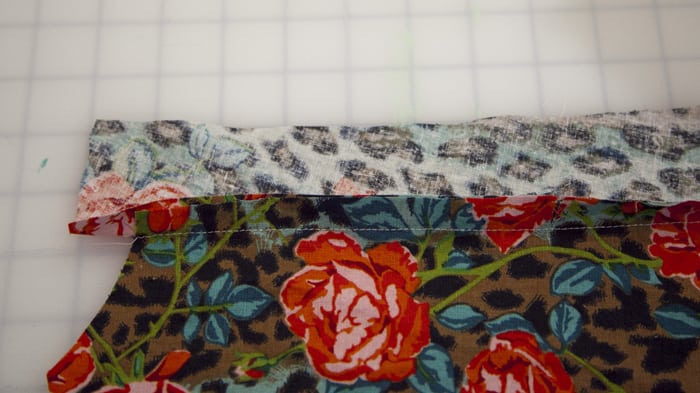
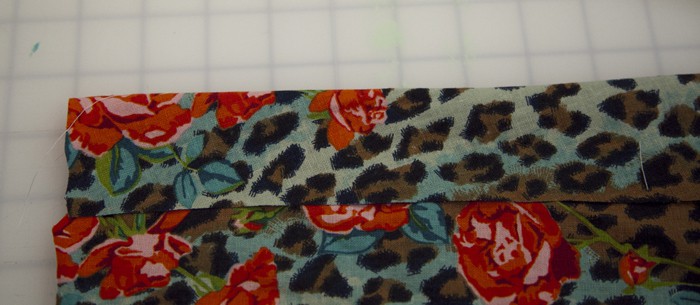
9. Create a casing for the elastic by sewing a straight line through all layers 1/2″ from top edge of dress.

10. Using a zig-zag stitch with a wide stitch width and tight stitch length, sew each of the bottom two strips to the dress.
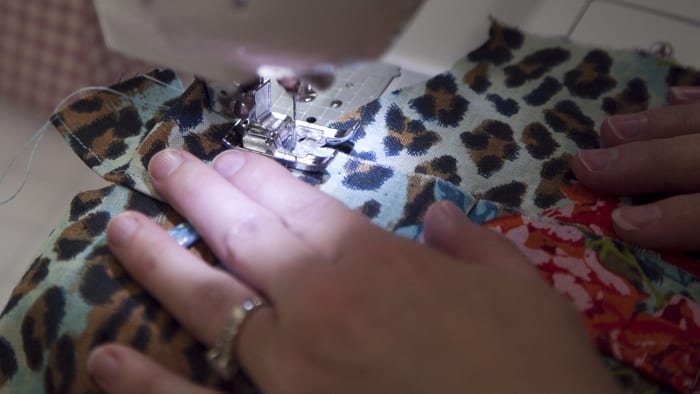

Set front aside.
11. Hem the edge of the sleeves with 1/4″ + 1/4″
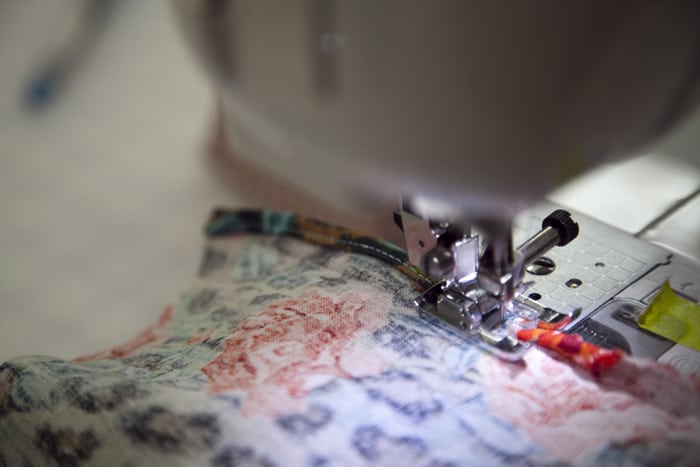
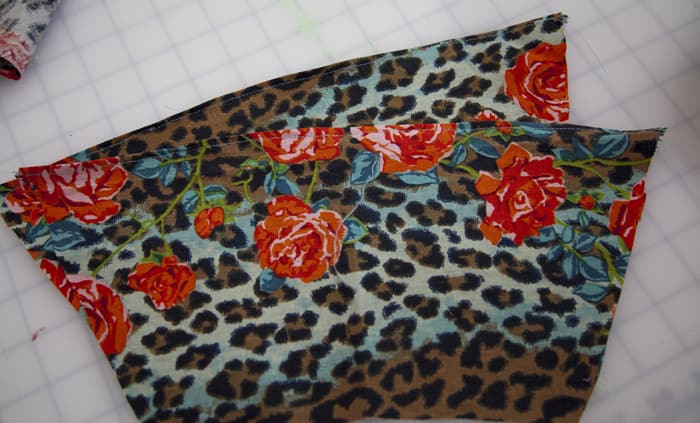
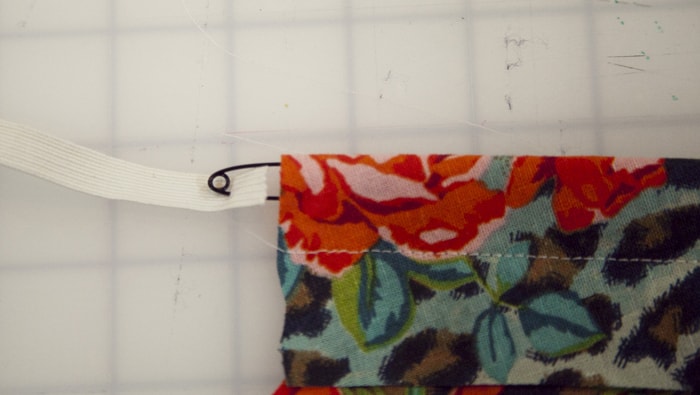
12. Cut 2 – 5″ lengths of elastic and 2 – 5.5″ lengths of elastic. Using a pin, run one of the 5″ through the casing on the front of the dress.
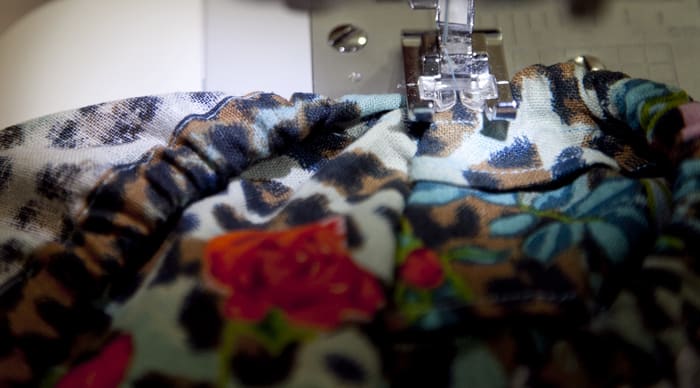
13. When the elastic is pulled through and the fabric is gathered to accommodate, sew each end, through all layers 1/8″ from edge of casing. Note: your seam will not show the front of the fabric as seen in this photo, we made an adjustment for the final tutorial.

14. Create casings along the top of both sleeves and the back of the dress by folding 1/8″ under and then 1/2″ down. Stitch in a straight line along the very bottom edge of each casing. Ignore seam on back panel.

15. Repeat step 13 on the remaining 3 sides with 5″ piece at the back and 5.5″ pieces at the shoulders.

16. Where the sleeve meets the dress, start at the neck and line up the elastic edge. Start with a few front & back stitches to secure and then sew straight down arm hole. It’s OK if the end doesn’t align. Make sure the ends of the front strips get sewn into the arm seam.
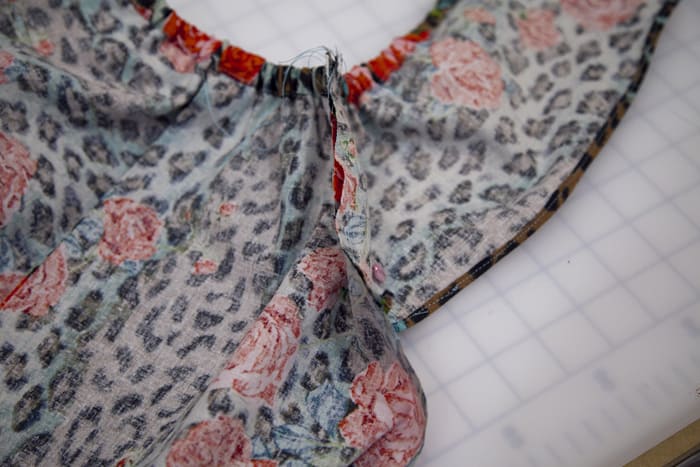
17. Fold the seam towards the front of the dress and sew down flat through the front of the dress with several back and forth stitches, creating an approximately 120% degree angle at the neckline.
18. Repeat on other three sides.

19. Now that the dress is folded in half and almost looks finished, let’s sew the side seams. Align the bottom corners of the sleeve as shown below and starting with a few back-stitches, sew from there, all the way down the side seam in a straight line to the bottom corner of the hem.

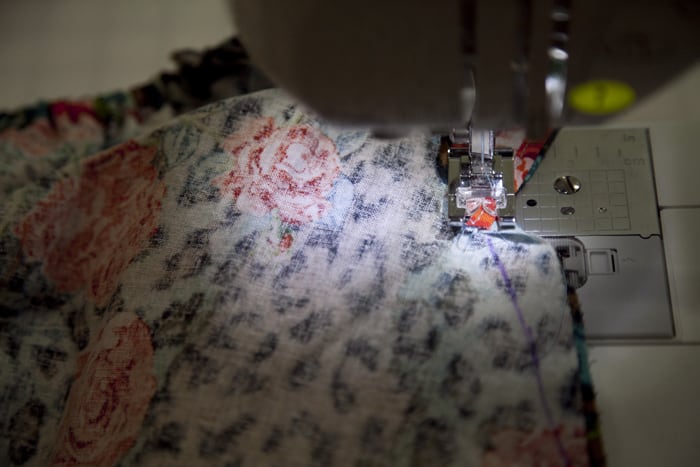
20. Cut off the edge. Finish your edges with a serger or pinking shears if desired.
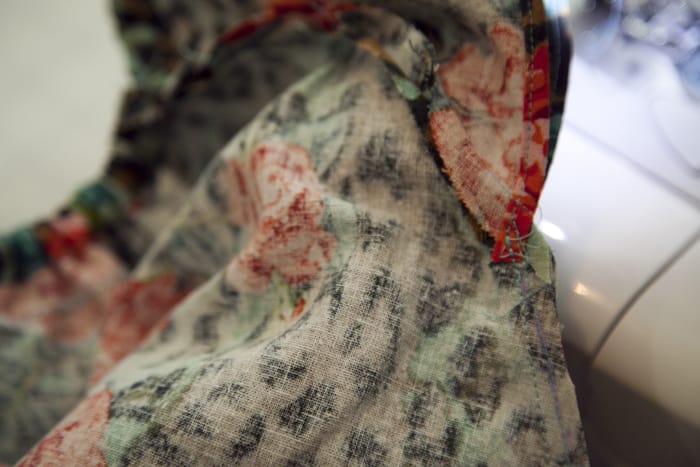
21. Hem the dress as desired. We did 1/4″ and then 1.5″ on this one.
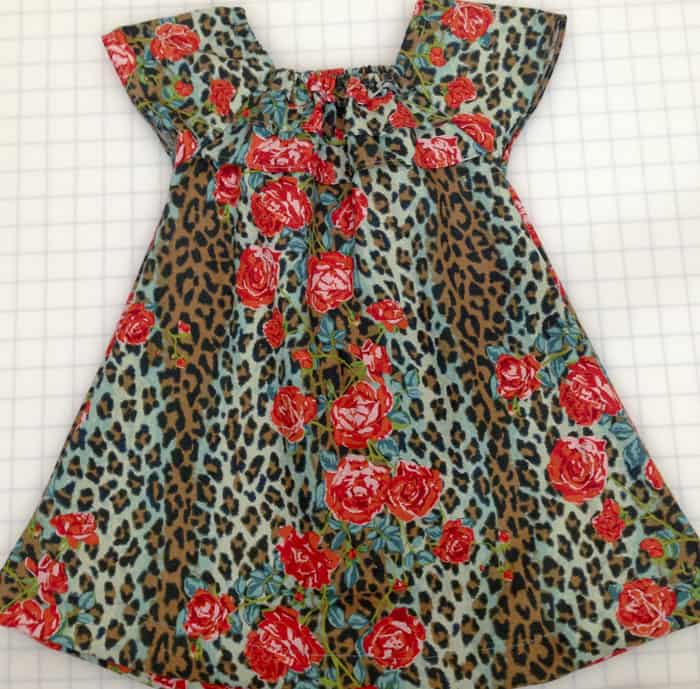
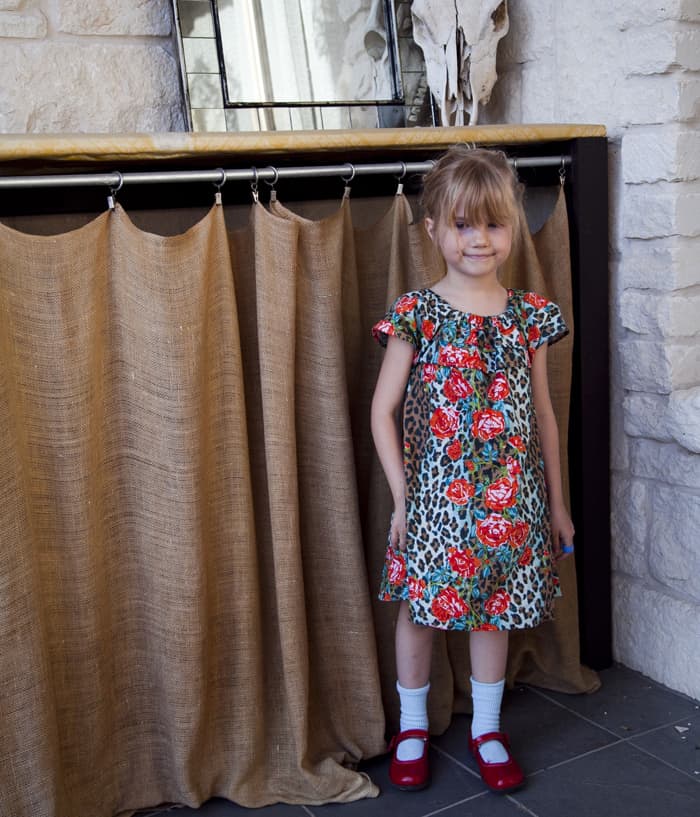
The girls are already begging to pick out more fabrics for a Summer wardrobe of this staple dress. Try our muu muu free pattern and let us know what you think!

Now that you’ve used our muu muu free pattern, check out 25 Free Dress Tutorials for Babies and Toddlers, and other fun kids clothing projects, or just more great sewing projects. Follow us on Pinterest for even more inspiration.








Very cute! I will have to test this one out, I’ve been wanting to make a little peasant dress, just for that elastic neck reason. And the flare of this is so sweet on this little cutie! Thanks 🙂
Why did you do the neckline with the four different pieces of elastic instead of one piece of elastic like in your peasant shirt tutorial?
I was wondering this, too.
You could make this dress with one piece of elastic after sewing the 4 pieces together. It will just have more of the scoop neck, than the square neck, and you will have to attach the ruffles differently than we did here, ie folding the front hem backwards. If you use a heavier fabric like this linen, it might be easier to do the elastic in separate sections than working all the way around. Of course, making the peasant dress instead is still a wonderful option!
What is the size of the elastic to cut for the dress pieces??
Honestly, you may adjust accordingly.
If you wish to have more curls, cut it shorter but not too short else will make the neck size smaller. As for me, the normal measurement of elastic would be slightly less than the length of each piece.
eg: if the length of the piece is 25cm, the elastic is 19-20cm. You can have nice curls, this method always works for me. Thank you.
Cute fabric, sweet design, adorable model.
I want one for myself and I would like to wear it all summer long.
Pleeeeeease play around with making a grown up version. I only have a son, so no little girl to make all these gorgeous dresses for and NEED to make this.
Thinking about how this can be flattering. Stay tuned, cuz I want one too.
Maybe knit would drape better?hmmm. Thinking.
The main issue would be boobs looking shelf-like. Hmmm, wonder if belting it may make a difference. I’m tempted to start cutting up old sheets to see how it would come out.
This dress looks lovely! If I were to make this for a 2 year old, any idea approx. how much I should reduce the pattern by when printing it out?
You want to create a similar shape as the pattern based on a dress that fits the child rather than a percentage reduction. Try one w cheap fabric first, like an old sheet!
[…] few weeks ago we shared our newest free dress pattern for the Easy Summer MuuMuu. We loved it so much that we made another. This version is simpler with no ruffles across the front […]
[…] by iCandy handmadeVintage Holiday Dress by Simple Simon & CoLittle Geranium Dress by made by raeEasy Summer MuuMuu by Pretty PrudentStrip-pieced Pleated Skirt by Sarah for Moda Bake ShopBookworm Skirt by living […]
After a few of the updates, FCPX has got extensively better.
I love this muumuu. When I try to download the pattern, the pdf is empty.
Can you give me suggestions so I can download this pattern? I have at least one granddaughter who will love it. Thank you.
Try right clicking and opening in a new tab. Solved the problem for me!
What about seam allowances? From your pattern pics seems to be included, but, how wide are those on side seams? Maybe I’m getting blind, but I can’t find this info through the tute…
Thank you,
MammaNene
SergerPepper.blogspot.it
Awesome! Can you make one for me now?
Thanks for sharing this as a freebie + photo tute. I just made one of these and am thrilled with how it turned out!
Love it :). Made one tonight…and it turned out gorgeous! Thank you!!
[…] I’ve cut a Stella Skirt, drawn from marte (Compagnie M.) and maybe tomorrow or Thursday I will cut a MooMoo Dress (Prudent […]
Love. This. Dress. I’ve made TWO so far!
I made the dresses for my daughter and her best friend; with slight difference in details: chest ruffle and an under-skirt on one, sash and an under-skirt on the other.
It’s such a fun pattern to play with! Thank you!
oooo those sound beautiful! send us pictures!
I love the material! I love the ease of the pattern and how comfortable it is. It’s so fun to dress up our little girls in cute baby girl outfits.
I love your patterns and the ease of following the instructions. Thank you very much for taking the time to do these.
Elaine
Thank you for taking the time to comment!
welcome you show these dresses
[…] can’t believe it’s almost been a year since we shared the Easy Summer MuuMuu with you. Geeze, time flies. Next, we shared the Easy Summer MuuMuu: Take 2, which had no ruffles […]
[…] dress is this pattern. I’m in the process of making two more and I’m knitting this to wear over […]
Very cute. Any suggestions on how to make it for a child’s size 7? Where should i add to make it larger? Also what are the seam allowances?
Hi Susan-
It’s a very forgiving pattern. I would just increase based on a dress that fits the kiddo. The seam allowance is approx 1/4″-1/2″
Is the seam allowance included in the PDF pattern, or are we supposed to add it. It doesn’t ever say anywhere…
[…] You’ll find the tutorial over at Pretty Prudent! […]
WHAT A FAB COLORFUL & UNIQUE PRINT FABRIC for your little girl’s MUU MUU! LOVE her pose on the FIRST photo! THANKS for the detailed 21 steps in your tutorial with sharp photos. Excellent sewing. When she wears this summer dress, I’m certain she gets many “second” looks! Versatile pattern — love the 3-tiered ruffles for the bodice, elastic neckline & raglan cap sleeves. Sarah in Minneapolis
thanks Sarah!
Hi
I love this dress! And it looks easy and quick to make. I’d like to make quite a few for African girls (donation). Does the pattern fits 3-6 years fits all? So no special sizedifference?
Thanks for sharing the pattern!
Love from Holland!
Margje
Hi Margie-
The pattern fit a 3 & 6 yr old in my household. If you would like to size up or down, I would just adjust the pattern based on another dress in the target size. Love that you are making this dress to donate. Send pics!
Correction of spelling = Mu’umu’u
Dress worn by pacific islanders such as Hawaiians, Samoans, Fijians, etc
p.s great design material 🙂
That’s a fun fact, thanks!
[…] 【サイト名】Prettyprudent 【サイトURL】http://prudentbaby.com/ 【型紙URL】http://prudentbaby.com/2013/05/baby-kid/easy-summer-muumuu-house-dress-tutorial-and-free-pattern/ […]
Thank you for the free pattern. Have some light weight cotton jersey pink with hearts already for this pattern. Believe I will add a fusible material for just a bit of added body to the ruffles since I plan to make it with the cotton jersey. Can barely wait until I have the time to make one for my great-granddaughter. Yes, I would sew all four pieces together first then thread the elastic through. Beautiful model! Great pattern.
I can’t seem to find the pattern. It tells me to read the tutorial and get but not finding the link. Love the dress wanted to try to put one together this weekend. Any help would be great. Thanks
I also can’t find the pattern. Same problem as above. It looks as if Step 1 is missing as the tutorial begins at step #2.
And Thanks for the pattern.
I can’t find the pattern link either? Please help, Thanks
Thank you for this pattern. Made it for my daughter and love how quick and easy it was to put together. What’s perfect about is as she gets taller she can wear it as a tunic with leggings. This one will last for quite a while. Thank you again. I definitely will be making many more!!!
Awesome! Send us a picture!
I’d love to make this, can’t seem to find the pattern.
where is the pattern?
OH THIS IS SO CUTE I HAD TO GO HUNT DOWN THE FABRIC. GOT SOME I HOPE IT’S THE SAME.ONLY IT’S PURPLE NOT BLUE. I THOUGHT IT WAS KNIT BUT THE UPCLOSE PHOTOS LOOKS LIKE A COTTON IS IT?? I LOVE IT…
For those who are looking for the pattern to this lovely dress: If you use a different browser, e.g. Google Chrome, you can download the pattern.
Download the pattern from where? I get an error msg when I try to use the link. Thanks for the info.
Can you please send me the link. I’ve been looking all over to download the pattern and it’s nowhere to be found. TIA
For some reason, the link to download only shows up when I looked at the tutorial in Chrome, not in IE. Thanks for the hint, Amber! I was able to download it just fine when I changed browsers.
[…] The Easy Summer Muumuu by Pretty Prudent fits most 3-6 year olds with just a simple adjustment in […]
[…] Pretty Prudent gives us an adorable pattern for dressing our little ones throughout the summer or even on vacation. Mix up prints and colors for something extra fun! […]
Thanks for sharing! I plan on using the pattern with some shiny red fabric to make a ladybug dress for my daughter for Halloween. Adding black felt dots and maybe some wired ribbon at the bottom.
do you have this pattern for a 7-8 year old girl? thanks
I cannot find the “click the pattern in text”…….where can I find the actual pattern plz?
Super.simple but cute. I would do this to my little girls. Tq so much.
I can’t find the link for the pattern
The link to the pattern doesn’t work.
Thank you so much for sharing such a pretty dress pattern. Your dress and fabric are just gorgeous…….
So cute!!
Hi! I’m having a bit of trouble with step #17. Where am I supposed to put the stitch? And how do you make it not show on the outside of the dress? Thanks!
Great pattern! I have made 4 of these dresses —two for each of my two granddaughters. Since the girls are now 5 years old, I cut the pieces about 1/2 inch larger all around, and added about 2 inches in length to adjust for their growing bodies.
So happy with this pattern not sure I got the neck/first strip right but it looks great. And so neat.
Thank you
Hi… I’m confused about step 8 where you say … “Wrap strip up and around front”. It’s inside out – how does this work? Thanks.
I cannot figure out “wrap strip up and around front.Please explain.
Lovely dress, thank you. I am looking forward to making it for my granddaughter. I am not clear on whether the pattern includes a seam allowance, and if so, what would that allowance be.
Thank you for making the pattern available.
Would this work in plain cotton, not stretchy cotton?
Hi I love this cute dress and am trying to make it for my grand-daughter however I am stuck on the section 6 – 10. The material is so pretty but with my eyesight I am not able to see clearly. Pls could you explain these sections a little more or provide an alternative plainish material where I can see it a little better. Sorry!!!
Hi. I’m also confused with step 8 and wrapping the strip over, it just doesn’t work. Please explain.
Thanks
My daughter would love this dress, I will have to give it a try! Thanks for the tutorial. My daughter also loves playing with her friends on a Jumper Rental Stockton CA it is great exercise for kids!
I made this dress for my granddaughter. It was beautiful; thankful!
Step 8 got me too!!!! Ahhh Thanks for the in depth tutorial me and my daughter are having a blast making this. We have some good ideas at Concrete Patio Glendale AZ
I am going to show this to my grandma so she can make this for my daughter. Thanks for sharing
Please, please help with the ruffle layers. I don’t know which length layer is the first and which is the last! Which is top and which is bottom?
What sewing machine do you recommend for this project?
Cute dress! My niece would love it. Thanks for sharing.
I wish I would have read the comments BEFORE I spent money and time on this dress. The directions are lacking/confusing. And as far as I can see, the original poster has not answered any questions.
When making this for a 3 year old, is there a size differential included with the pattern?? Sorry, I’m a new-again sewer after 35yrs & don’t remember much…
Such a great pattern, I’ve made this 4 times as a dress and just made the sleeves long as a nightie for my daughter! So easy and beautiful
Very nice work and design!
Made this today and it is adorable! Is there a group to post pics?
Hello, this is a darling dress and model! Thank you for putting it together. Is there a printable option on the directions portion?
Thank you again!
Made this the other week with my wife. love it!
Great article post!
great article Post. The dress is beautoful!
Hi Jacinda, your Muu Muu dress is so cute and I’m looking forward to the adult version. I also appreciate the detailed guidance on using specific fabrics and the free printable pattern. It’s really great to have everything laid out clearly. This a perfect dress to make for my girl who doesn’t like buttons and zippers on her dresses. Your blog makes it easy for beginners like me to dive into patternmaking for fashion design.
I just made the muumuu dress for my 3 year old great granddaughter. It was so easy and fast and I know she is going to love it! Thanks for the free pattern and the great instructions.
Definitely a lost art! Good to see some still have the skills to sew their own clothes!