


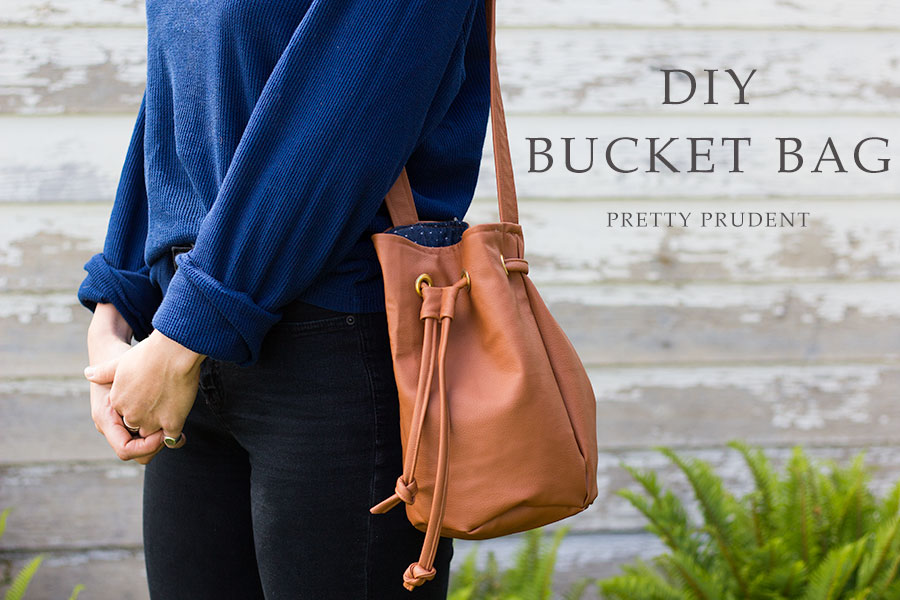
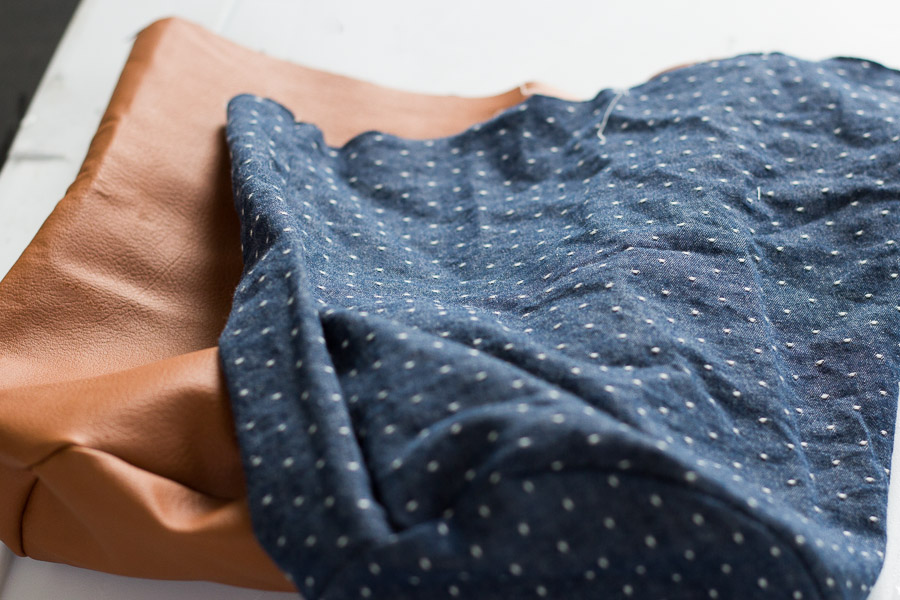
 I have been on the hunt for a small, but efficient, bucket bag for quite some time now. I wanted something that could hold all my necessities, but didn’t feel too bulky. Since I couldn’t find one out there, I decided to make my own. I used camel colored faux leather vinyl, and the chambray fabric I used for the Chambray Baby Bonnet with Leather Ties. This took me about an afternoon to make, and I have to admit, I already want to make a bunch more in different colors.
Find out how to make a DIY Faux Leather Bucket Bag after the jump…
DIY Bucket Bag
For the Bag:
Cut two 7″ circles (one of faux leather, one for facing).
Cut two 11″x 22″ rectangles (one of faux leather, one for facing).
For the Strap:
Cut 1 piece of faux leather 3.5″ x 24″
For the Tie and Adjuster:
Cut 1 piece of faux leather 3.5″ x 24″
Cut one piece of faux leather 2″ x 4″
Making the Body of the Bag:
Sew the short edges of the rectangles together (inside out) to make a tube. Use a 1/2 inch seam allowance.
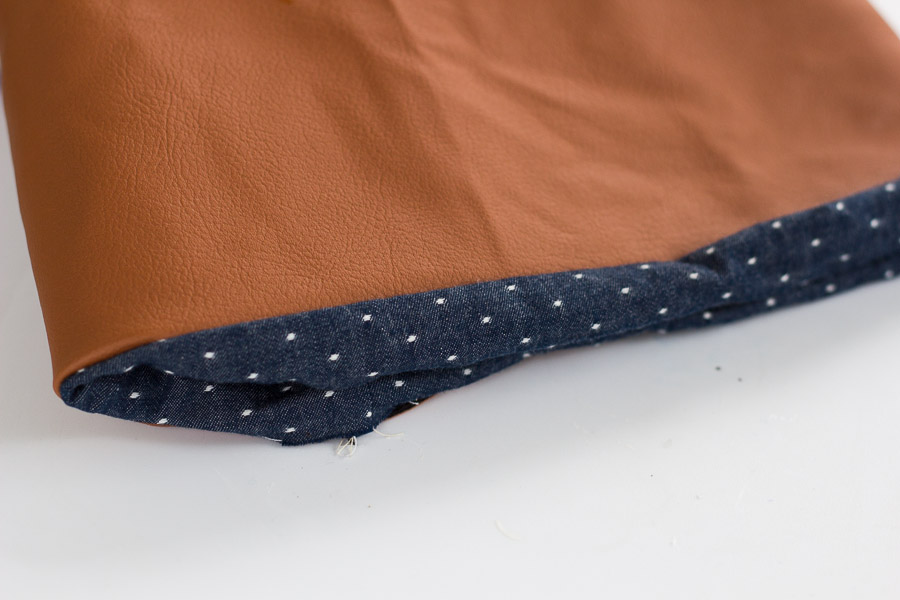
Pin and sew to the circles (inside out) so you should have the base of your bag as shown below. It is very important to pin the circle to the base before sewing, some fabrics stretch a bit so you may find that you need to sew your rectangle smaller to fit.
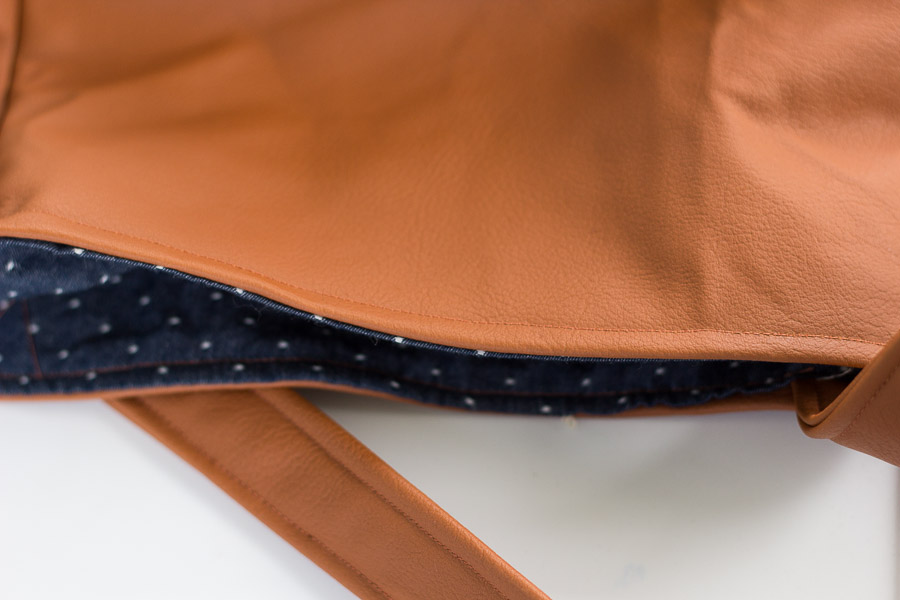
Flip the outer bag inside out and place the facing inside with right sides facing.
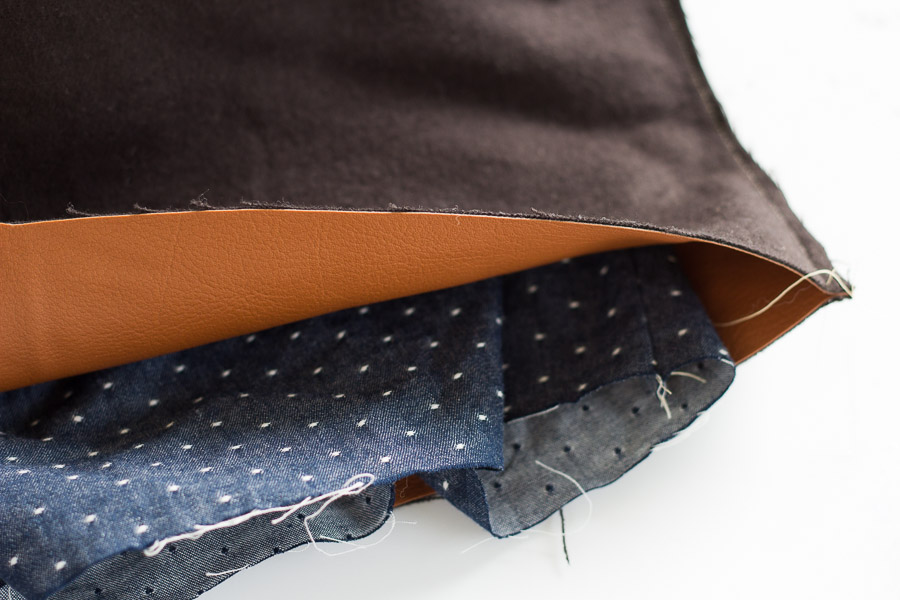
If you are using leather or vinyl you want to avoid pinning them together. I used mini clothespins to pin them in place.
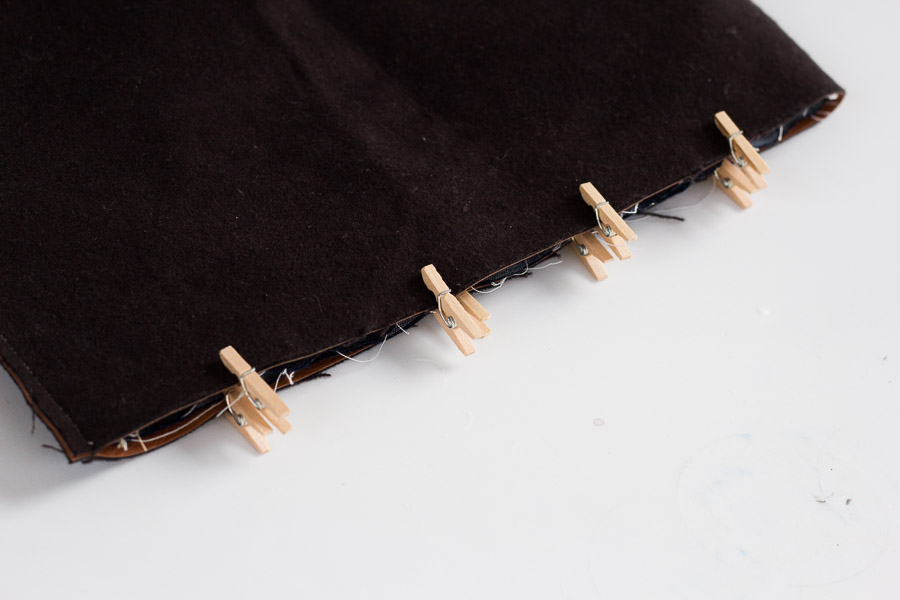
Sew the top edges together, leave about 2 to 2.5 inches on each side open. Use a 1/2″ seam allowance.
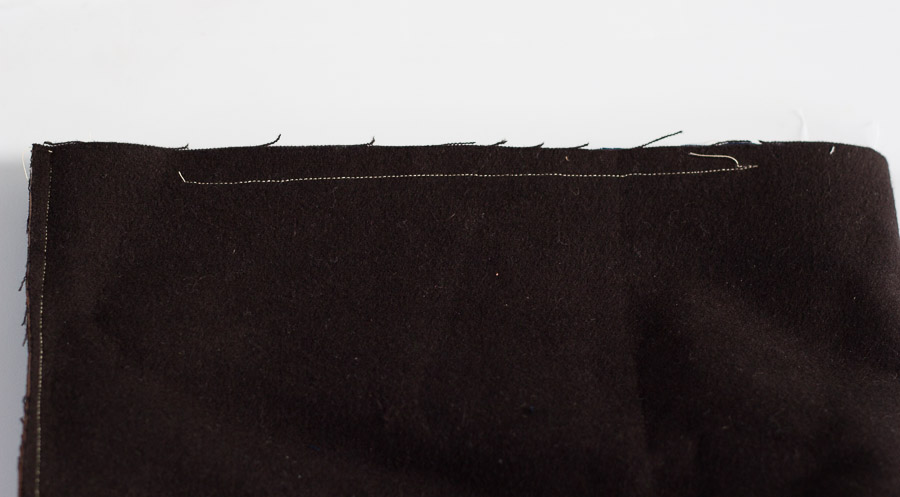
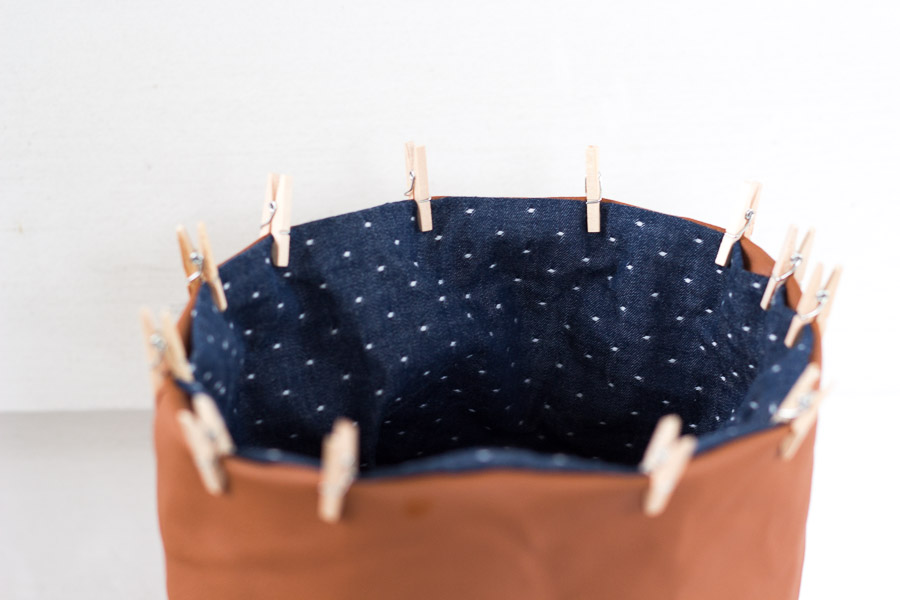
Use one of the openings to flip your bag through. It should end up looking like this image below.
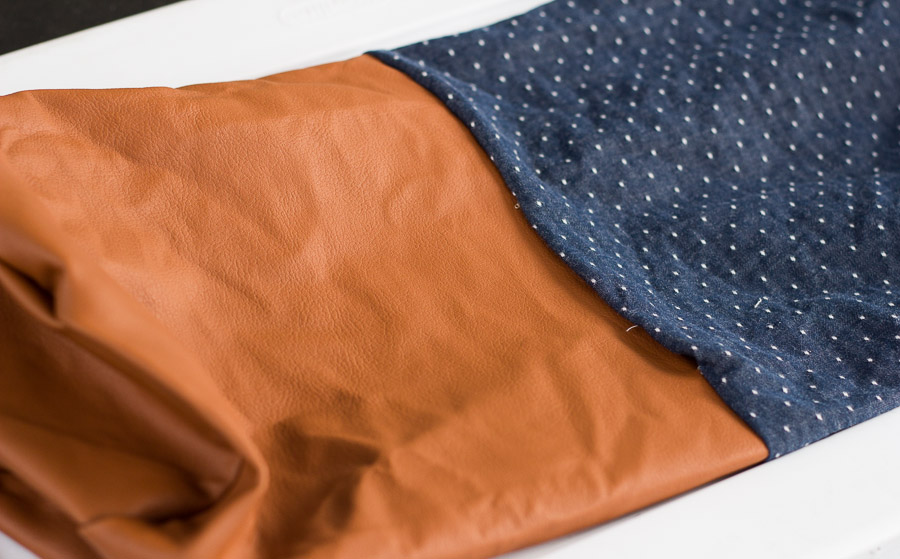
Now, push the facing down inside.
Pin or clip the top edges in place and set aside.
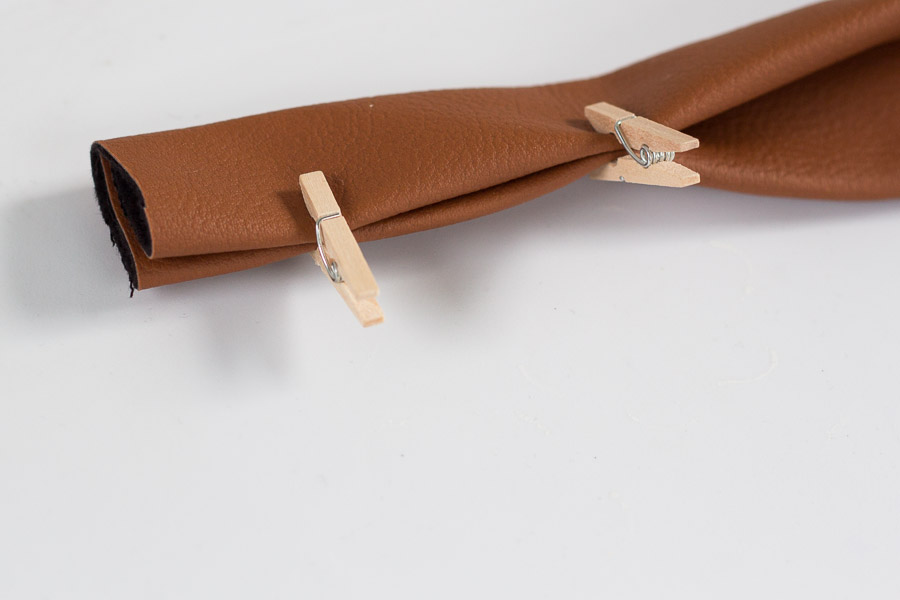
Making the Strap:
Fold the edges in, and then fold it in half. Clip into place.
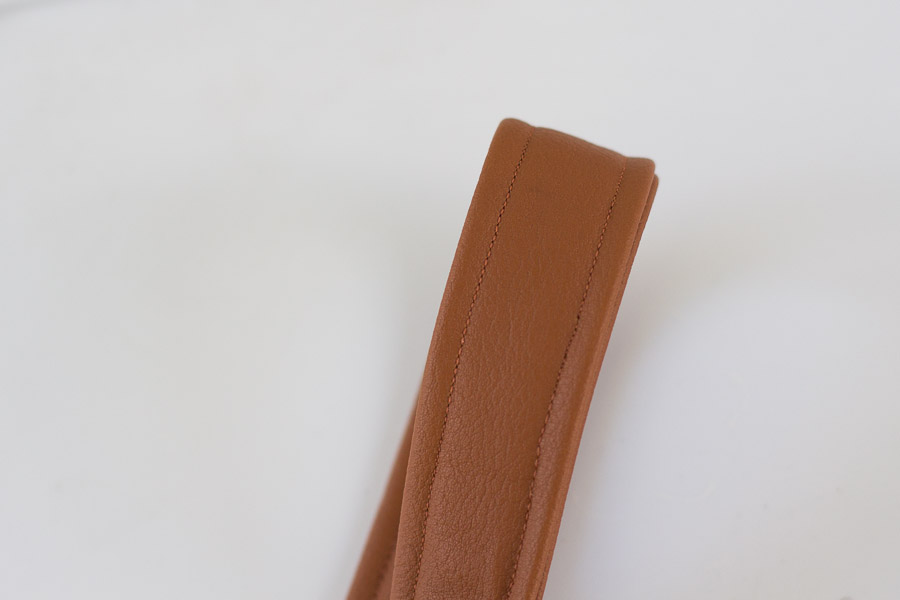
Sew down on each side to finish the strap. Use a 1/4″ seam allowance.
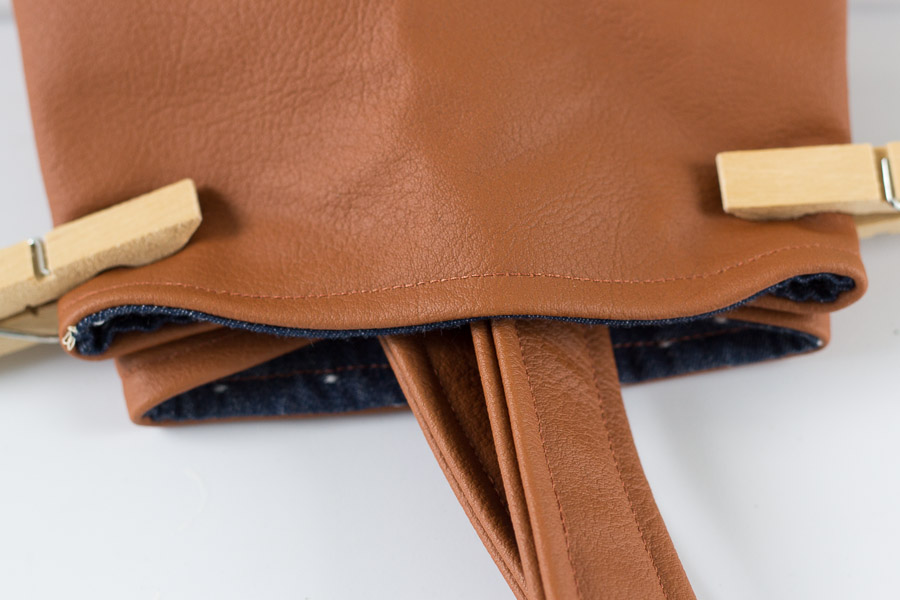
Slip the strap into the open holes on each side of your bag.
Fold in the edges of the fabric and clip into place.

Sew around the top of the bag. Use a 1/4 inch seam allowance.
Let’s make some grommet holes.
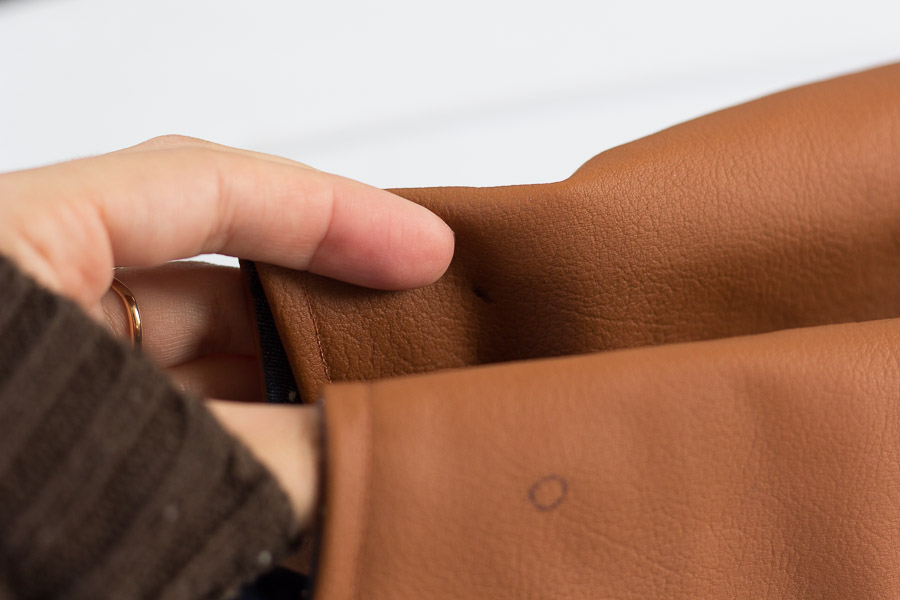
Sandwich your fabric by pinching it in the middle so that the straps meet. Fold it flat and clip.
Mark where you want each grommet to go by placing a mark on each side of the folds. Here you can see the mark I placed on the front and one side of the inside fold. I also added marks on the back and the other side of the fold.
Lay your bag out flat after and adjust placement as needed.
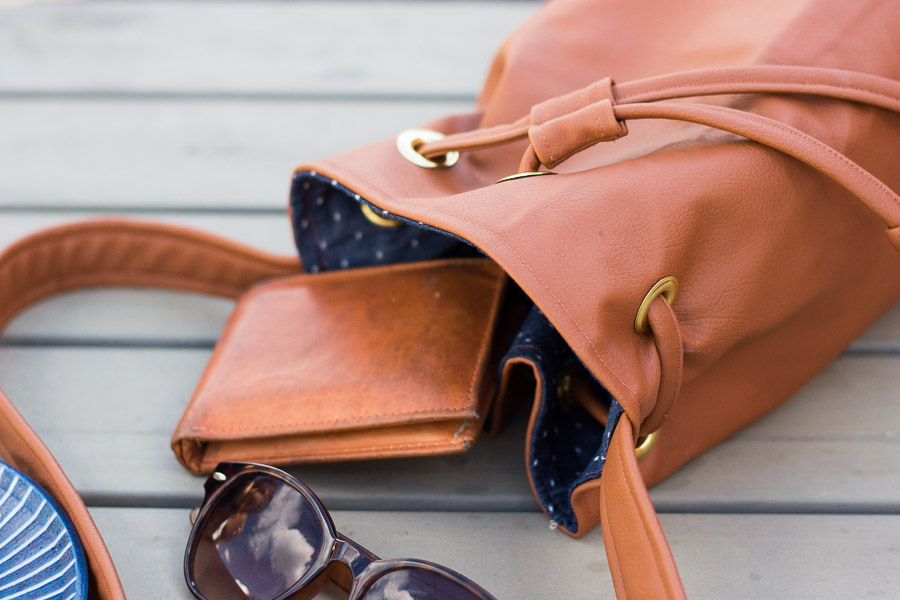
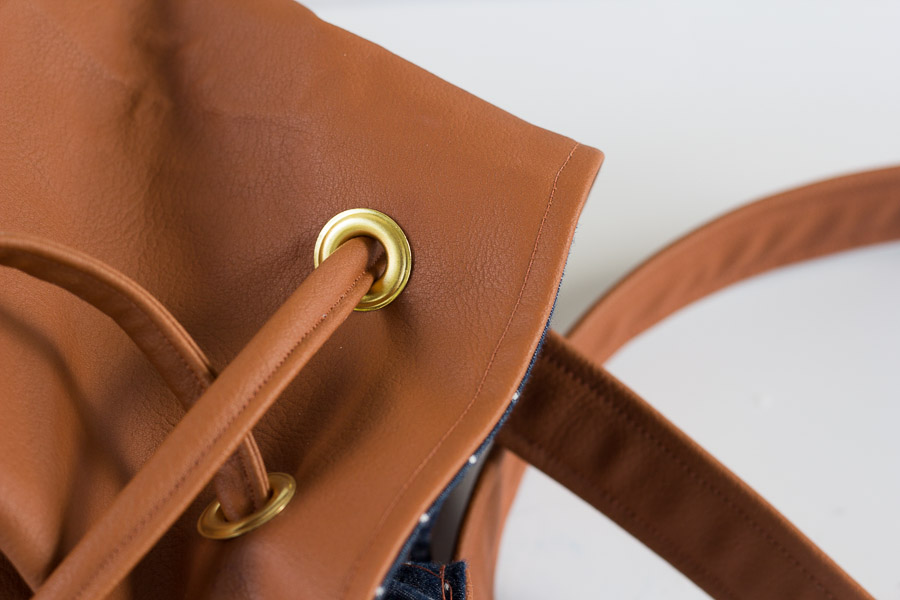
For more information on using grommets you can check out Jaime’s DIY Grommet Tote. I used 3/8″ grommets for my bag.
Make your tie the same way you made the strap, except for only sewing down one side with a 1/8″ seam allowance.
Once they are attached, lace your your tie through the holes.
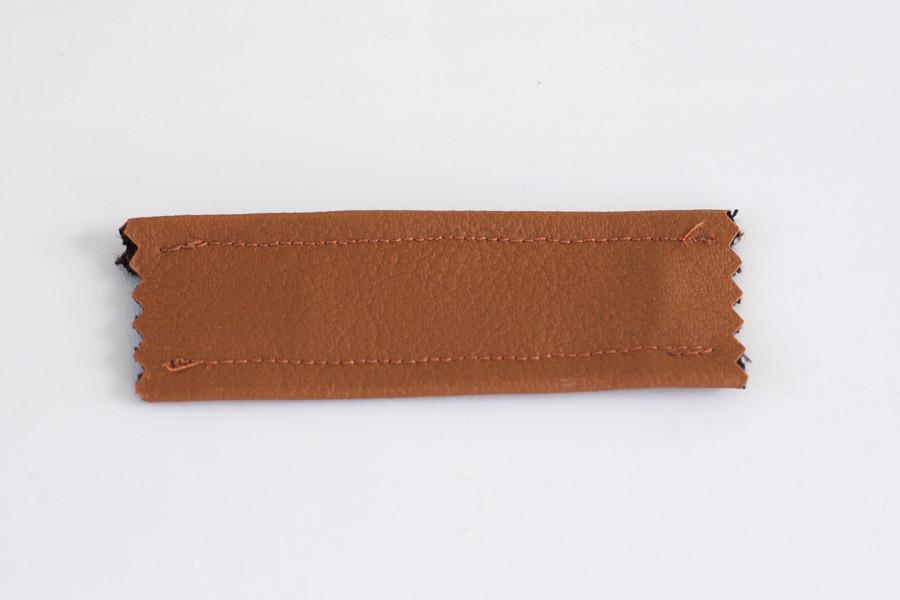
Make Your Adjuster:
Cut your rectangle with pinking shears to keep the edges from fraying.
Fold down each side and sew.
Flip it inside out and fold the short edges together to make a tube.
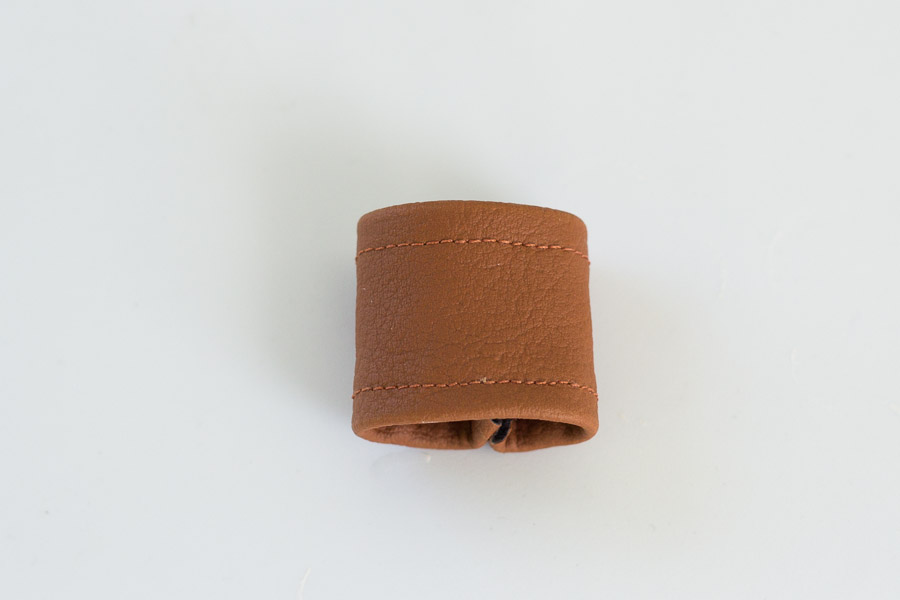
Sew down the middle of the adjuster and thread your ties through.
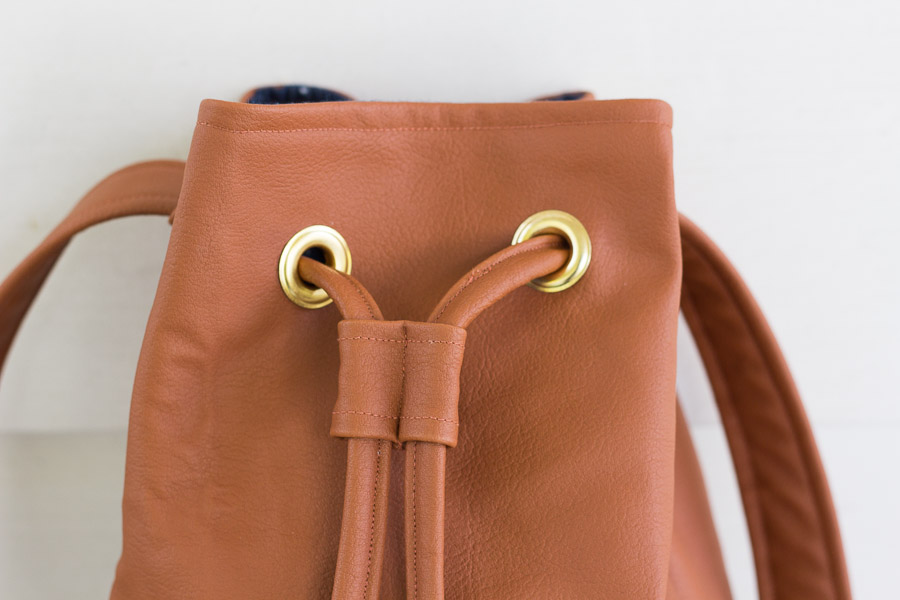
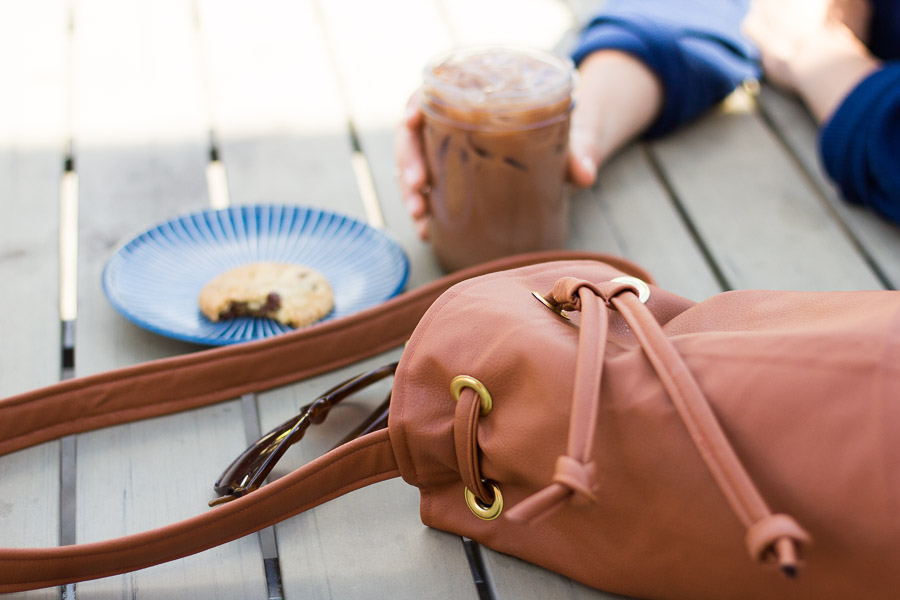
Knot the ends of your ties and head out for a day in the city!

Fabulous creativity!
This is so cute!
[…] DIY Faux Leather Bucket Bag – 1 freebie(s)? […]
That’s an awesome bag! I’ve got a Craft Gossip post scheduled for later this morning that links to your tutorial: http://sewing.craftgossip.com/?p=82184 –Anne
[…] DIY Faux Leather Bucket Bag, by Pretty Prudent […]
How much leather and interface fabric would I need, like in yards? Also, do I need a special needle to sew through faux leather? I’ve never used it before.
Looks great! Thanks!!
[…] bags are really chic but can be very costly. I really like this tutorial for a DIY Faux Leather Bucket Bag from Prettyprudent.com. What I especially love about this particular bucket bag is that you can […]
[…] https://www.prettyprudent.com/2015/04/hot-mess/accessories-hot-mess/diy-faux-leather-bucket-bag […]
[…] Pilih tas kulit sintetis dengan motif kulit jeruk via http://www.prettyprudent.com […]