


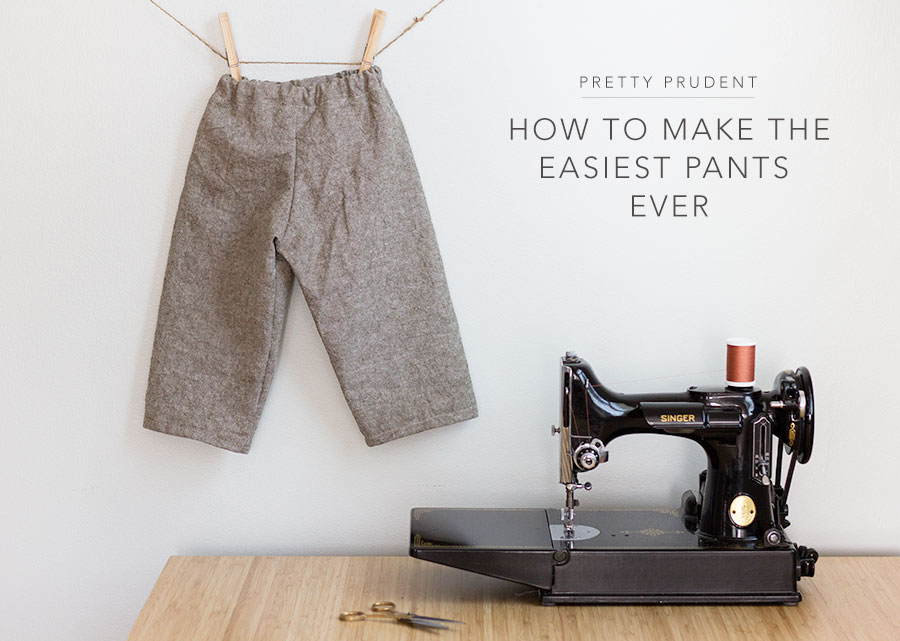
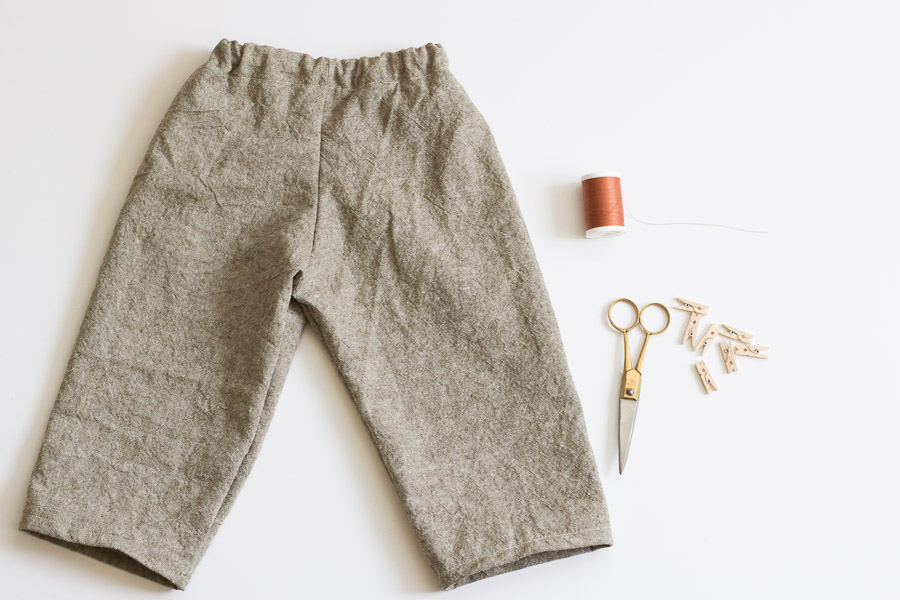
Whenever I’m on a full blown sewing kick, I like to have a few easy sewing projects I can just whip up in no time. These pants are one of my favorites because you can make them in any size, and customize them however you’d like – make them extra baggy for pajamas, add pockets, knee patches, a drawstring, and more. If you’re a beginner at sewing, check out What You Need in Your Beginner Sewing Kit to get started.
Find out how to make the easiest pants ever after the jump…
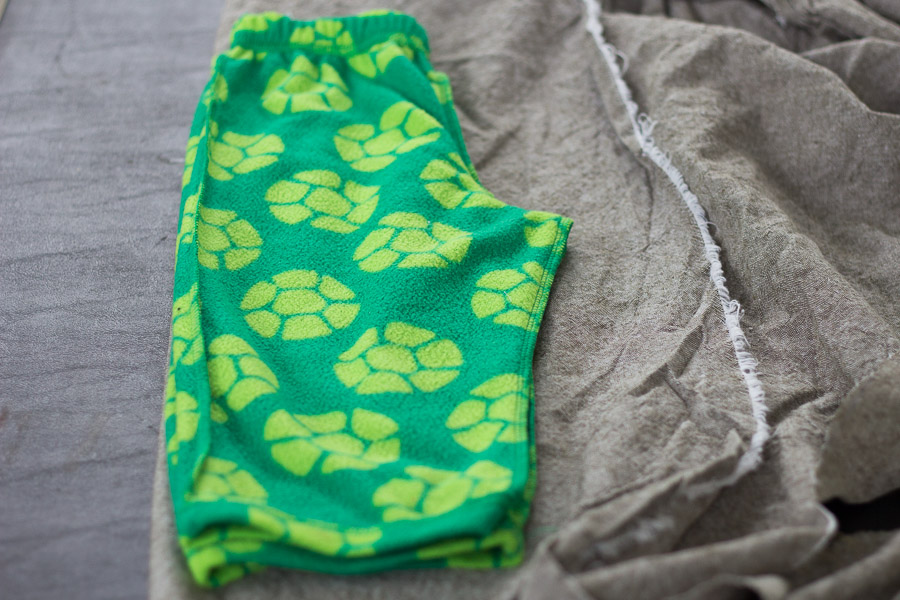
Start out by laying a pair of folded pants on the wrong side of your folded fabric. Trace the pants onto the fabric, make sure to add about a 1/2 inch seam allowance around.
If the waistband is elastic, stretch it out a bit so you don’t end up with a pair of pants that are much too small.
Cut out the shape, trace, and repeat so you end up with two pieces.
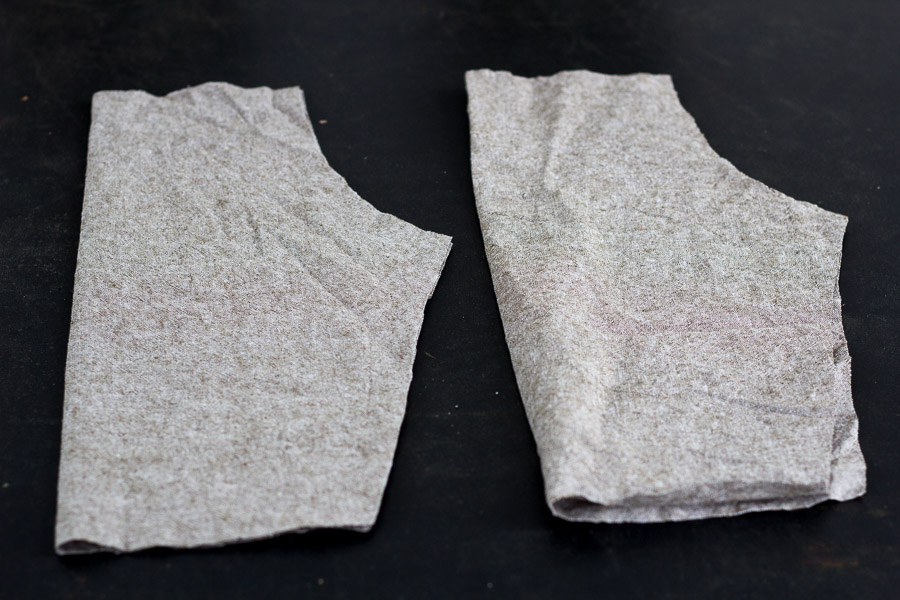
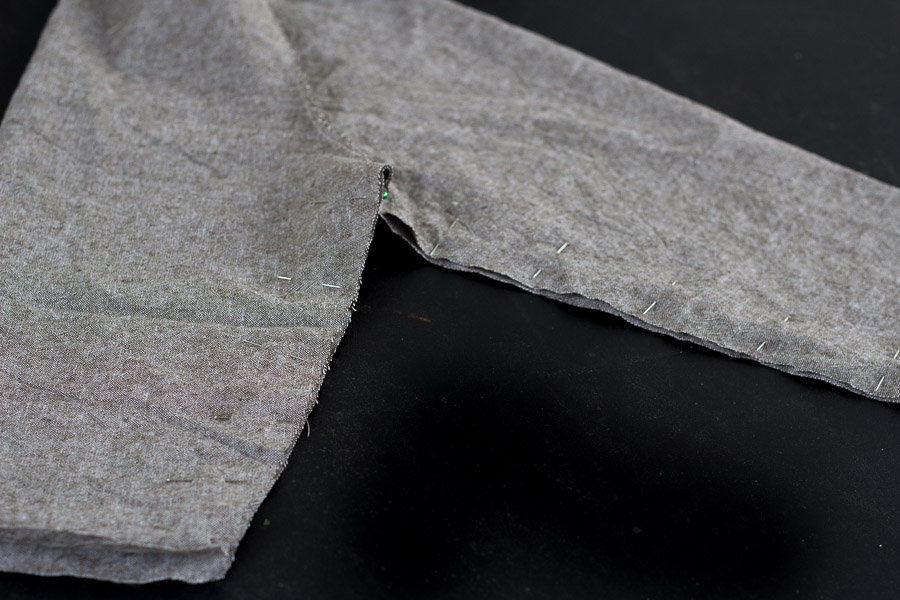
Open your pieces up. Pin and sew the curves together using 1/4″ seam allowance. Trim the edge with pinking shears, or use a serger or zigzag stitch to keep them from fraying. 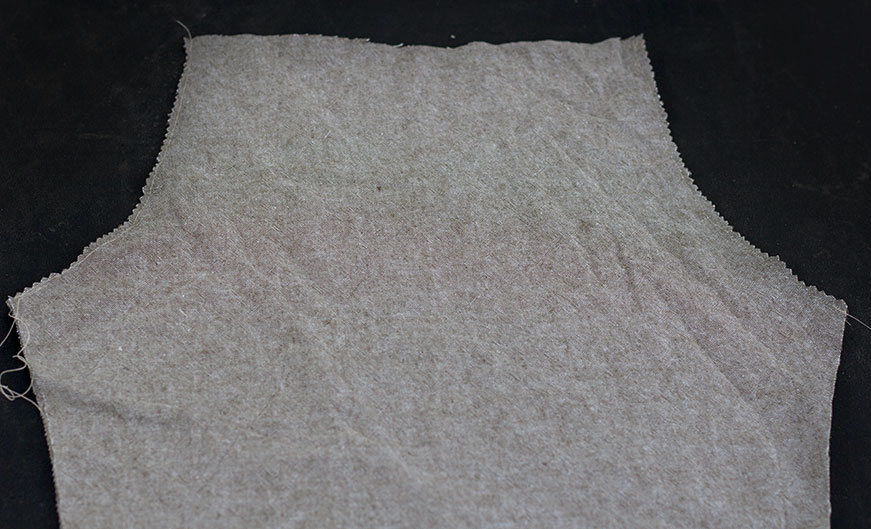
Pin the inside legs together and sew. Finish the seams.
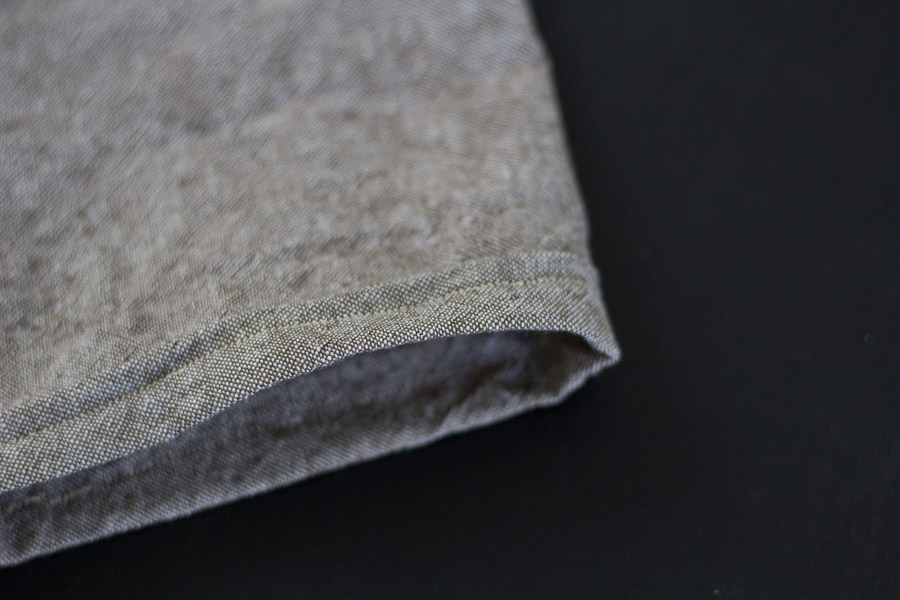
To hem the legs you will need to fold the legs up a 1/4 inch and press.
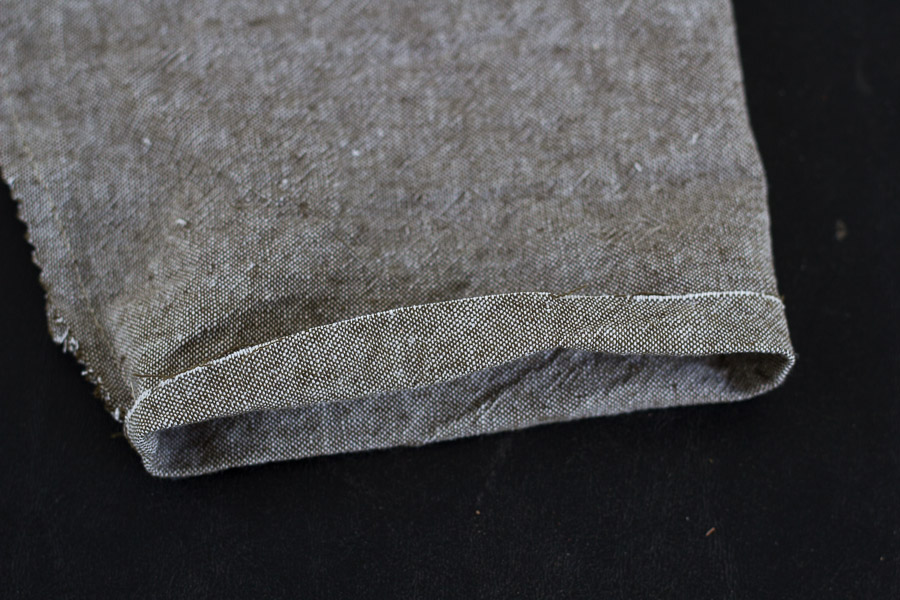
Fold up another 1/2 inch.
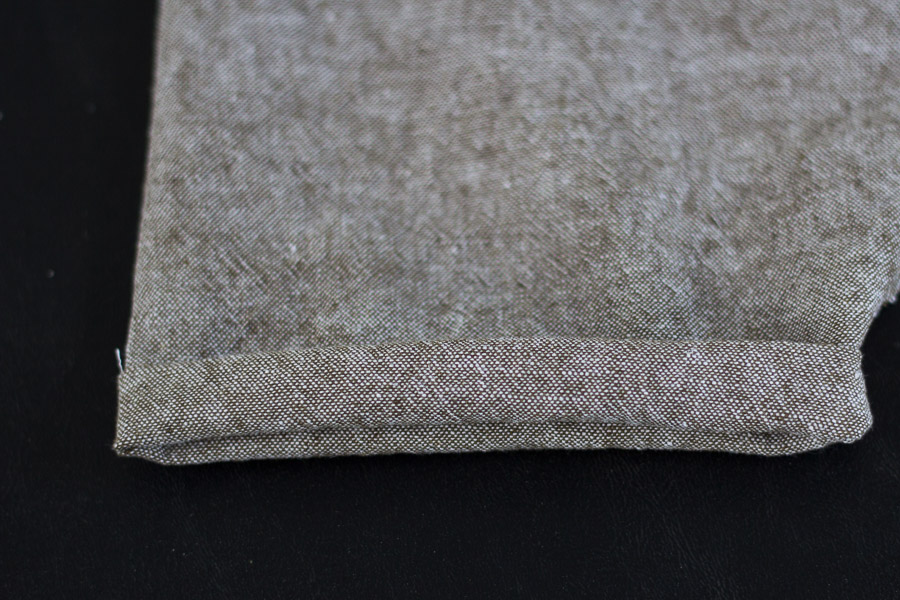
Press, pin, and sew.
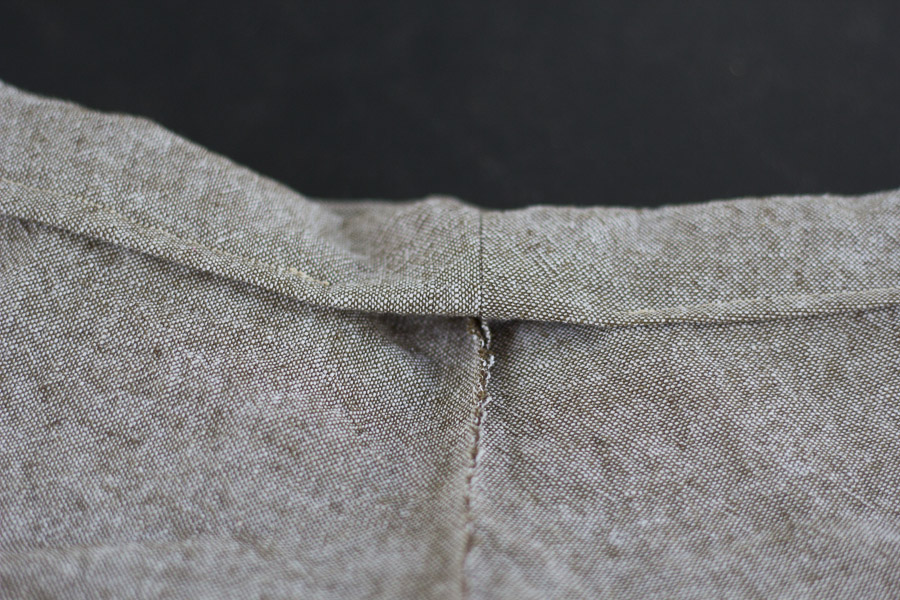
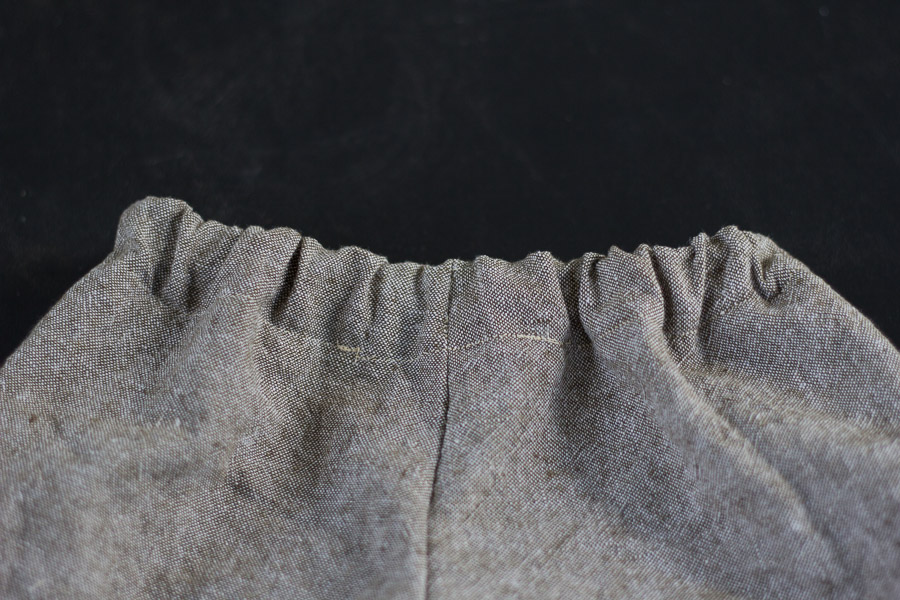
Try the pants on your model to see how high or low you want to make the waist. Once you have your desired size, fold down the top a 1/4 inch and then 1 inch.
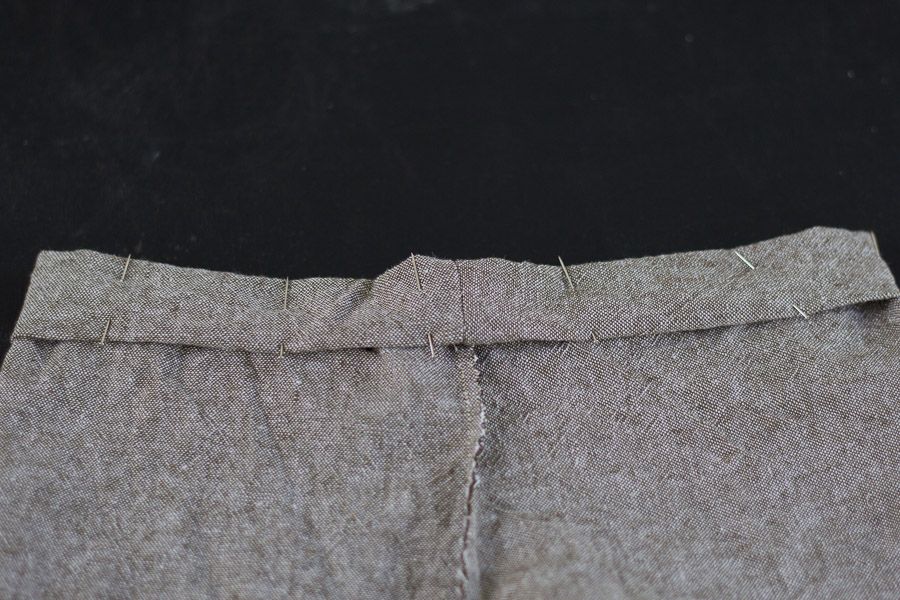
Press, pin, and sew, but make sure to leave a small hole on the inside near the front seam for the elastic.
Cut your 3/4 inch elastic so that it is about 2.5 inches longer than 1/2 the waist size. I made these for a 2-year-old with a 20 inch waist, so I cut the elastic to 12.5 inches.
Feed the elastic through the casing by pinning a safety pin to the end.
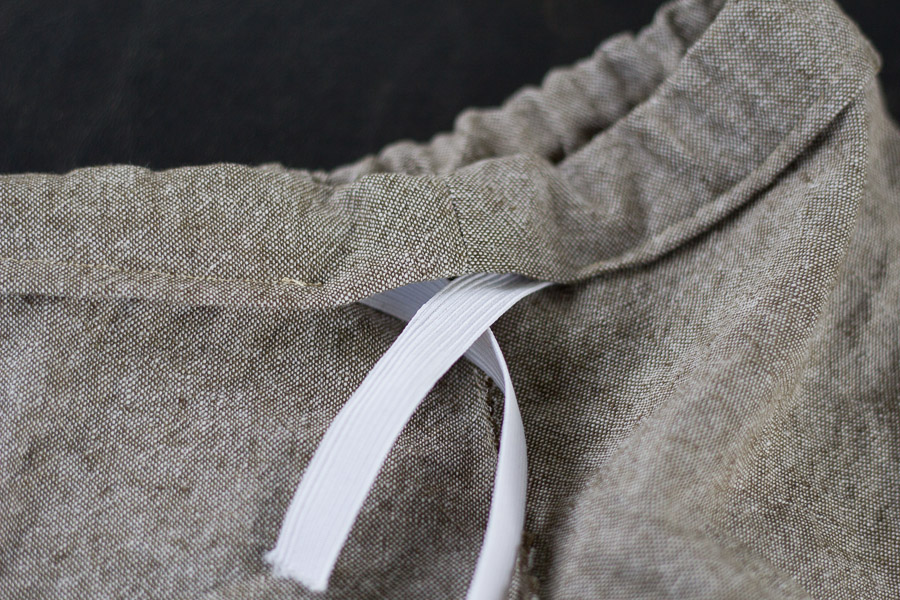
Sew the ends of your elastic together.
Sew the hole closed and sew a line perpendicular to the casing seam to keep it in place.
That’s it! Super easy, right? If you’d like to add grommets and a faux drawstring, check out Jaime’s Pants Tutorial.
[…] How to Make the Easiest Pants Ever – 1 freebie(s)? […]