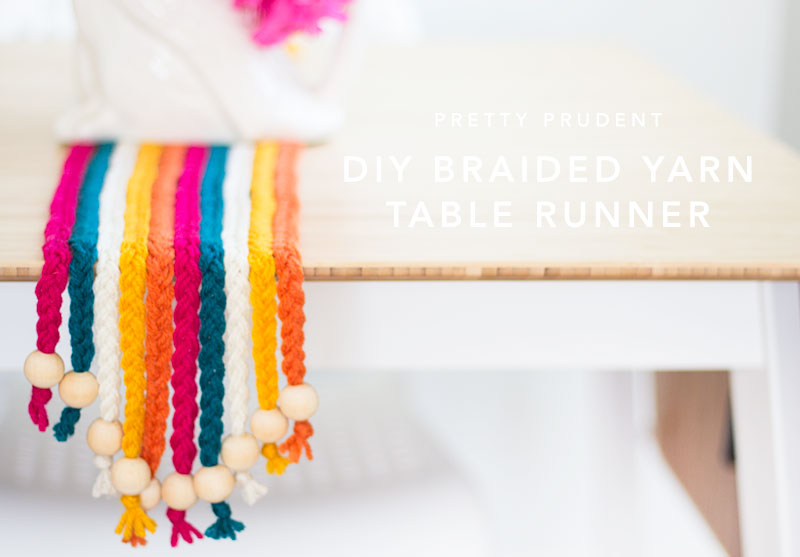
 I tend to gravitate towards neutrals and earth tones in my home decor, but now that spring is in full swing, I’ve wanted to bring in some pops of color. A table runner seemed like the perfect solution for that. This DIY Braided Yarn Table Runner is really easy and fun to make. I turned on a good movie and got to work braiding. It was complete by the end of the movie, and I even made another one for the fall and winter months.
Learn how to make the DIY Braided Yarn Table Runner after the jump…
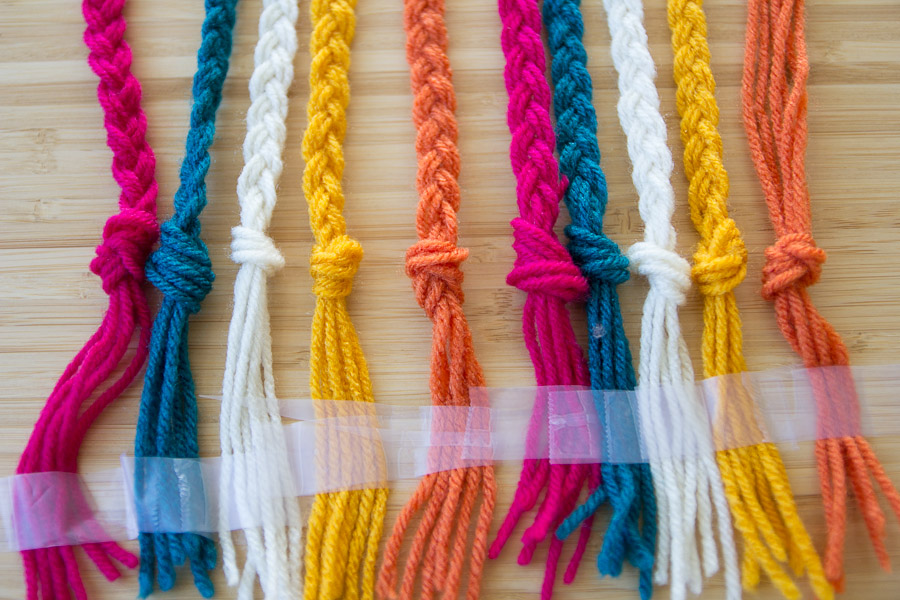
Pick out your colors of yarn and cut to size.
You should use six strands for each braid, and each strand should be about three times the length of the table. You can always cut it shorter once you’ve finished braiding.
Tie the six strands in a knot, leaving about a 4″ tail at the top.

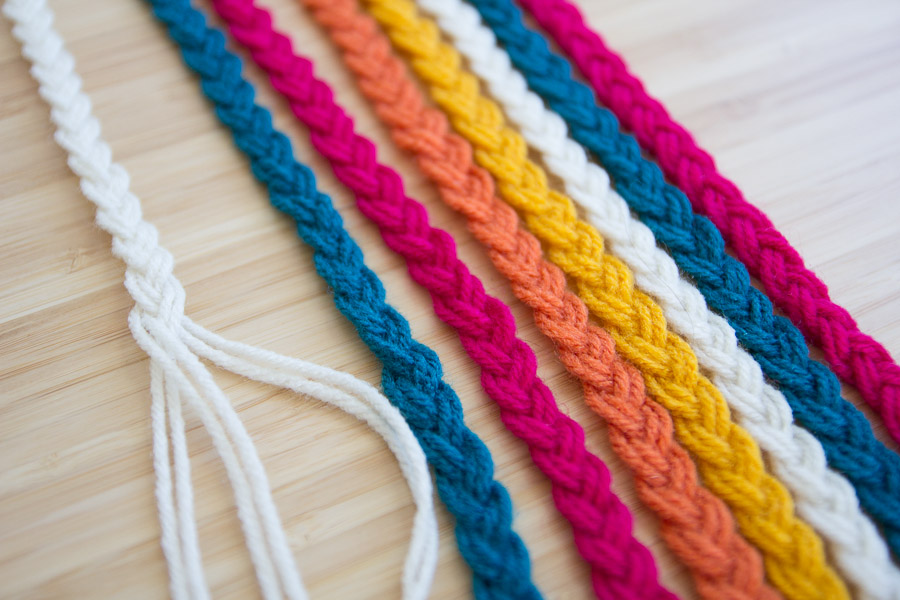
Tape the ends down and start braiding. Keep in mind that you will be flipping the table runner at the end, so the side up will actually be the underside of the table runner.
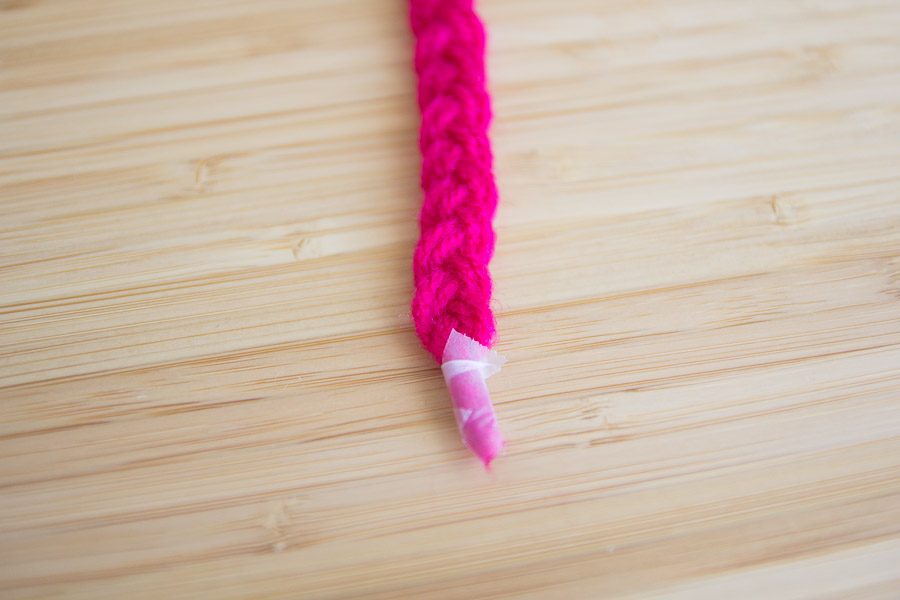
Once your braiding is complete, tape the ends to a point.
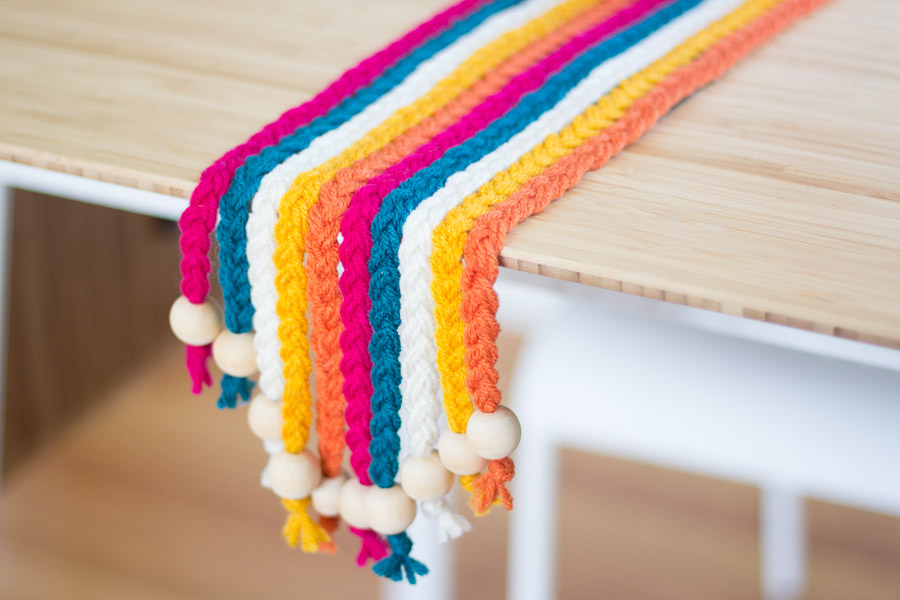
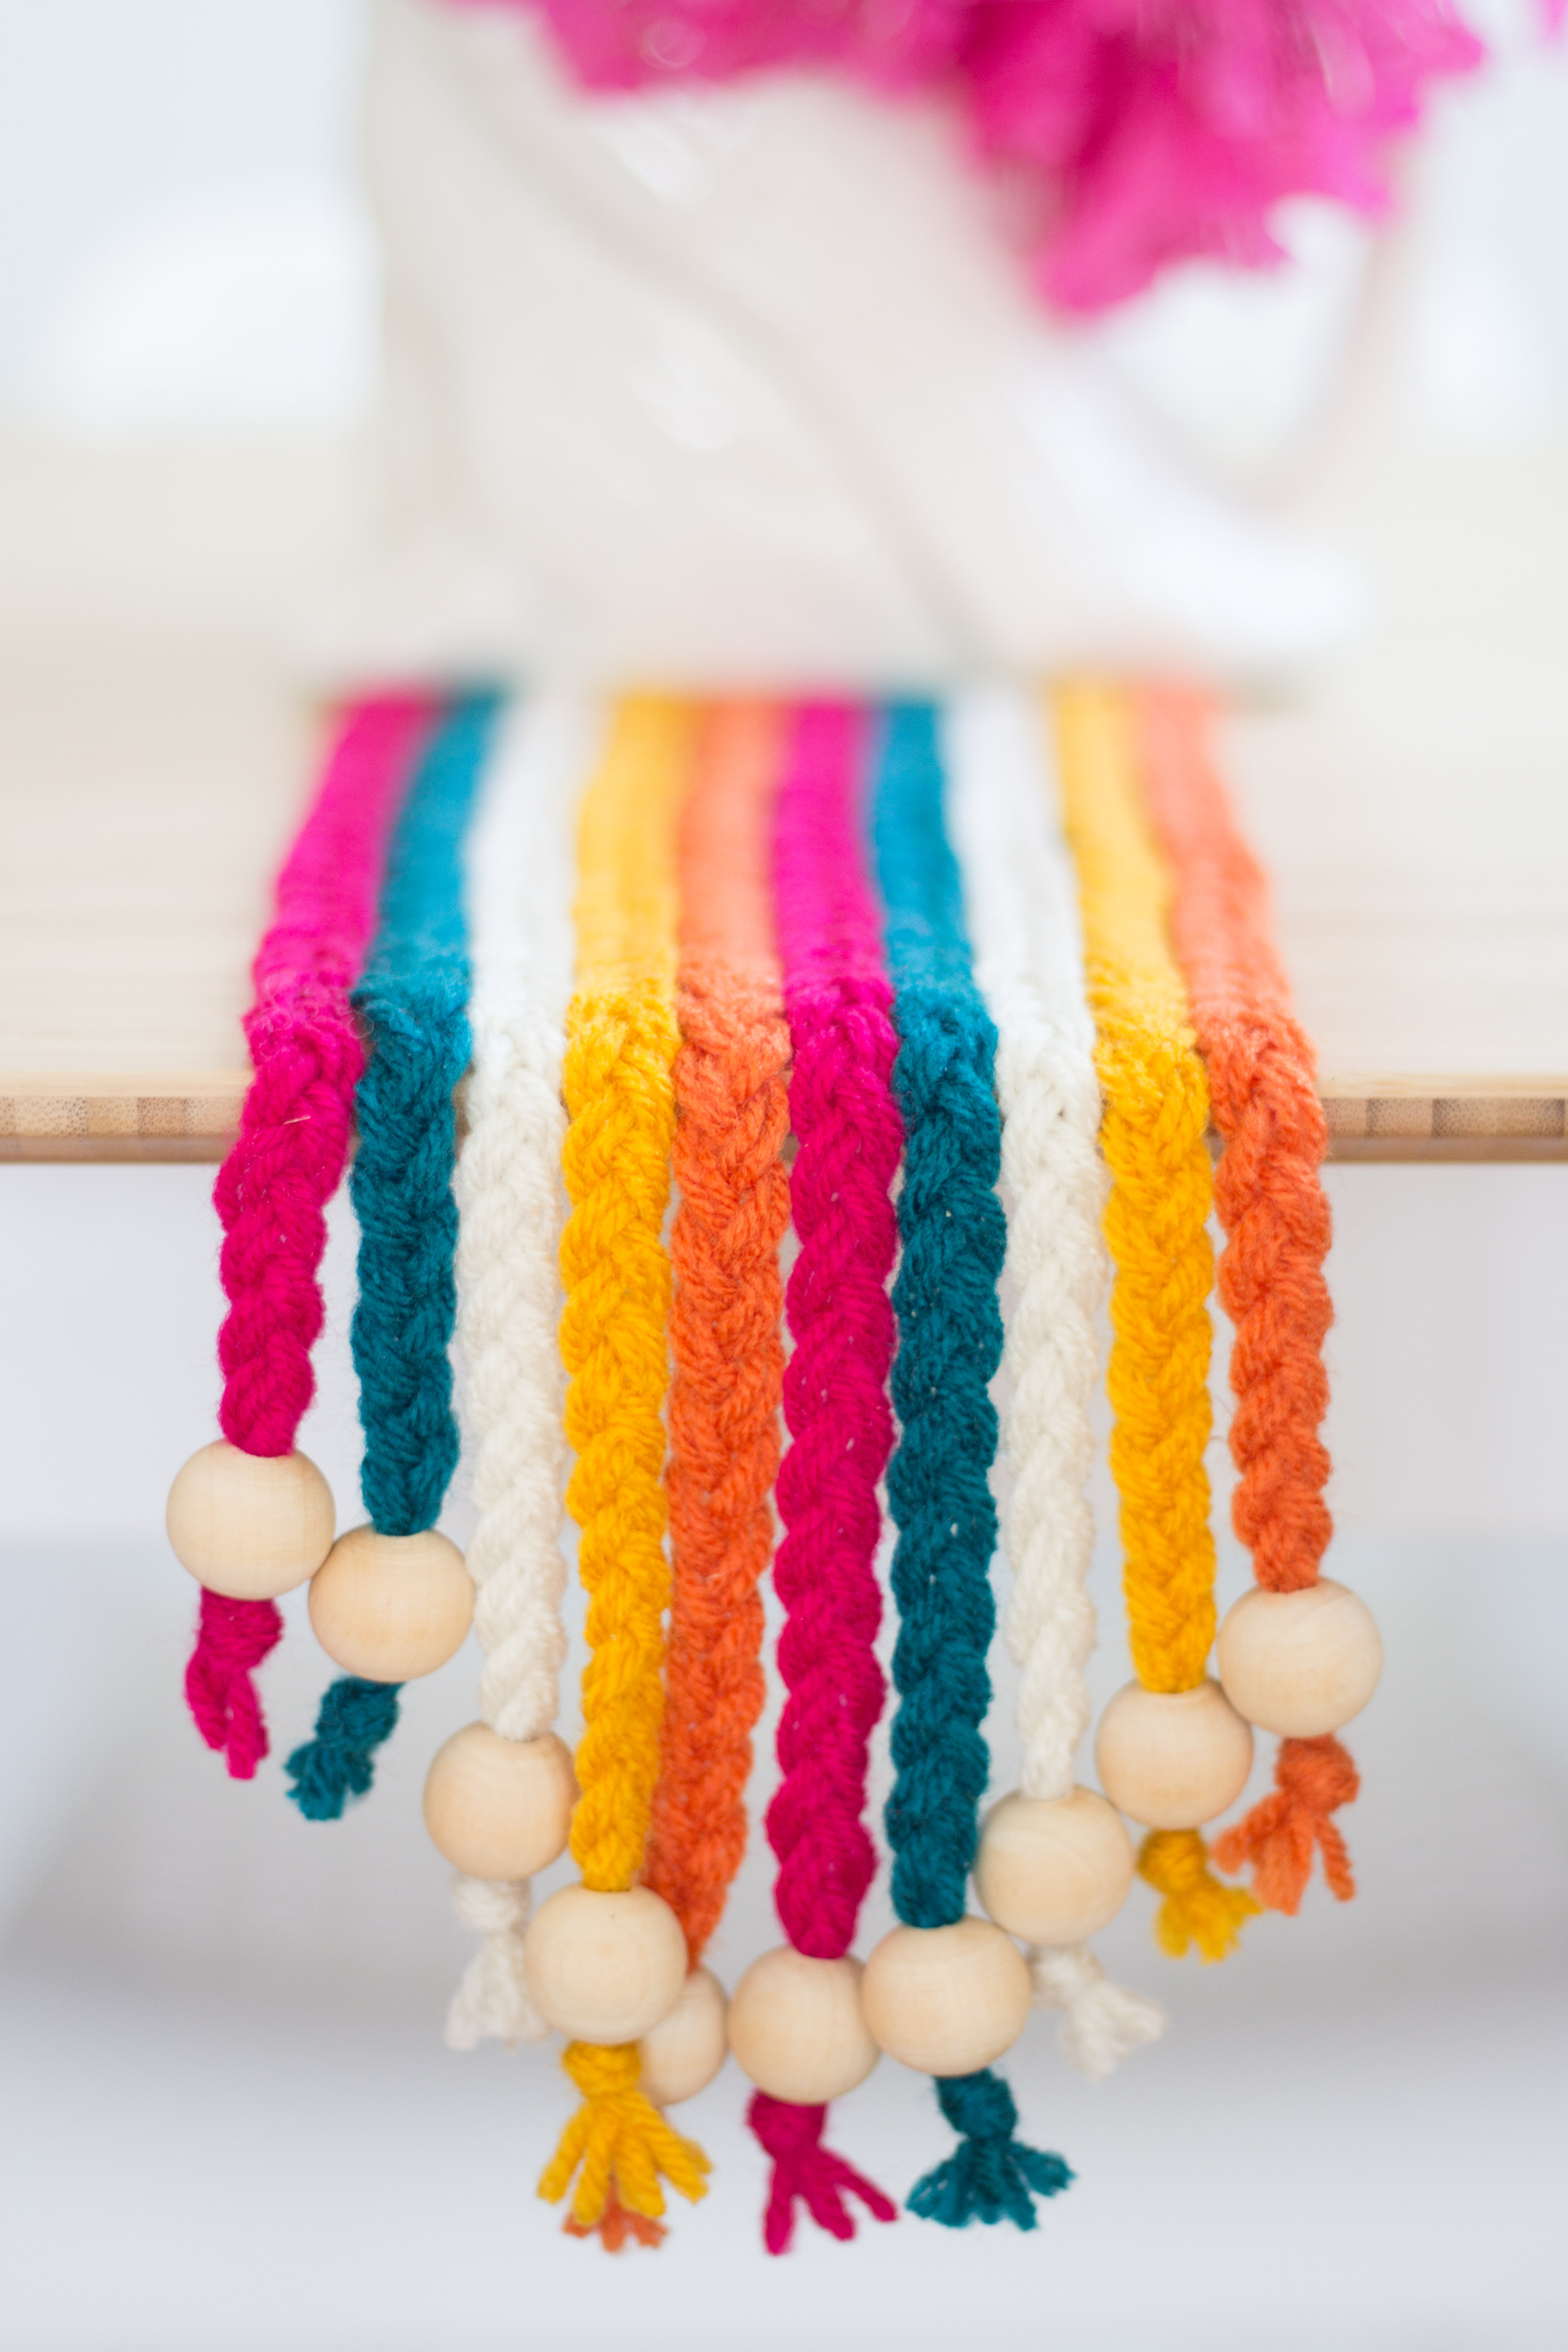
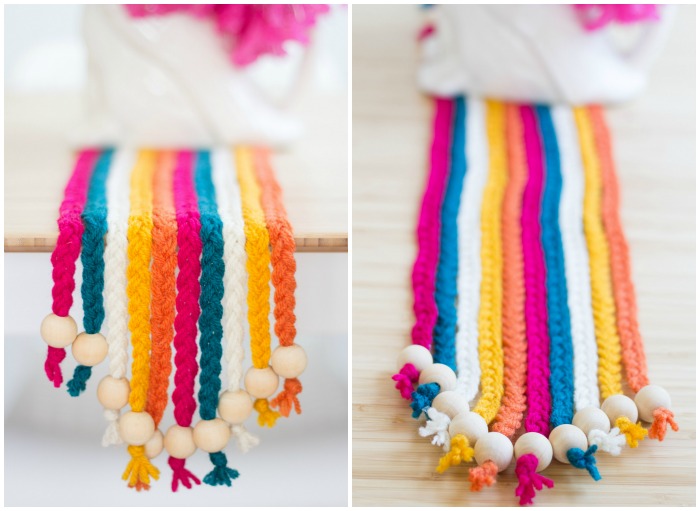
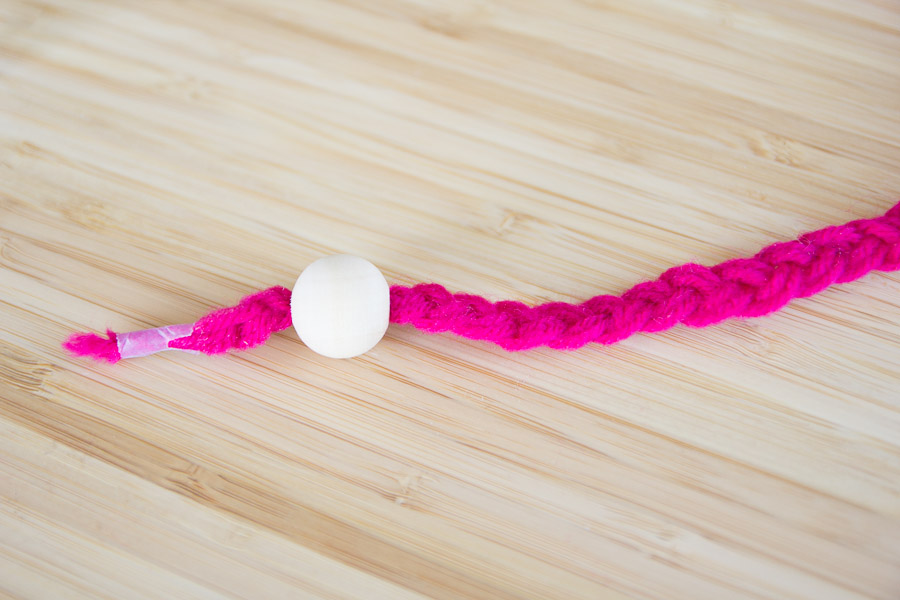
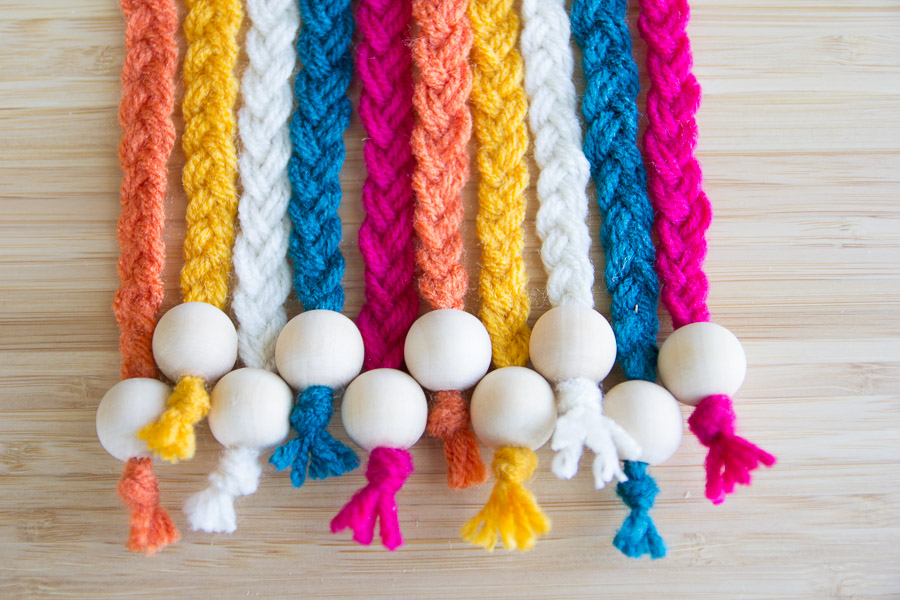
String the yarn through the wooden beads, but don’t knot and cut quite yet.
Arrange the ends how you would like them to hang.
Tie the ends in a knot and cut the yarn.
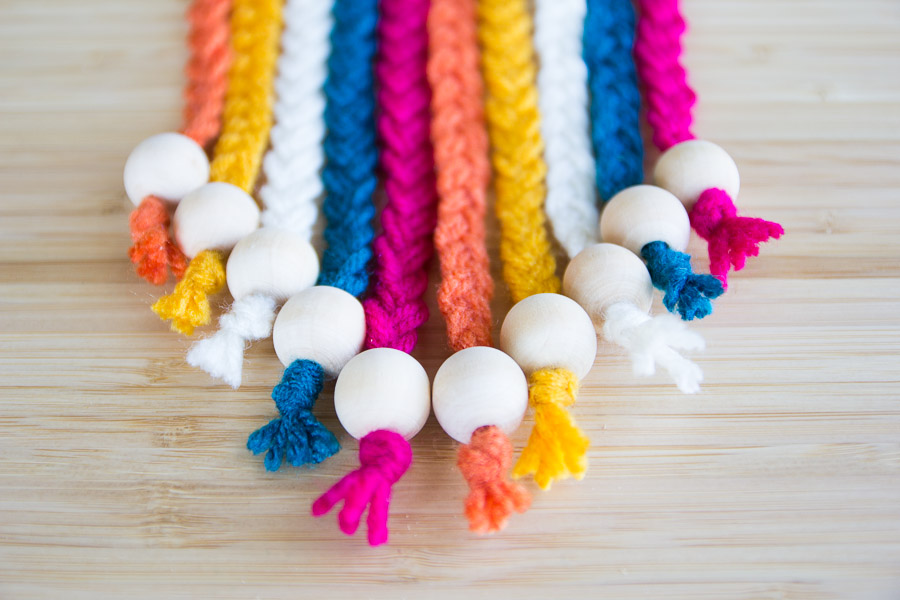
Place a book or heavy weighted object on top of the table runner to keep it in place. Remove the tape at the top, finish braiding the ends, and string on the wooden beads. You may need wooden beads with a larger whole if you are using a thicker yarn.
I did the other end of the table runner a little different…
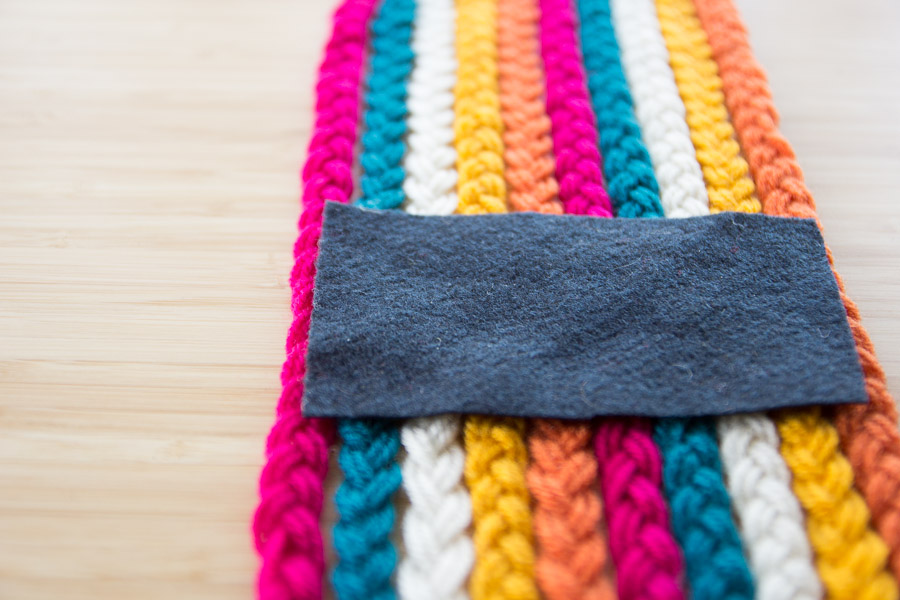
Cut two pieces of felt the width of your table runner x 2 inches.
Hot glue the edges and glue it to the table runner about 10″ in from the ends. My table runner was fairly short, so I only needed two, however, if I was going to make a really long one, I would probably have added a few more pieces of felt to keep it reinforced.
Let the glue dry, and flip the table runner over. You’re done! Pretty easy, right?