
I know DIY mod podge coasters have been done a million times, but I needed some new coasters so I thought I’d share. Maybe you haven’t tried it yet, if not you really should. These are SO easy and so professional-looking that they make an ideal gift, and they cost less then for a whole set. You just need some cheap tiles, some paper, a little felt and mod podge. Get the full DIY after the jump…
DIY Mod Podge Coaster Tutorial
1. Purchase some tiles. I bought six of the cheapest tiles I could find in glossy white, it was under $2.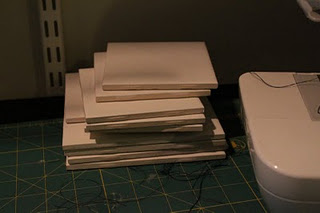
2. Trace your tiles onto your paper. I used these cute matryoshka and owl wrapping papers I found at the art supply store, but you can use any paper other than something printed on your inkjet printer (it will get all smeary):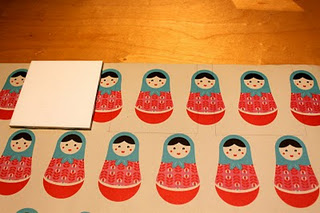
Cut out the squares with an exacto knife about 1/8″ to 1/4″ smaller then your square on each side, depending on how much tile you’d like to see as a border: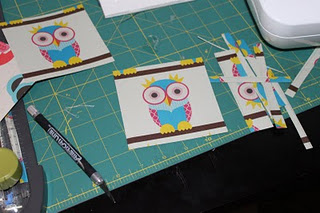
3. Doing one tile at a time, apply a light coat of Mod Podge![]() (i used glossy) with a sponge brush, then center your paper on top. Use your fingers to press the paper nice and flat. Don’t lift it up once you get it on or it will rip and be a big ole mess.
(i used glossy) with a sponge brush, then center your paper on top. Use your fingers to press the paper nice and flat. Don’t lift it up once you get it on or it will rip and be a big ole mess.


Let them dry for 20 minutes.
4. While they are drying, cut out six squares of felt for the bottom of your coasters: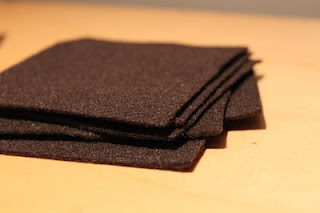
5. With your sponge brush apply another light coat of mod podge to each tile. Let the coat dry for twenty minutes. Repeat this process five or six times.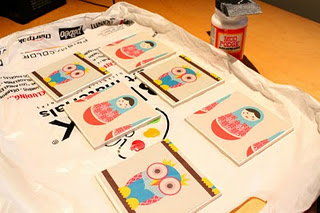
6. When your tiles are dry, turn them over and glue the felt squares to the back. I used rubber cement![]() but I think tacky glue would work. You could also use those felt dots that normally go on the bottom of furniture legs, or cork:
but I think tacky glue would work. You could also use those felt dots that normally go on the bottom of furniture legs, or cork: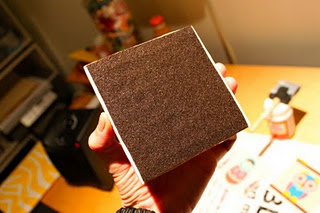
7. You can use your coasters the next day but don’t put anything hot on them for a month, that’s how long it takes the mod podge to fully cure. If you apply a sealant you can use them sooner as per the directions on the sealant, I used Polyurethane Spray: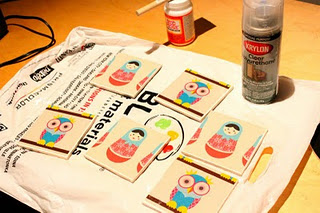
You’re done! Drink up!