


Inspired by Jaime’s beautiful garden and childhood memories of eating sun-ripened heirloom tomatoes straight from the vine, we have started planning our own “backyard farm.” This will be a major experiment for us. Will it survive the Texas heat? Will my children pluck all of the seedlings out of the dirt? Will the critters come and carry away my bounty? We are learning as we go with the help of our (more garden experienced) friends Drew and Brookes, the interweb and hopefully you, oh wise gardening Prudent Mamas.
This weekend the men-folk build two 4×8′ raised beds. This is how they did it…
Supplies for 1 – 4’x8′ raised bed.
4″x4″ x 6′ – untreated
3 – 1″x12″ x 8′ – untreated
Saw
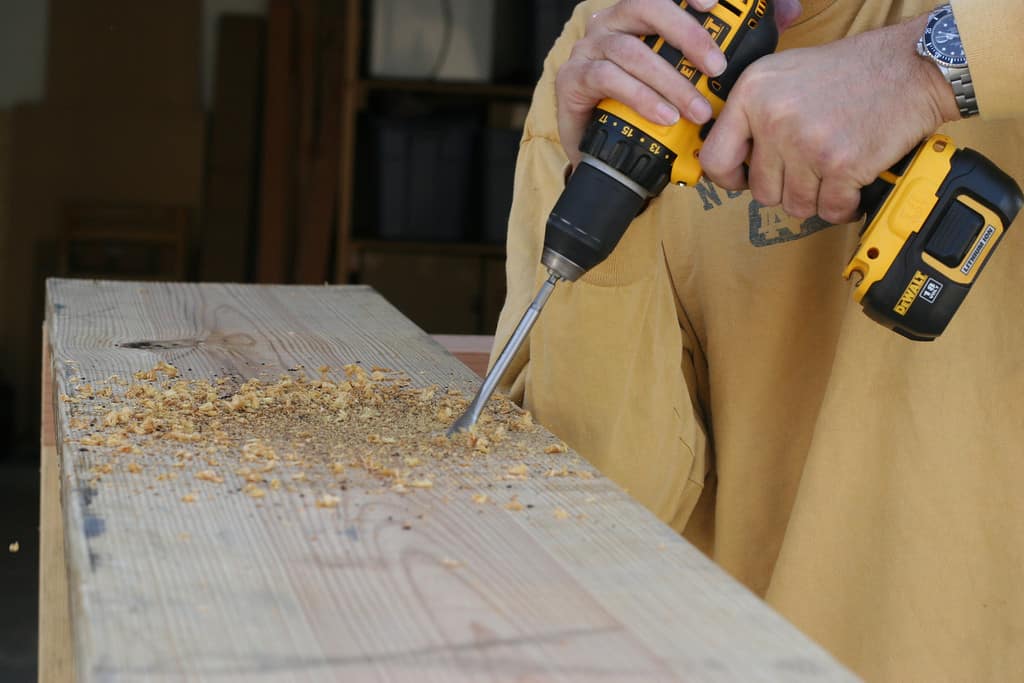
Drill (or impact driver) and long screws.
1. Cut your 4″x4″ into 4 – 16″ lengths. Note: Please use manufacturer instructions for operating power tools. Not our photos. For example… wear goggles.
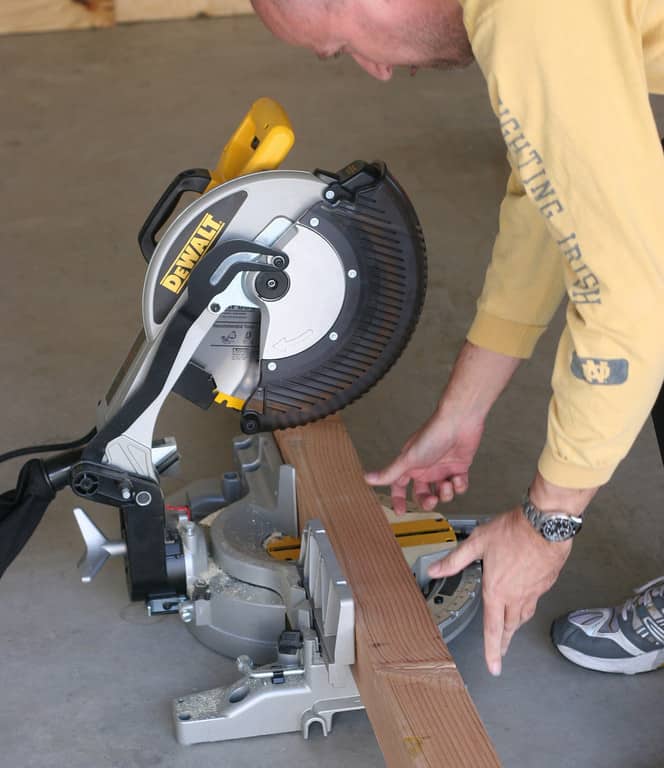
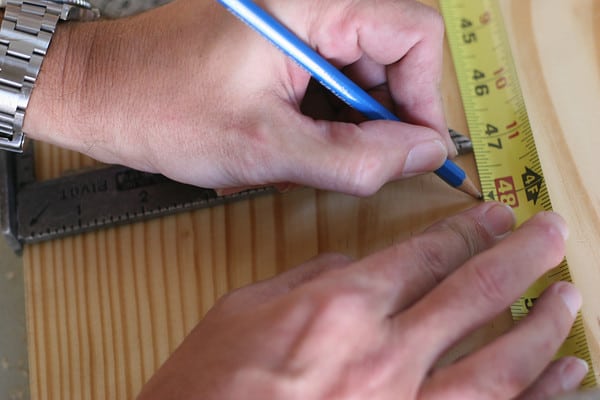
2. You have 3 – 1″x12″. Leave 2 – 8′ long. Cut one in half. Here is a cool trick for cutting it straight…
Measure out to 4′ and draw straight line where you want to cut top-to-bottom.
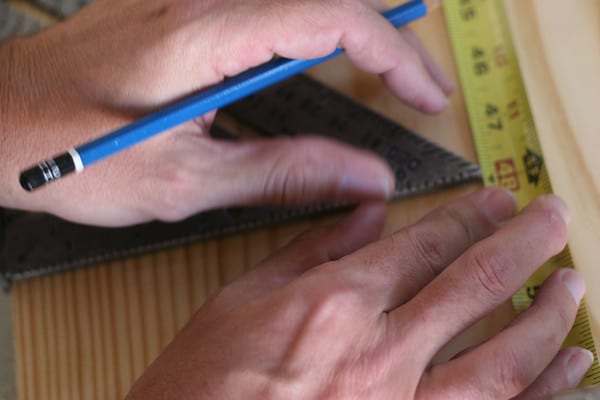
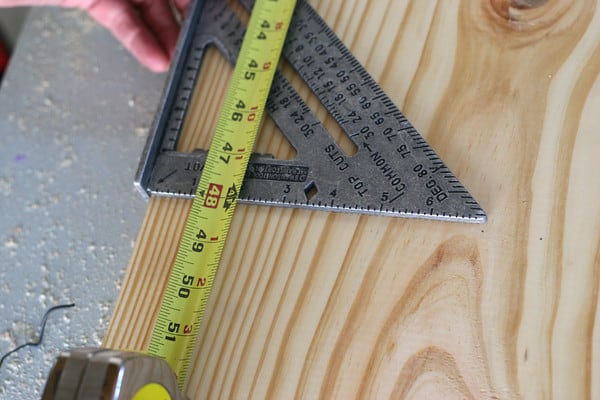
3. Draw a parallel line approximately 3″ away from your cutting line (depending on the width of your saw) Clamp a piece of 2″x4″ to the board using that second line as your edge.
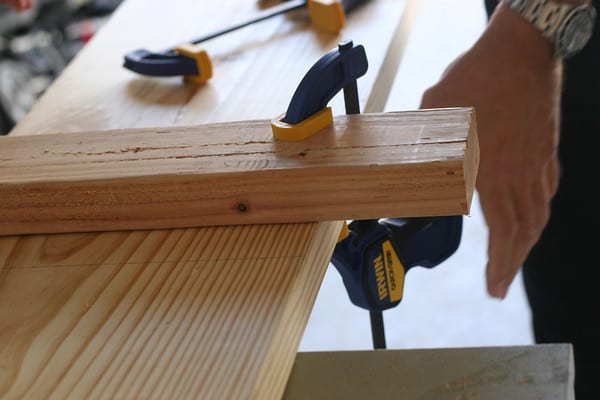
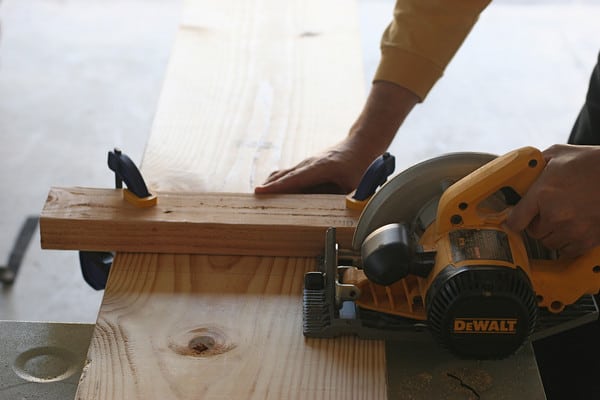
4. Use the 2″x4″ to guide the saw through it’s cut.
Here are the 8 corner stakes for 2 raised beds.
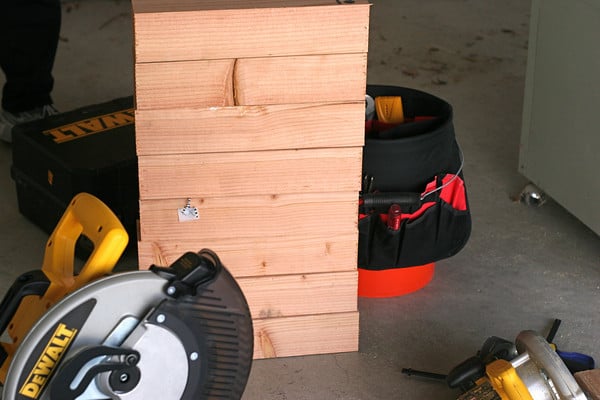
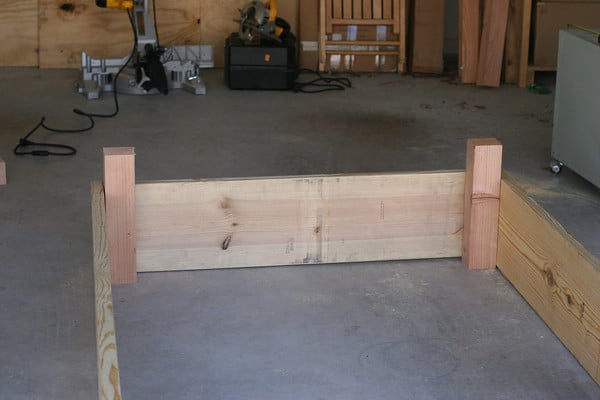
5. Configure your pieces like this…
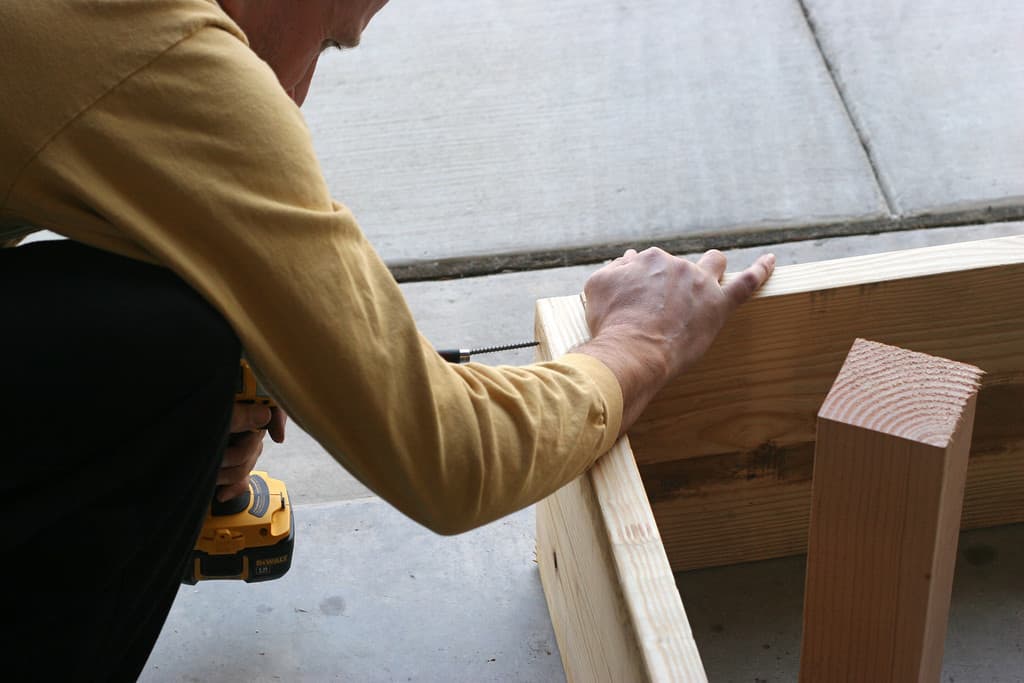
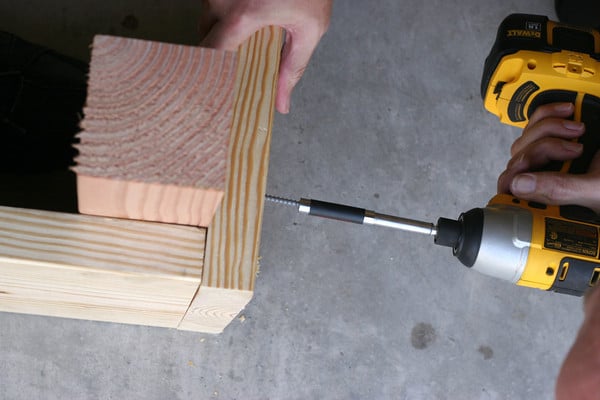
6. Screw the end of the 8′ into the edge of the 4′, top and bottom. Repeat on all 4 sides.
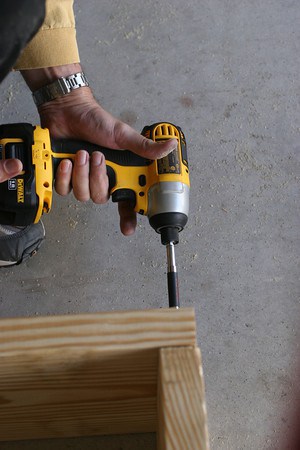
Yikes! Drilling is loud. Don’t worry, that giant saw is unplugged.
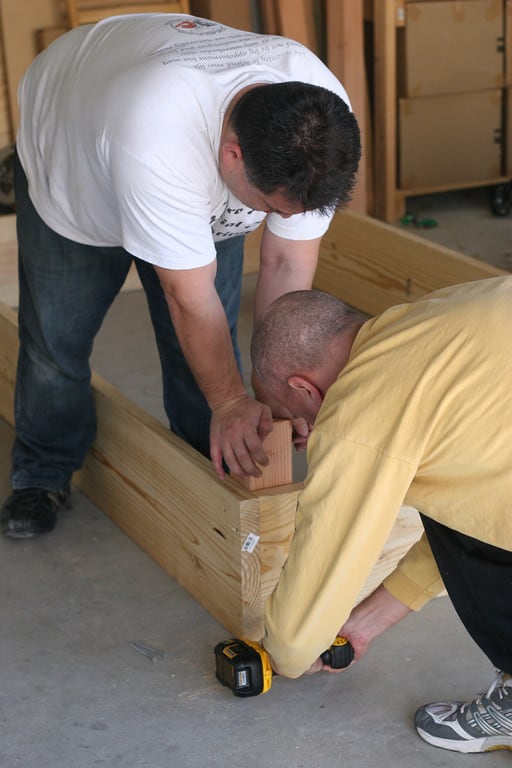
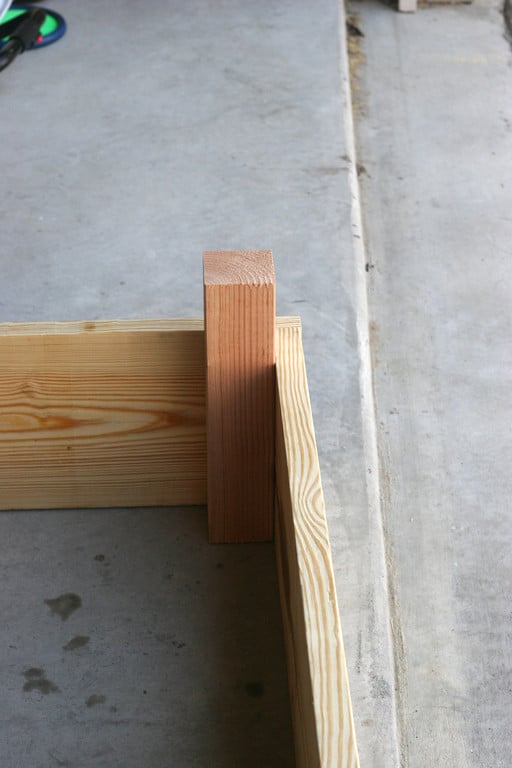
7. Screw the board to the stake, top and bottom, both sides, all four corners.
It helps to have a buddy to hold it steady.
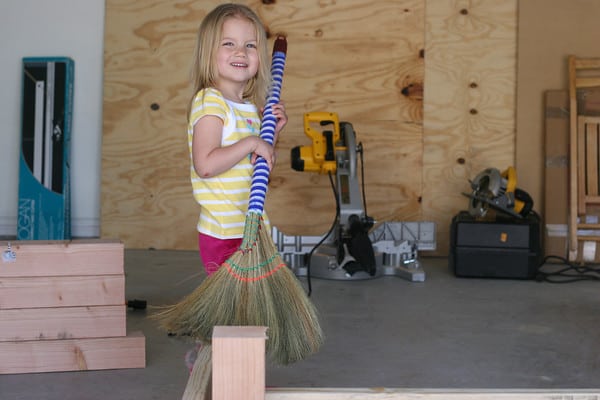
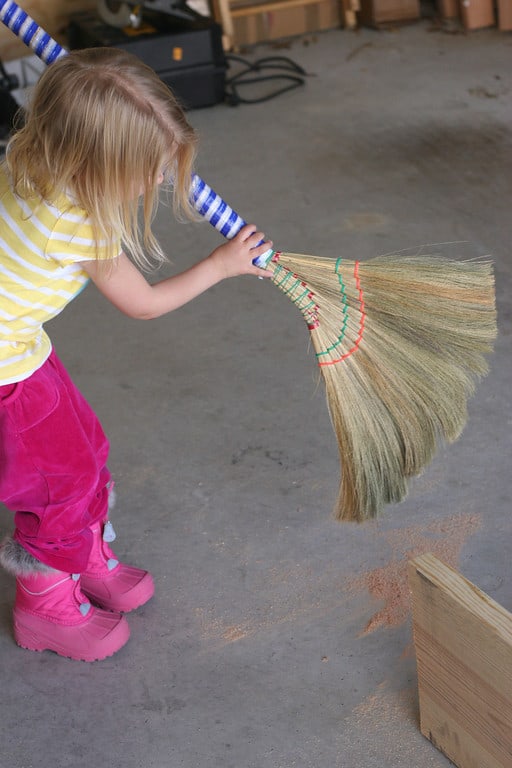
Put those kids to work.
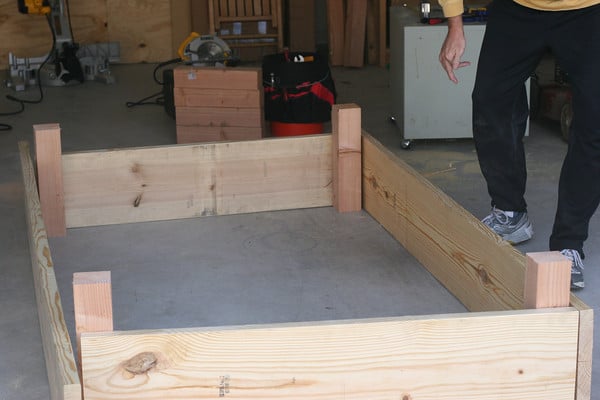
This is what your raised bed will look like.

How many times have I heard… “Now take a picture of Mermaid.”

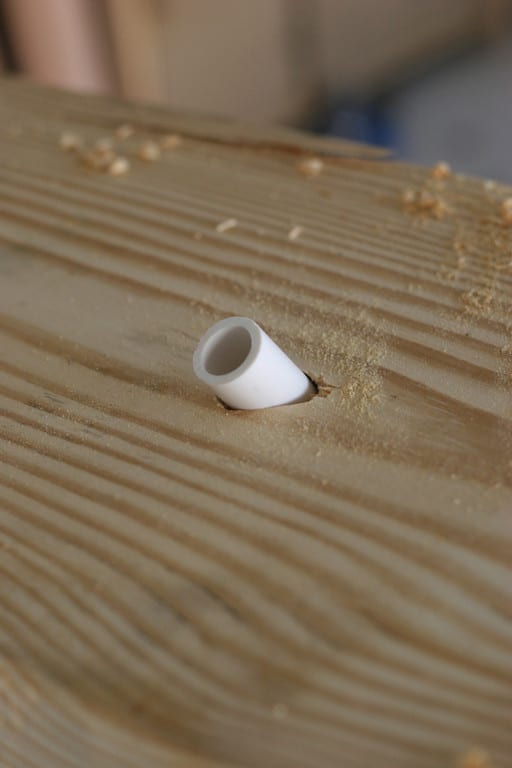
8. Next we added drainage holes. 2 (the width of our PVC pipe) on each long side at a 45 degree angle. But more on drainage later.
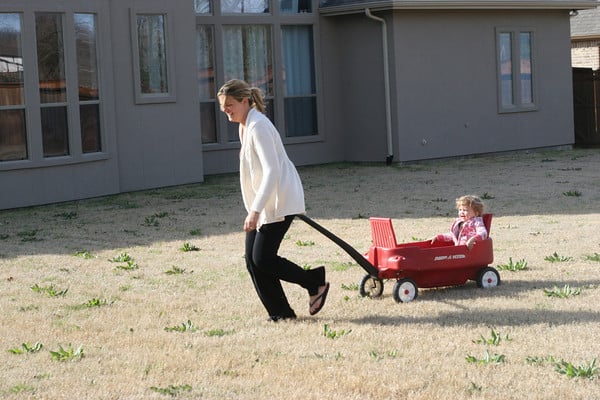
9. Then we headed outside and found our perfect location. It was close to an outdoor water source, had afternoon shade for a break from the Texas sun and a view from our kitchen window (don’t want to forget to water!)

While the boys were digging, we enjoyed some sunshine. Nice “do” Q. HA!

Hmn, time to do some weeding.
Do not fill trash bucket with turf and attempt to lift by handles.
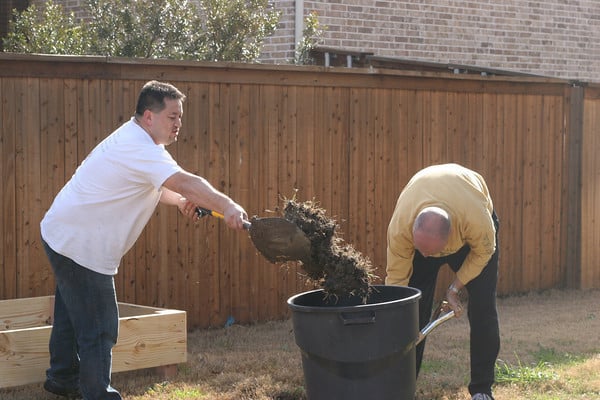
You may rip off fingernail and require pink Bandaids.

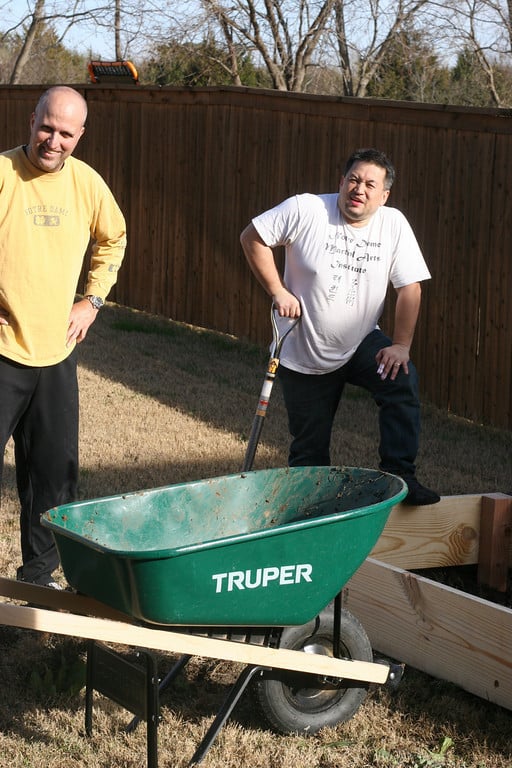
Luckily neighbor might take pity and let you borrow wheelbarrow. Amateurs.

And that’s where we stopped for the day. Up next… Securing the beds from the nasty creeping Bermuda grass and sourcing soil. Also wondering if I should do something fun like paint the outside? Next weekend we start to exciting stuff and head to the farmers market for plants and seeds.
What are your gardening plans? I’m looking forward to working on our “farms” together all Summer long!
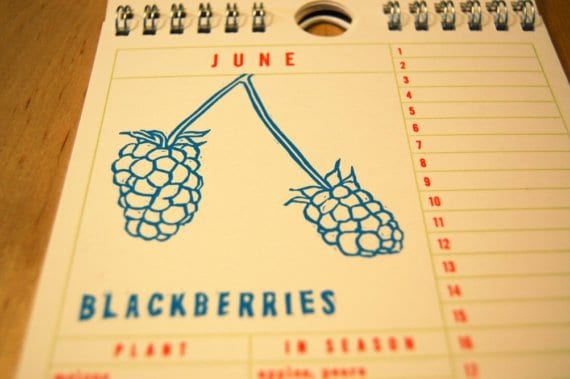
The produce calendar at the top is from Krank Press.