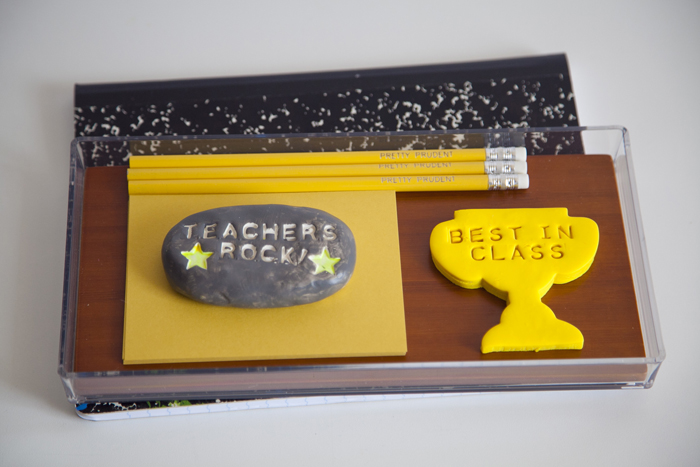
We’ve updated our popular Polymer Garden Stone project and given it some class. Yup, I did that. I loved making these with Clare the first time and we had a blast making them again for the girls’ new teachers, this time stepping up our game with Polymer Clay in colors, Cookie Cutters and Clay Embossing Lettering Set. Here’s how we made these fun little gifts for our superstar teachers.
For the Teacher’s Rock Stone, follow the Polymer Garden Stone tutorial precisely. You can also use rubber stamp letters for the same embossed letter effect although the Embossing Lettering Set saves a lot of headaches. It also comes with cute shapes like a star and heart.
For the trophy paperweight, here’s all you do.
1. Knead the clay for 2-3 minutes.
2. Roll it out to desired thickness on a smooth counter top. This one was about 3/8″
3. Set your type on the Embossing bar and imprint. Remember to set the letters backwards and don’t press too hard or the plastic squares will also make an imprint. You will be able to smooth slight imperfections with your fingertip.
4. Cut shapes with your favorite cookie cutters.
5. Place shapes on a parchment paper covered cookie sheet and bake for approximately 15 minutes per 1/4″ of thickness, or however the packaging directs. Until the clay cools, it will feel slightly soft to the touch.
6. Once the paperweight cools, feel free to add touches of paint and set to dry.
7. Spray with Polyurethane Spray and dry. Repeat. Wrap it up and give it to your favorite teacher along with some pretty writing paper and a little tray!


