


 Here’s a super simple and fun little catch-all dish you can whip up for Valentine’s day in felt, fabric, or leather. I’ve even included a free pattern. These stitch up quick and are fun to fill with paper clips (or chocolate kisses) on your desk.
Learn how to sew up our heart valet bowls and get the free downloadable pattern after the jump…
First, print out our pattern, which you can find here: Pretty Prudent Heart Valet Bowl Pattern.
Cut it out, and trace it onto your fabric. Cut two pieces of fabric, one for the inside of the bowl and one for the outside. I used a heavy weight denim for one side (the outside), but if you are using two pieces of cotton or flannel, also cut out one piece of medium weight interfacing. 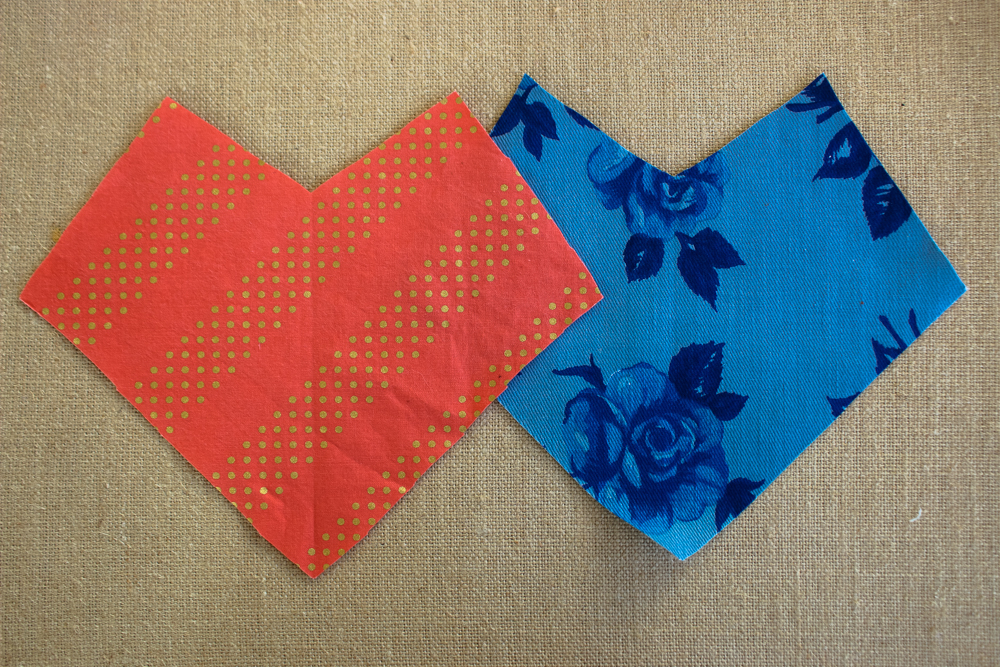
Next, lay the two pieces right sides facing, then sew around the edge with a scant seam allowance, leaving a hole for turning on one long side of the heart, back stitching at the beginning and end. 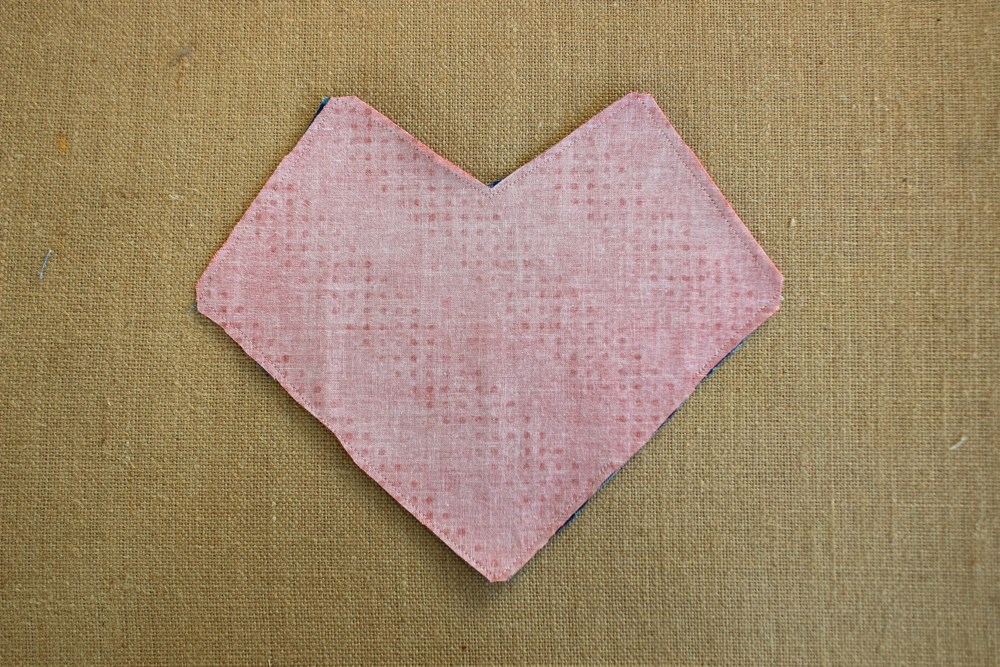
Turn the whole piece right side out and iron it nice and flat, being sure to poke your corners out. Make sure you iron the hole closed along the edges of the seam. 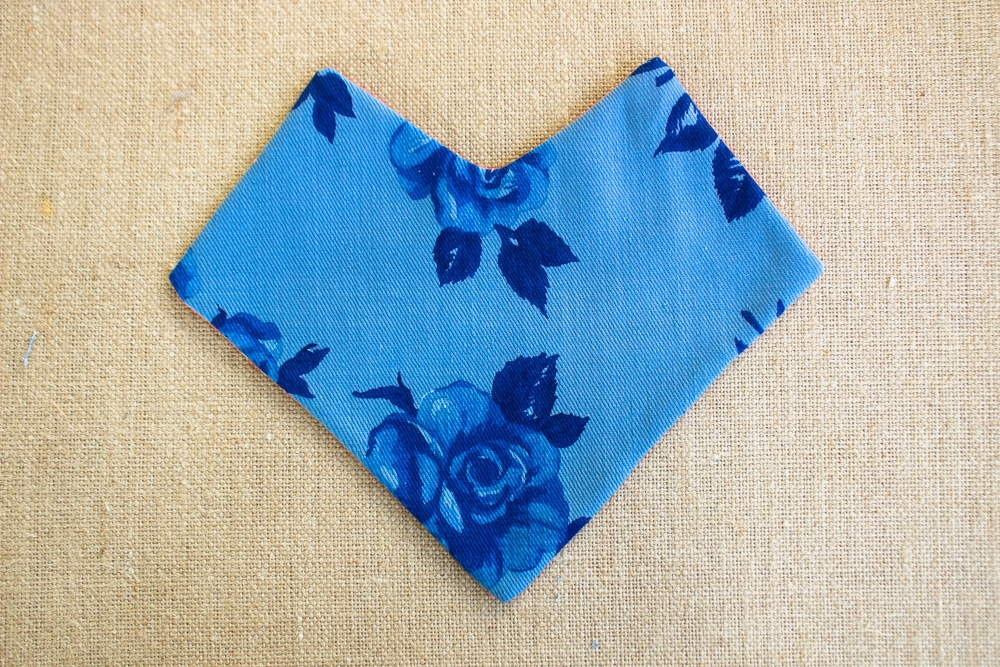
Now carefully top stitch all the way around, sewing the hole closed. 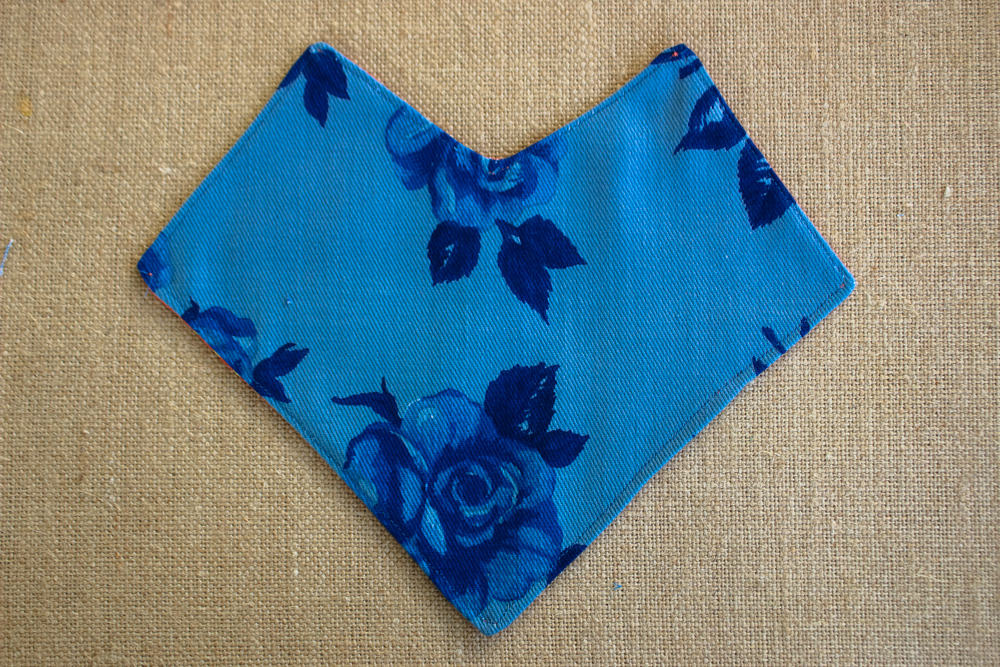
Use our pattern as a guide to mark the stitch lines at each corner with chalk or, even better, an air or water-erasable fabric pen. 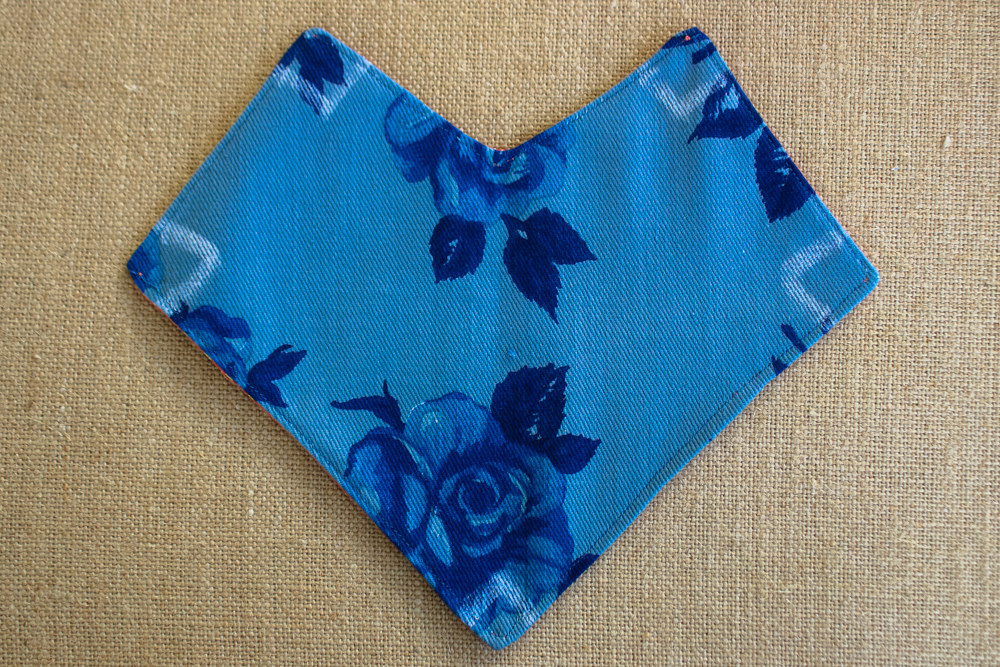
With the bottom of the bowl facing you, fold one corner so the marked lines meet. 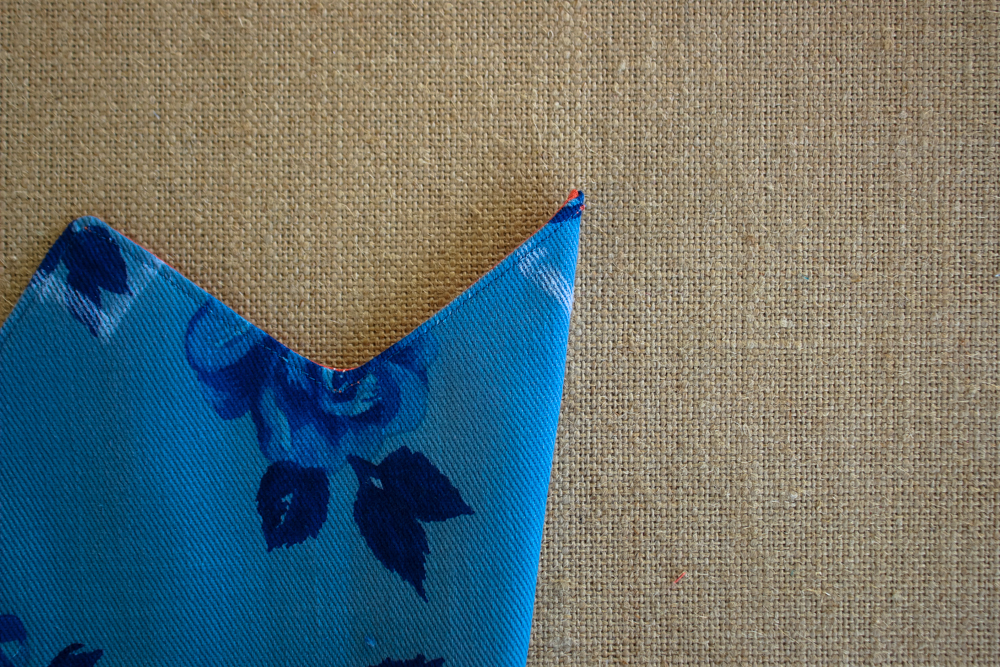
Sew in place along the line with a straight stitch. Go back and forth a few times for a nice, secure hold. 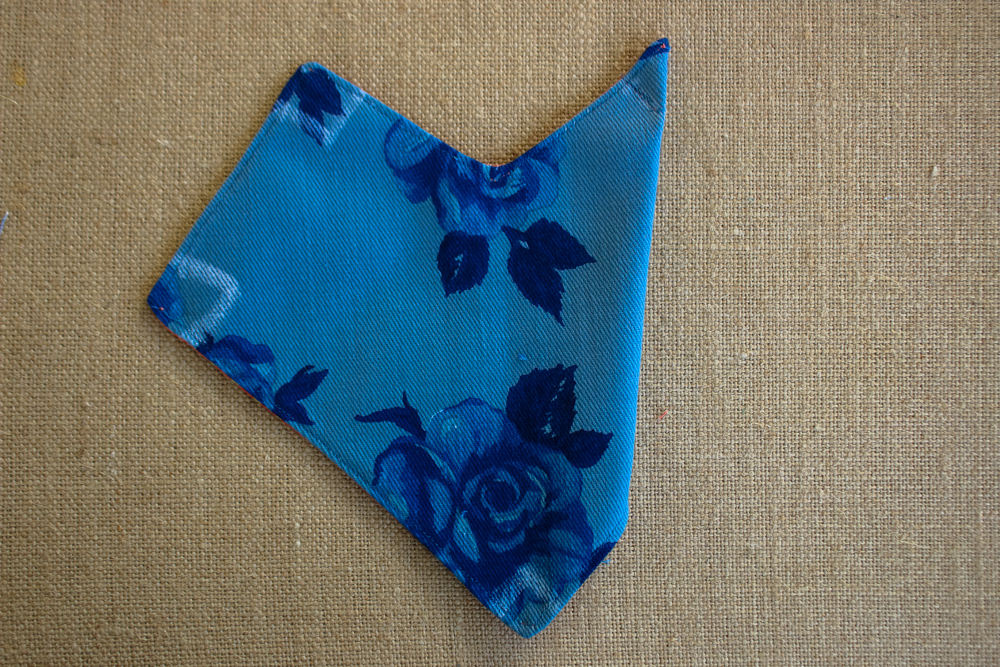
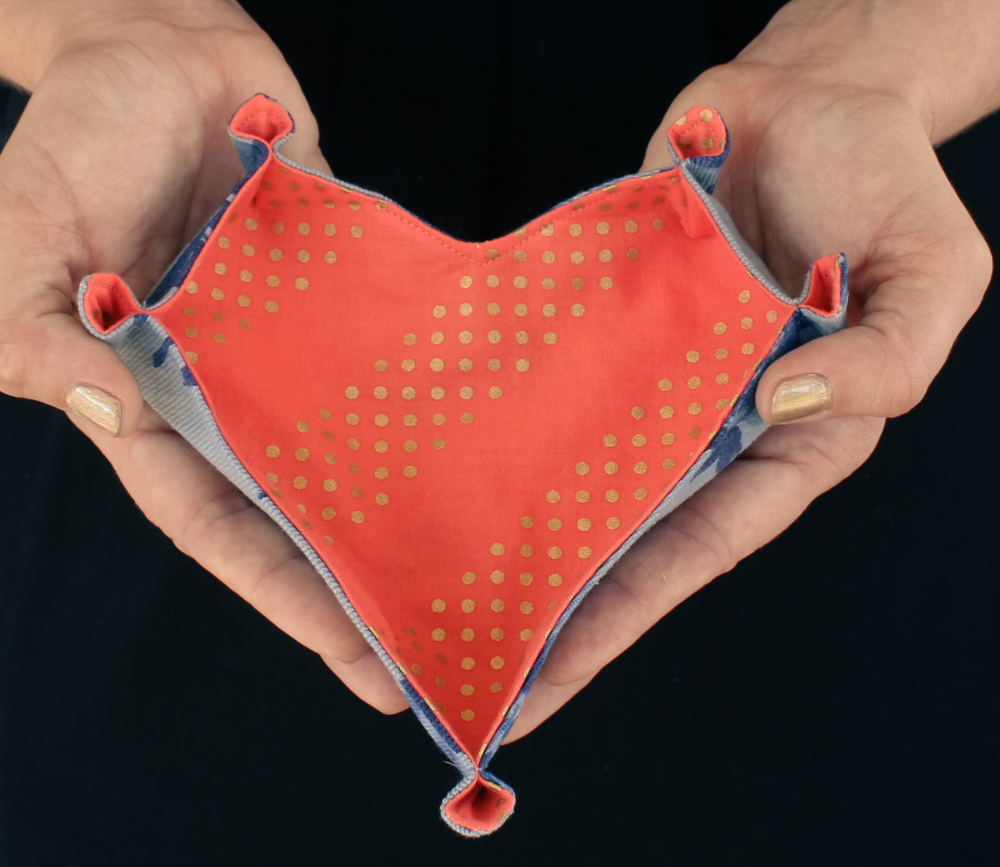
Repeat at all the corners and bottom of the bowl. Turn it over. It should look like this. 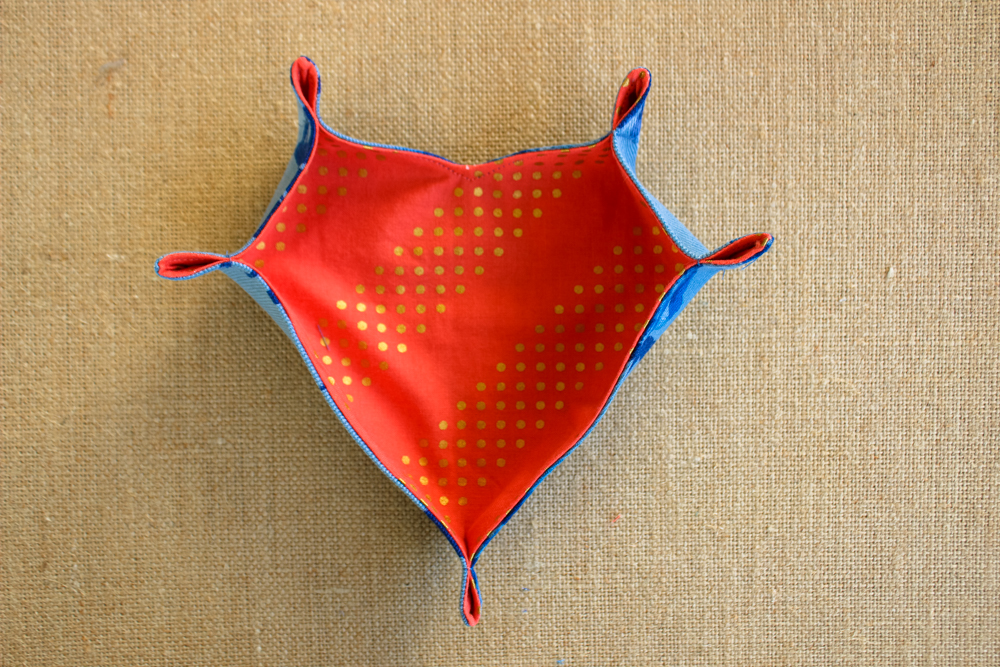
Now carefully iron each pinch flat. 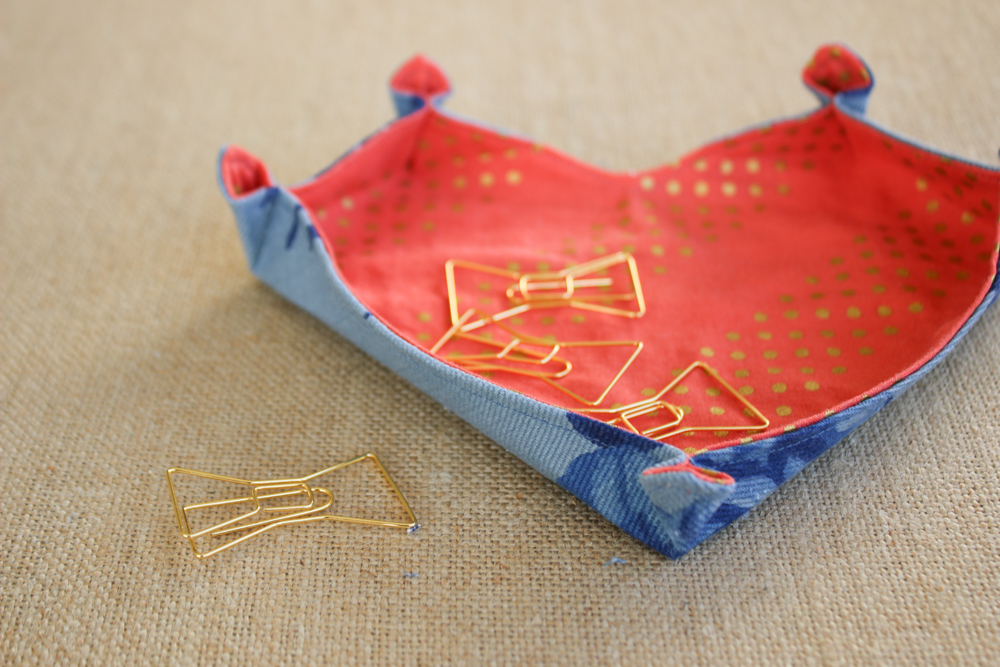
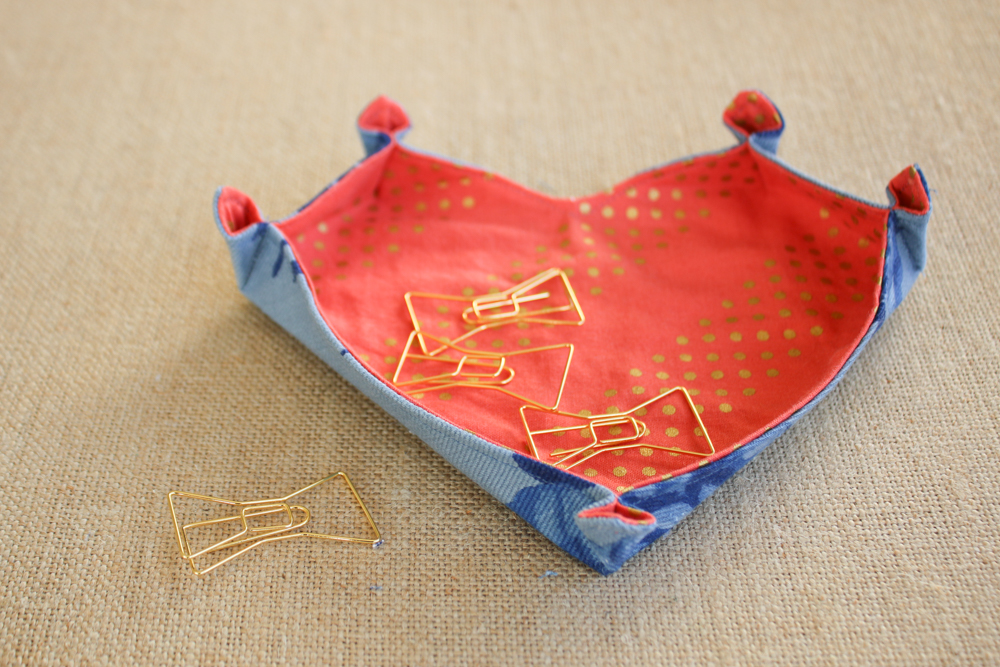
Fill your heart valet bowl with desk knick-knacks or love notes. XOXOX