


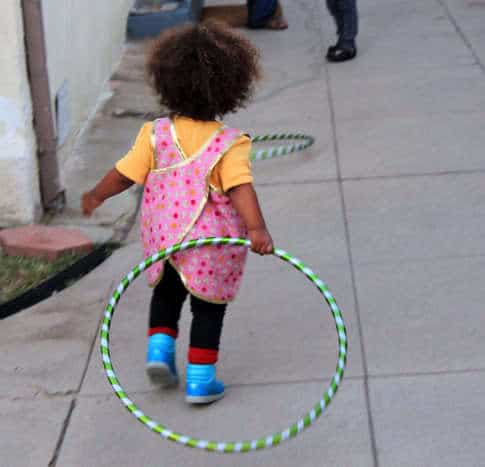
This funky little top is so fun. Your little one can wear it over shorts in the summer, or a long sleeve top and jeans in the fall. It’s reversible and slips right over little heads. 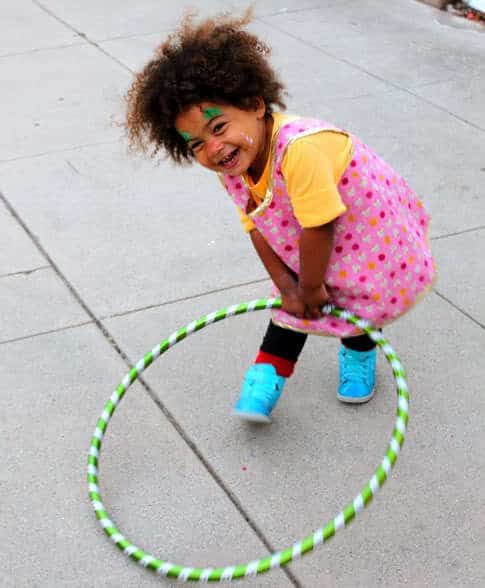
I made my mine in a heavier fabric that’s still breathable and I love the way it turned out, but I think it would also be adorable in a double gauze or cotton lawn or voile.
And a little gold bias tape makes it extra snazzy for little princesses.
Get the full 4 Season Crossover Top Tutorial after the jump…
4 Season Crossover Top
I used gorgeous and amazing cotton-linen blend fabric by Heather Ross for Kokka from Fabricworm. The pink side is Far Far Away 2 Roses Plum and the orange side is Far Far Away 2 Roses Gold. You’ll need about a 1/2 yard for each side, and you’ll have a bunch of decent size scraps leftover to play with. You’ll also need about 4 yards of double fold bias tape (bias tape usually comes in 3 yard packages so you’ll need two, or you can use our tutorial to make your own bias tape). I used fabulous snazzy metallic gold bias tape![]() .
.
1. Check out our template here for the measurements. This top fits about a 2T-3T. My daughter is very tall though so it might be a little big, just reduce or increase the mesurements using a top that fits your kid well as a guideline. You want the flat sides to be the same length on all pieces. You can check out the picture below or view/download/print the PDF here on Google Docs: Prudent Baby 4 Season Crossover Top.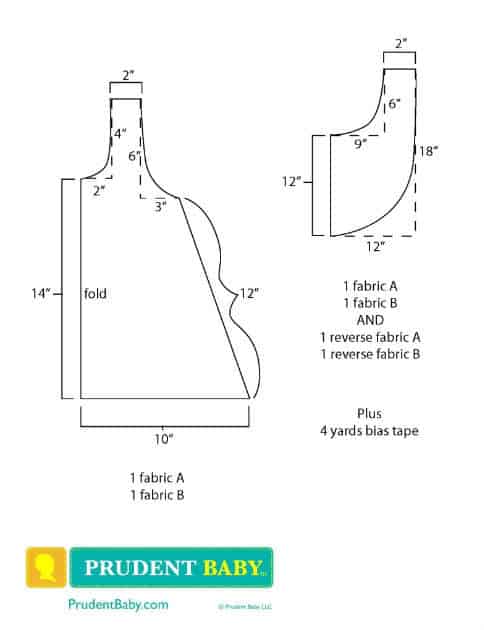
2. Cut out your fabric. I made mine all the same fabric on each side, but you can mix it up for a funkier look. Remember for the back piece you need one as drawn and one in reverse for each side of your top.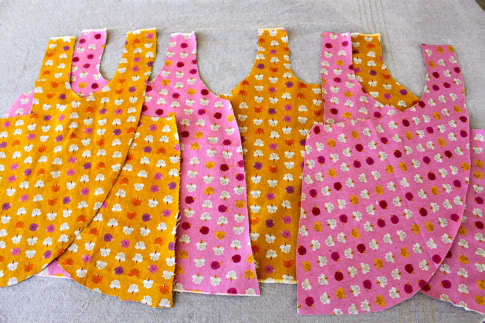
3. Pin the pices together right sides facing like so. Leave the top right shoulder of one set un-pinned.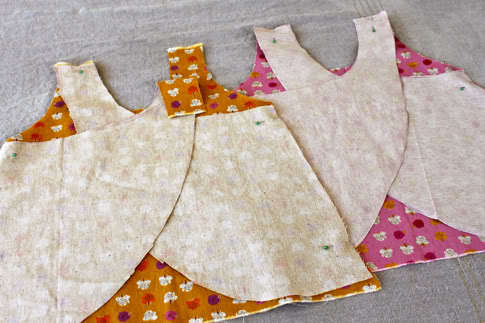
Make sure it is the top right when you have the back of your dress facing you, here is the pic again for reference: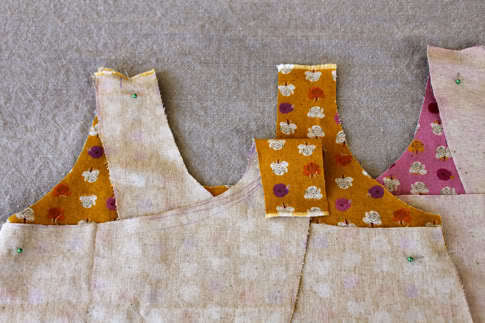
4. Sew together up the sides and the shoulders, except for that one shoulder: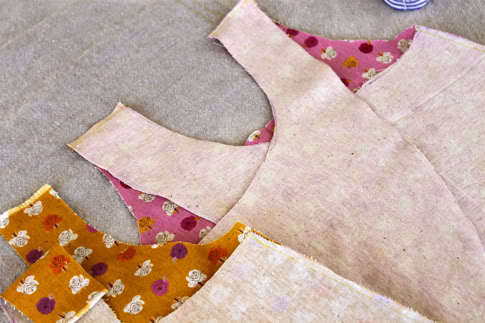
5. Open all the seams and iron them flat: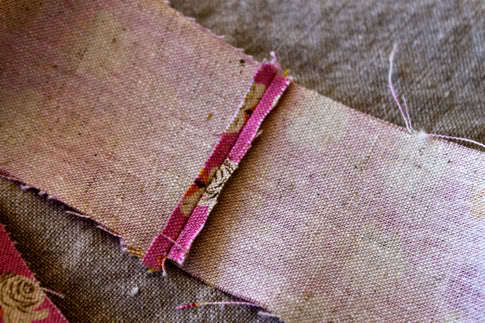
6. Turn the piece with the unsewn shoulder right side out:
7. Slip it that piece inside the right side out piece so wrong sides are facing. Pin together at the two sewn shoulder seams: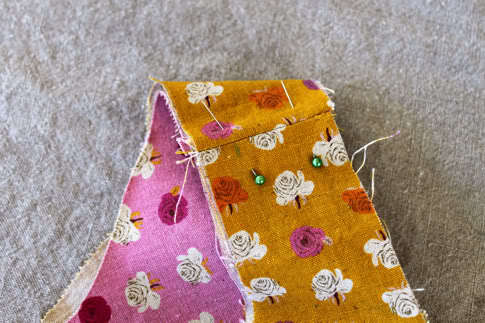
8. Continue to pin the layers together all the way around: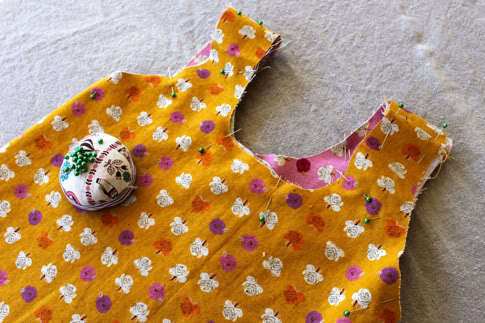
Back view: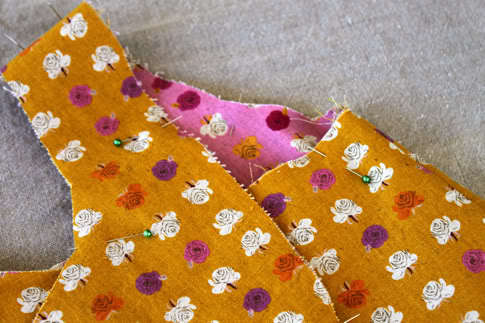
At the unsewn shoulder, fold the fabric carefully so the rough edge is hidden and pin like so: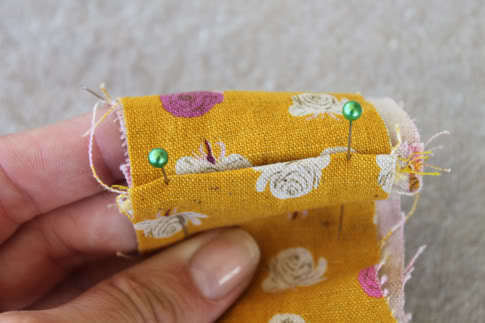
9. Baste (sew with a straight stitch set to the widest stitch your machine will allow, usually a 5) all the way around so all sides are attached. You could skip this step and go right to the bias tape, but that would be much harder and probably result in bunching, so just take the time to baste it: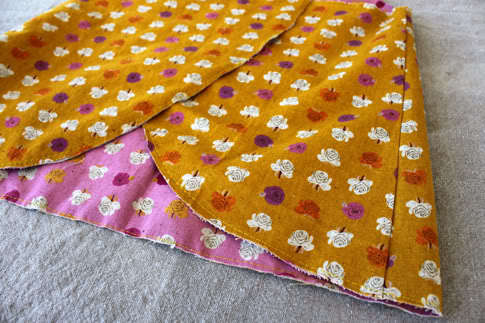
10. Pin your doube fold bias tape all the way around. Normally we would sew one side on, then flip the bias tape around, but in this case we already basted so let’s just slip the bias tape around the edge and pin. Make sure the shorter side of the bias tape is on the top (the side you are going to have on top in your sewing machine) so that you catch both edges as you sew.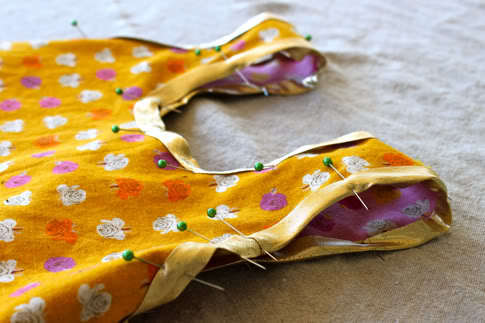
11. Sew in place all the way around.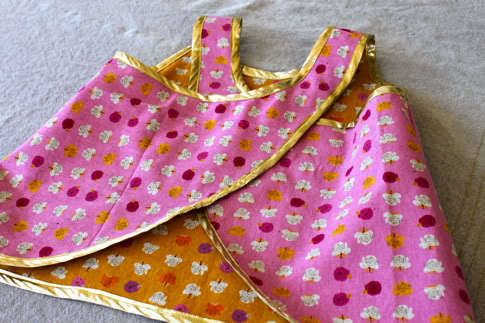
And there it is the other side out: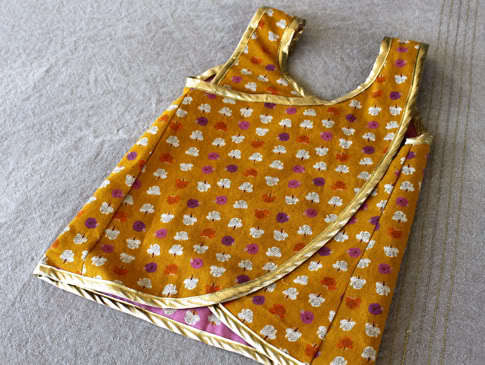
Done!
P.S. Isn’t Niko the cutest ever? She loves her clown face paint so much.
Remember, leave a comment on this or any post this week and you could win the fabulous fat quarter pictured up there on the left!