


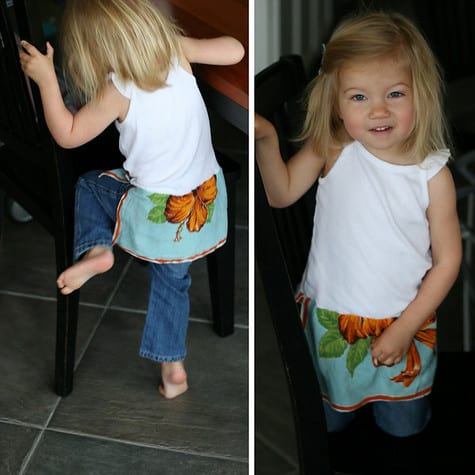
Just when you thought it couldn’t get any easier than Jaime’s 10-Minute Onsie Dress, we present the 5-minute T-shirt Tunic. 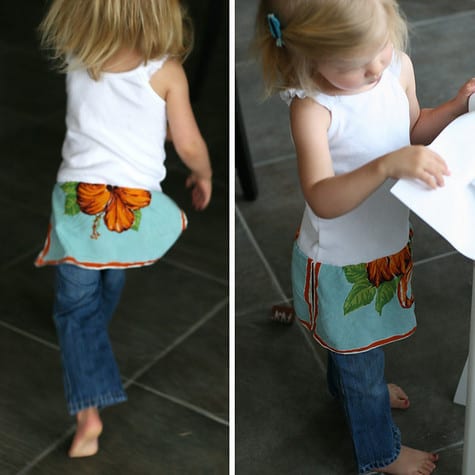
You can you use a bandana, dinner napkin, tea towel, vintage hankie, or neck scarf for your skirt. Not only will you have an adorable top for your girlie but you will teach your child a valuable lesson at a tender young age.
Get the silly-easy 5-Minute T-shirt Tunic DIY after the jump..
1. Iron your skirt fabric. I used a vintage neckerchief. The silky fabric has a nice drape.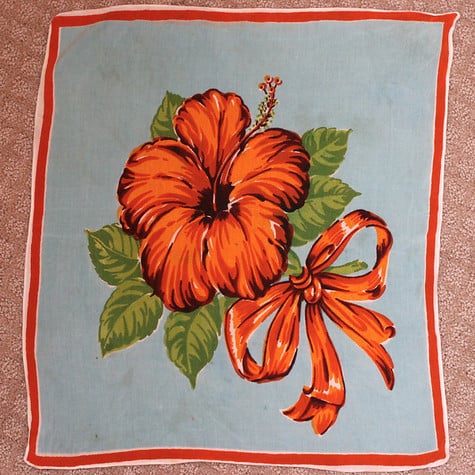
This is the tank that I used but any t-shirt will work. I do like the fitted ribbed look but not necessary.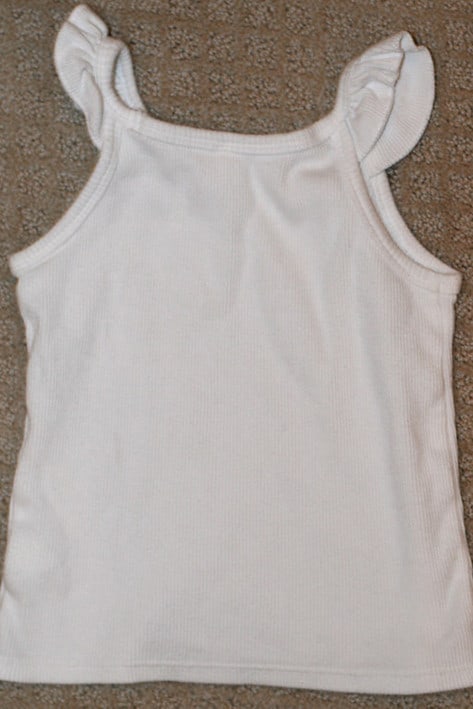
2. Cut your skirt fabric exactly in half along the horizontal. Remember that the pattern on the back of your skirt will be upside-down.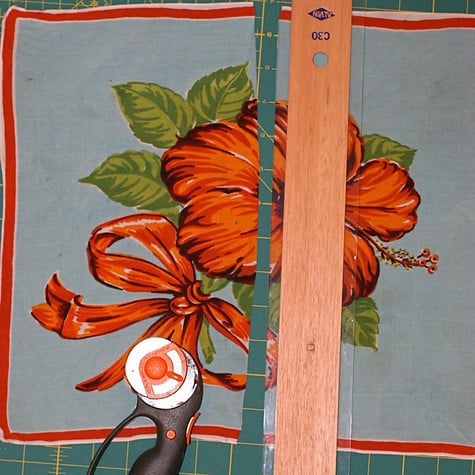
3. Finish the 2 raw edges that you just cut. I did a zig-zag stitch with the needle hitting off of the fabric on one side.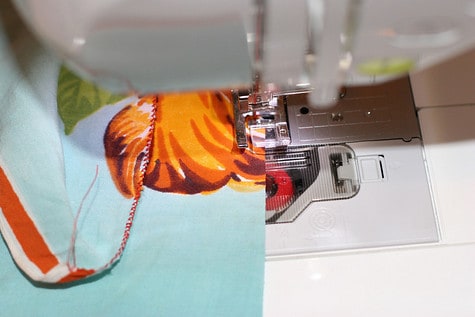
4. About 1/2″ from the edge that you just finished, do a baste stitch along the length of both pieces. A baste stitch is just a straight stitch on your longest stitch setting (usually a 5)
5. By pulling the top thread gently, gather the fabric slightly until the width is the same as the shirt hem. In this case the fabric wasn’t much wider than the top. I probably could have skipped the baste stitch all together and just added a few tucks.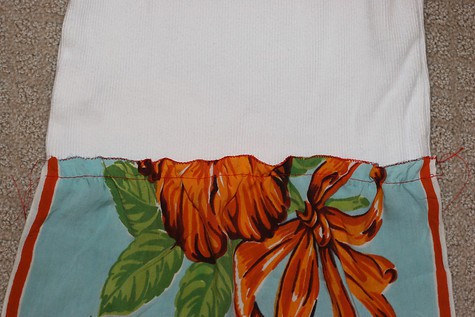
6. With right sides facing, pin the front of your skirt to the front of your top with the baste stitch lined up with the hem of your shirt.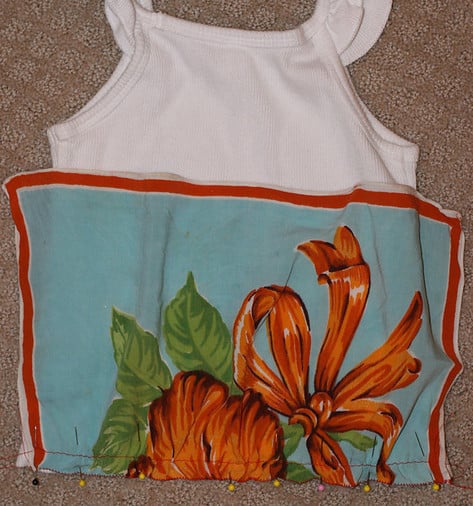
7. Sew the front of your skirt to the front of your shirt, about 1/4 inch above the baste stitch. 1 or 2 back stitches at the beginning and end will secure your edges.
It will look like this…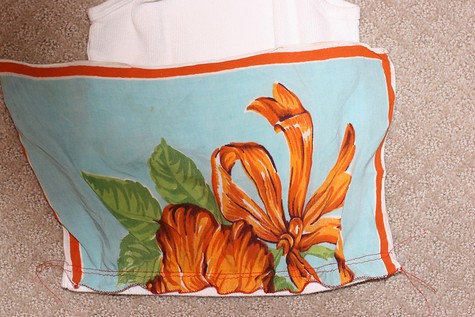
And when you flip down the skirt, it will look like this.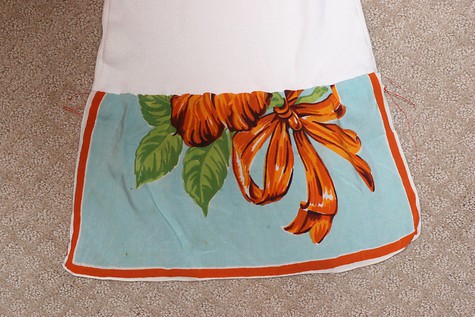
Repeat from step 5 on the back piece and your are done!