


Checkbooks are ugly. I see the necessity of carrying a checkbook as an excuse to have something pretty peeking out of your bag.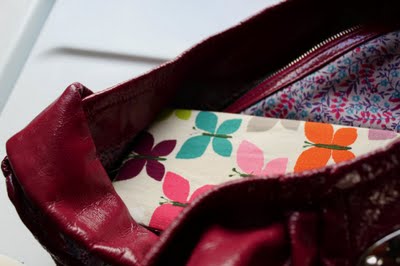
Get the DIY Mama’s Checkbook Cover how-to after the jump (totally easy)…
DIY Mama’s Checkbook Cover
1. Measure and cut your fabric. You can use up to four different fabrics for all the pieces:
Outside (7.5″X8.5″)
Inside (7.5″X8.5″)
Two Pockets (3.5″X7.5″ each)

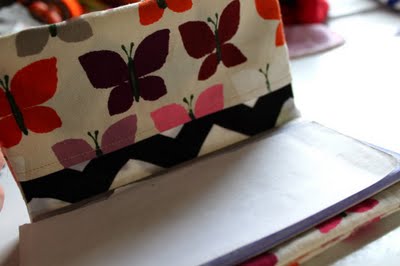
I made the outside and the pockets using Alexander Henry Canyon Flutter in Pink
and the inside using Paula Prass Summer Soiree Chevron in Black
2. Take a smaller pocket piece and fold the long edge over a tiny bit – 1/8″ or so, and iron, then again and iron, then edge stitch. Repeat on the other pocket piece.


6. Finish your edges or cut them with pinking shears and clip the corners:


This is a simple and easy craft but it’s a little floppy. I want to make a ton for christmas gifts but I will use a lightweight interfacing next time to give it more shape. I’ll try to whip one up this weekend to show you how. Also, adding buttons or snaps or rick rack would be cute ways to embellish. Make one and send us a picture!