


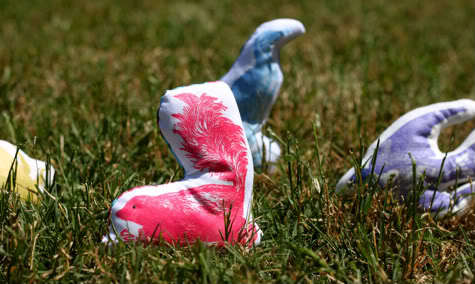
Okay so these are the easiest homemade stuffed animals ever. I know I’ve mentioned my love for the blog Graphics Fairy, where you’ll find a daily vintage royalty-free image of goodness. Well, I went to her site and snagged some great animal pics, colored them, then printed them on to some iron-on transfers…AND posted the template for you after the jump.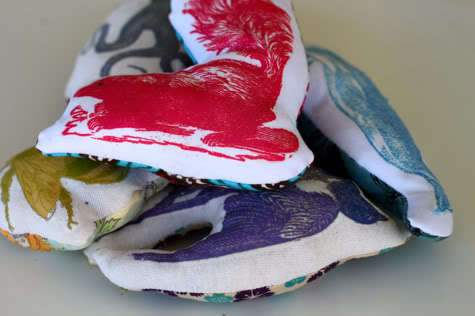
This little softie DIY is a great way to put some wayward fabric scraps to good use (as backings) and to come off like a crafty superstar with hardly any effort at all.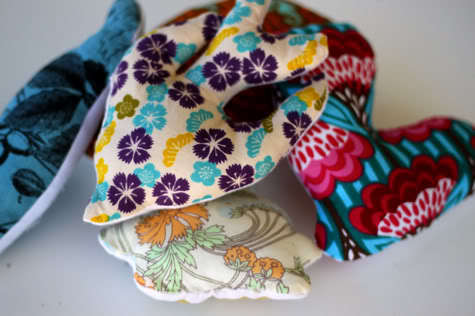
Get the full DIY for the Easiest Softies Ever after the jump…
Easiest Homemade Softies Ever
1. Find some images you like. Design your own, visit Graphics Fairy and get some, or download this template I made of some images recolored:
Vintage Animal Softies
2. Print them out onto iron on transfer paper: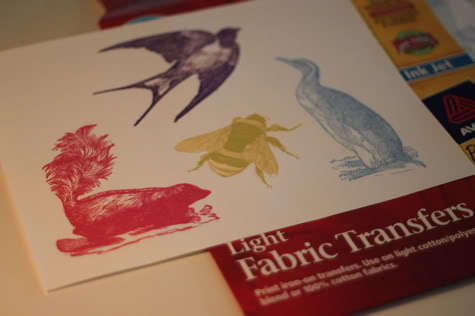
2. Cut out your transfers close to the edges: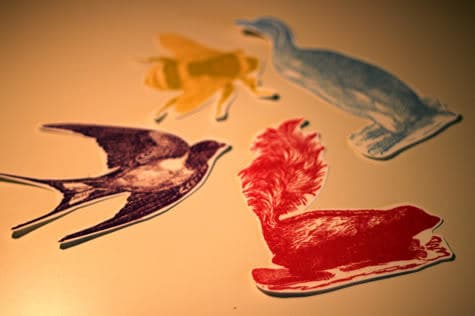
3. Lay them on your fabric and iron those babies on: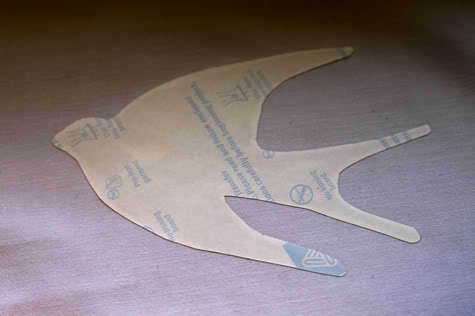
4. I used an old t-shirt for a few of them, and some white canvas for the others. When they’re all set and cooled, peel the transfer paper off: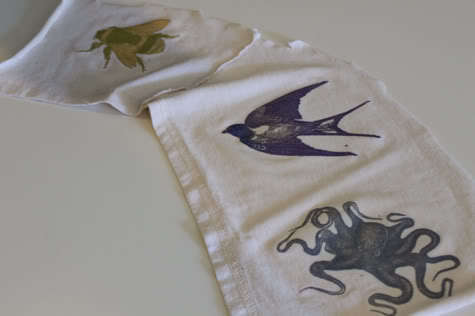
5. Cut around your shapes with a decent amount of space: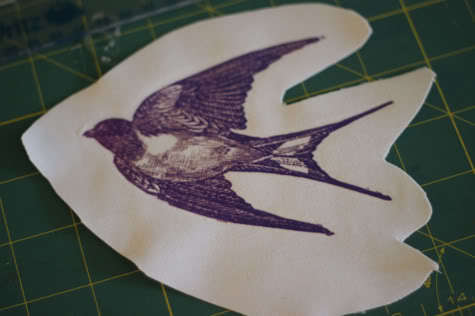
6. Lay them right sides facing on a fabric scrap, then sew around the edge, leaving a hole for turning (and stuffing), back stitching at the beginning and end:
7. Cut off the excess fabric: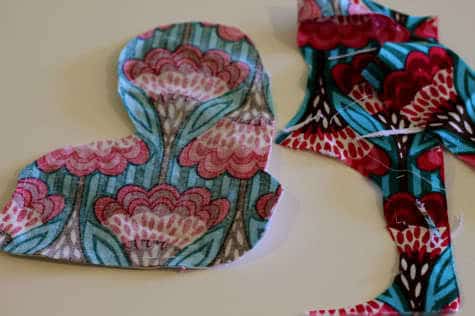
8. Turn right side out and push the edges out: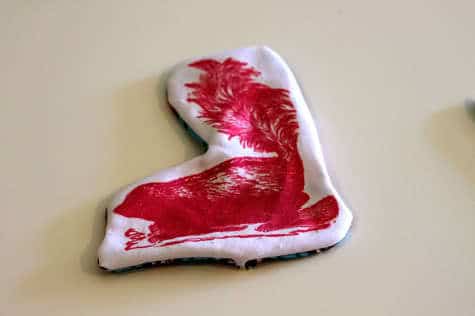
9. Stuff with some batting. I gave the skunk an embroidered eye with some black thread as well: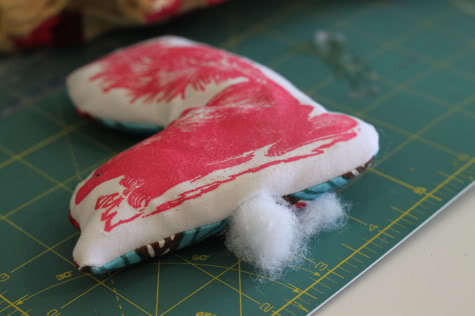
10. Slip stitch the opening closed: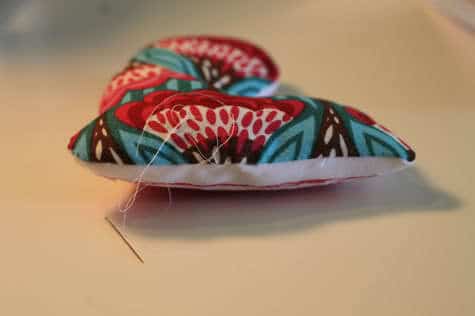
Repeat for all your shapes:
Tell me, how easy was that? You could do a million things with a printable softie, go crazy! No need to pay $20 for one in a store. I can totally see printable softies made with whatever your husband is into, a bass fish or vintage cars or star wars, right? What do you think would make a cute softie?