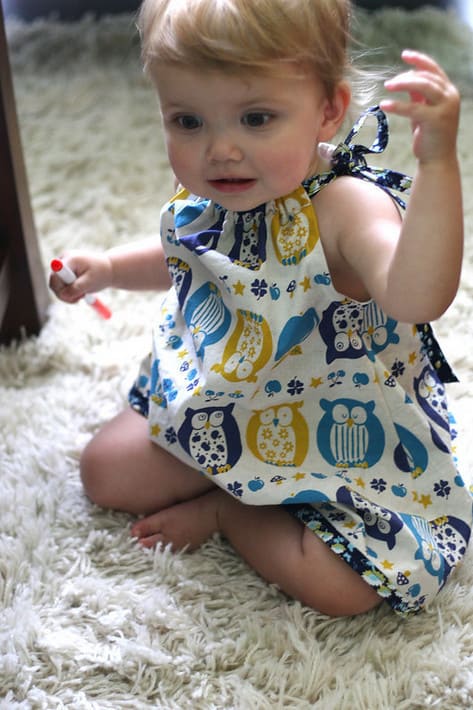
I had a few hours yesterday (I know, lucky, right?) so I made Miss Quinn a quick little dress using Jaime’s “Pillowcase” Dress tutorial. I can’t believe I’ve waited this long! It was so fast and fun and I love the finished frock!
I made a few tweaks. Read on to get the scoop on my DIY “Pillowcase” Dress.
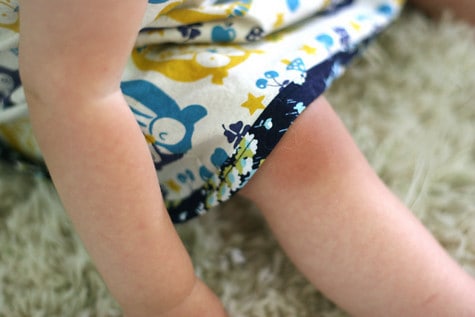
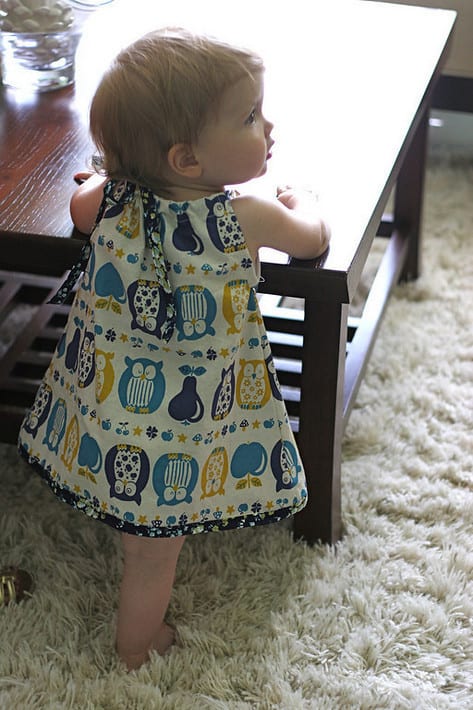
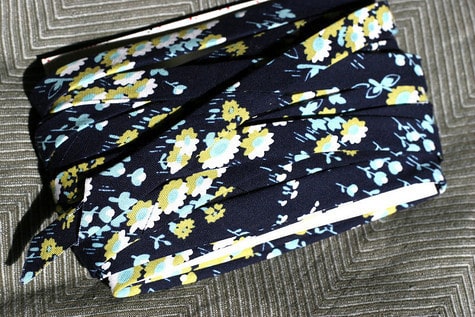
I only had 1/2 yard of this adorable Kokka Jolis Copains Owls Blue so my dimensions were 20″ wide by 16″ tall and my neck width was 10″. This fit Quinn (14 months) as a short dress and Clare (3T) as a long top. To maximize the length of my dress, I finished the bottom with 1/2″ double-fold bias tape that I made from Joel Dewberry Flower Fields Lake with my new bias tape maker from Simplicity![]() . If you need a refresher on making bias tape, see Jaime’s excellent Bias Tape Tutorial. I used the same bias tape as my tie at the top.
. If you need a refresher on making bias tape, see Jaime’s excellent Bias Tape Tutorial. I used the same bias tape as my tie at the top.
Clare was very sad that I made Quinn a an owl dress, I need to grab more of this fabric before it’s gone!
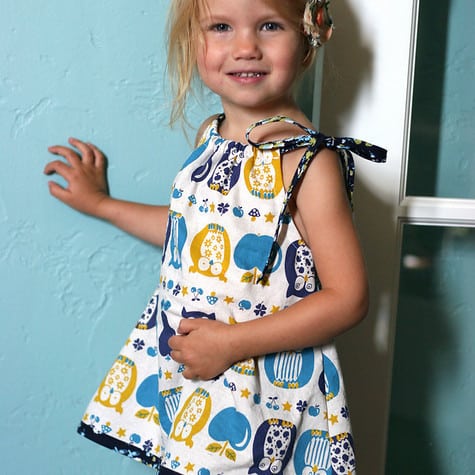
I love how the patterned bias tape gives it an unmistakable handmade look. If you haven’t tried The “Pillowcase” Dress Tutorial or if you’re a little afraid to make your first dress, try this! It’s awesome!