


Many readers have asked us how to blow up and print our patterns tiled so they can create bigger sizes. I’ll show you how to do it on a mac, and maybe some readers can weigh in with PC instructions in the comments. And while we’re talking about printing, I’ll remind you that you can print nice, clean Prudent Baby DIYs with none of the web stuff (like ads or sidebars) just by hitting “print this post” on the bottom of each post page. Learn how to tile and print a pattern after the jump…
Tiling and Printing Patterns
1. First you’ll want to open up the pdf and choose print. When the print box pops you’ll want to be sure you are in the “copies & pages” menu. Here is a screen grab of the print box. Under the copies and pages menus there are several drop downs. The one called “page scaling” is the one you want.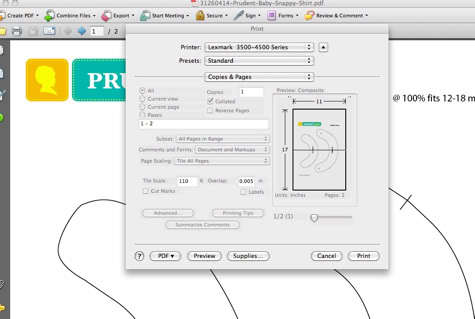
2. Here is a close up of the Page Scaling menu. You’ll want to choose “Tile All Pages” as seen here: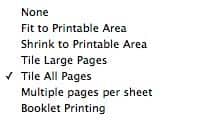
3. You will have the option below to fill in the percentage you’d like to scale. I wrote 110%. You can also choose the margin of overlap for the pages (so you can have some space to tape them together). I have it set to .005″. here is the picture again so you can see all the options selected:
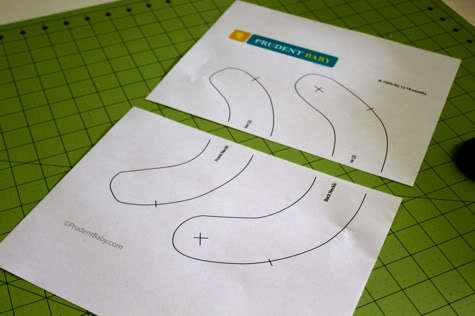
4. Go ahead and print out your pattern. See how it tiled onto two sheets?
Go ahead and tape them together so the pattern lines up: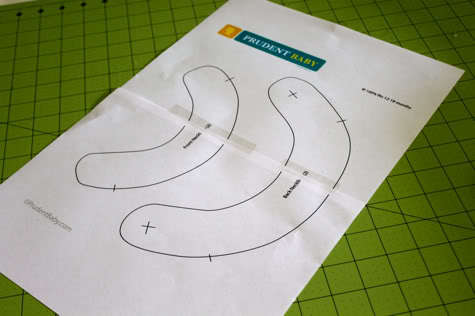
5. Cut those babies out and get to sewing.
Is this how y’all do it or do you have other secrets/tips? Can anyone share how to do this on a PC or a link to a tute? Remember, leave a comment on any post this week for a chance to win a 1/2 yard of Nicey Jane oilcloth from Fabricworm!