I know, the GIVEAWAY is over and you didn’t win. lame. And now we’re back with another cool thing that the Rotary Cutting Machine![]() can do even though you don’t have one. rude. But I just can’t help myself, you must know! Because pretty soon I am just going to be able to lay on the floor eating Halloween candy while my various contraptions make beautiful bias tape from start to finish and I can’t keep that information to myself because I’m a giver. But no, I won’t give you my Rotary Cutting Machine
can do even though you don’t have one. rude. But I just can’t help myself, you must know! Because pretty soon I am just going to be able to lay on the floor eating Halloween candy while my various contraptions make beautiful bias tape from start to finish and I can’t keep that information to myself because I’m a giver. But no, I won’t give you my Rotary Cutting Machine![]() , it is my BFF, or at least my FWB
, it is my BFF, or at least my FWB
Ok, so this is really just a slight variation on Jaime’s awesome How to Make Bias Tape Tutorial so you want to be familiar with that first… but here’s what I did to turn a fat quarter of vintage fabric (read: an 18″x22″ scrap of an old sheet) into 16 feet of purdy bias tape in no time flat.
And don’t forget to leave us a comment because you might win a nifty set of bow tie hardware. Have we convinced you to make bias tape yet? Are you inspired to find some old sheets for cheap and sell them by the fat quarter at a 5000% mark-up? Did your grandparents have these sheets?
Read More for the full Bias Tape Eureka!Iron your fabric (don’t be lazy like me)
Cut off one corner at a 45 degree angle. I used my handy Simplicity Bias Ruler![]() (that price is outrageous, shop around.)
(that price is outrageous, shop around.)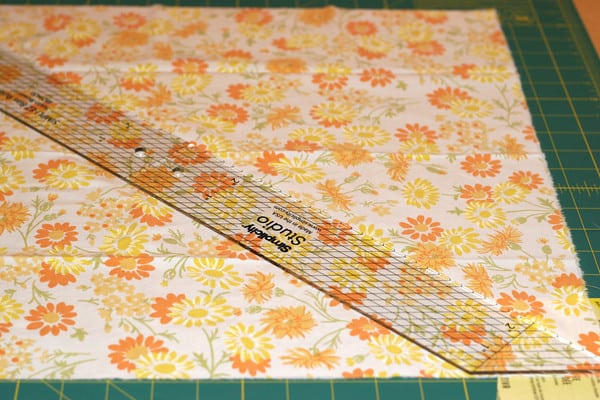
Cut off the angled piece.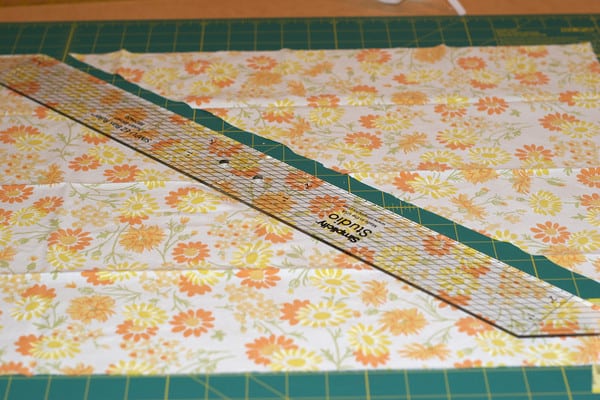
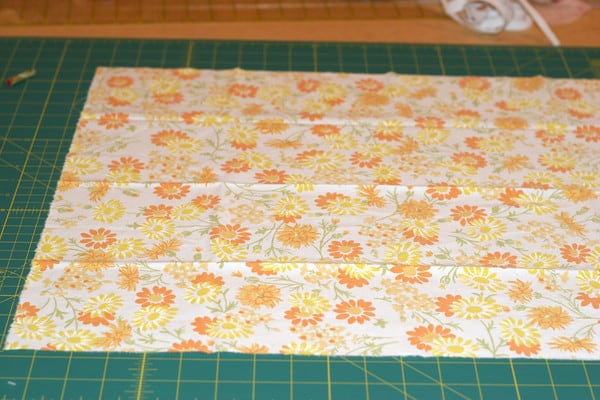
Move the right side piece to the left side to create a trapezoid.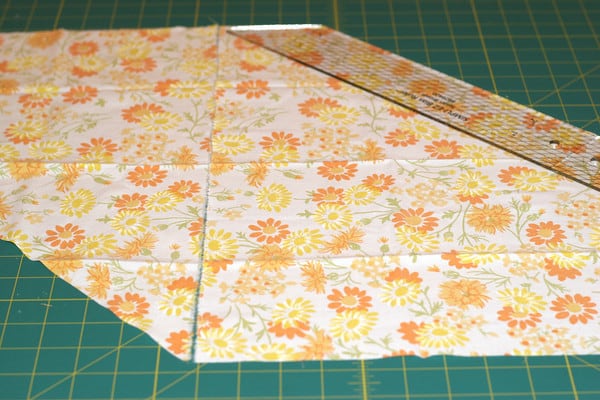
Turn the left piece over so the edges align with fabric right-side-facing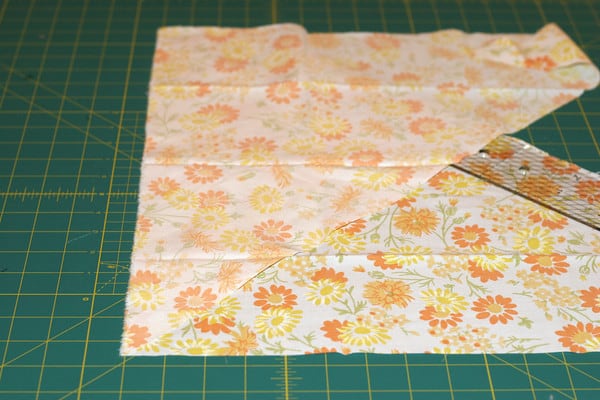
Straight stitch up that edge, open and iron seam flat.
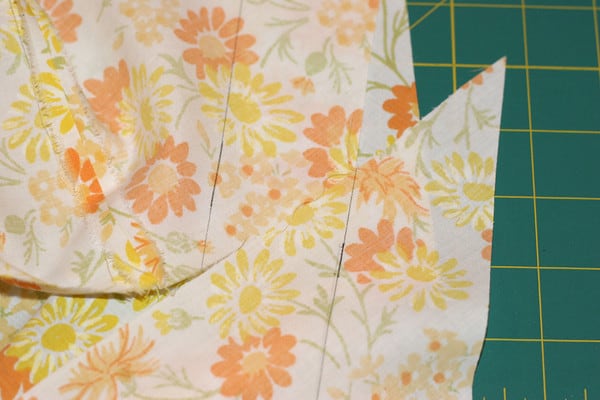
If you are making 1/2″ double-fold bias tape, measure 1&7/8″ in from the side edge and draw a line.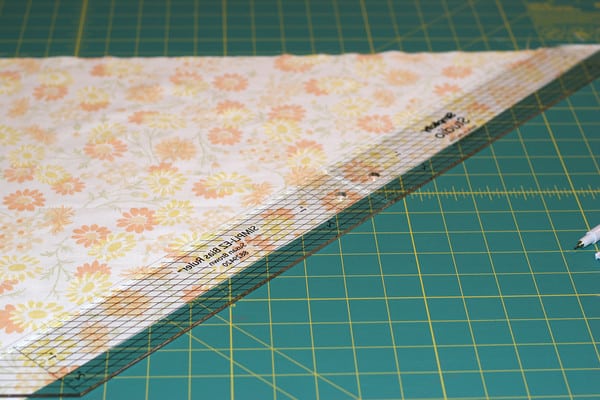
Now, normally, you would go all the way across drawing parallel lines but with the Rotary Cutting Machine![]() , you only need one line.
, you only need one line.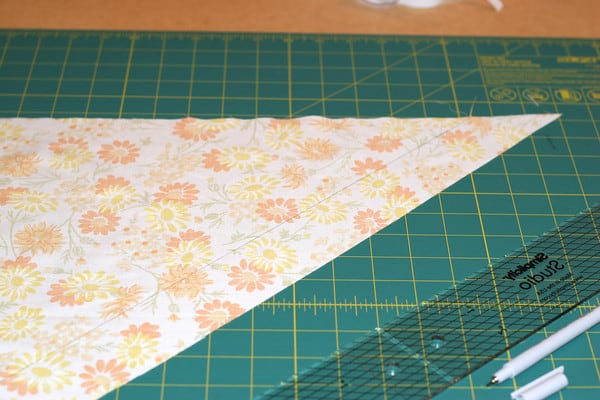
Barrel fold your fabric wrong-side-out and shift the line over as shown below so the drawn line of the bottom aligns with the side edge of the fabric above. Make sense?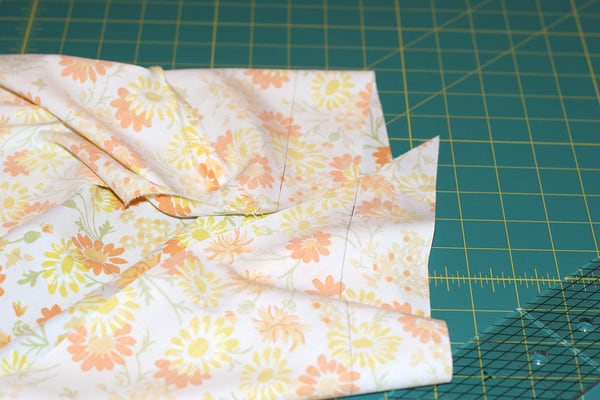
Pin the entire length of the fabric together right to left with right-side-facing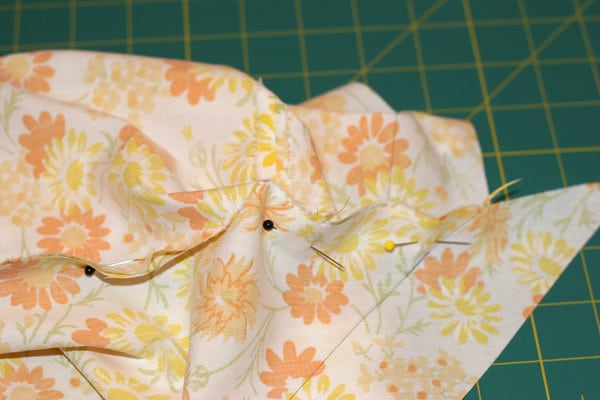
It will look pretty wonky but if you lay it flat it will look like this…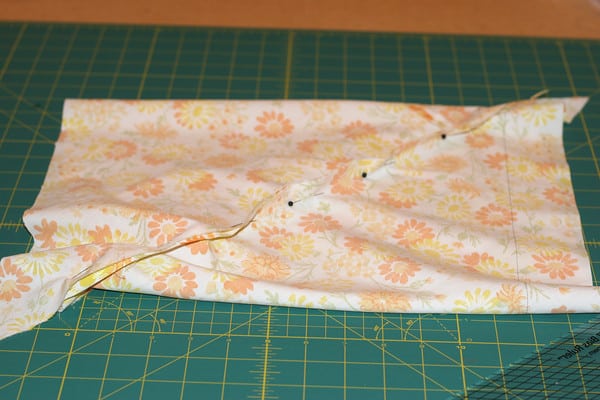
Sew along the pinned edge with a small seam, maybe 1/4″.
Now, take the little tail of fabric and feed it into the Rotary Cutting Machine![]() making sure it is set so the blade hits your drawn line. And just keep cutting a 1&7/8″ strip until..
making sure it is set so the blade hits your drawn line. And just keep cutting a 1&7/8″ strip until..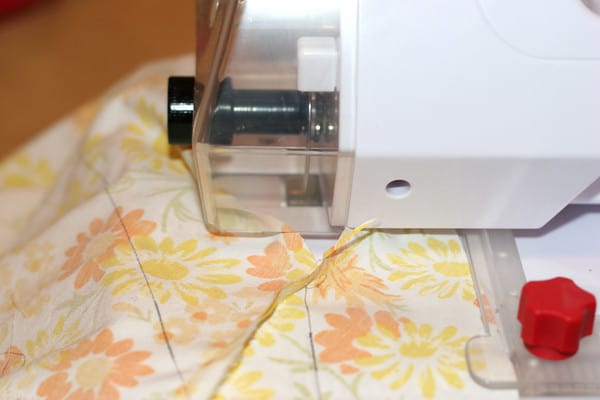
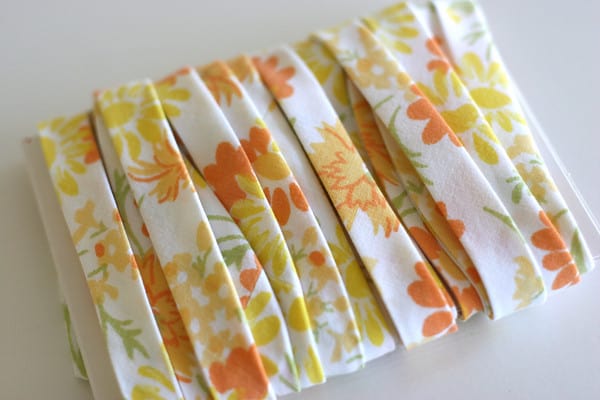
You end up with a glorious little pile of bias cut fabric. Over 16 feet from a fat quarter!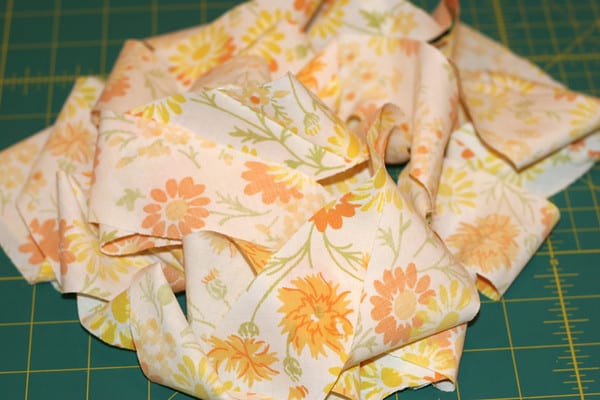
Iron open all of the seams and snip off the poky corners.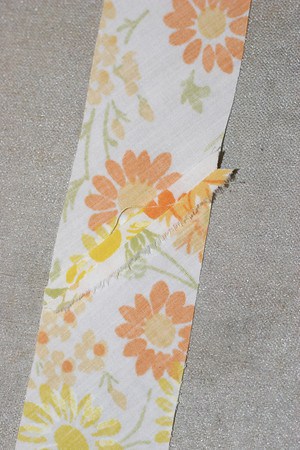
Now pick up with Jaime’s instructions for making bias tape or if you have already snapped up a Simplicity Bias Tape Maker![]() , put that girl to work using Jaime’s Bias Tape Maker What What!! video. As we know, there are ways to do all of this with an iron, a $7 gadget, and some blood, sweat and tears. But I would avoid tears when making bias tape. Bias tape is your friend!
, put that girl to work using Jaime’s Bias Tape Maker What What!! video. As we know, there are ways to do all of this with an iron, a $7 gadget, and some blood, sweat and tears. But I would avoid tears when making bias tape. Bias tape is your friend!
Ahhh, pretty. 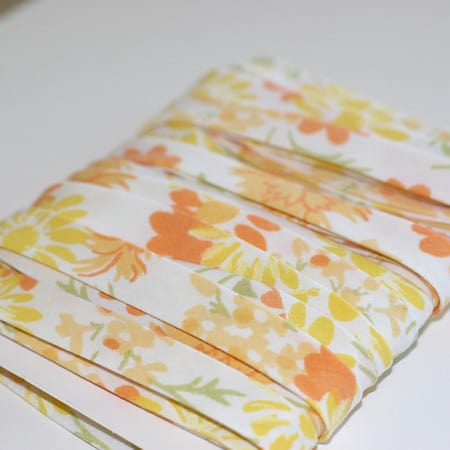
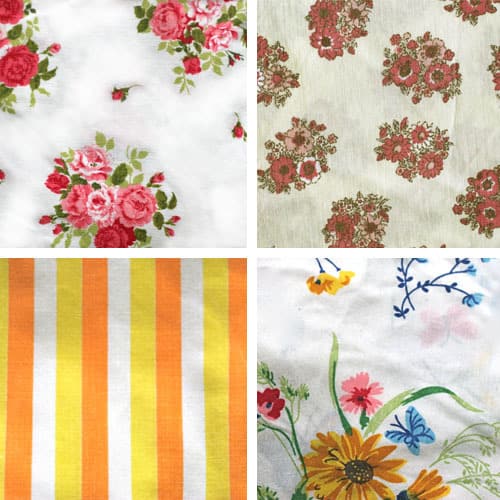
Keep an eye out for vintage sheets when thrifting. I bought a bunch for $1 each the last time I went to Canton. Here’s some of my scores… ohh, ahh! Perfect for large format projects with a small budget.