


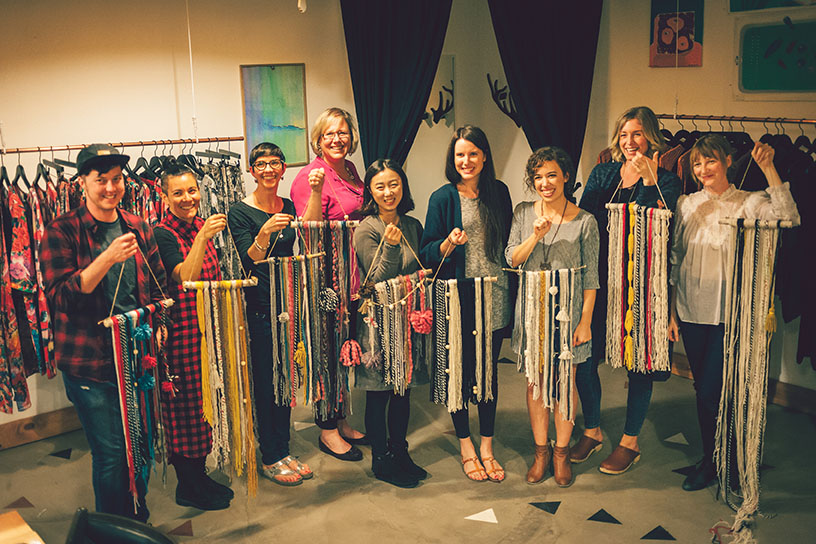
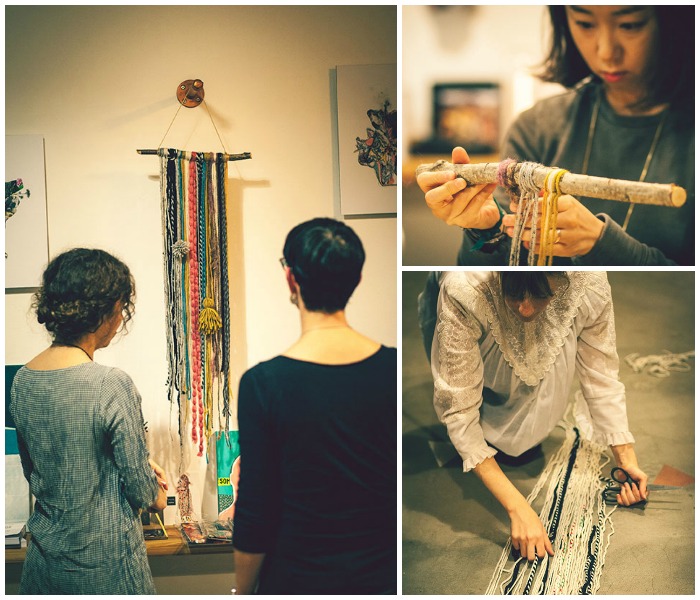
 A few weeks ago, I hosted a Pretty Prudent tapestry workshop at the beautiful Icelandic design store, Reykjavik Outpost. I had chosen this project in particular, because I had been so inspired by the stunning Icelandic wool sweaters when I traveled to Iceland last May. I met with the wonderful ladies behind Reykjavik Outpost, and after a bit of brainstorming, we planned out this lovely workshop. I’m happy to say it was a total success…
Since we had so much fun making these together, I thought it would be great to share the craft with you. If you make one, we’d love to see it! Share a photo with us on Pinterest, Facebook, Twitter, and Instagram (#prettyprudent).
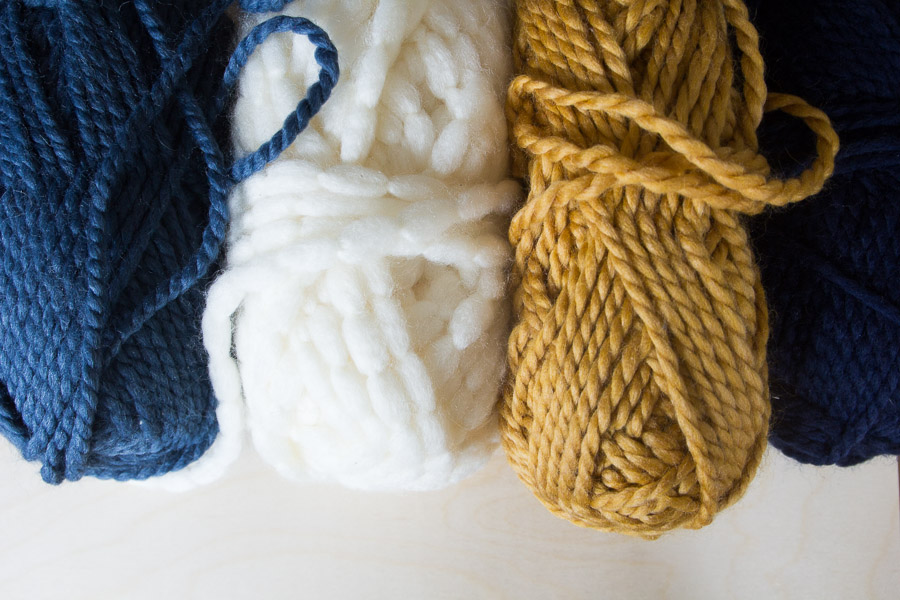
Pick out your favorite colors of yarn and let’s get started.
Learn how to make your own yarn tapestry, and check out more photos from our workshop, after the jump…
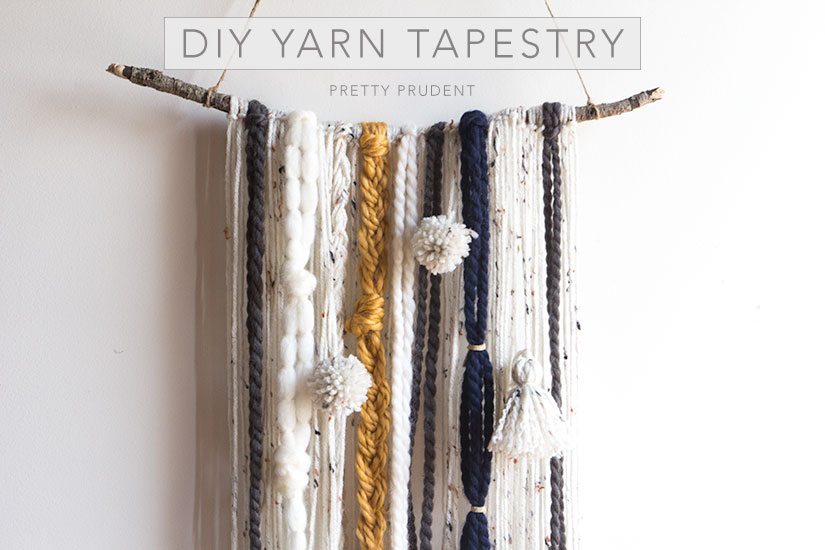
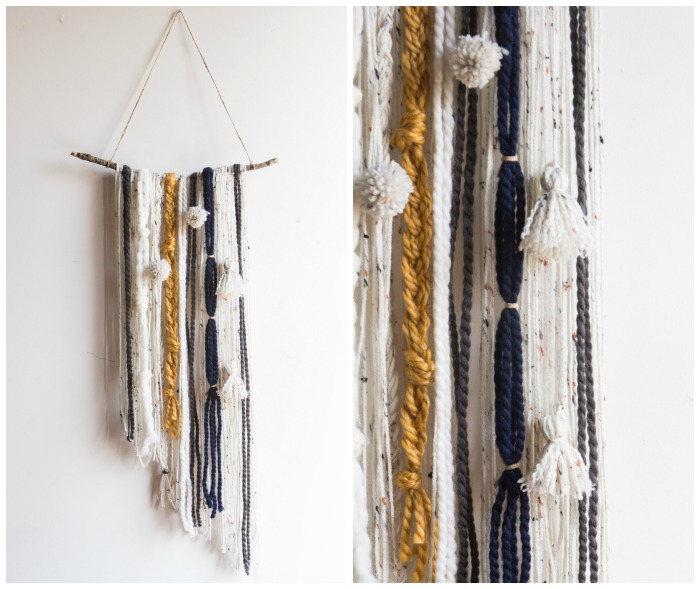
DIY Yarn Tapestry
Materials:
– Yarn
– Dowel or stick (about 12″ long)
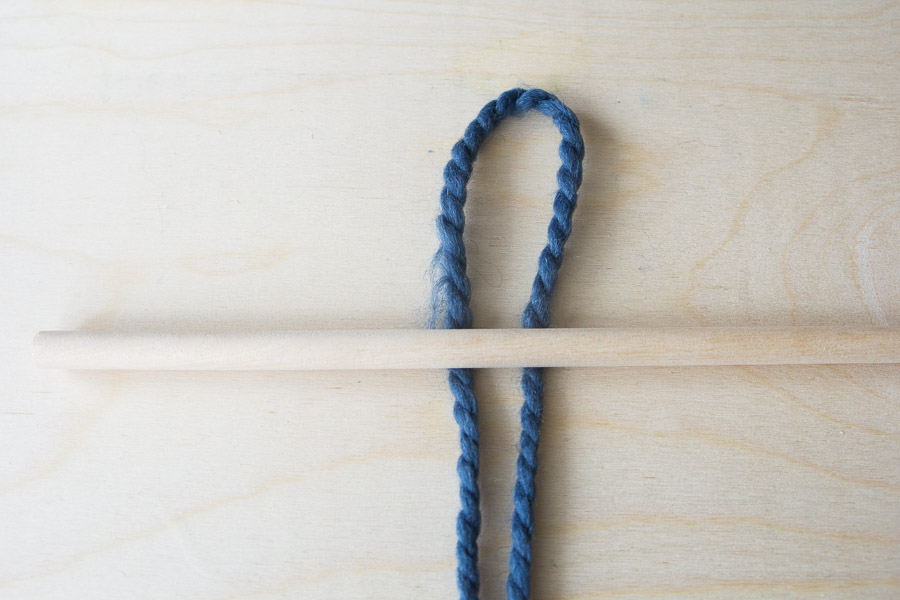
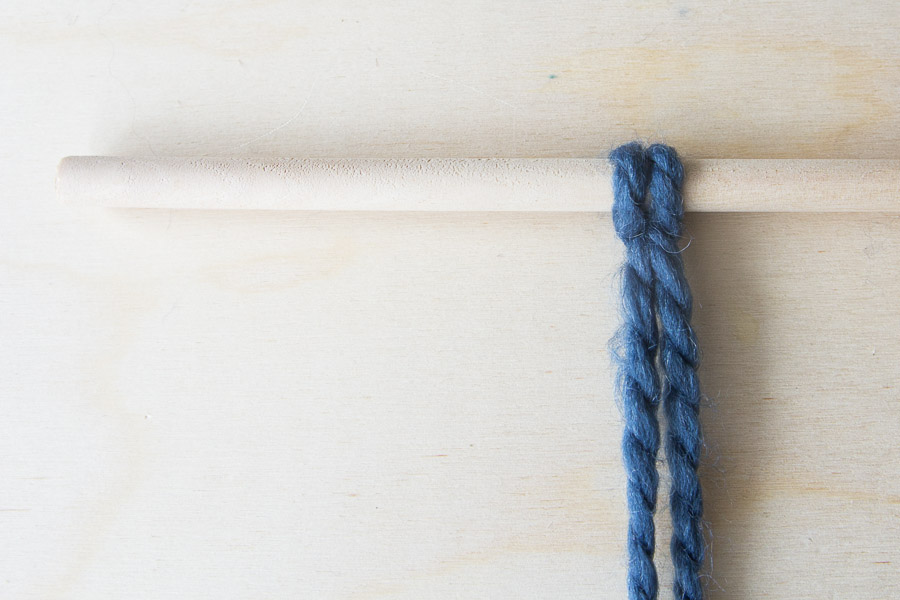
I will start out by teaching you the basic method for creating your yarn tapestry. First, cut a piece of yarn double the size of your desired final length. Fold it in half.
Now we are going to make a Lark’s Head Knot. Place the loop on one side of the dowel.
Flip the tail ends of the yarn through the loop.
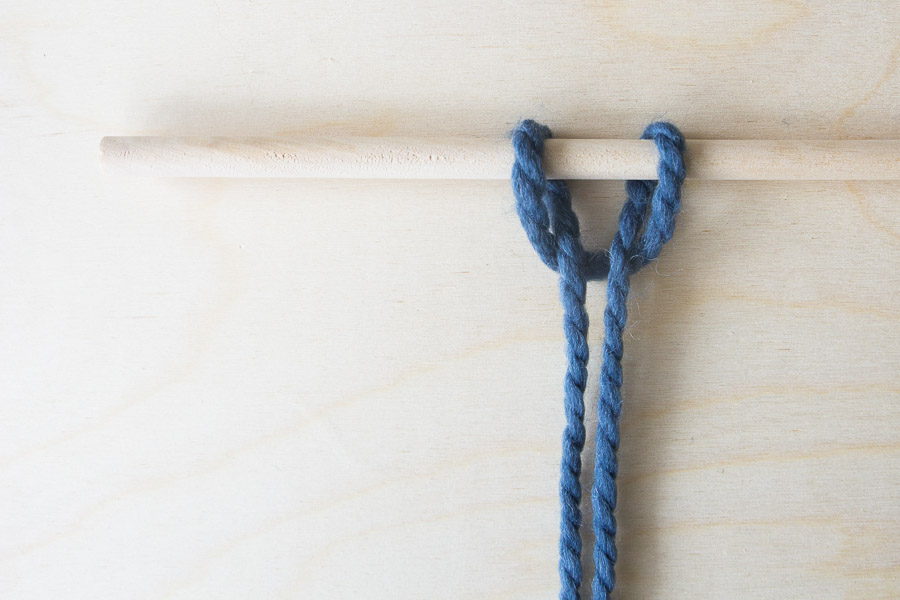
Pull down to secure.
If you want to get a little fancy, create a Lark’s Head knot with three pieces of yarn.
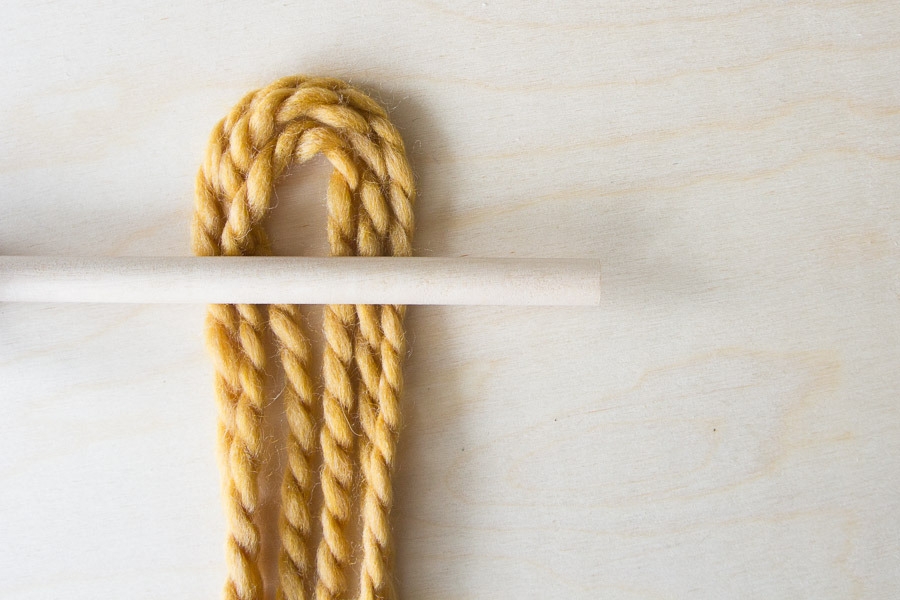
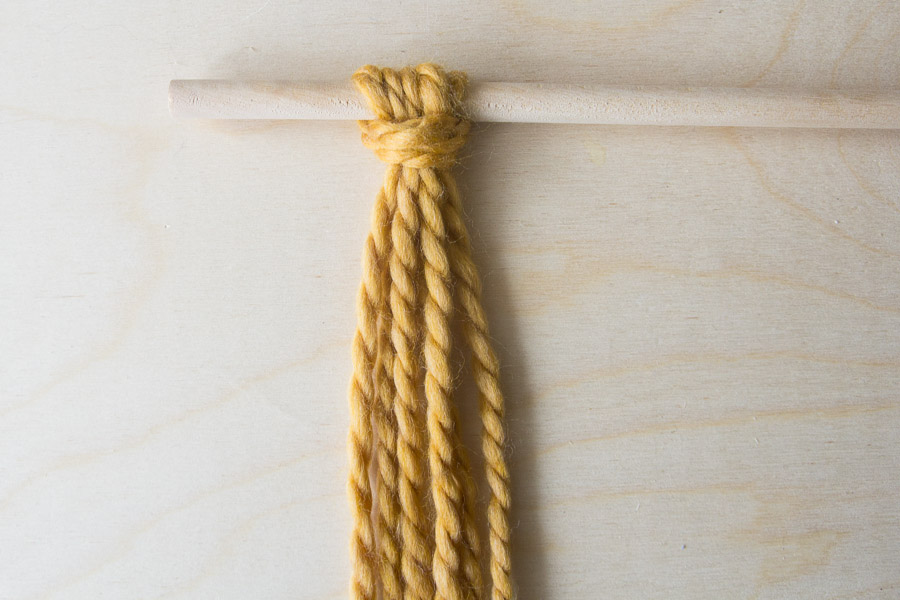
Once you have secured the knot, you will have six strands to work with.
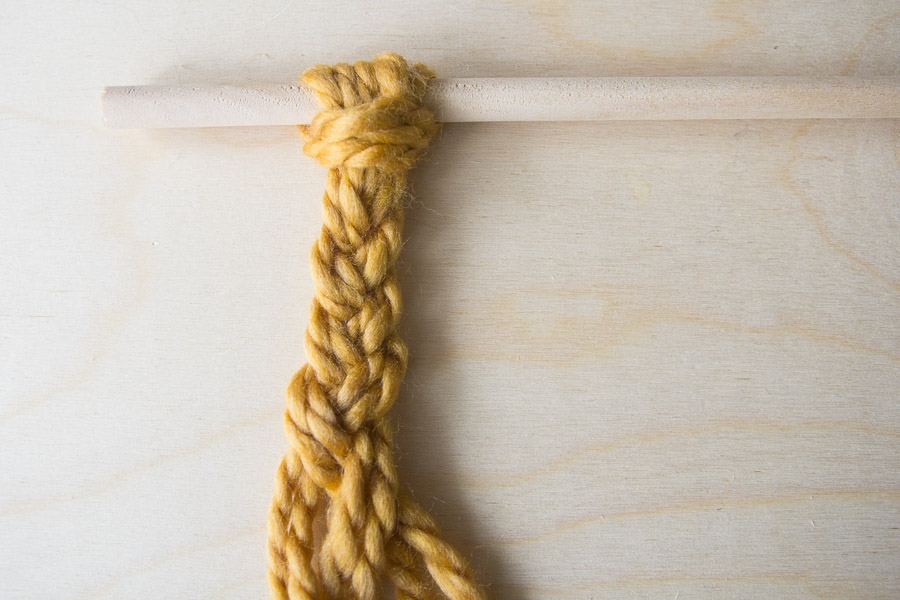
Double up the strands and braid them together. You can also use different types of yarn to add texture.
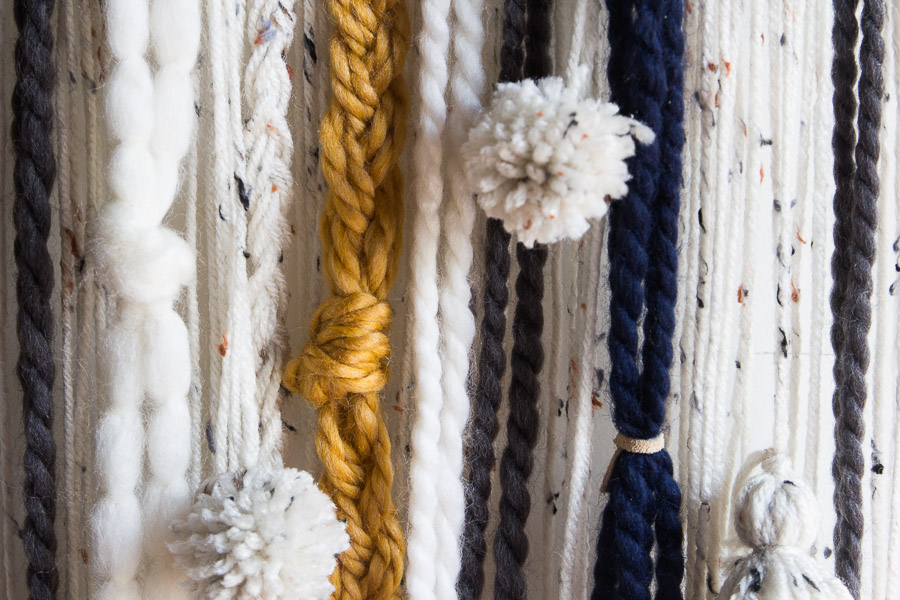
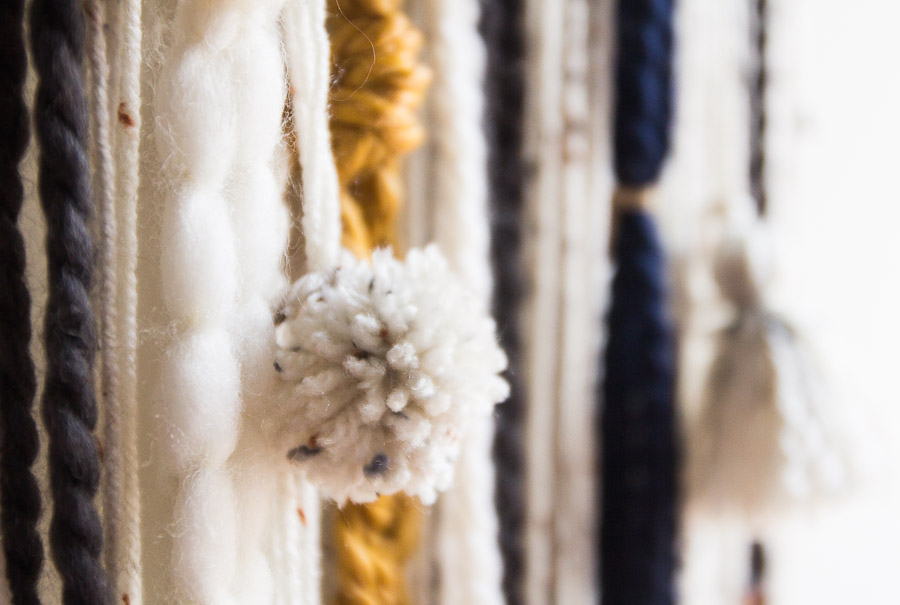
Embellish your tapestry by adding tassels and pom-poms with our Yarn Tassel and Pom-Pom Tutorial. Continue using the lark’s head knot to add yarn until you are done.
Hang the tapestry on the wall and trim the bottom to your desired length. I did mine at a slant, but I also like a more messy, natural look.
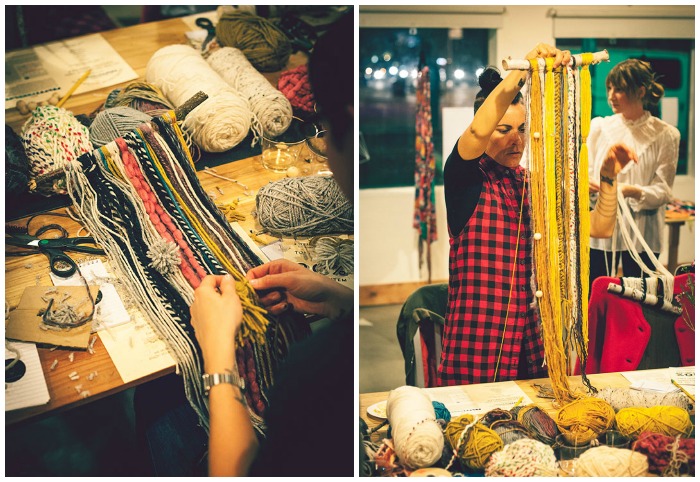
Here are the pretty tapestries my workshop students did. I seriously wanted to take them all home with me.
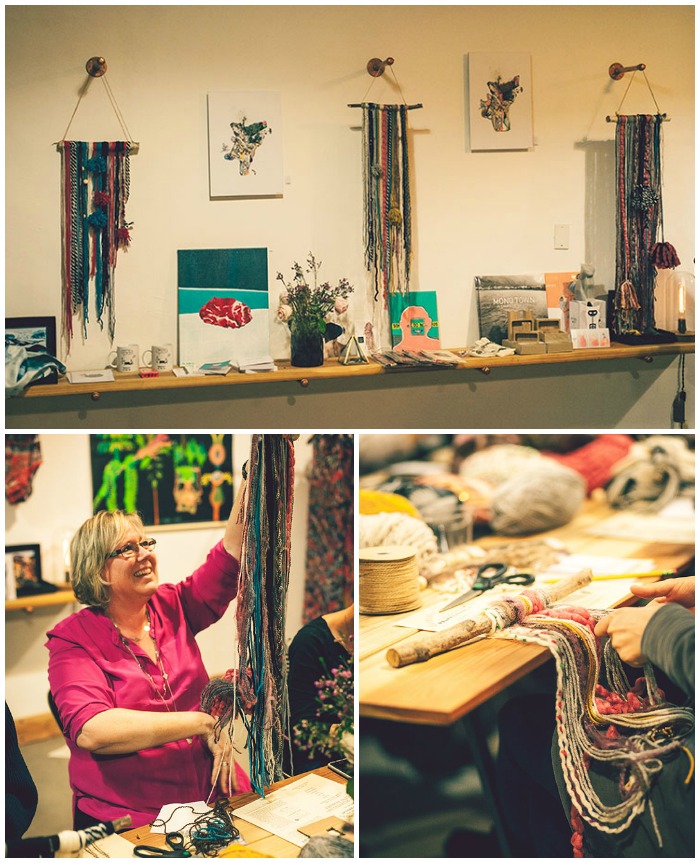
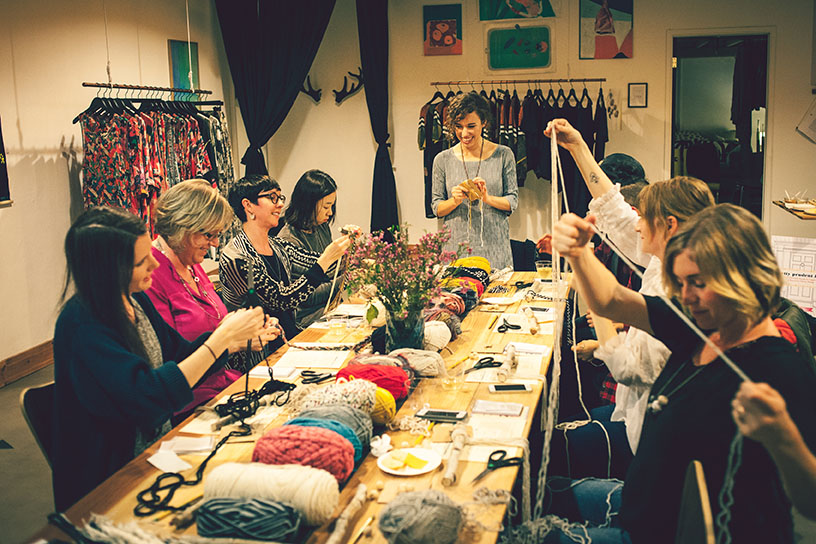
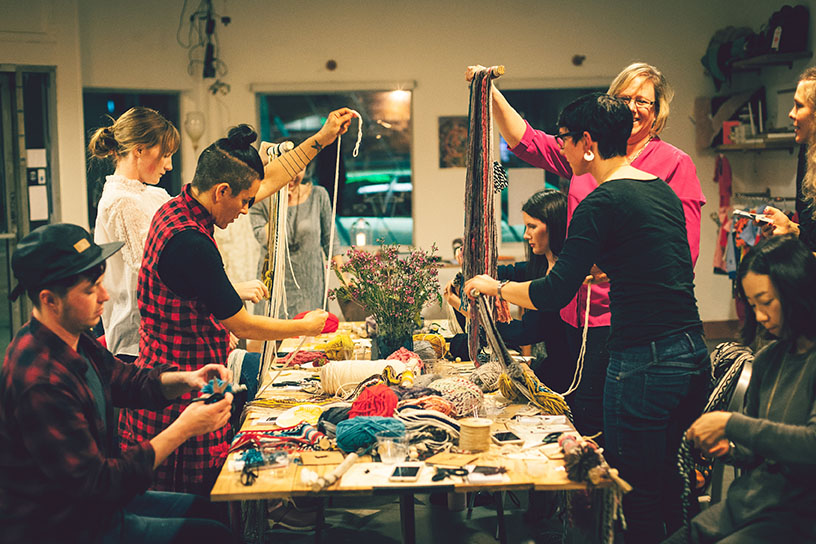
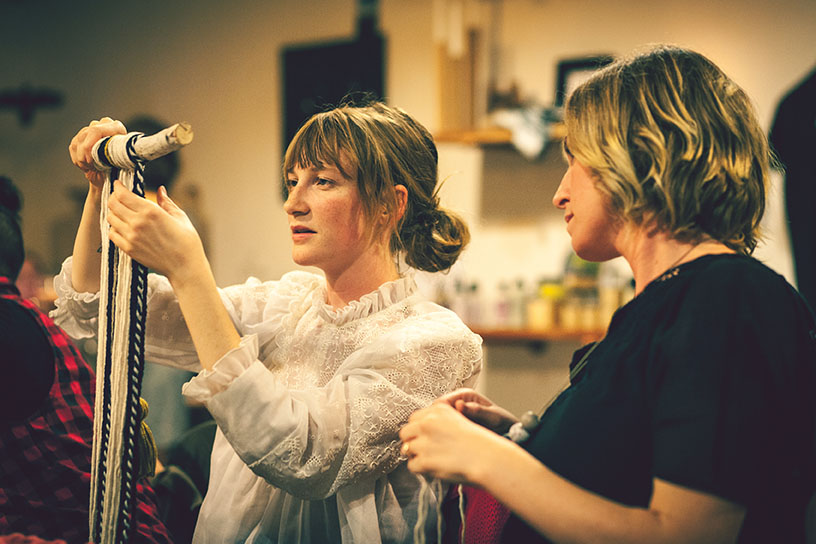 Faith, from New Forage, and Ally, from Scout Folks, are working away on their beautiful tapestries in the image above.
 We even had a surprise visit from our friends at Reykjavik Trading Co. Can you tell I’m ready to go back to Iceland now?
 Follow @PrudentJaime and @PrudentJacinda on Instagram to hear about our next Pretty Prudent events.
Thank you, Ingolfur Gudmundsson, for capturing this fun Reykjavik Outpost and Pretty Prudent workshop!