


I have always admired my sister for putting in that little extra effort to write a note to remind everyone to have a beautiful day or smile. Whenever she leaves on a trip she scatters hidden notes in cereal jars, under pillows, in undies and a zillion other places around the house for her kids to find. Her habitual outbursts of written positivity have inspired me to try and do the same, which is why I fell in love with this multi-functional chalkboard tray from Happy Together. You can use it to write a quick note to your little kiddos while they eat a snack, or use it as a magnet board to post silly pictures drawn throughout the day.
Jessica from Happy Together is always coming up with new creative ideas like the cozy football blanket that is perfect for a new baby and the reworked flower girl dress, do I hear wedding bells? The Gotta Love Sequins Shirt Tutorial…I think the name says it all.
Before we jump to the tutorial here’s one of the first quotes I would write on my chalkboard tray, tell me if you can guess what book it’s from. Congratulations! Today is your day. You’re off to Great Places! You’re off and away!
Chalkboard Tray

This tray was something I had been thinking about for a while and finally had a chance to get it together before our move.
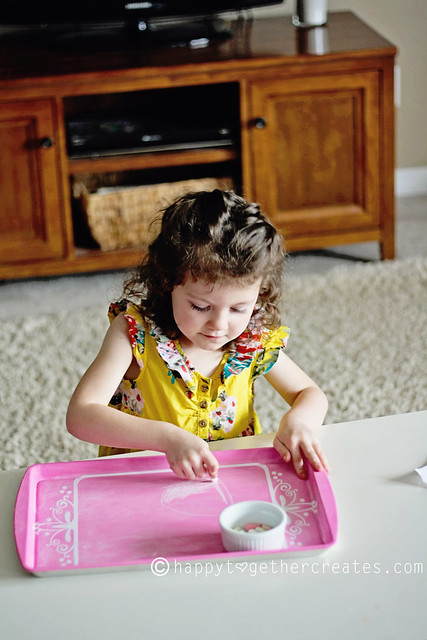
Of course, I had my oldest daughter in mind 😉 She just LOVES to create art. I figured this would be a good thing for her on a road trip too. It can be used in so many ways! You could use it as a serving tray and write a little note on it.
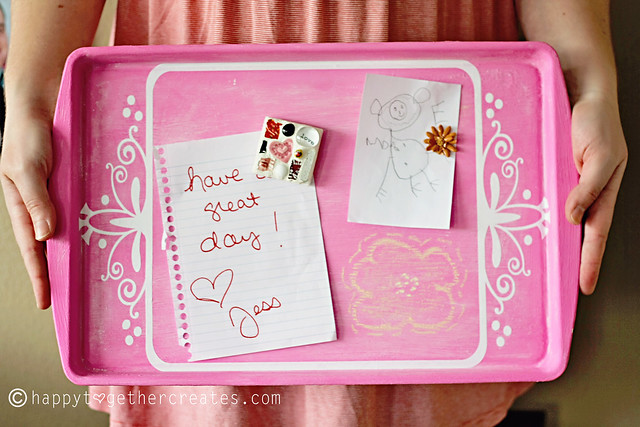
Or even use it as a magnet board since magnets will stick to the tray.
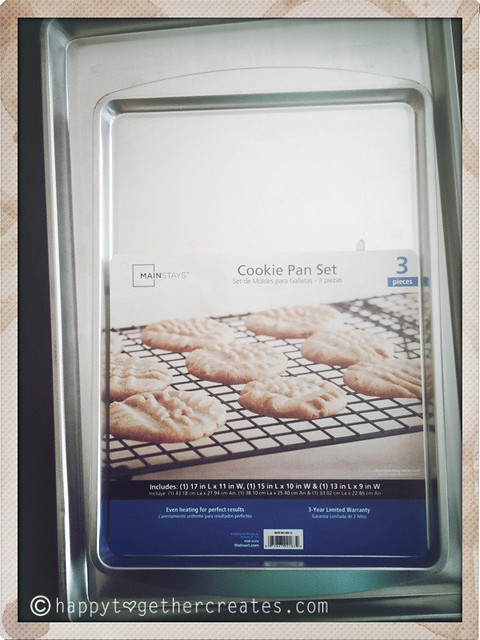
I found this set of 3 baking trays at Walmart for $5 to use. They aren’t the best cookie pans ever, but they are perfect for this kind of project. These are lighter and thin enough that if you wanted to poke holes in it for threading a rope to hang it up with, you could easily do that.
To get started you will need:
– Vinyl Frame (mine was from Say It On the Wall. She has a ton of options!)
-Cookie Pan/Baking Tray (make sure the frame will fit in it)
-Chalkboard Paint (I actually made mine using this tutorial)
-Chalk
-Paint brush

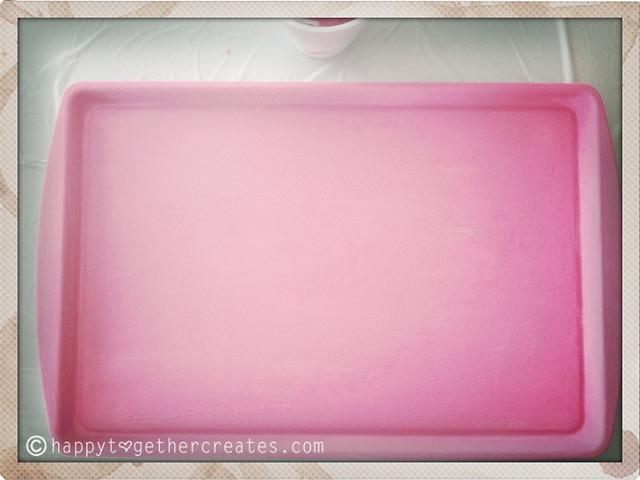
1. Start by painting on your chalkboard paint. I ended up doing a second coat after the first one dried.

2. Set the paint by taking chalk and coloring all over it. Then wipe it off with a wet towel. Make sure to use an old one because some of the color might come off with the first wipe off.
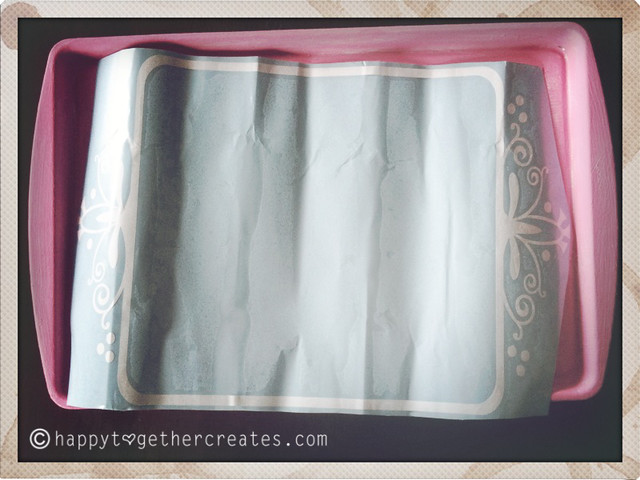
3. Take your vinyl frame product and take the back off.
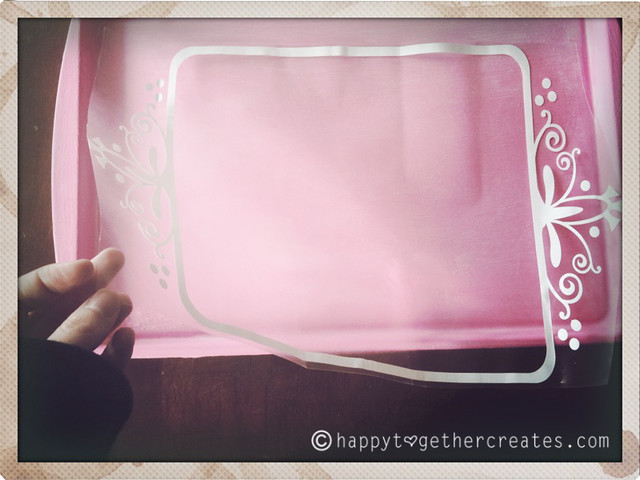
4. Then place the frame on the pan where you like it and press it down firmly in place.
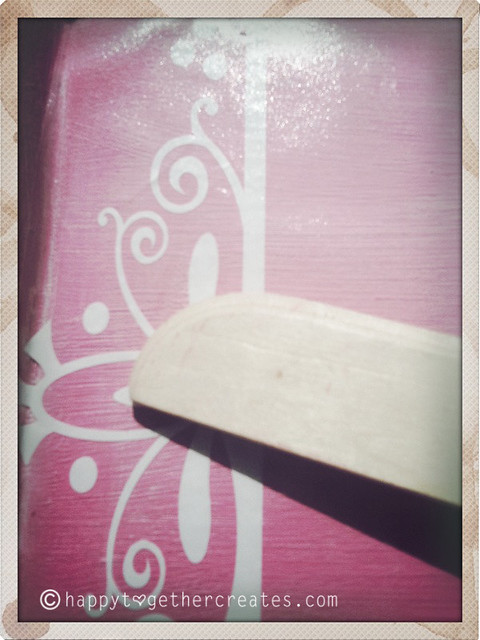
*You might need to use a flat ended object to help get the vinyl to stick really well. I used a wooden kitchen spatula from my daughter’s play kitchen.

Then it’s all ready for you to write on.