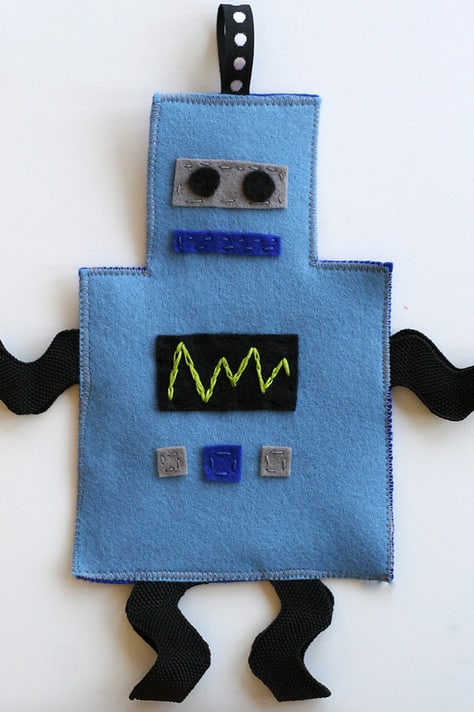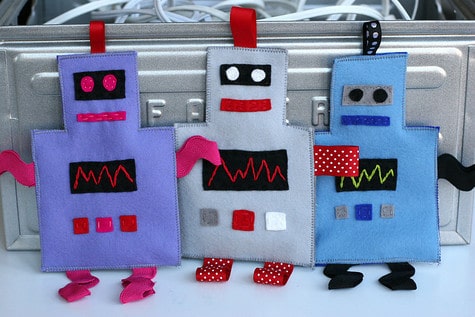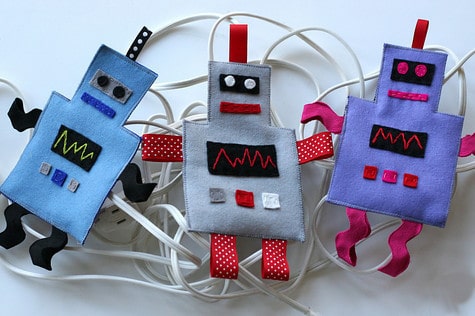
We came up with these little crinkly robots especially for Smaller: A journal of inspiration and ideas from the editors of Small (Magazine, that is.) And we are kinda geeking over it because we are huge fans of Small and everything else these gals touch. But back to the ‘bots. Click through to find out how to make your own little crinkly robot with loads of ribbon-tag goodness.
1. Collect your supplies. You will need:
– Print-out of Robot template
– A crinkly piece of plastic. (Travel wipe bags work well.)
– 2 – 5×7″ pieces of wool felt (this is a good time to use the nice stuff that you’ve been hoarding.) They can be the same or complimentary colors.
– Scraps of felt
– Ribbon
– Needle and thread (sewing or embroidery will work)
– Head Pins
– Scissors
– Sewing Machine (optional)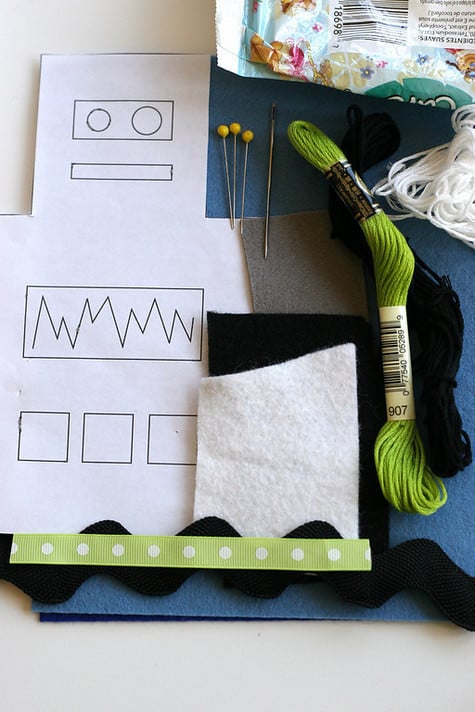
2. Lay down the 2 pieces of felt with the plastic bag sandwiched in between.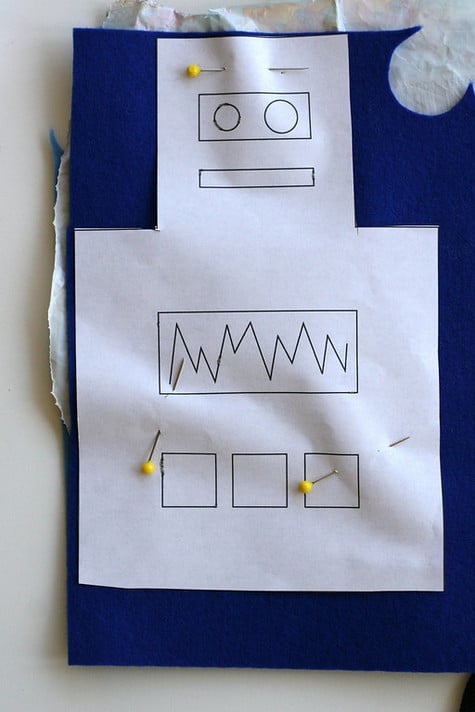
3. Lay the robot template on top (pin, if you like) and cut through all layers. (You may cut your plastic separately to save your scissor blades but the felt should be cut together.)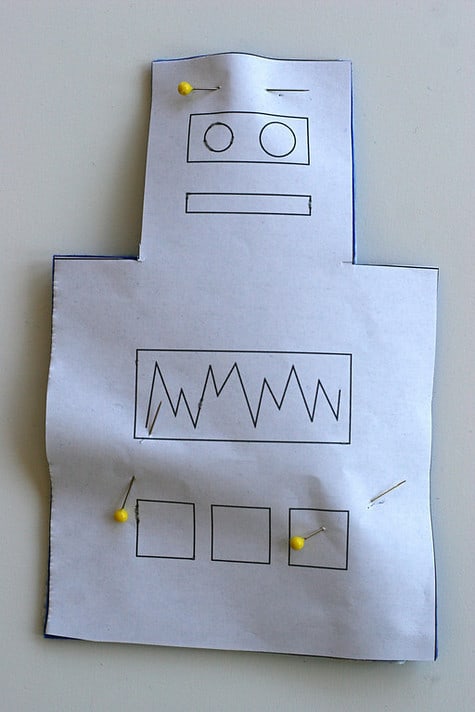
4. Cut out the decorative elements from the scrap felt and arrange on your robot.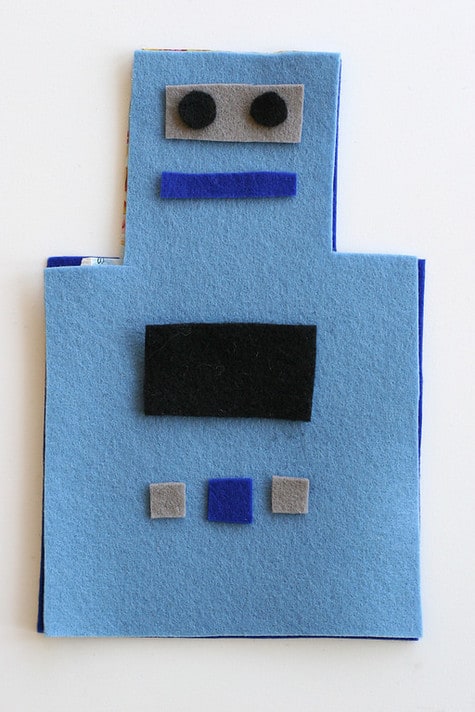
5. Stitch any layered pieces including the zig-zag on the chest, and the eyes on their background.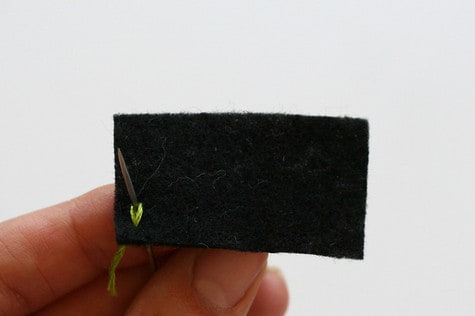

6. Stitch all of the decorative elements onto the front layer of your robot. Make sure the stitches are very secure.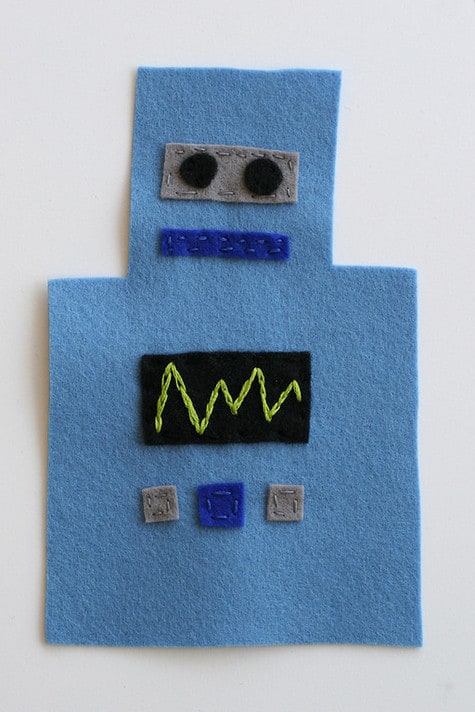
7. Trim your plastic so that it is not showing around the edge of the felt.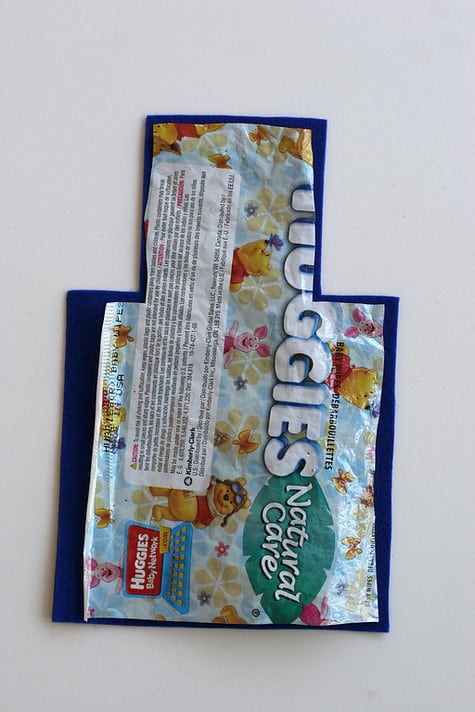
8. Assemble the robot with the plastic sandwiched between the two pieces of felt and pin your ribbon tags into the seam. Each piece of ribbon is folded in half.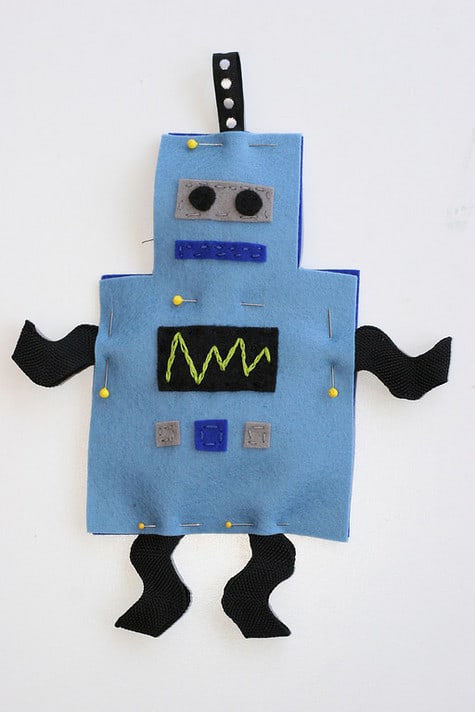
9. If you are using a sewing machine, zig-zag stitch around the entire outside edge of the felt so that one stitch falls off the edge of the felt, simulating an overlock stitch. Stitch the ribbon tags into the robot as you go.
If you are hand-stitching, use a whip-stitch or blanket stitch to secure edge and attach ribbon tags all the way around.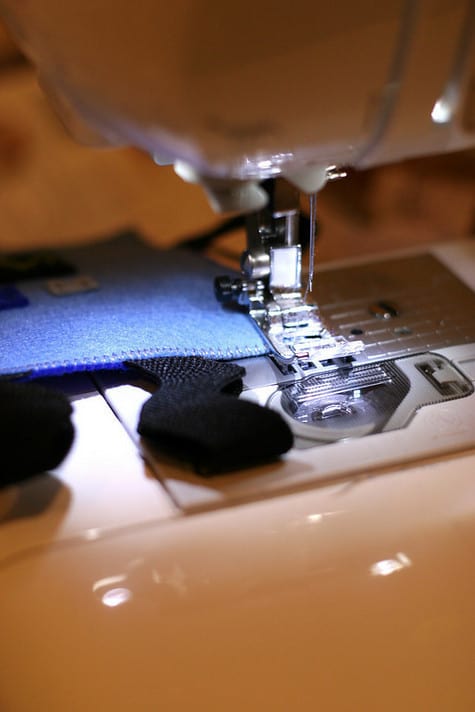
9. And that’s it!