


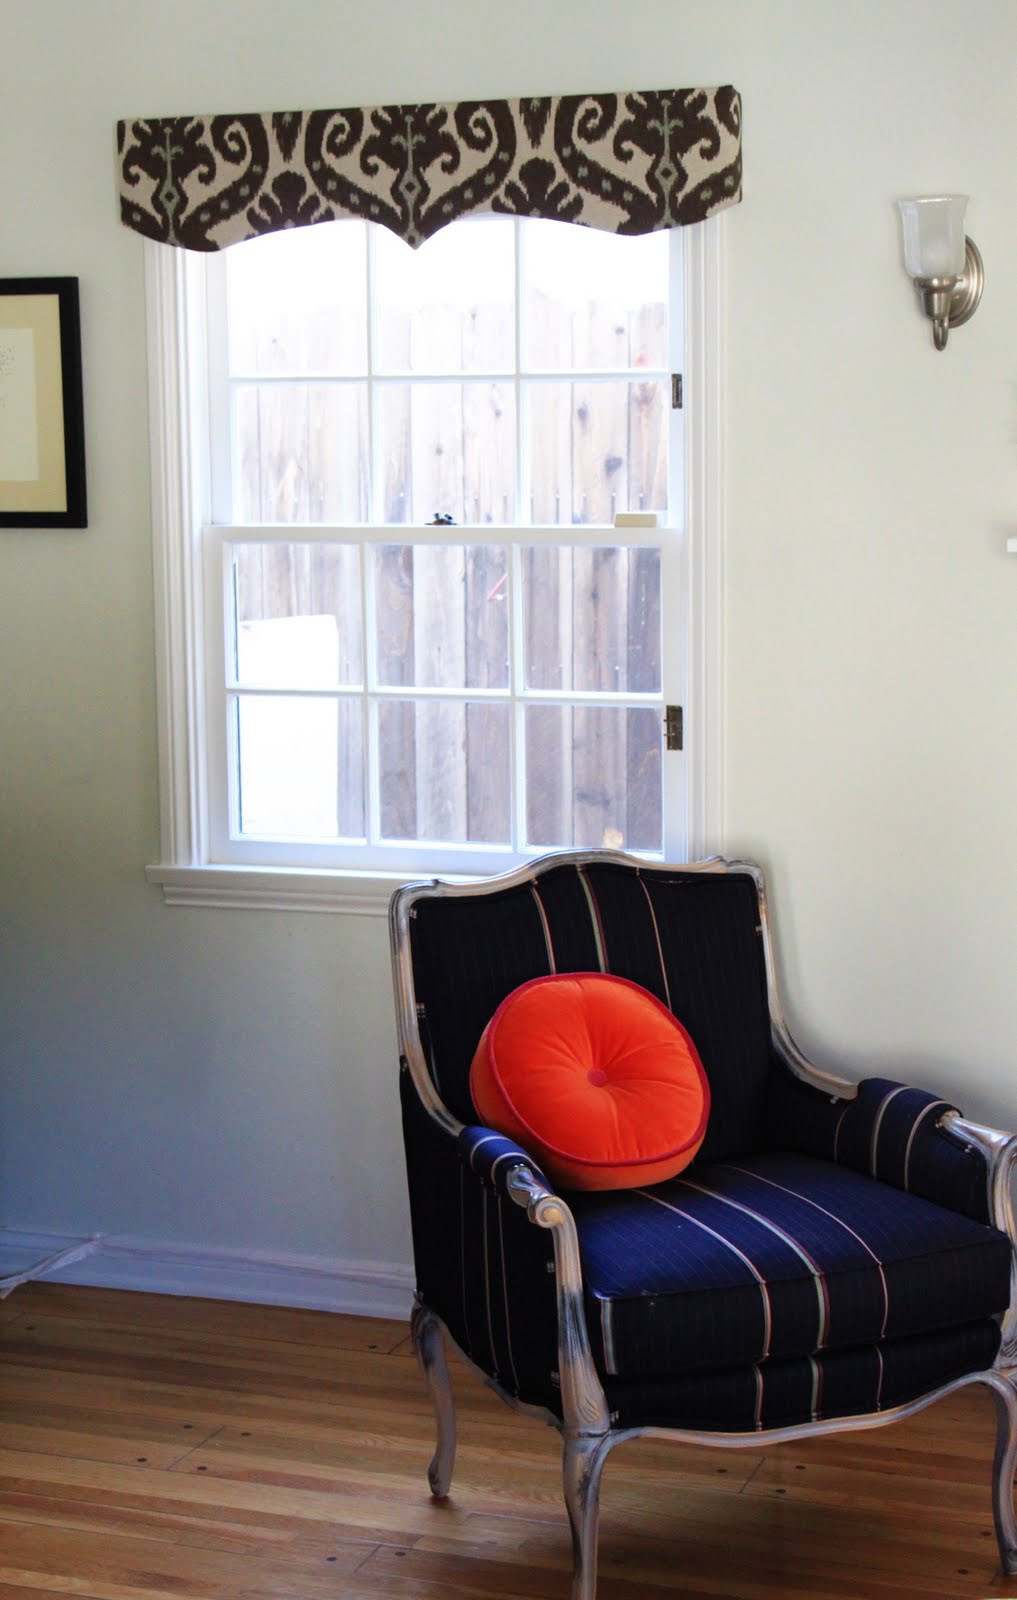
I shared how I made a sturdy wood pelmet from a kit for Scarlet’s nursery, now I’ll tell you how to make a more ornate, curved style all by yourself. This was my first attempt and I think they turned out pretty well! And use extra fabric to make a coordinating footstool if you’re so inclined…

Get the full DIY after the jump…

First take your measurements (mine in parenthesis):
Length (43″)
Height (8″)
Depth how far away from the window it must reach (2″)
The pelmet ordinarily fits just outside the window frame, but you can place it above the windows for a dramatic look (like i did in Scarlet’s room). It can be as thick as you like, the thicker it is the more formal it is. Here’s a webpage with a bunch of great pelmet shapes to inspire you.
Next gather your materials:
Particle board or plywood (as long as you need it to be, you can buy 2′ X 4′ sheets at any hardware store which will fit in the backseat of any car)
Batting
Fabric
Wood Glue
Then gather your equipment:
Jigsaw (my jigsaw cost $25 and I couldn’t live without it, get one here )
)
Clamps
Face & Eye protection
100 Grit Sandpaper (or any higher grit)
Staple Gun (or pneumatic upholstery stapler, also $30 and awesome, get it here)
Staples
Caulking Gun
Pencil
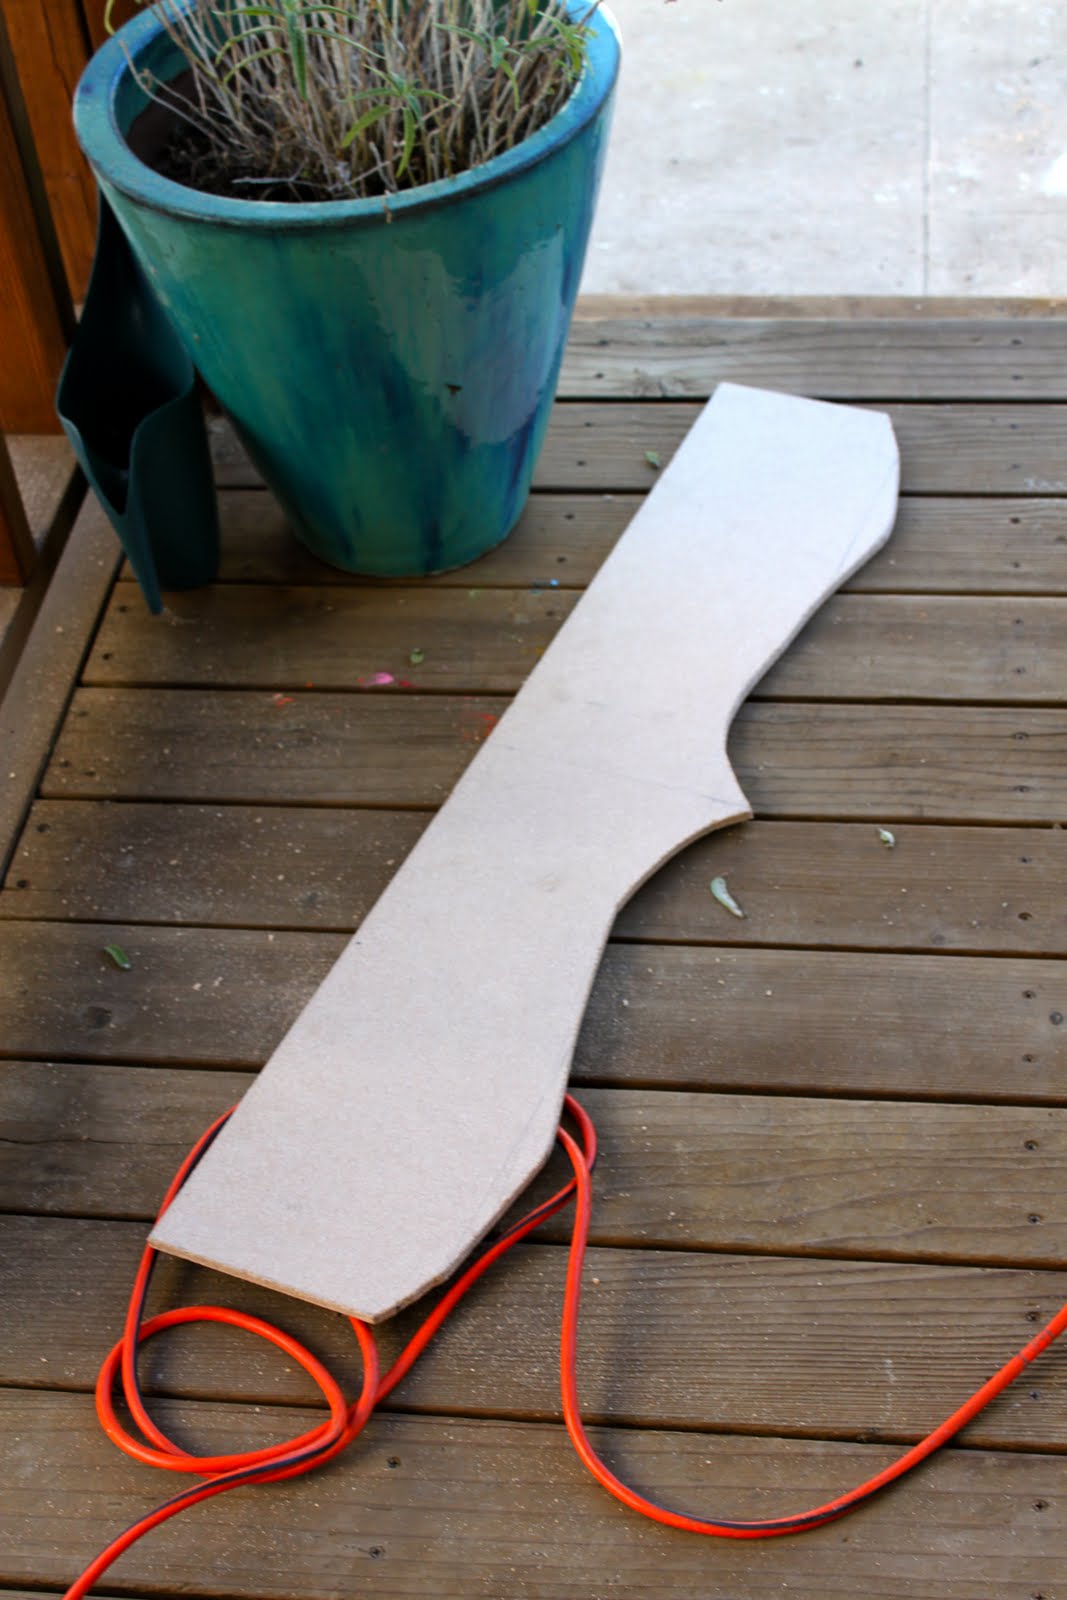
1. Draw your cornice shape on your wood with a pencil. It helps to have a ruler to make a curved shape. Find the middle of your pelmet with the ruler and mark it, then mark points equidistant away and lightly draw straight lines between them, then curve those lines. If you have a compass that is a great way to make even curves. Remember the old adage “measure twice, cut once”. Once you are happy with your drawn cornice shape…
2. Clamp your wood to a solid surface (my workbench is infested with spiders so I attached it to the deck rail, maybe not the best idea but it held firmly). Cover your eyes and mouth with your protection and saw along the line you drew. Using a jigsaw is not difficult at all, just read the directions first and make sure you are using it safely; clamping your materials is the most important thing to prevent kickback. Your user manual will tell you which setting to use for which materials (just read it, it’s only a few pages long):

Look you made your first pelmet front!
3. To make the sides of your pelmet cut two pieces to the height and depth measurements (for me, 8″X2″):

I made two matching pelmets so my next step was to trace the first pelmet onto my wood and cut it out as well:

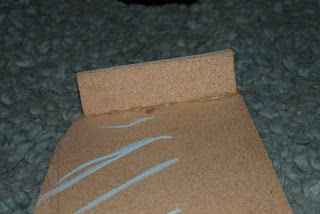
4. Now you will want to sand all of the rough sawn edges with your high-grit paper. You don’t need it to be perfectly smooth, just smooth enough that your batting won’t snag:

5. Use your caulking gun to apply beads of wood glue to the edge of your pelmet, then attach your sides by pressing them firmly on. Let them dry for at least 24 hours, or up to 48, before attaching your batting. Also pay attention your daughter does not chalk up your pelmet, actually that doesn’t matter, let her chalk away:
6. Cut a piece of batting a few inches bigger then your pelmet on all sides and lay it flat on a hard surface. Lay your pelmet in the center on top of it:

7. Staple your batting to your pelmet. At the corners trim the excess fabric so it doesn’t bunch. Start by stapling the batting to one side, pull it taught (not super tight) and then staple the other. Then start in the middle and staple the top, then bottom, making sure it is taught and lying flat, continuing until you are all stapled up:

8. Examine your fabric to determine how you want the pattern to lay, then cut a piece a few inches bigger then your pelmet on all sides. Lay your fabric wrong-side up, and fold the top down a few inches so you can see where your pattern is. You really want to be sure your pattern is centered and straight BEFORE you start stapling. If you have solid fabric this is much easier (but the results are less dramatic):

9. Lay your pelmet in place, check your fabric again, and staple it on as you did with the batting, checking as you go that the fabric isn’t bunched. For some reason I forgot to photograph this step.
10. Your pelmet is done! Now you have to hang it.
In my case the pelmets were right above the window frame, so I just nailed a nail on the top edge of the window frame at either side, then I held my pelmet in place again with a level, and marked on the inside of each side piece where my fastener needed to be attached. Depending on what material you used to create your pelmets, you could attach nails, particle board screws, or wood screws in the position you marked.
If this simple option doesn’t work for you, use corner brackets like this; just get the right depth for your pelment and have someone help you as it may be difficult to maneuver while holding the whole thing up.
11. Hang your pelmet! Marvel at your handiness and creativity! Marvel at the prudentosity of your pelmets!

Prudent Price for 2 Custom Pelmets:
One 2’X4′ piece of 1/2″ particle board from Osh: $7
Several yards of Ikat Upholstery fabric (manufacturer unkown) from ebay: $8
Batting leftover from previous projects would run about: $5
Total Cost: $20