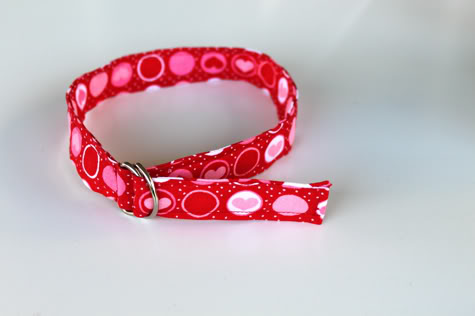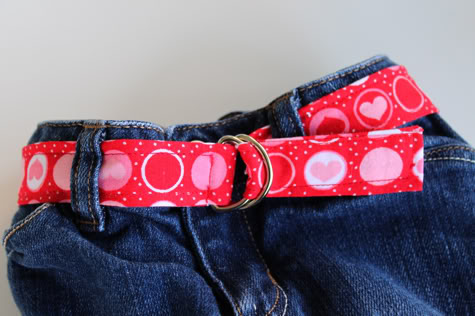
I just made this fabric belt as a little Valentine’s Day gift for my toddler. It only took a few minutes, I hope she likes it.
Get the full Fabric Toddler Belt DIY after the jump…
DIY Fabric Belt for Toddler
1. Wash, iron and cut your fabric and grab a set of 1″ d-rings. I used one piece of fabric 1 3/4″ X 44″ long for a 21.5″ belt. It’s a little small though. If you need a bigger belt your fabric won’t be wide enough, so cut two equal pieces an inch longer then you want your belt to be.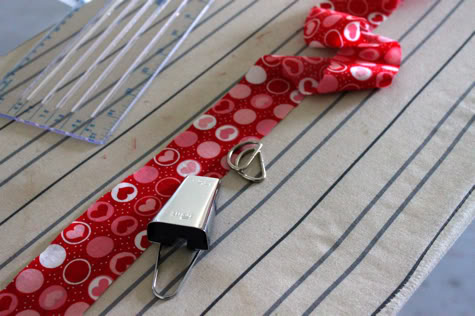
2. I ran the fabric through a bias tape maker and ironed, which is a little $5 doo-dad that does this:
but you can just iron both sides in 3/8″. It’s hard to keep it even which is why a bias tape maker is nice.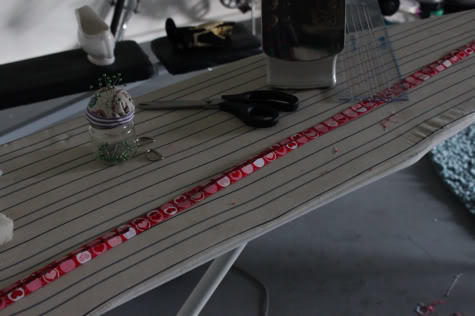
3. Now roll a piece of fusible tape down the inside and iron in place. If you’re using two pieces, do this to both of them.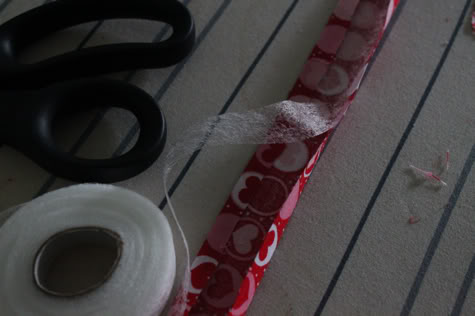
4. For my one long piece I folded it in half and placed the d-rings in the middle. If you are using two pieces of fabric skip this step.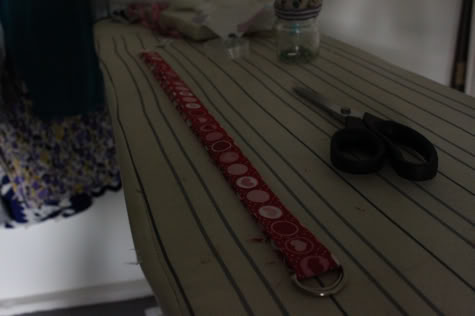
5. I pinned the edges of both sides together. If you’re using two pieces do the same.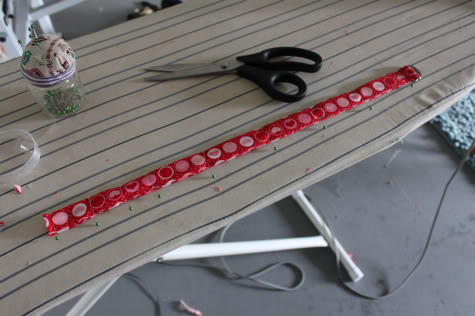
6. At the raw end, trim the corner: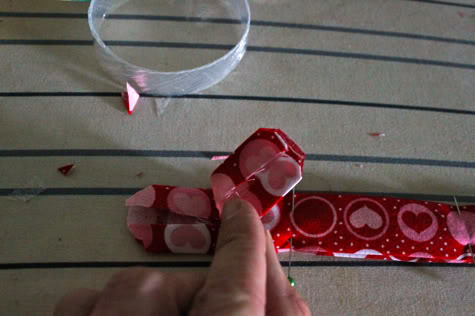
and fold to the inside, iron and pin.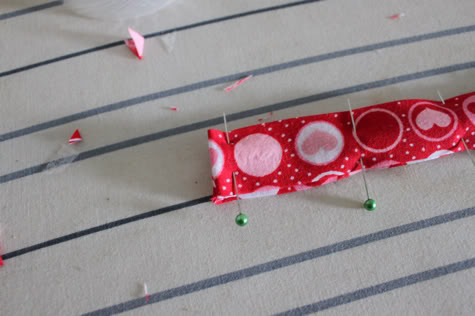
6. Sew in place all the way around. You’re done! If you’re using two pieces, fold one end over your d-rings and sew in place, now you’re done.