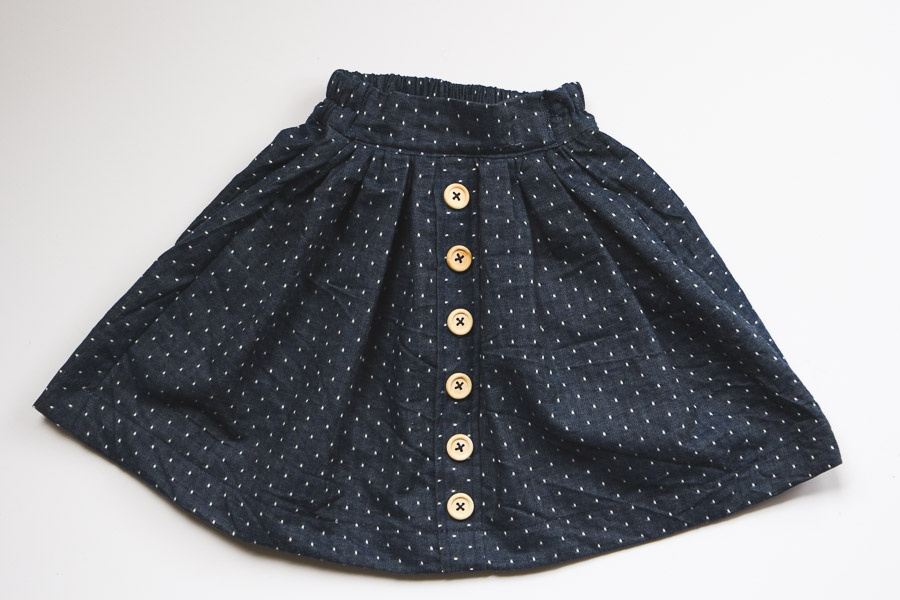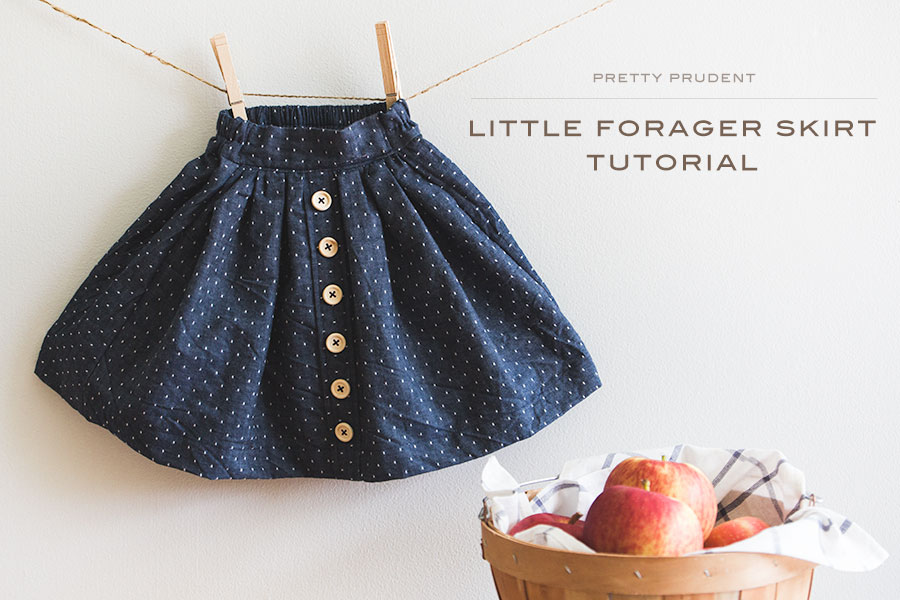
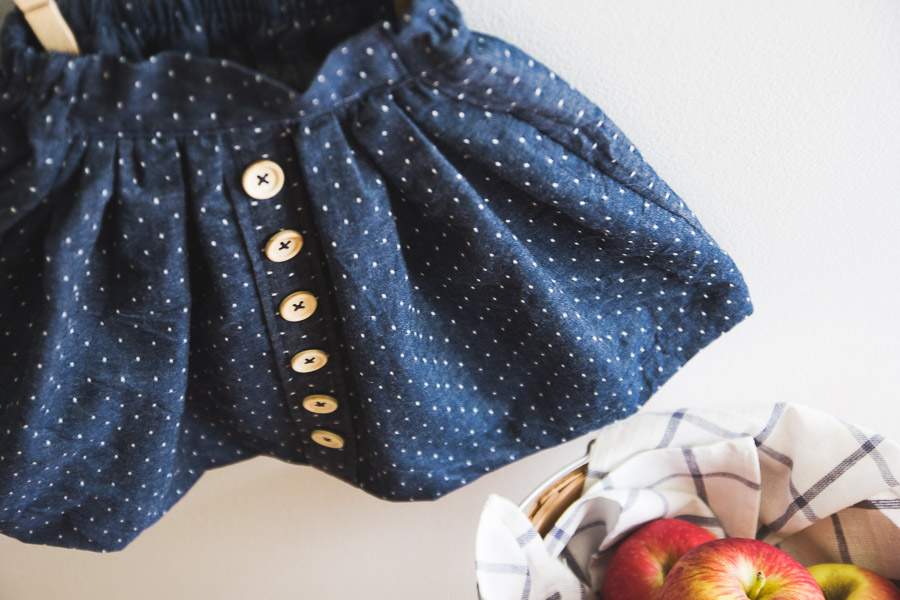
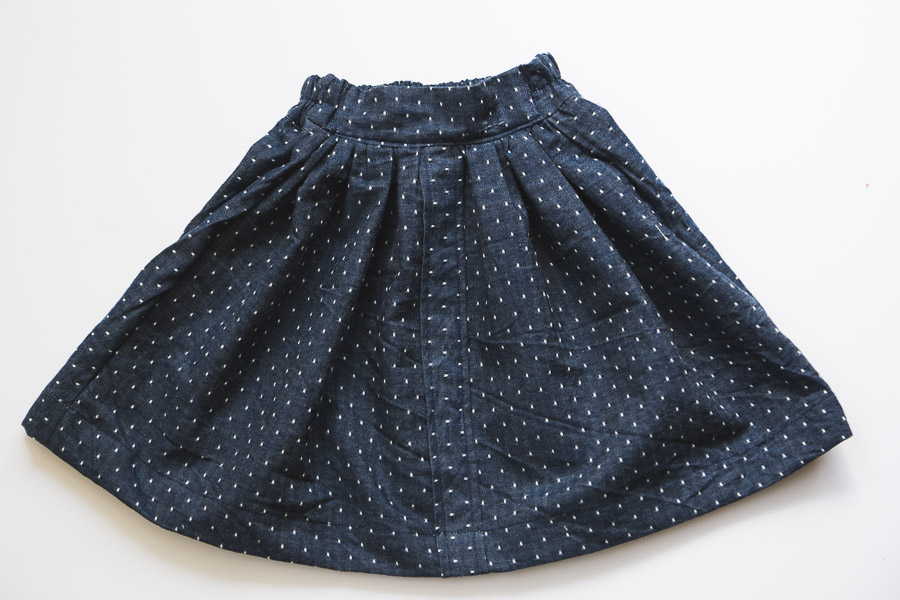
I have been babysitting quite the little forager lately. She loves to spend the afternoons out in the garden collecting flowers, sticks, and pretty much anything else she can find (yesterday I found a half eaten carrot and pebbles she snuck into my back pocket). I was inspired by her to make this sweet Little Forager Skirt. It does not require a pattern, and has a flat front with elastic back, so it’s easy to get on and off your little one.
Check out the complete tutorial for the Little Forager Skirt after the jump…
Little Forager Skirt Tutorial
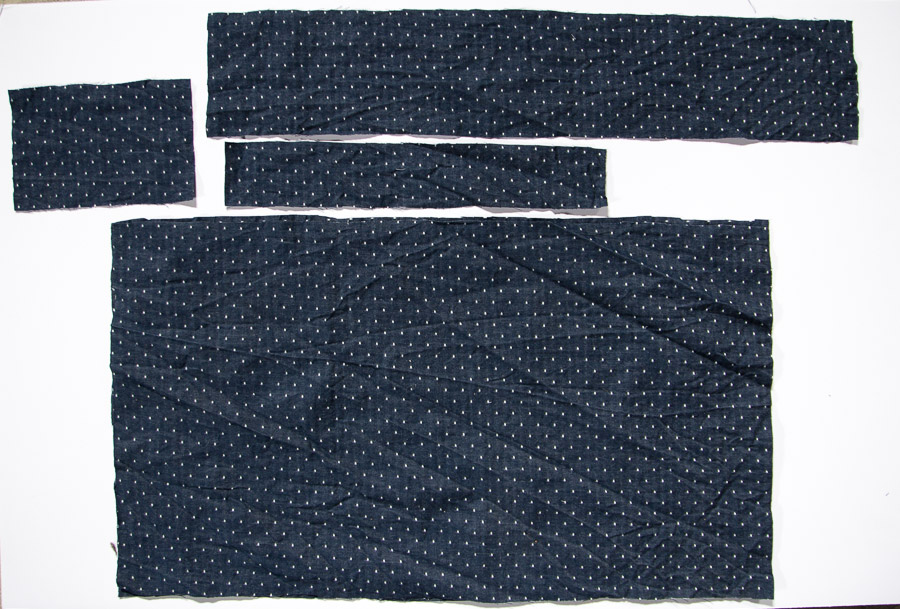
Below are the equations for how to determine the size of your pieces. I used a 1/2″ seam allowance all around.
– Skirt Body (Cut 2):
Width: Size of your waist + 1″ for seam allowance
Height: Desired final length + 2″ for seam allowance and hem
– Waistband Front (Cut 1):
Width: 1/2 of waist + 1″ seam allowance
Height: 4″
– Waistband Back (Cut 1):
Width: Waist size + 1″ seam allowance
Height: 4″
– Button panel (Cut 1):
Width: 2″
Height: Length of skirt body
– 1″ Elastic: 1/2 of waist size + 2.5″
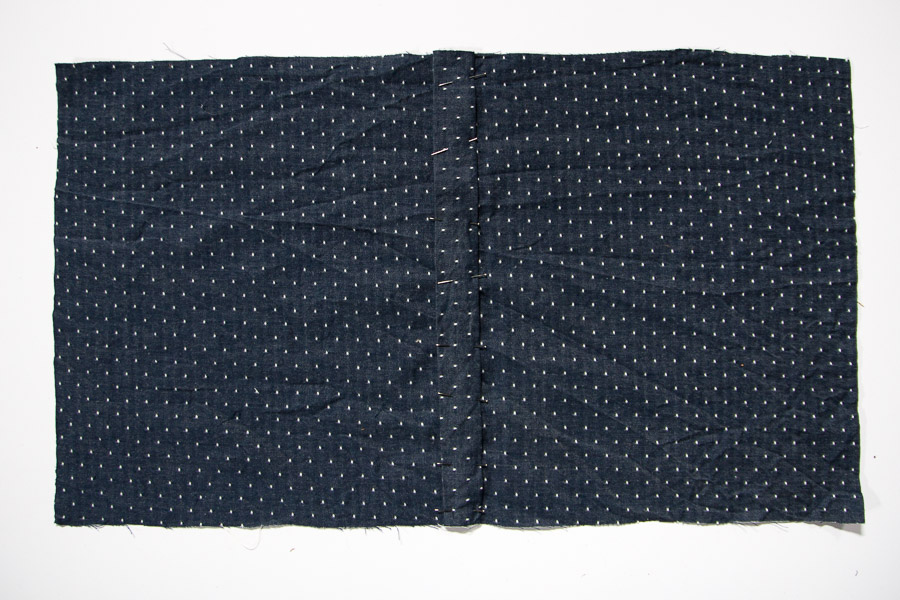
Fold in each side of your button panel a 1/2″ and iron. Pin it to the center of your front skirt body piece and sew down on each edge.
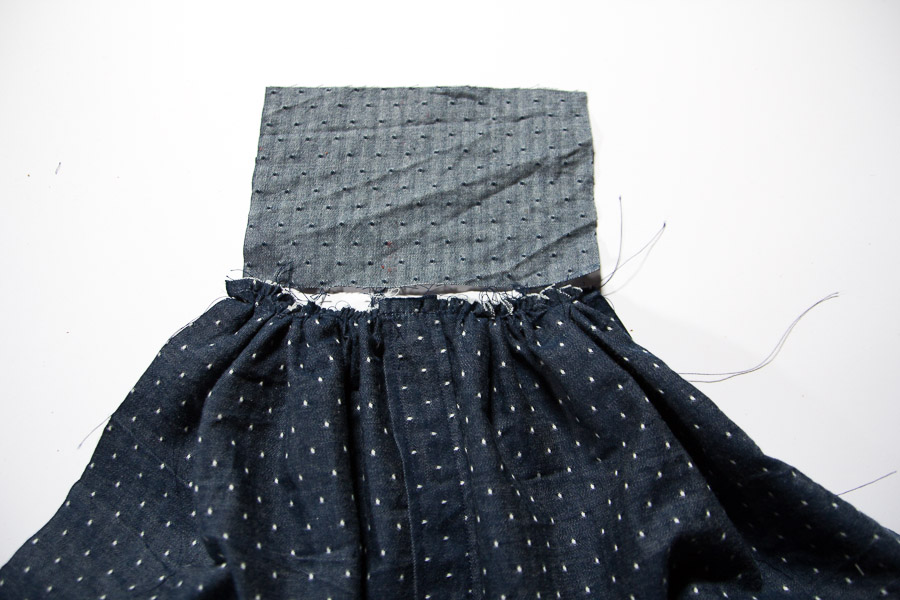
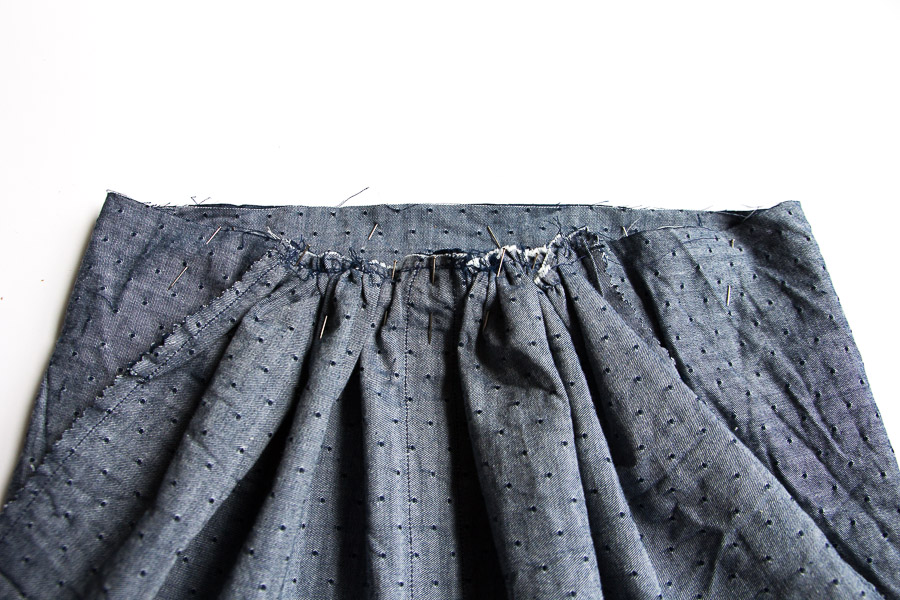
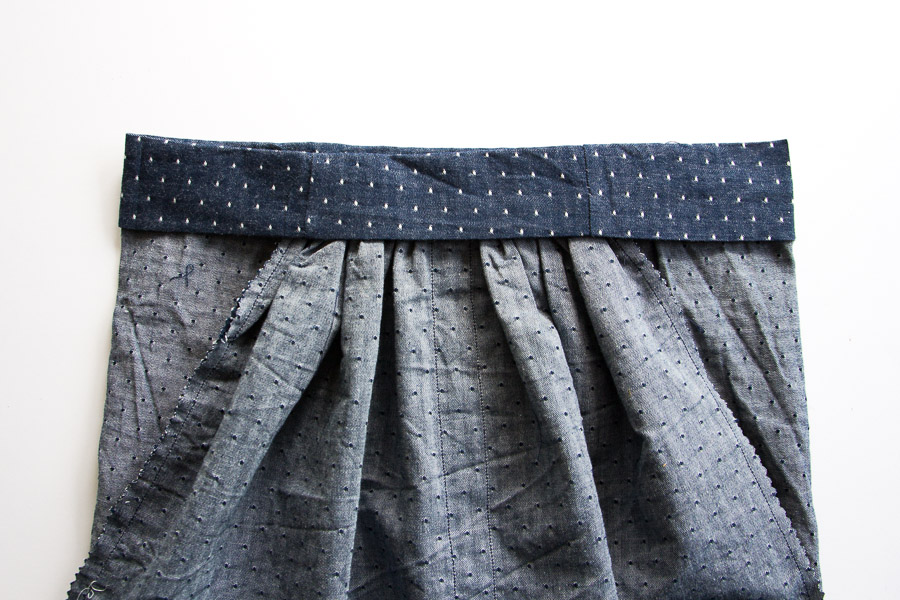
Baste stitch the top of the skirt to gather it. You can find more information on how to gather fabric on our Sewing 101: How to Gather Fabric post.
Adjust your gather to match the same size as the front waistband. Make sure the button panel is centered and flattened.
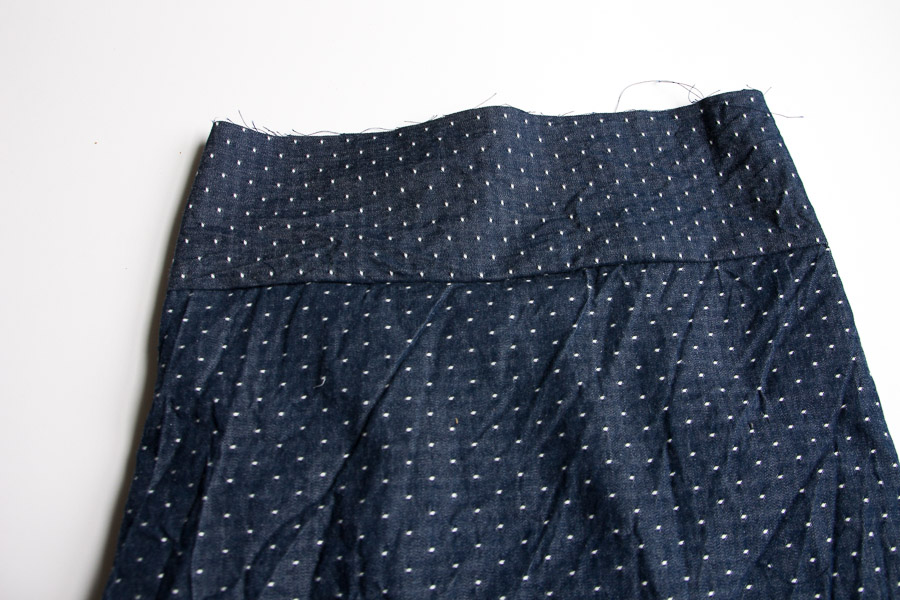
Grab your front and back waistband and sew the edges together.

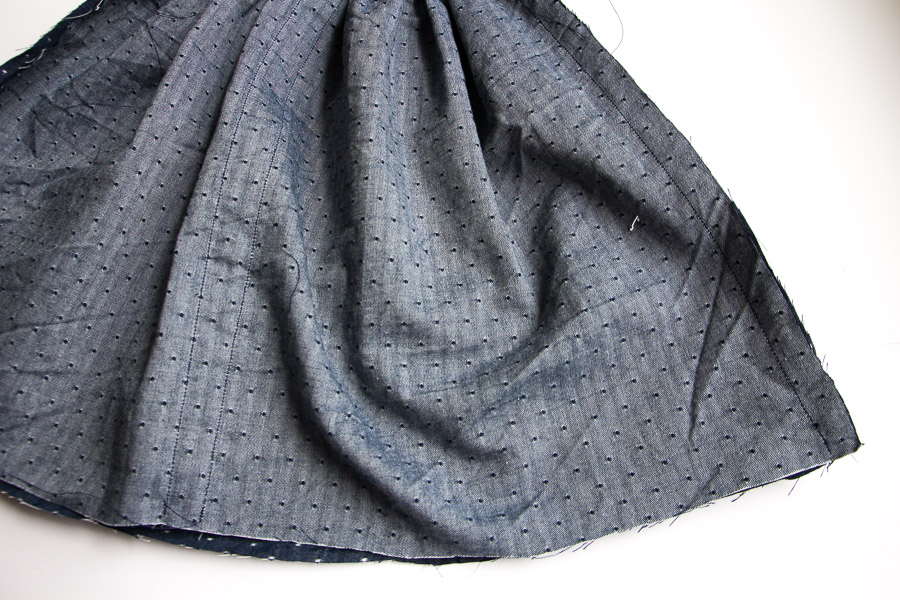
With front sides facing, pin and sew the skirt body together at the edges. Finish edges with pinking shears, zigzag stitch, or serger.
Pin the waistband to the skirt body, with front sides facing.
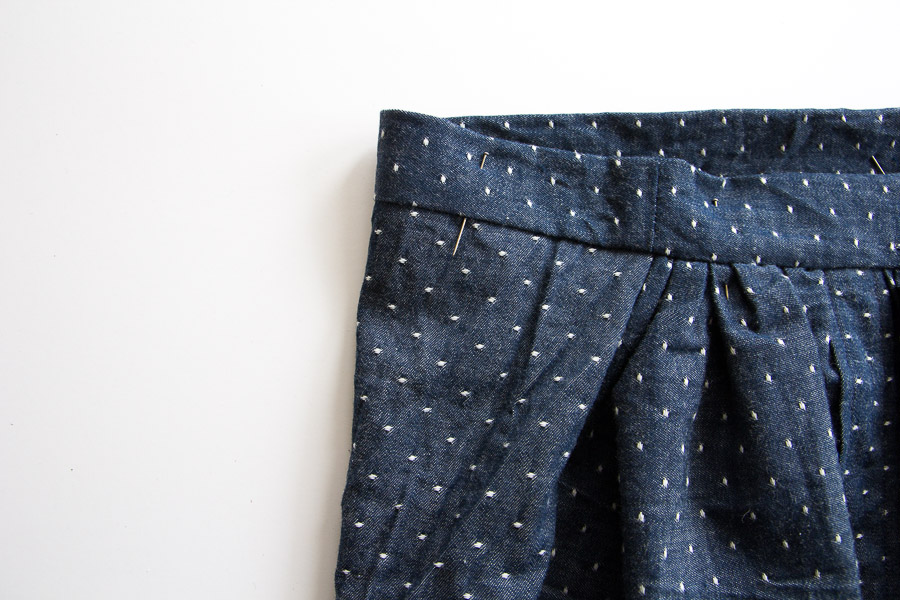
Sew around. Here is a view of the back with the waistband flipped up.
Fold the waistband down a 1/2″, and then another 1 1/2″ so that it covers the seam.
Press, pin, and sew around.
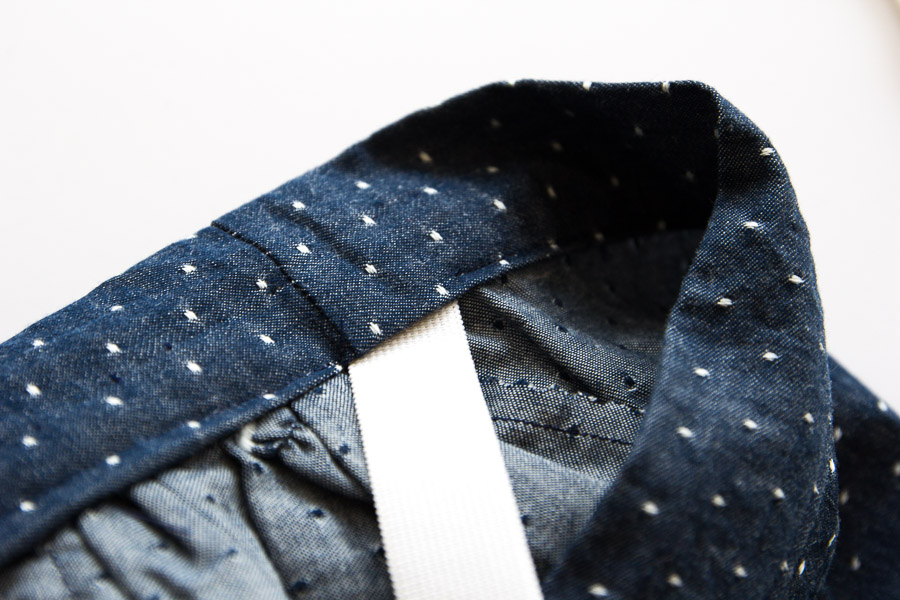
Leave an opening on the inside of the waistband at the side seams to insert your elastic.
Insert elastic through the back.
Use a pin to hold it in place, and sew it down along the side seams.
Stretch out the back of the skirt and sew along the middle of the elastic to keep it in place.

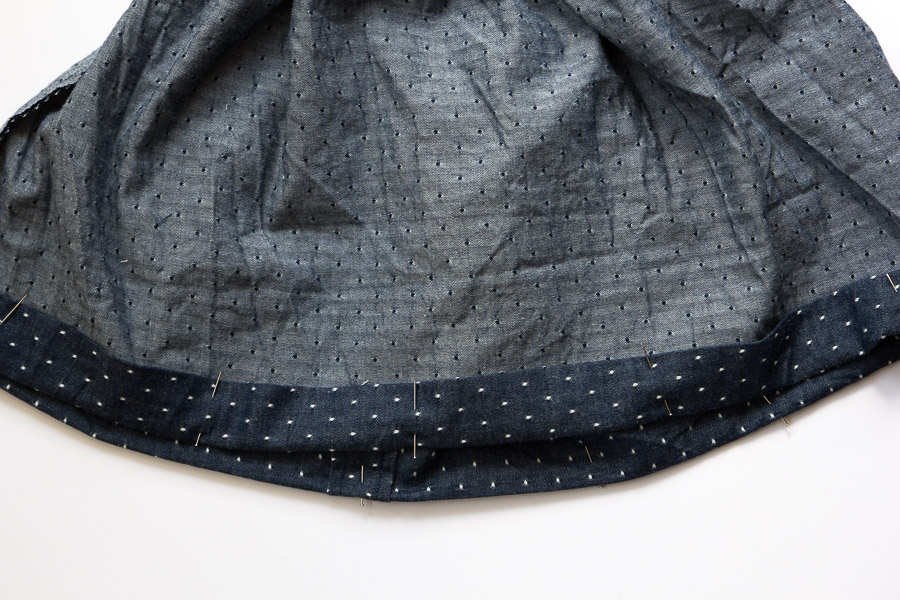
Almost done! Hem the bottom by folding the fabric over a 1/2″ and then 1″. Iron, pin, and sew.
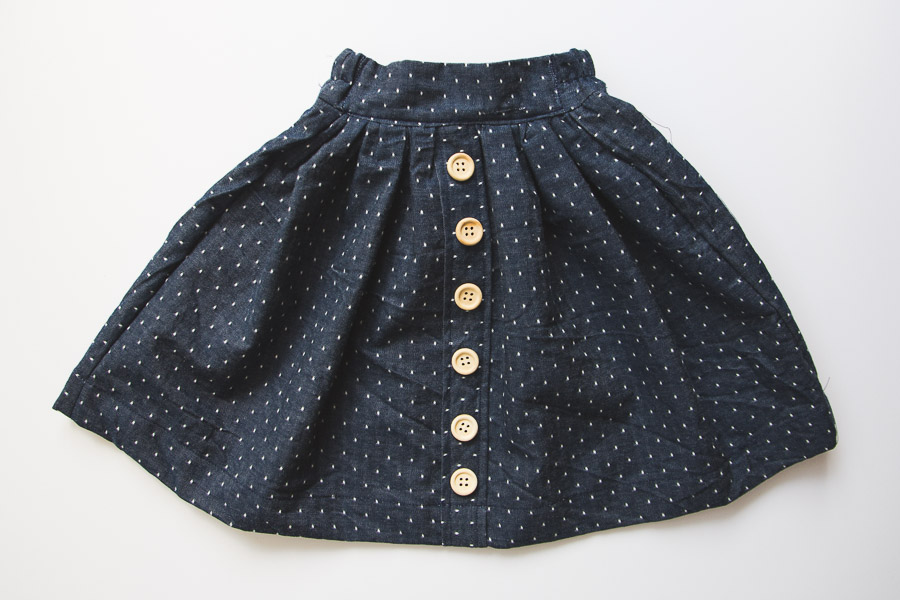
Let’s add some buttons.
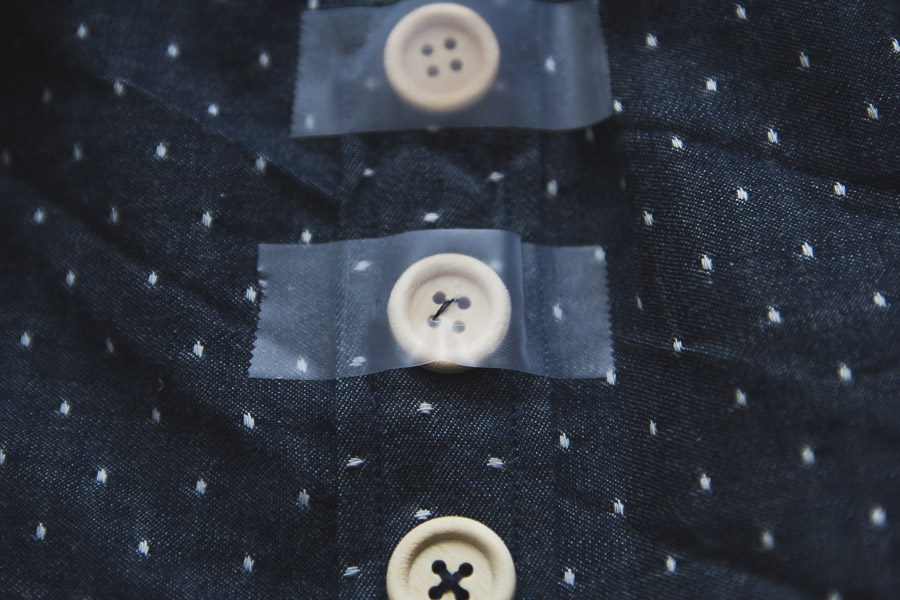
Hand sew buttons down the front. Instead of marking I just used this tape technique.
Place the buttons and secure in place with a piece of tape.

Make one or two stitches to keep the button in place and then tear the tape away.
That’s it! If you make one, share a photo with us on our Facebook, Pinterest, Instagram (#PrettyPrudent), and Twitter.