![]() Got pests and weeds? Ortho has you covered. Trust the Ortho® family of products to provide solutions to pest and weed problems in and around your home. Visit Ortho.com to learn more
Got pests and weeds? Ortho has you covered. Trust the Ortho® family of products to provide solutions to pest and weed problems in and around your home. Visit Ortho.com to learn more
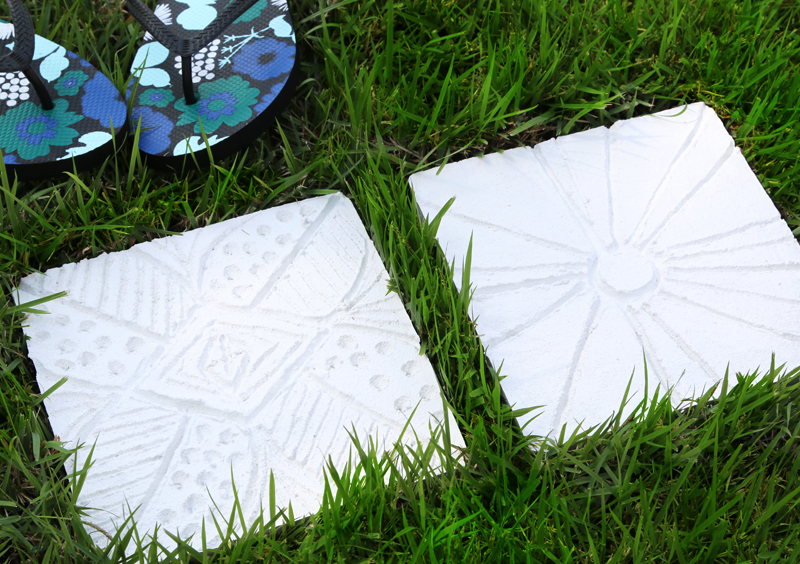
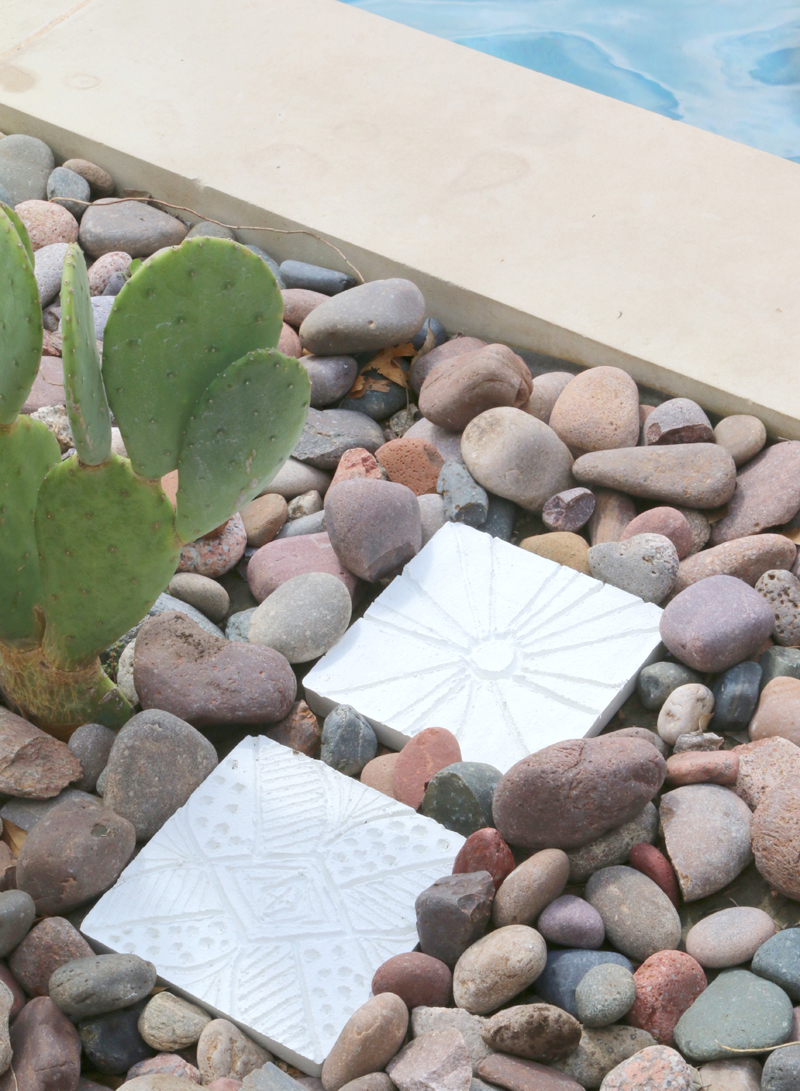
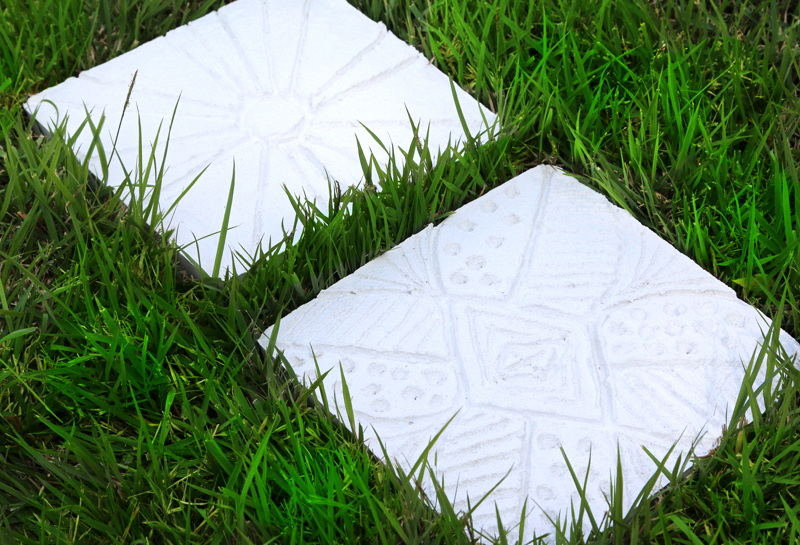
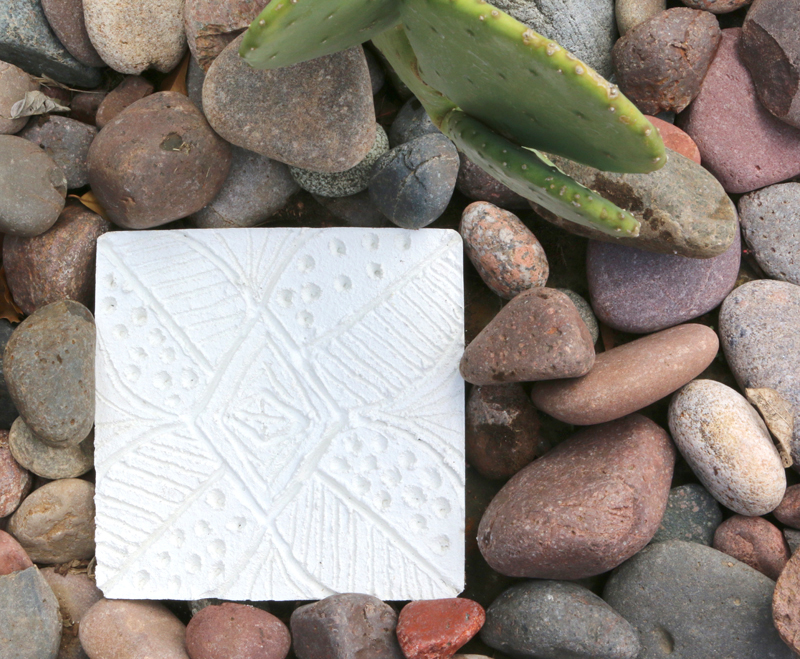
Hand prints and names forever imprinted in cement are so sweet but why not let your little artist (or your inner artist) turn a garden stepping stone into a work of fine art? They will be so proud to have their handiwork on display in your beautiful yard. Our friends at Ortho® asked us to come up with a project that would compliment the gorgeous green and weed-free lawn that so many of us strive to have, and we knew a chic DIY garden stone would be the perfect touch.
Like most people, I face a constant struggle with weeds in my lawn – dandelions, crabgrass, clover and other weeds that I don’t even recognize. So frustrating! It’s amazing to see how quickly Weed B Gon gets rid of those pesky plants and lets me enjoy my yard without being lured away from the fun by a weed that catches my eye.
Read on for the step by step instructions on how you and your family can create your own Garden Stone.
For each 8″ Square Mold, I used 5 lb of cement mix which I weighed in a bucket on my kitchen scale.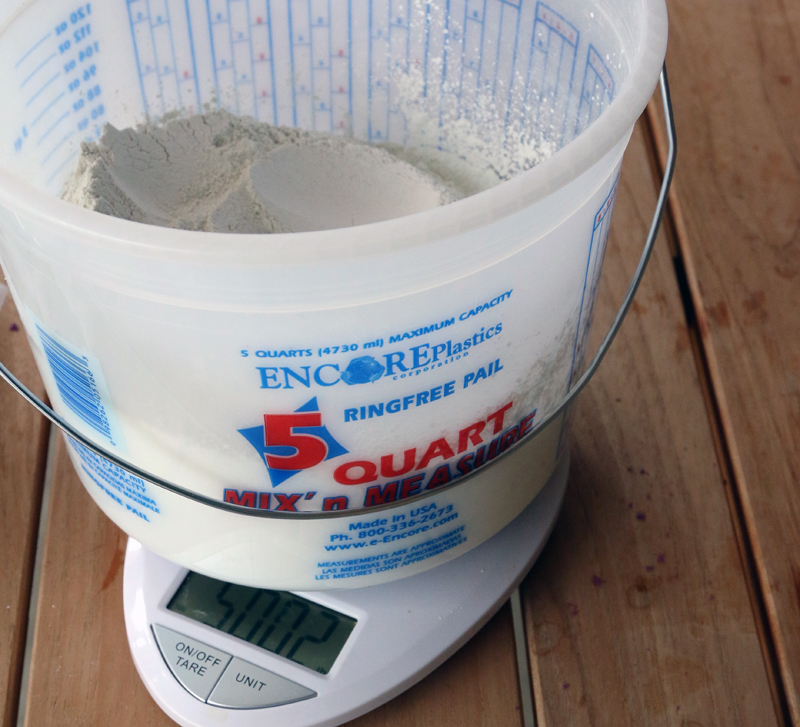
Add 2 cups water. Just enough to moisten all of the cement. No more.
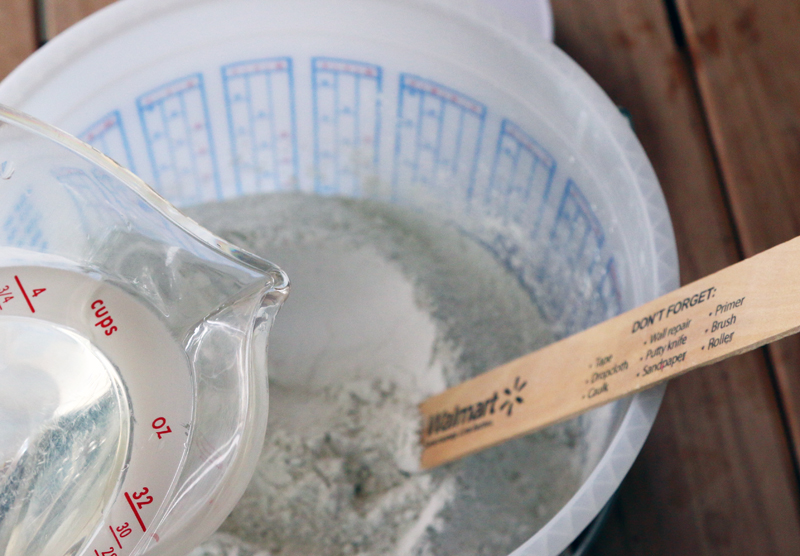
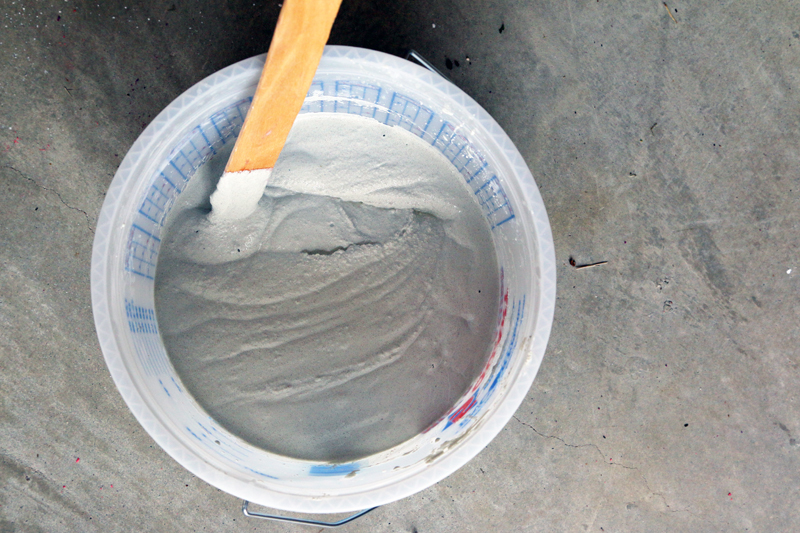
Stir until no cement is left dry.
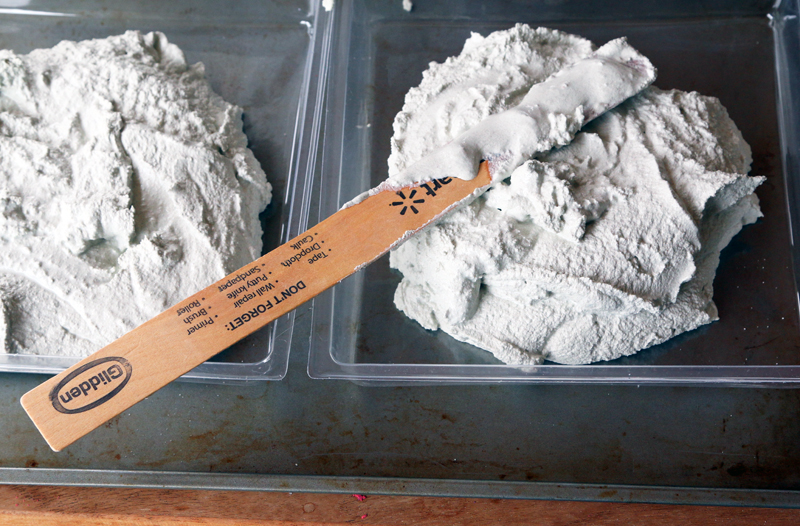
Add cement to molds and smooth top. Tap mold on hard surface to level and release trapped air, if possible.
Let cement sit for 40 minutes. If water is accumulating on the top, use napkins of paper towels to soak it up.

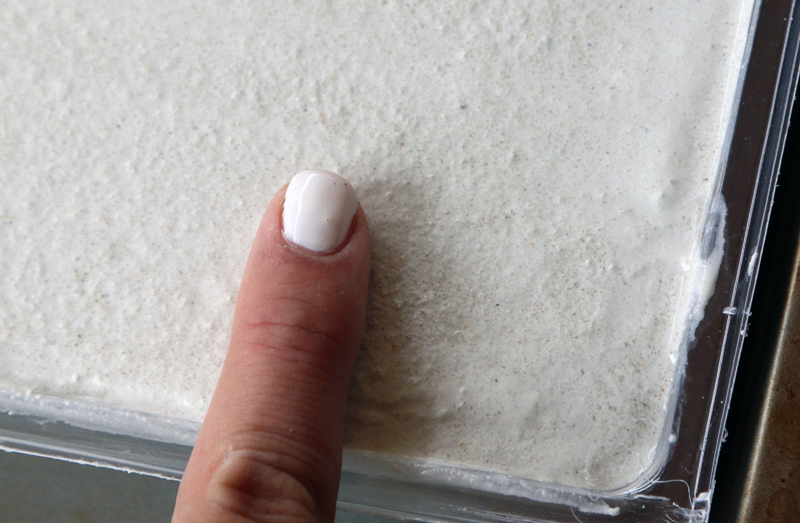
Fingertips work great for smoothing out any imperfections. At about 40 minutes, scratch the surface with a toothpick, if it makes a “dry” mark, you are ready. If not, wait about 10-15 more minutes.
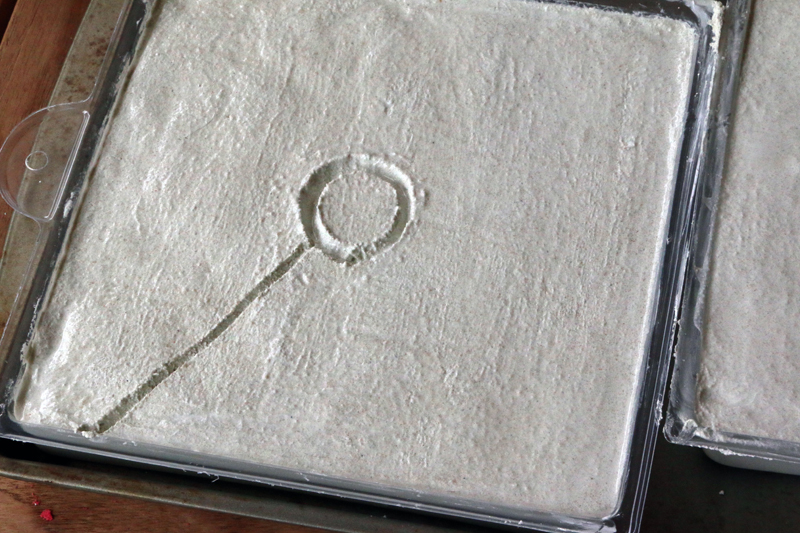
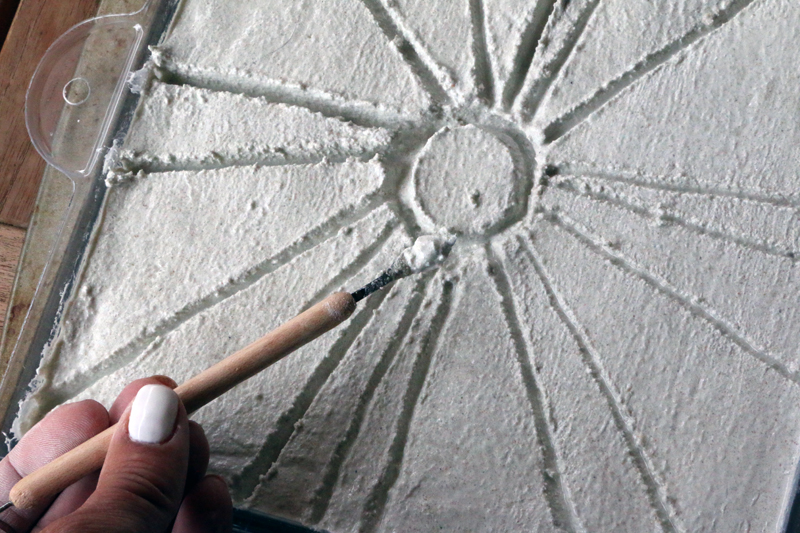
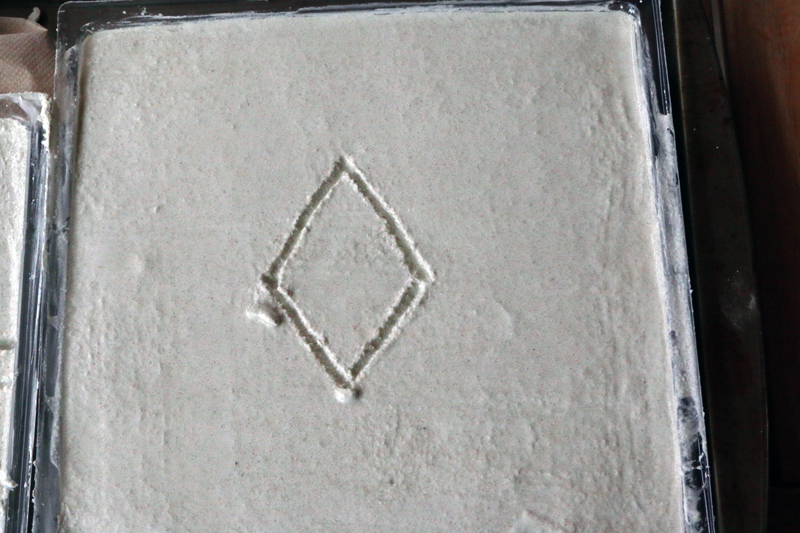
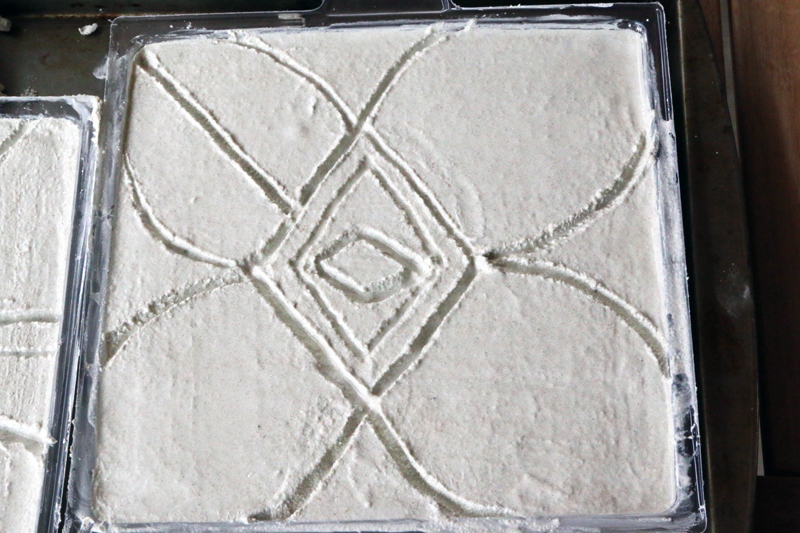
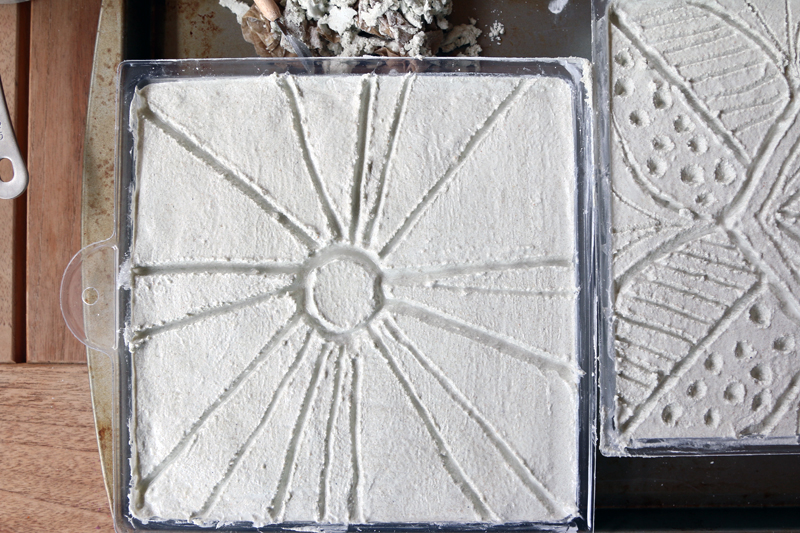
Use clay tools, chopsticks or other kitchen utensils to create your masterpiece.

Let the finished stones sit undisturbed for at least 24 hours and then put them on display!