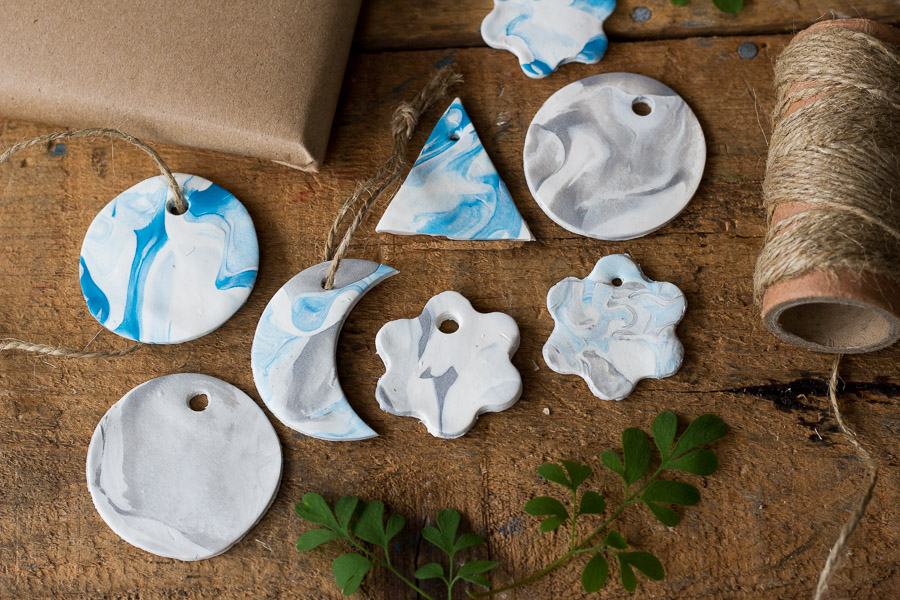
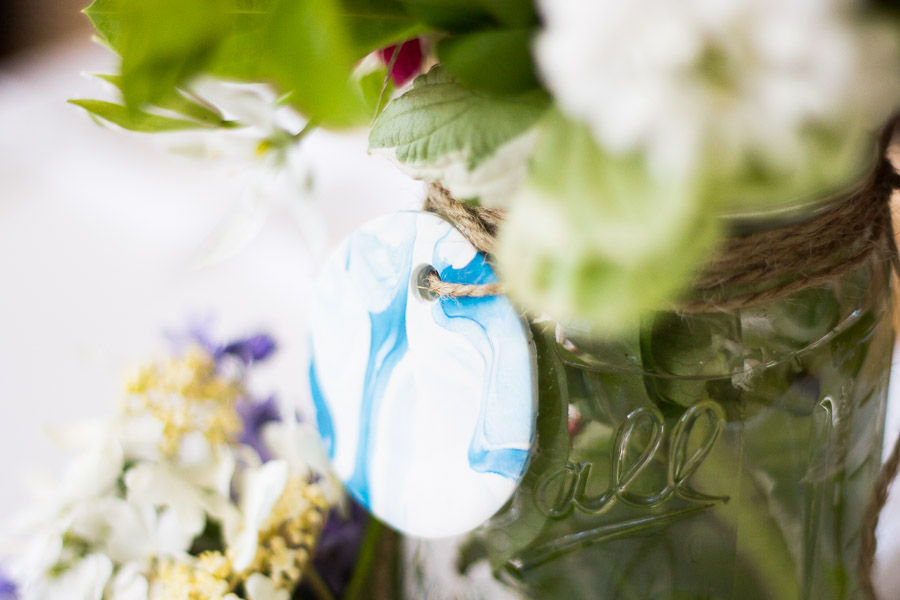
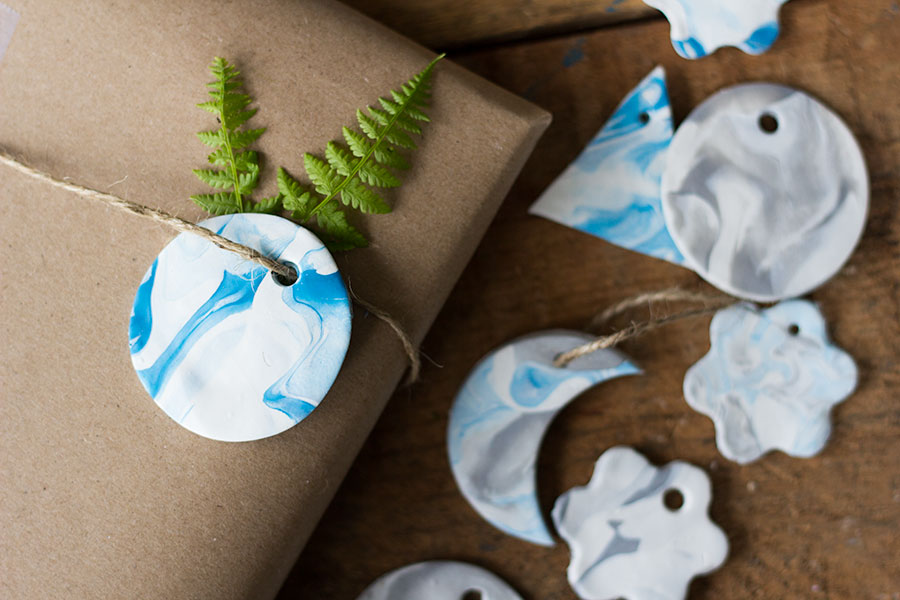
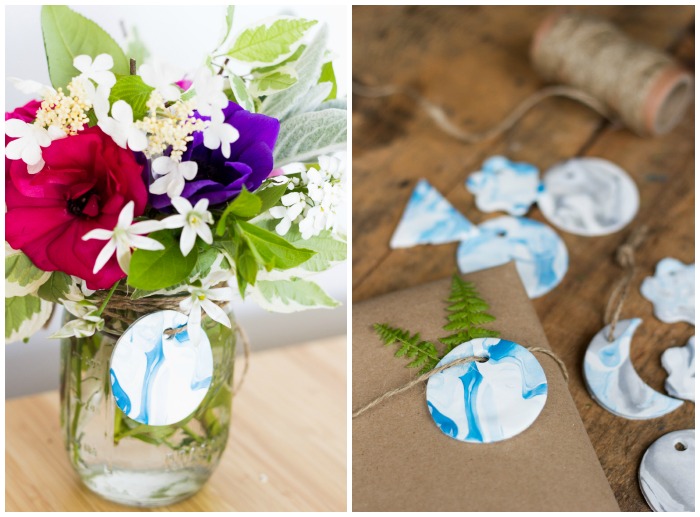
 Now that you have learned how to make a Gold Leaf Ring Dish and Polymer Clay Baskets, I’m going to show you how to make these Marbled Clay Gift Tags. Marbling clay is a very basic technique that has really beautiful results. Use them to top off your gifts, May Day Bouquets, and even Mother’s Day bouquets. The first thing you will need to do is pick out two or more colors of clay. Let’s get started!
Find out how to make Marbled Clay Gift Tags after the jump…

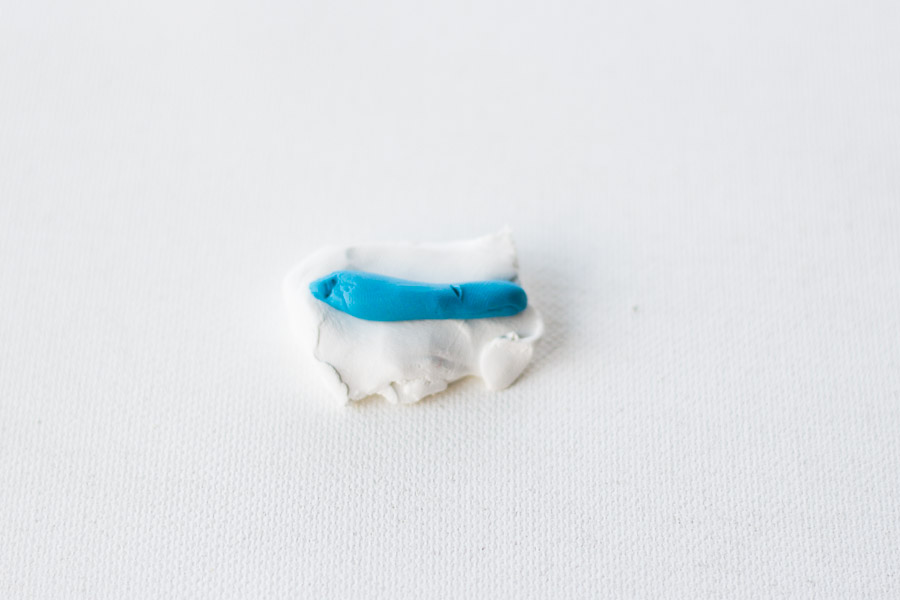
Grab a ball of your first piece of clay and flatten it out a bit.
Roll up your second piece of clay and place it on top.
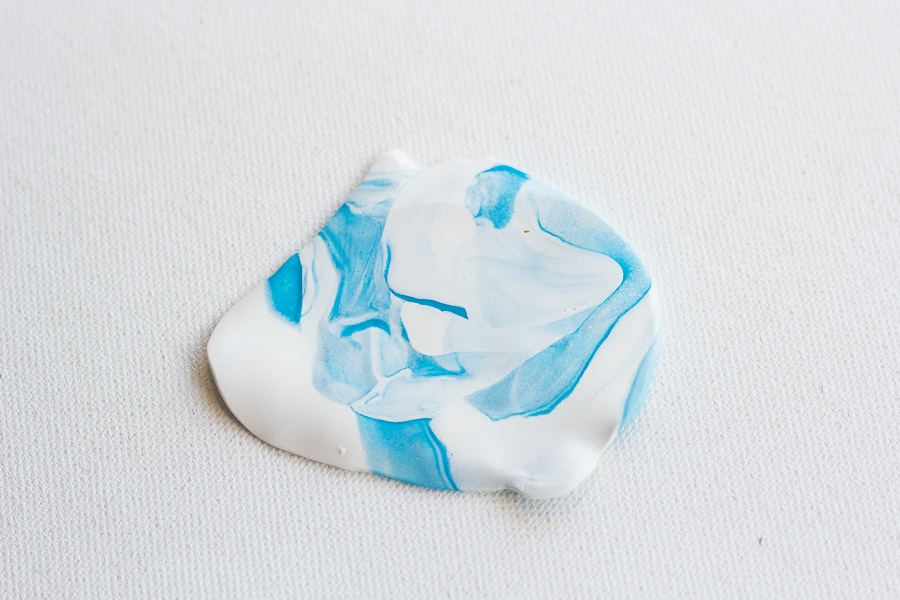
Slowly press the colors together, twisting as you go. Stretch and pull the clay in different directions to make these unique patterns.
Once you’re happy with the marbled pattern, roll your clay out flat until it’s about a 1/4 inch thick.
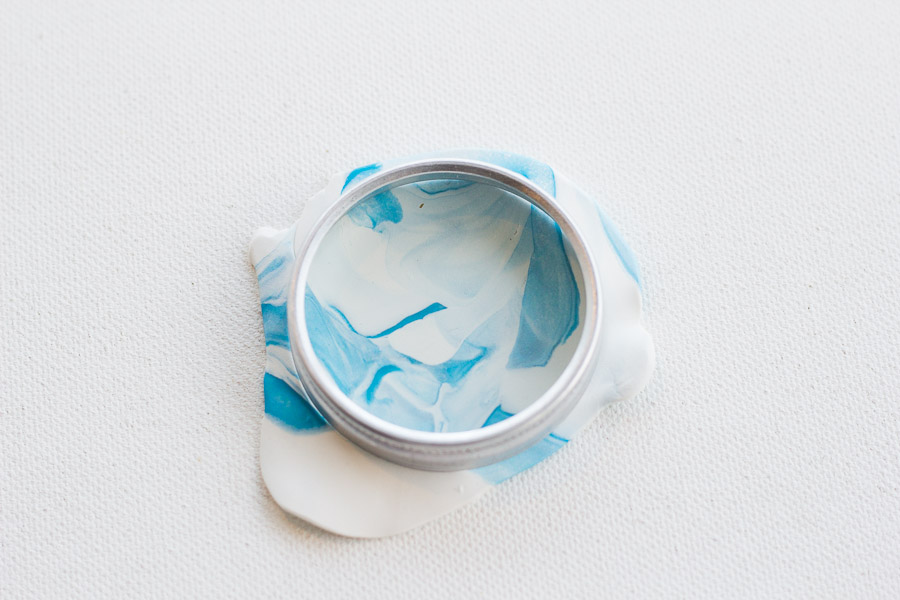
Use a circle clay cutter, or your a clay cutter in any desired shape, to cut out your gift tag.
Poke a hole through the top of your clay with a straw or skewer and bake according to the directions on the package.
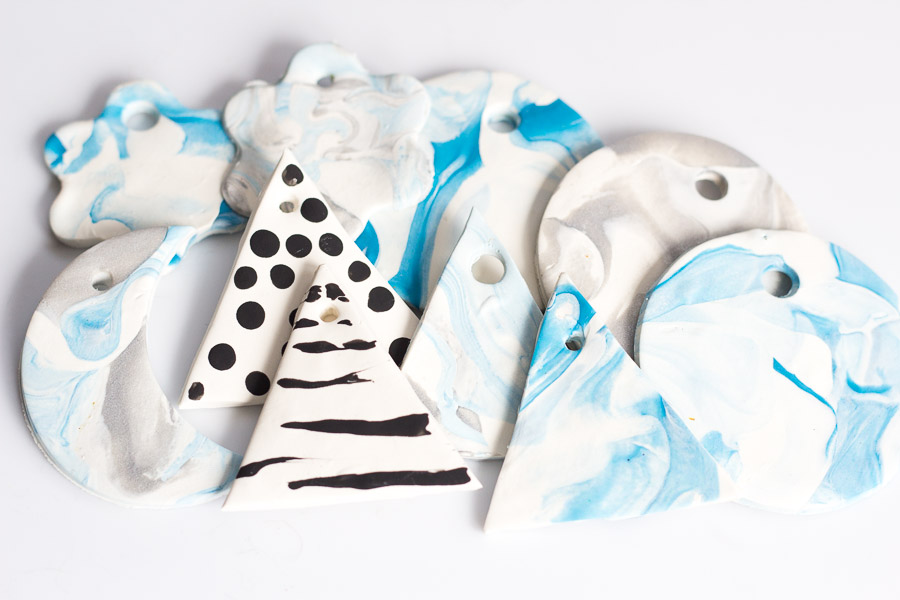
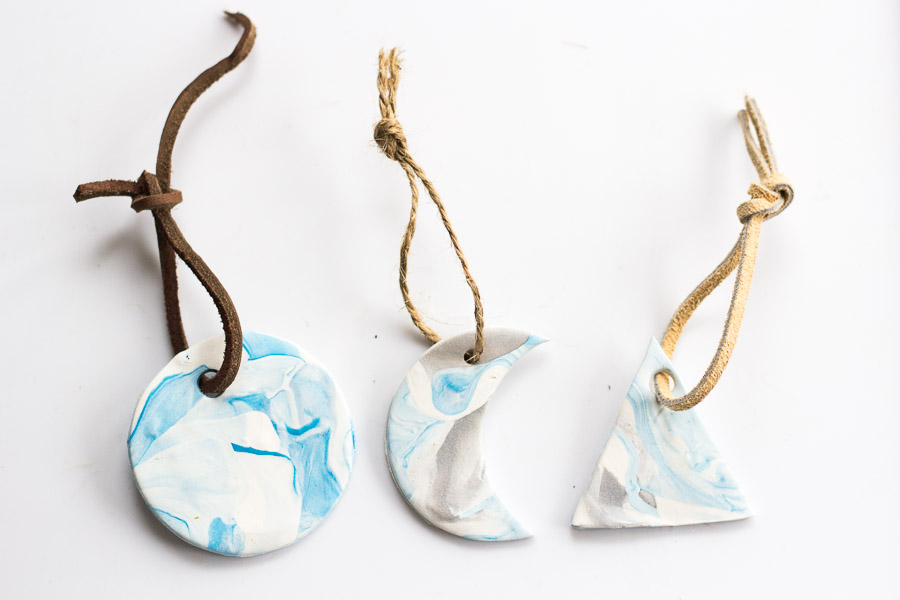
After they have cooled and hardened, place your twine, leather, or string through.
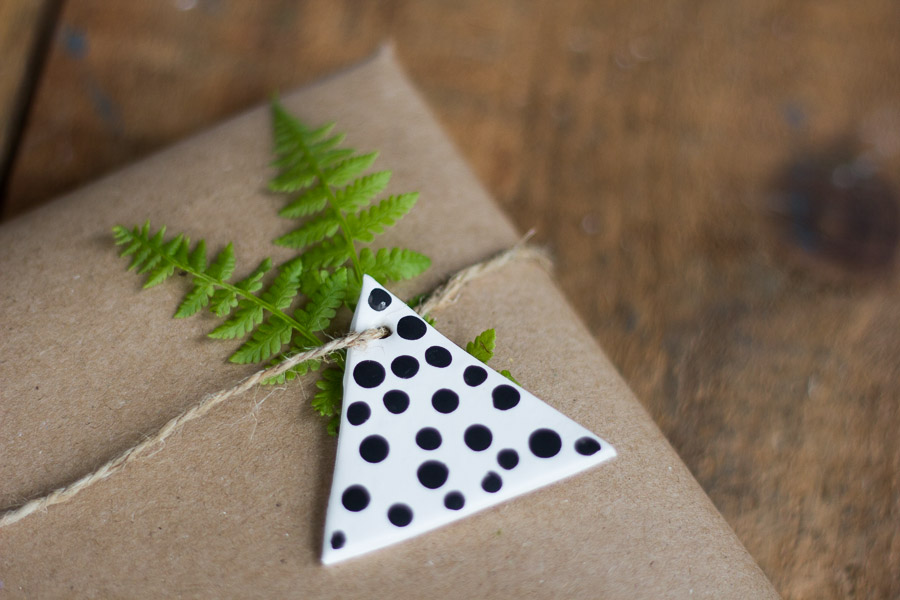
Feel free to embellish your gift tags with acrylic paint. I made some that were plain white and made dots on one and stripes on another.
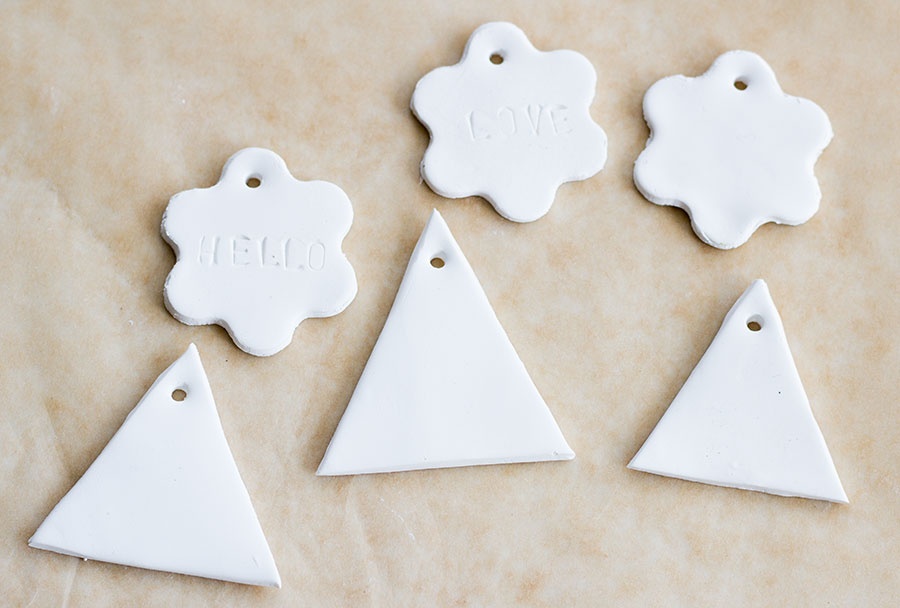
You can also use a Clay Embossing Set to write letters and messages on your gift tags.
If you make some, snap a photo and share it with us on Facebook, Twitter, Pinterest, and Instagram #PrettyPrudent.