


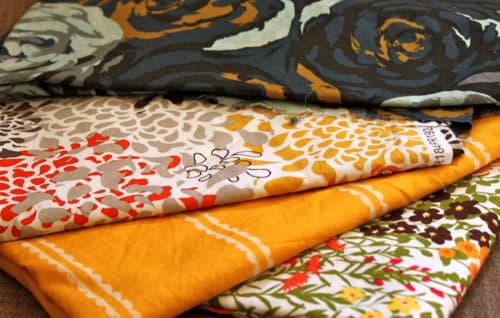
A few weeks back, I asked for your help with ideas for updating my office/craft room and solving the challenges of the space, one of the biggest of which was the flooring. You flooded me with awesome ideas! The old floor was painted cement – cold, uncomfortable to stand on, and stained. Keeping in mind that we are renters, many of you suggested Flor tiles, which are squares of carpet that can be packed up with you when you move. I had been considering them, but all your tips put me over the edge and I went for it. The pic above is of my color inspiration fabrics – bright to lighten up the dark space, but warm and cozy for everyday comfort. With those in mind, I chose a solid sunny yellow color and got to work.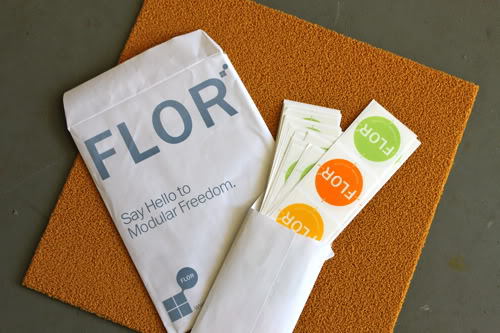
I’ll show you how insane easy it was to install them (I did it myself – like, just me alone, in 3 hours) and a few pics of the updated space. I still have TONS of work to do, but this first step has me feeling energized and excited about the new workroom! Here’s a refresher on the before-flor.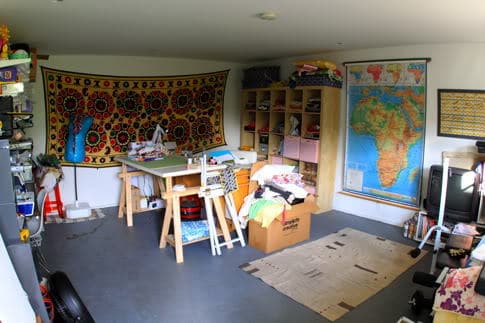
Good bye nasty old floors, hello fancy new FLOR, check out the pics after the jump…
Thank you for all of your advice so far, you have me so excited to work on this project and filled with new ideas and energy! So, have you ever used or considered FLOR tiles? What do you think of the color choice? Leave us some comments, this week’s favorite wins that adorbs elephant pattern!
Craft Room Redesign: FLOR Installation
Flor has such a huge selection of carpet tiles in colors, patterns, thicknesses, etc. that I spent hours lost in their website flor.com. I ended up contacting them for a little consultation (866-281-3567) and they listened to my needs and the details of the space and helped me consider my options. I finally selected Flor’s Solid Toy Poodle carpet tiles because I liked the un-patterned look and the fact that it is designed to stand up to heavy traffic, but it still has a little cush to it. It has made a HUGE difference in my hip pain (anyone who knows me has had to listen to me drone on about hip pain for years) after standing at the cutting table. I went with one color (rather than alternating tiles) so I wouldnt feel distracted when trying to be creative, and I chose “sunny” because I wanted to brighten up the space, and also just because yellow is my favorite color. And full disclosure: when Flor heard what we were doing over here, they sent this massive treat over free of charge. I know, I know, way lucky and way spoiled. But I also want you to know that if I didn’t like it, I wouldn’t tell you about it, and I really, really like it.
So, first I unpacked my boxes of Flor tiles.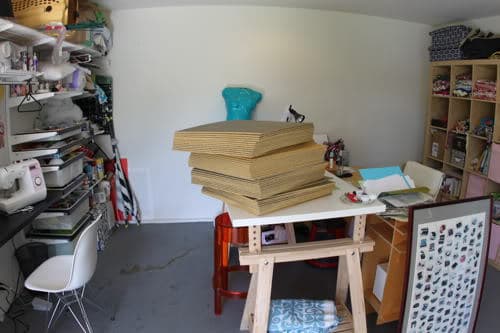
I was going to just start in a corner, but then I read the instructions, ha. So I made a chalk x from corner to corner of the room. Then I found the center of each wall and drew chalk lines across the room. This helped me find the center of the room and make sure the floor didn’t look off-kilter. 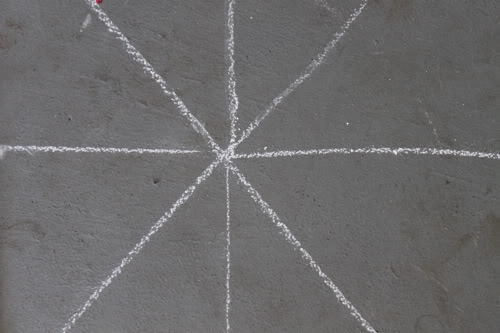
Then I plopped my first tile down.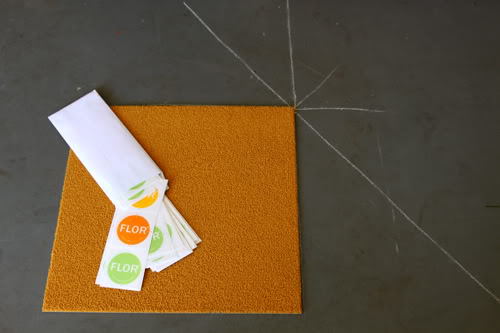
Then lined up tiles out to each wall to create my baseline.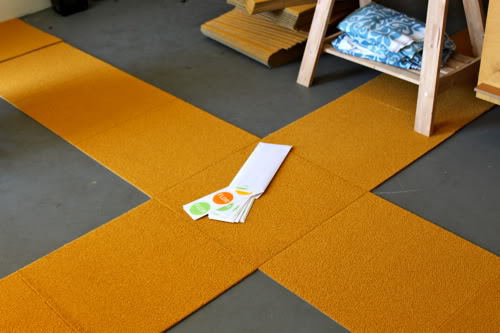
Looking good so far!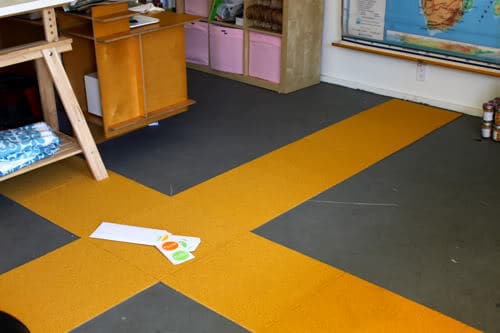
Next step was to use the “flor dots,” which are basically stickers, to attach the tiles to each other. The stickers do not stick to the floor, they face up so they only stick to the tiles themselves. Awesome for making sure your original floor sees no damage.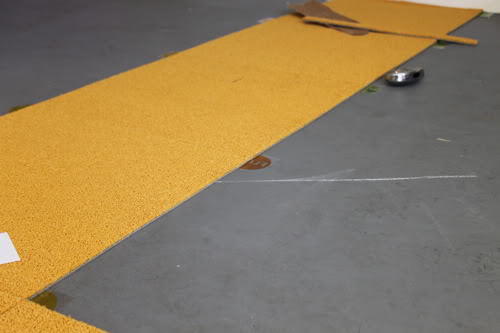
When I reached the walls, on one side the tiles fit perfectly as-is, nice: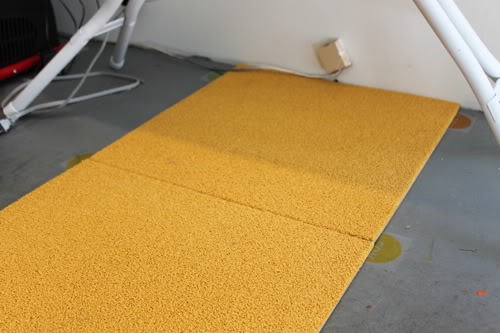
On the other walls I needed to trim the last tile. I was a little worried this would be a pain but it was wildly easy, just a knife and some cardboard underneath did the trick.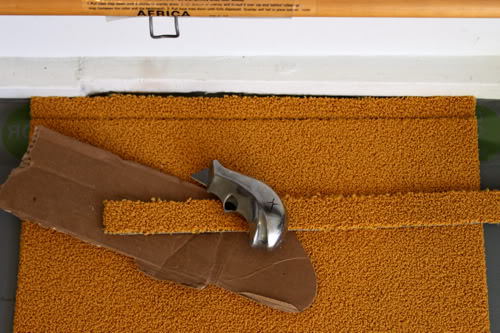
I moved the furniture around as I went along. For the desk I just lifted up the leg and slid the tile under. Easy peasy, though probably not the recommended method. The only area I couldn’t do myself was under this enormous bookshelf, so I asked my husband to do it. So we will see if that ever happens.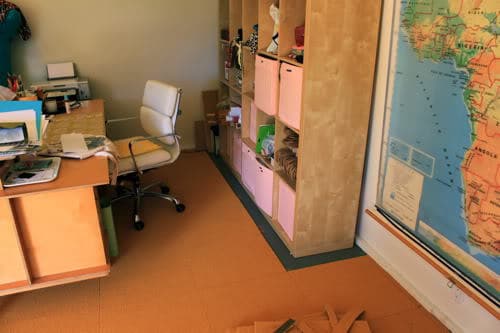
So here’s a sneak peek of the new floor – i’m saving the big reveal for the final before-and-after shots.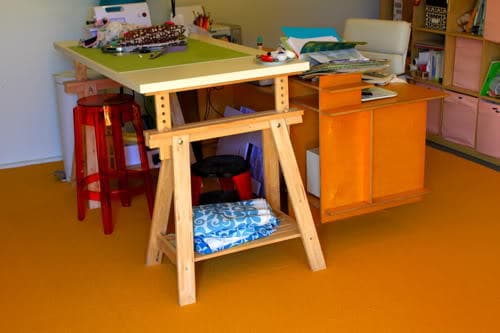
Ok, one more peek.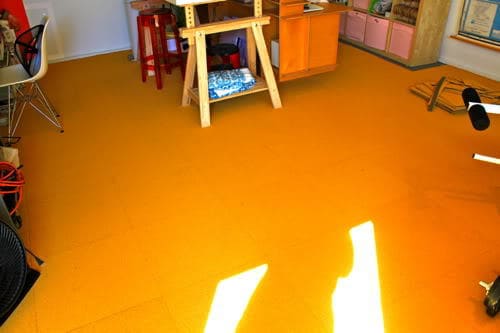
So, what do you think??? Did I choose wisely??