


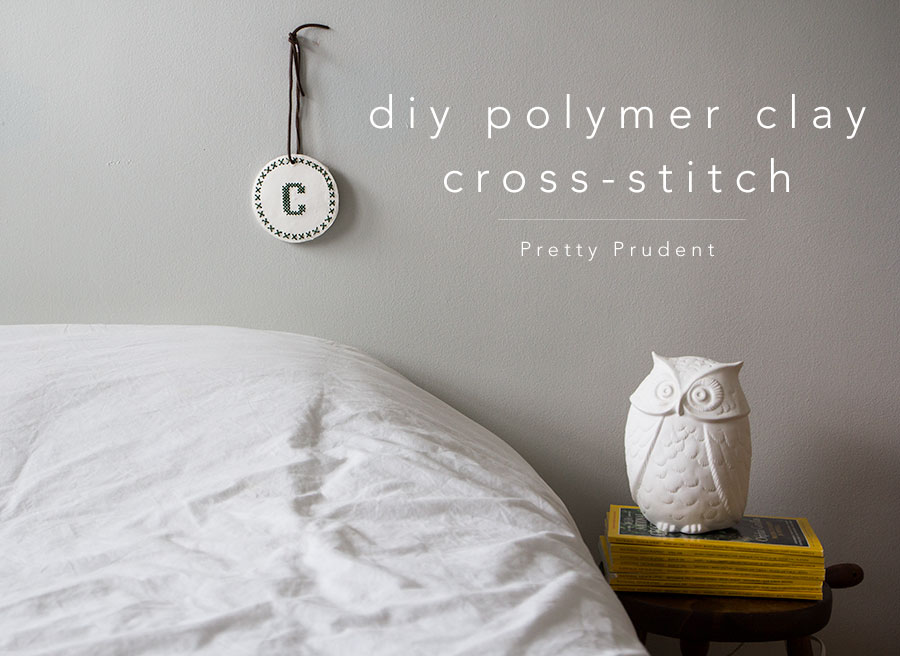
 Today we are combining our love of sewing with clay crafts to create this DIY Polymer Clay Cross-Stitch. You can use any cross-stitch design you’d like for this project, however, I suggest starting with something simple like numbers and letters for your first project. I love that you could combine this technique with our Marbled Clay Gift Tags to make personalized tags for holiday gifts.
For more beginner polymer clay tutorials, check out our Clay Rope Baskets and gold leaf ring dish.

Learn how to make the DIY Polymer Clay Cross-Stitch after the jump…
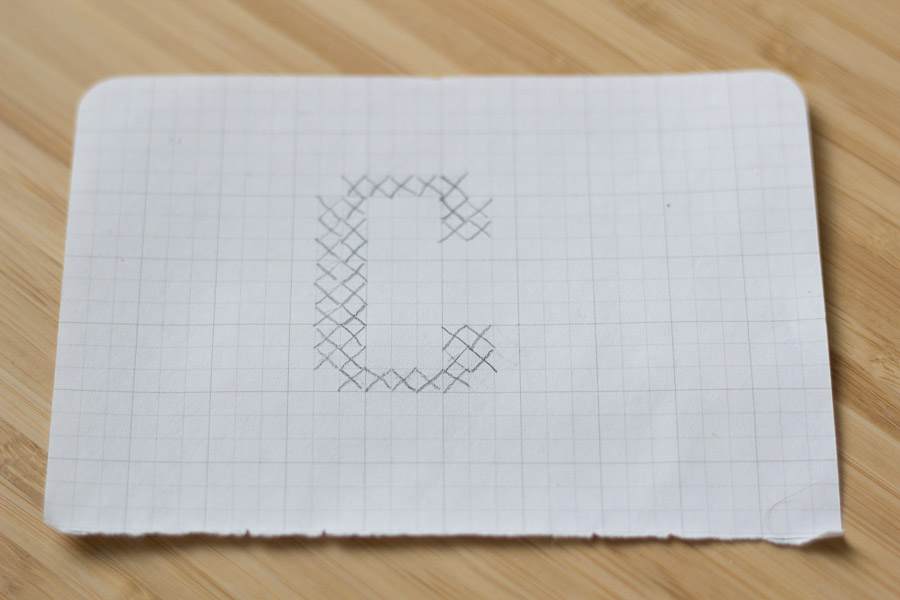
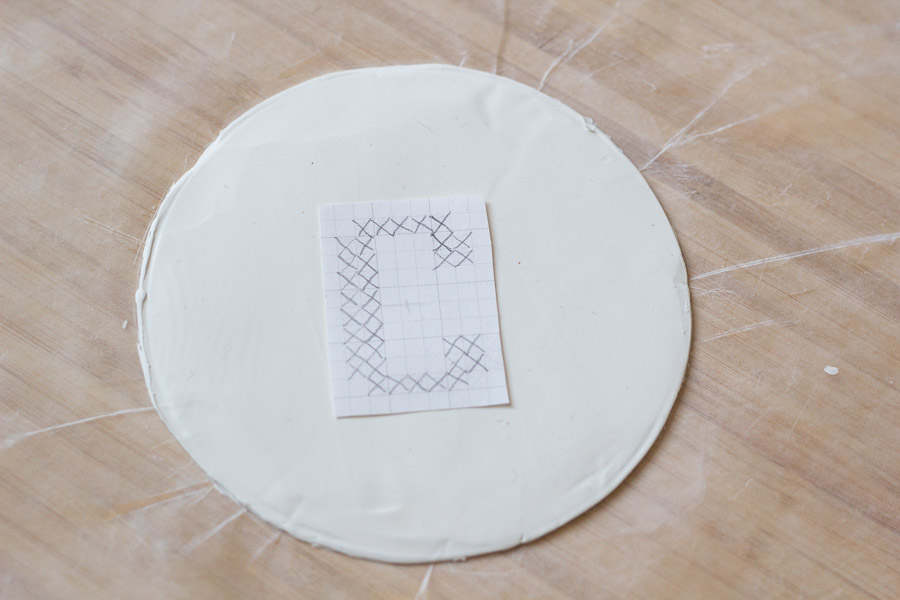
Draw out your design on a piece of graph paper.
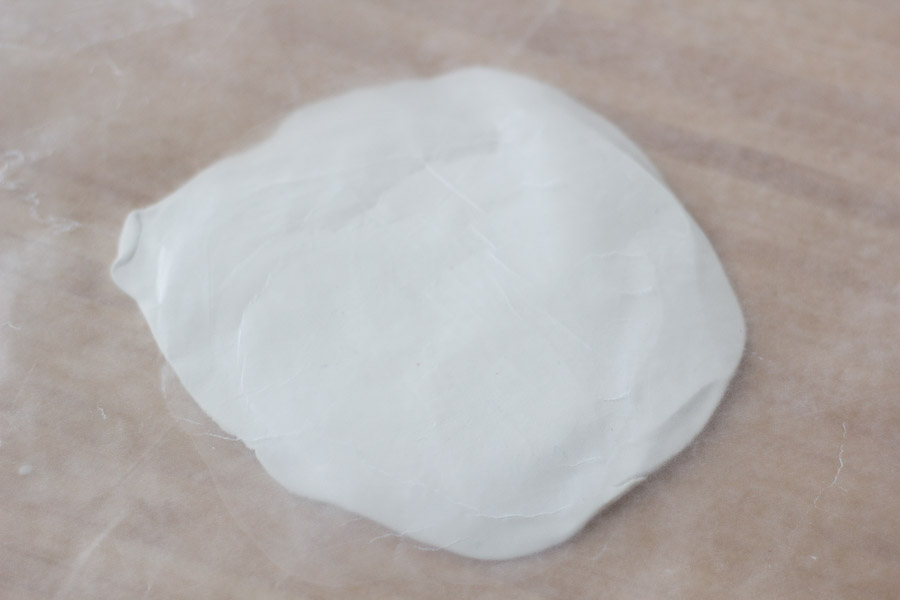
Press the ball of clay between two sheets of wax paper to flatten it out to about 1/8″ – 1/4″ thick.
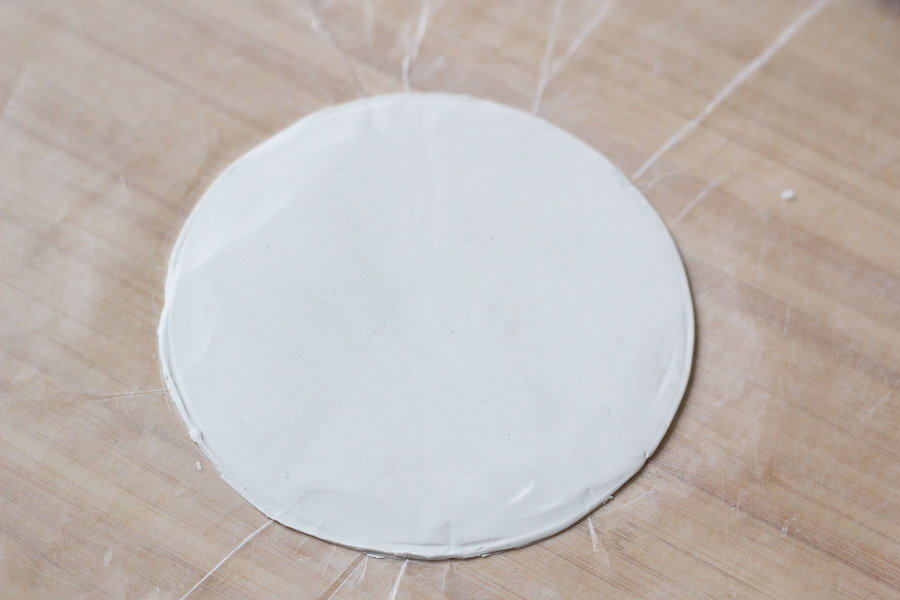
Remove the top layer of wax paper, and use a bowl or stencil to cut your shape just like we did with the Clay Ring Dish Tutorial.
Cut your graph paper down to size and center it on the clay.
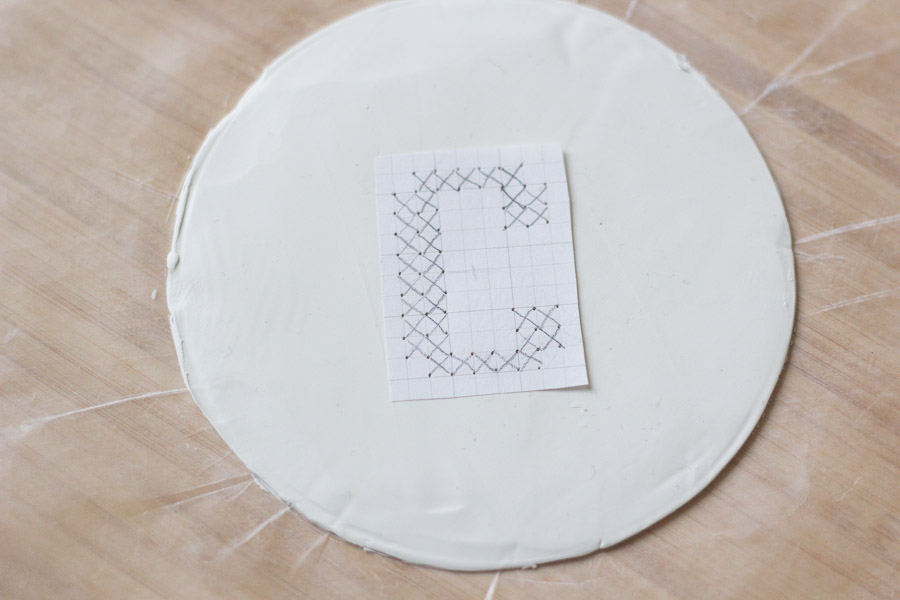
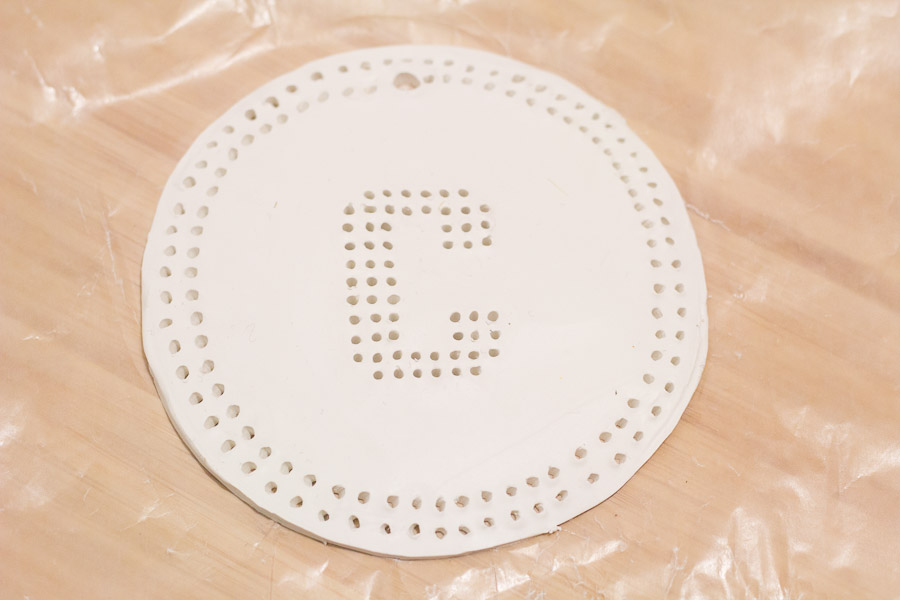
Use a pin to poke holes through the paper and clay at the points where you will be stitching.
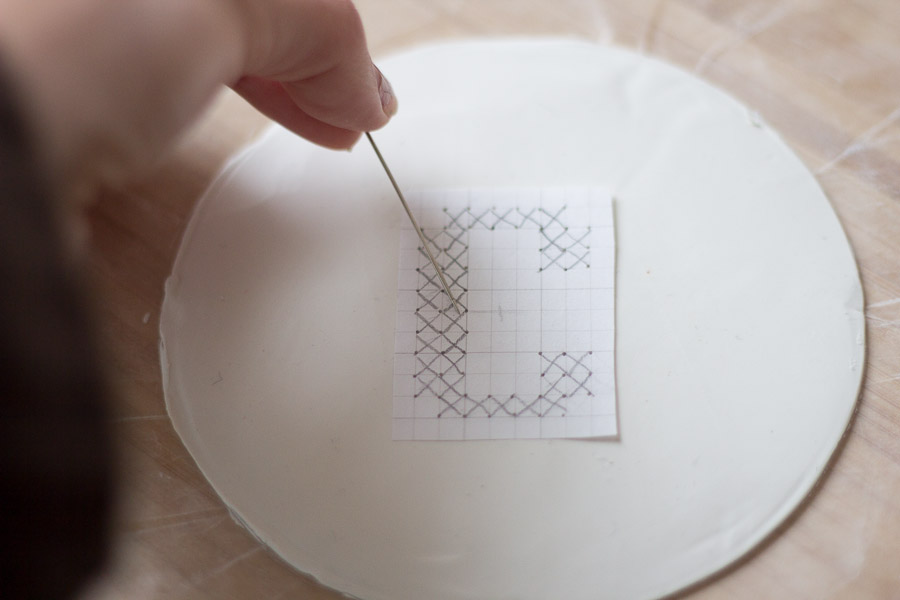
Continue poking holes until your cross-stitch is complete.
Remove the paper to reveal your design.
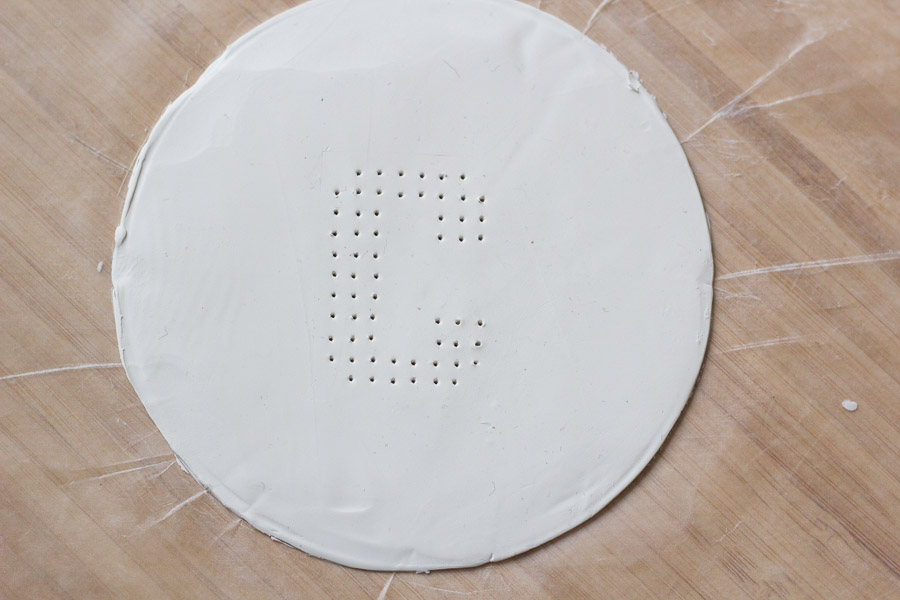
Go back through each hole with the needle. Run the needle in a circular motion around the edges of the hole to expand the size. It’s very important that the holes go completely through the clay and that they are about double the size of the circumference of the needle.
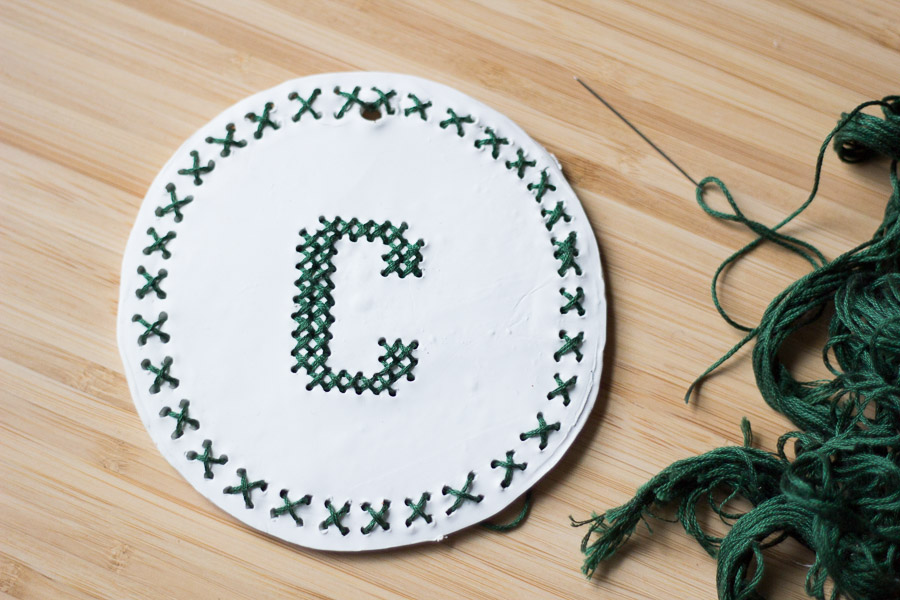
I went ahead and freehanded a border along the edges too.
Make a large hole at the top for hanging.
Bake according to the directions on the package.
Once it’s cooled, cross-stitch your design into it.
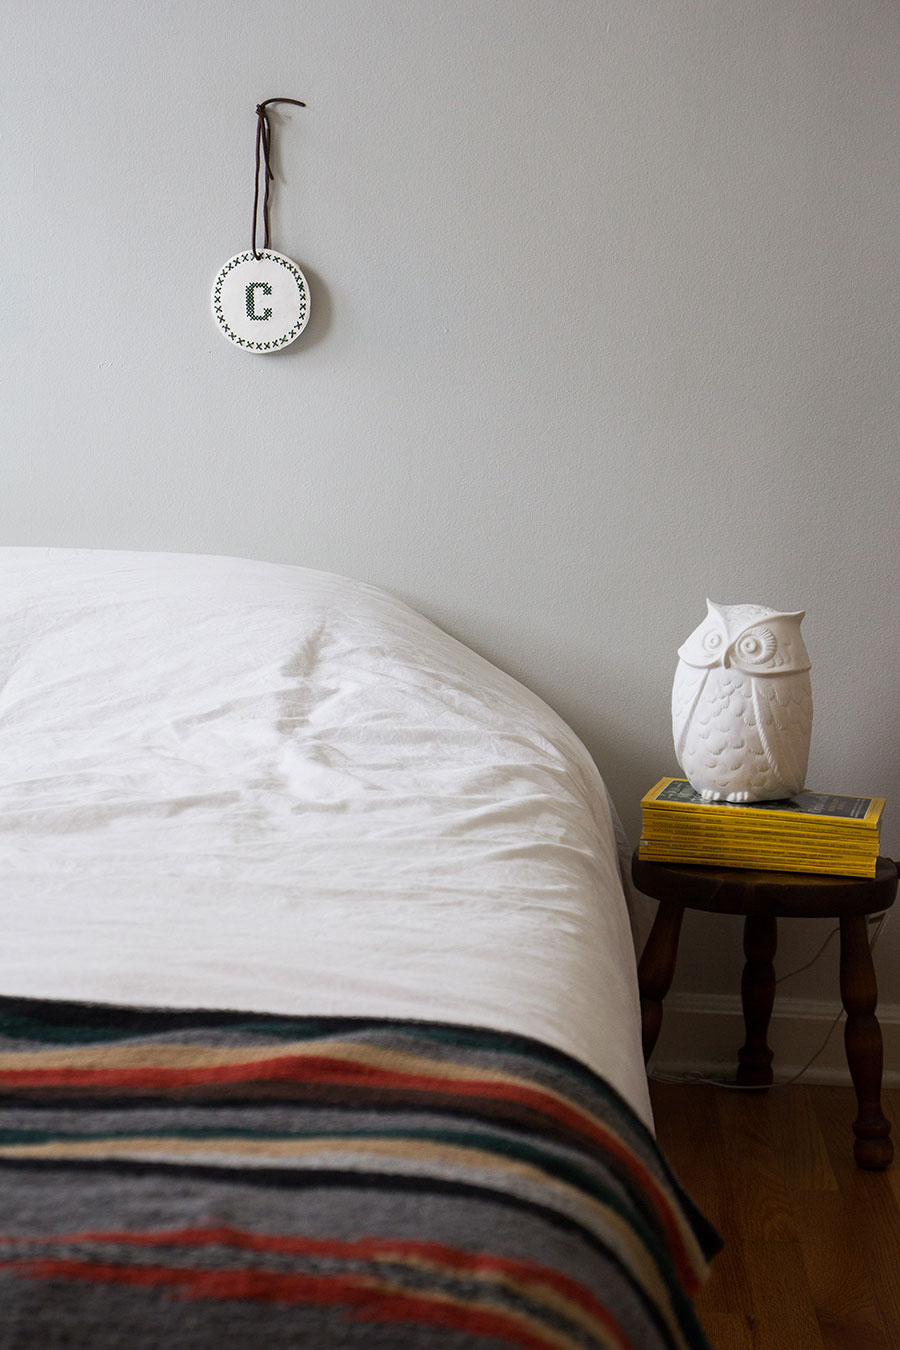
Hang from a piece of leather or rope.
[…] DIY Polymer Clay Cross-Stitch – 1 freebie(s)? […]
[…] idea for a mixed media craft project…using thread to cross stitch your own clay ornaments. Click here for the […]