


I used to detest paper projects and cookie decorating because of the precision and attention to detail they require. I don’t know what happened, but lately I’m totally Sweet on Paper. Since we asked y’all to create paper packaging for a sweet treat for our Sweet on Paper Contest to win a new Brother All-in-One 11X17 Printer/Scanner/Fax, I thought I’d try to do the same. And once you spend this much time making cookies, what’s a few more hours?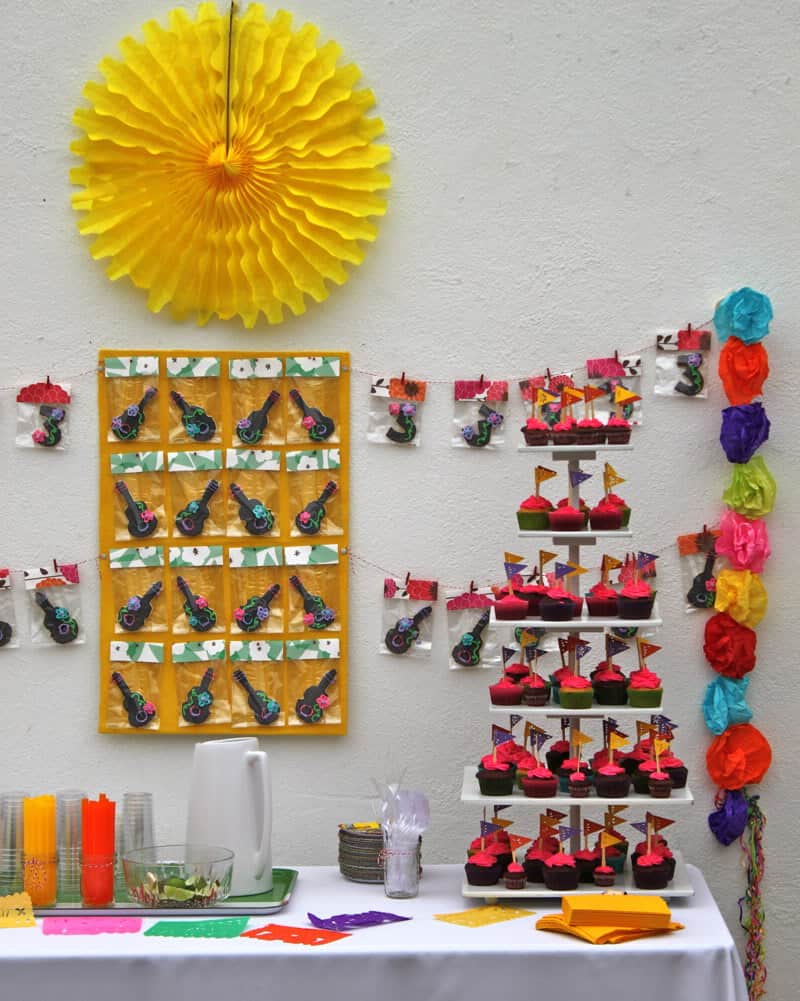
Here’s my entry, find out How to Make A Cookie Board Display and Cookie Bunting after the jump…
Cookie Decor: How to Make A Cookie Board and Cookie Bunting
First you need to make some sugar cookies (we love Martha’s Ideal Sugar Cookie recipe), then make some royal icing, then decorate the sugar cookies (thank you for those tutes Jacinda, I followed them religiously). Then drink. Then sleep. Then if you’re up for it after all that, you can start packaging them.
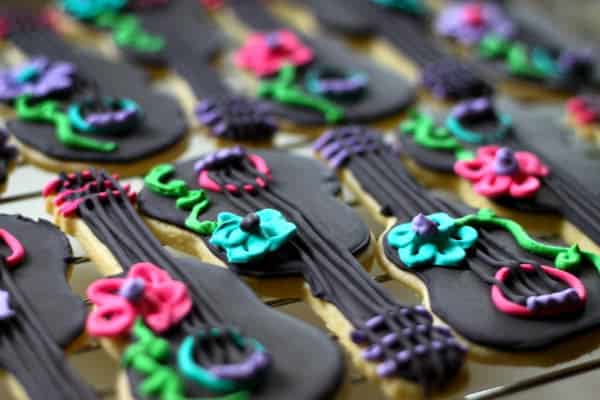
Jacinda suggested I make black guitars with flowers for the Fiesta Party – genius! I picked up this cookie cutter set (i think some of these are actually cellos, hee).
I also made some “3” cookies using this number set![]() .
.
I made about 125 cookies, then my dog ate half. ARGH.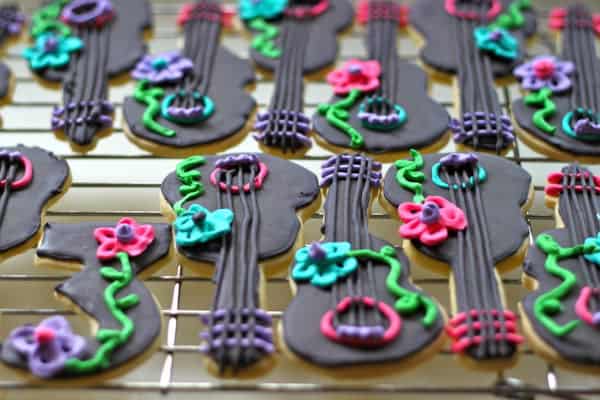
To make the cookie board you’ll need a sheet of foam core and a sheet of pretty paper larger than the foam core. I had to cut my foam core down to fit the paper around it.
Your supplies will include pretty paper for the cookie bags, glue dots, short pins, and something to hang the board with (I used the 3M command stuff, but it was just okay on the concrete wall the board ended up on – had to chew some gum and use it as a back up – that’s an old production assistant trick).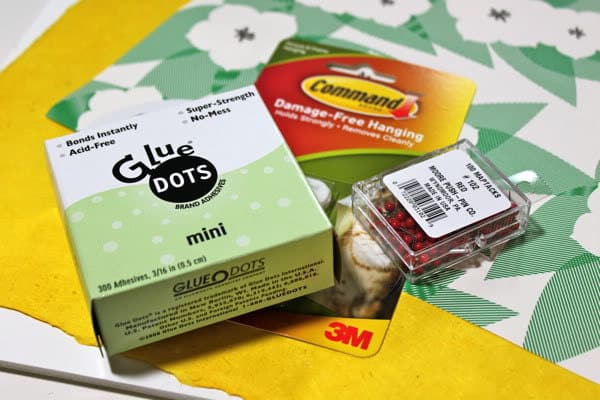
Attach your pretty paper backing to your foam core with spray mount: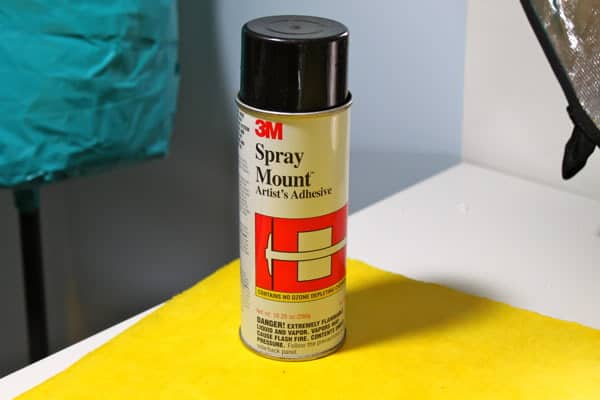
Then wrap the edges of the paper around to the back and tape in place:
Board complete.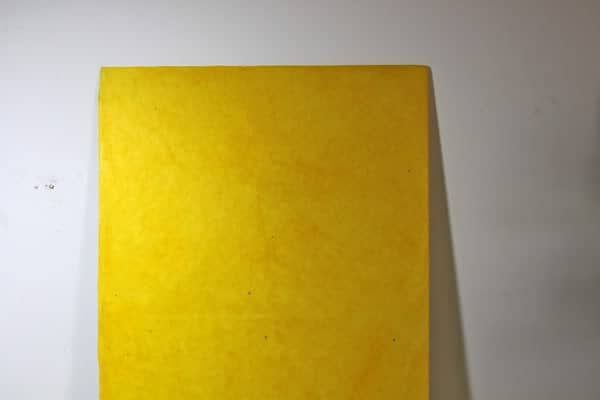
Now you need to bag your cookies. I used cello bags that were 4″ wide so I cut my paper into 4″ wide strips.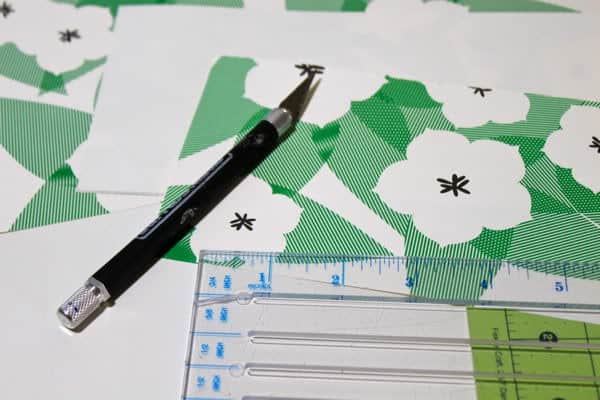
Then I wanted the paper to be 1.5 inches thick on the top of the bag, so I cut my 4″ strips into 3″ wide rectangles.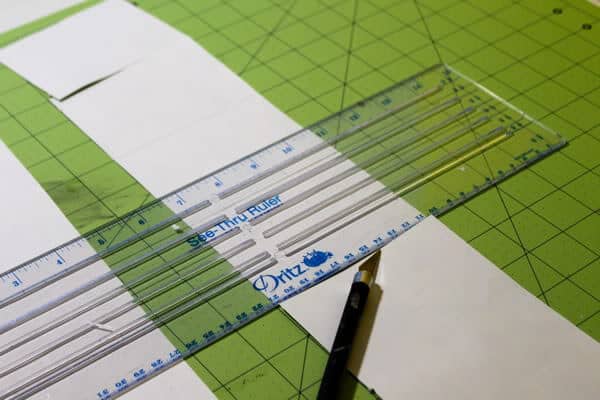
Now I have a bunch of 4″x3″ rectangles: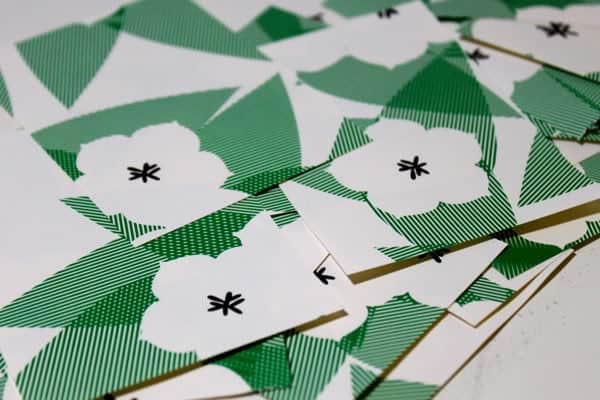
So grab a cookie…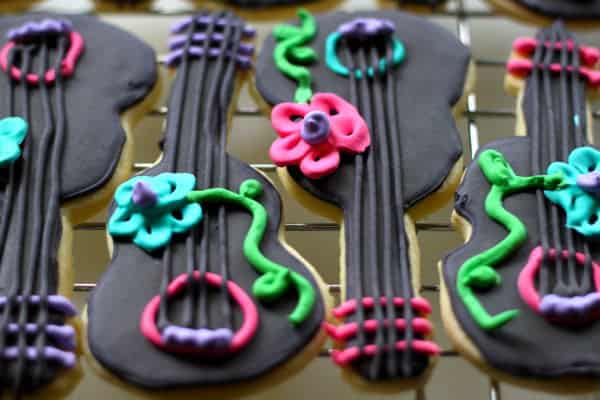
Put it in your bag. The key to a good looking board is to make sure all the bags are the same length, so it helps to have a measuring matt. I folded the top of my bag down so each bag was 6.5″ long: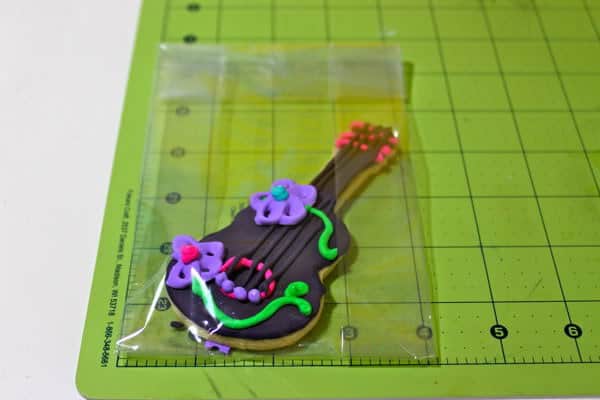
Then I folded each 4″x3″ rectangle in half and ran over the crease with a bone folder: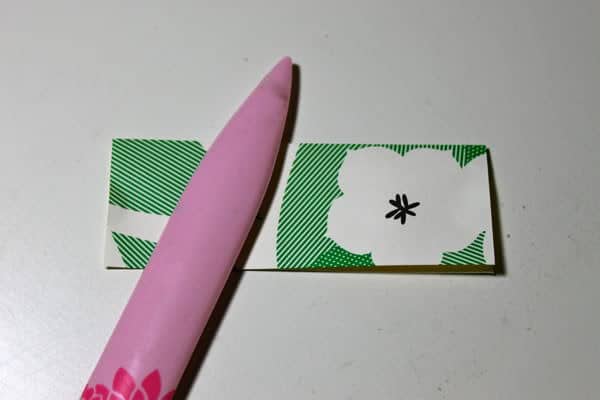
So now they are 4″ X 1.5″:
Attach two glue dots to the bottom corners: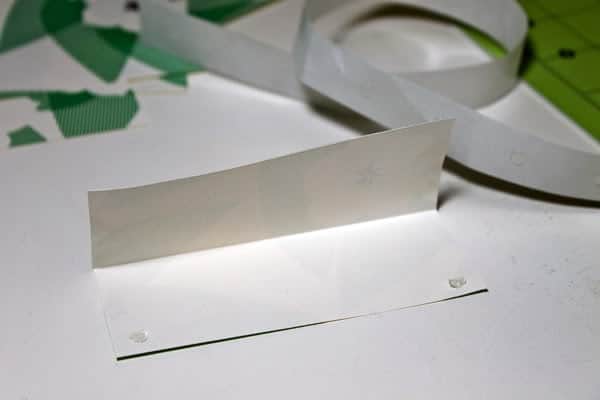
Slip over the bag and press into place: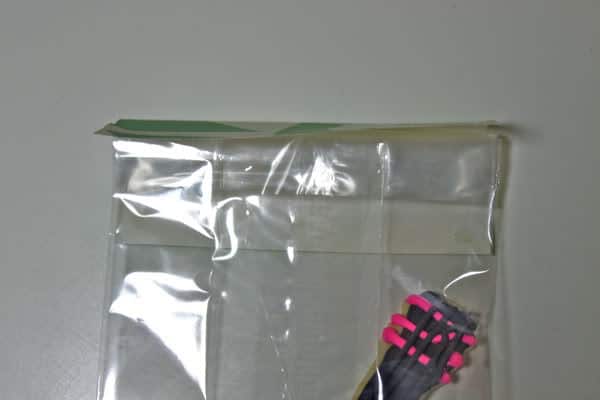
Attach two more glue dots to the top corners and press firmly to adhere: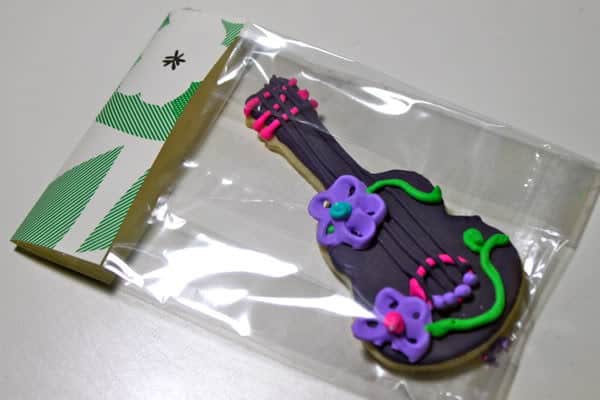
Then I pinned the bag to the board. Measure first so you have even amounts of space between the bags. A finger-width worked for me.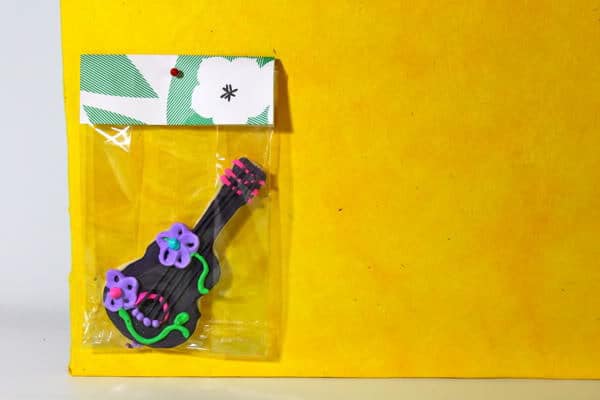
I also alternated which way the guitars were facing.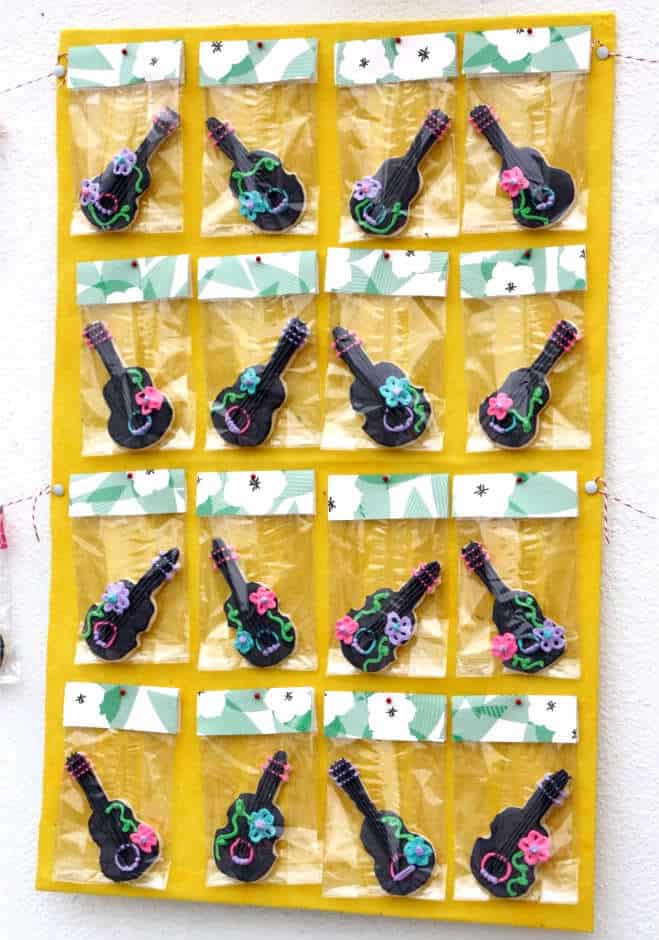
Can I just show you a few more pictures of my cookies? I worked so hard on them. These are the cookies my dog ate two batches of that I was crying about on facebook. But no, I didn’t murder him. I still think about it though.
I packaged up the 3’s…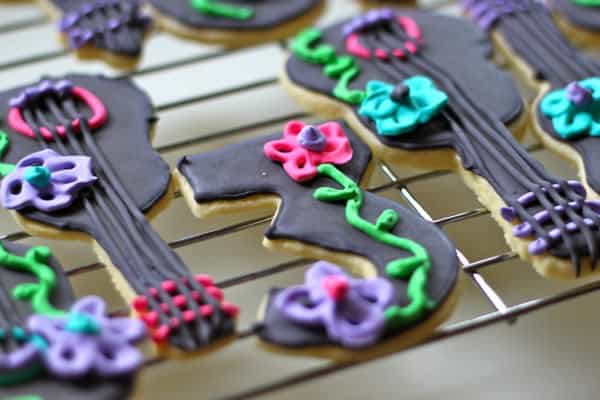
…in different paper to use as bunting.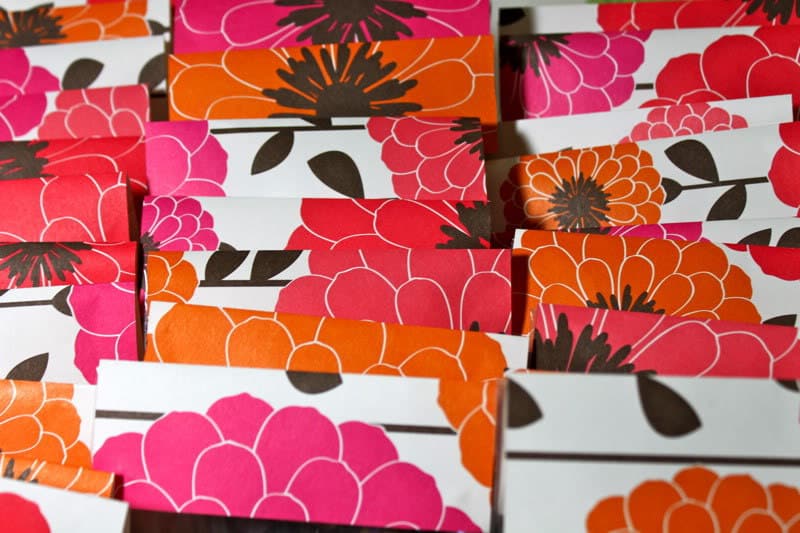
I hung baker’s twine and used wooden mini clothespins painted red to hang the cookies from the string.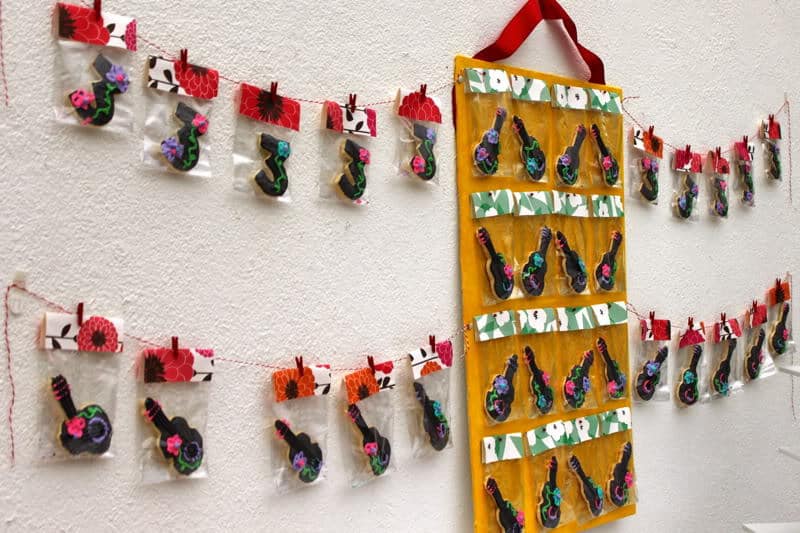
The extra cookies I placed in a basket on the table.
At the party’s end, the wall looked like this… decimated. Lots of little dribbly black tongues too.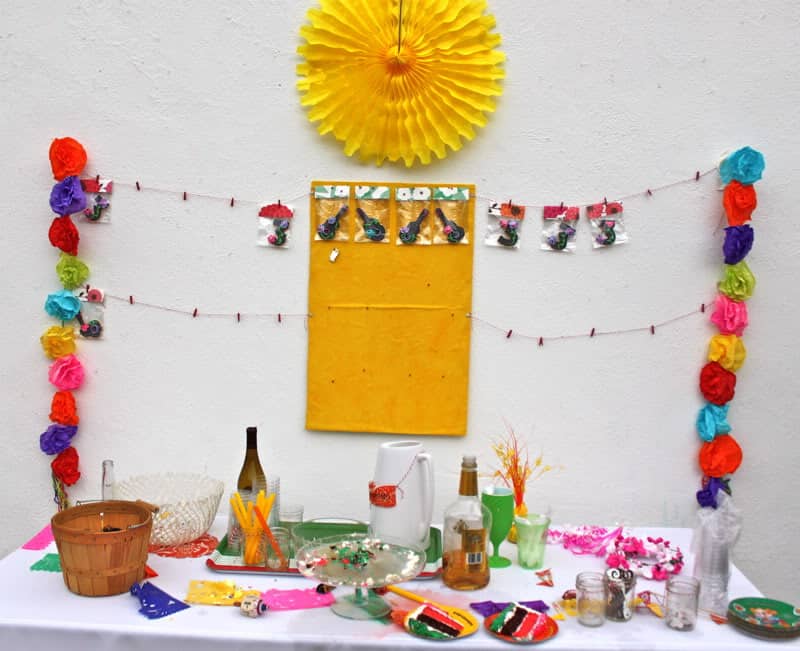
Hope you are inspired to work on your Sweet on Paper Contest entries!