Before I met my husband, I didn’t even know what Cornhole was, but once I had my first taste of it I couldn’t stop. In the backyard, at tailgate parties, even at a family reunion, I was obsessed with Cornhole. From Indiana to Kentucky to Texas, I realized that everyone had grown up practicing with friends, a favorite relative or even their grandma. When Rick and I got married we got our own set and the fun continued until this past winter when I left it out in the rain and surprise, I learned that the bean bags where actually filled with corn! I learned this because a family of mice chewed through the bean bags and enjoyed a hearty winter snack. If we wanted the Cornhole fun to continue, I would have to replace the bean bags. 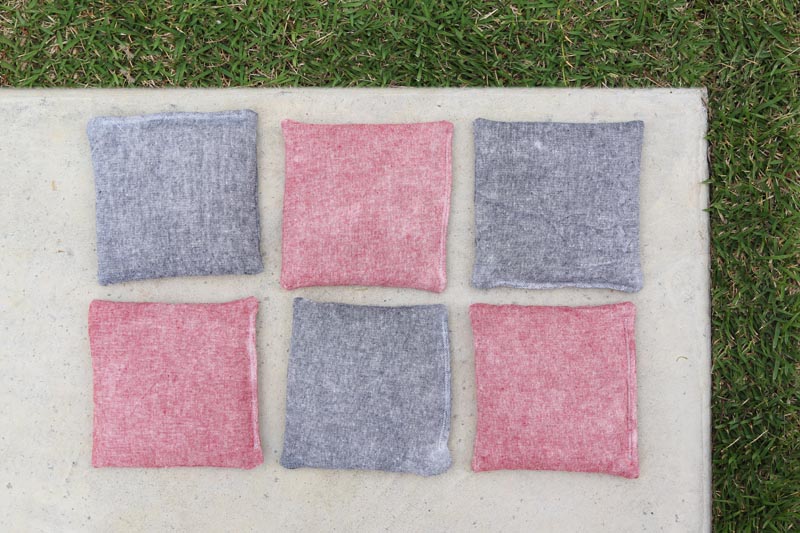
Read on for how to make a basic bean bag for Cornhole or any of your other bean bag needs.
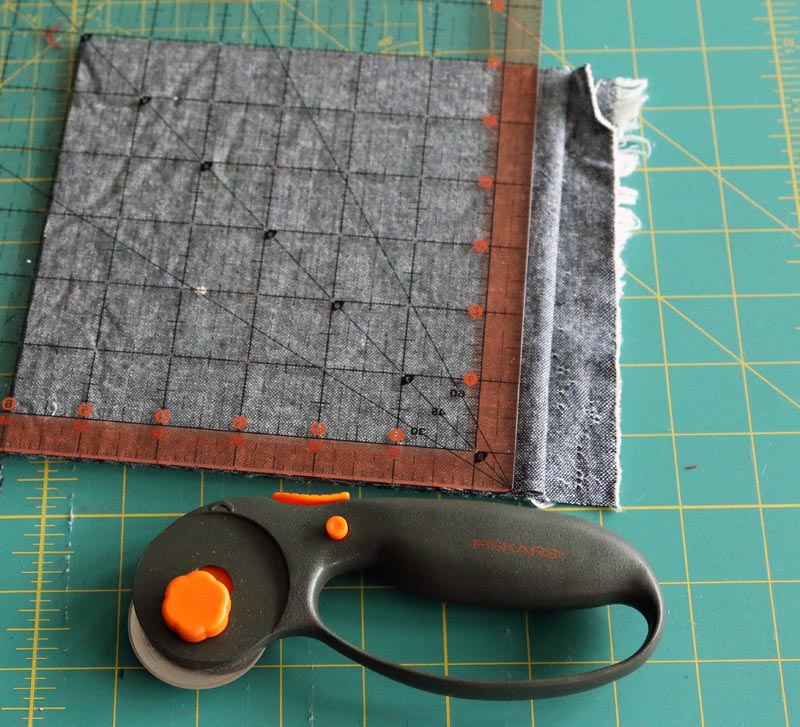
Cut 2 – 6.5″x6.5″ squares for each bean bag.
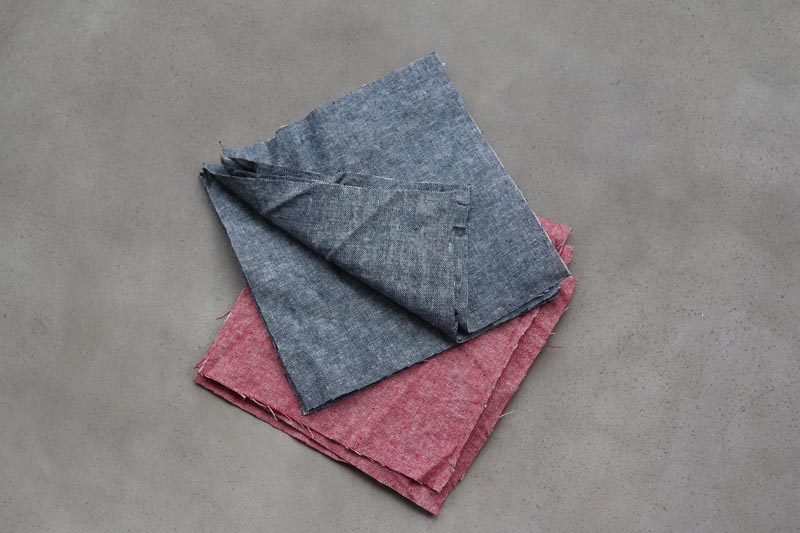
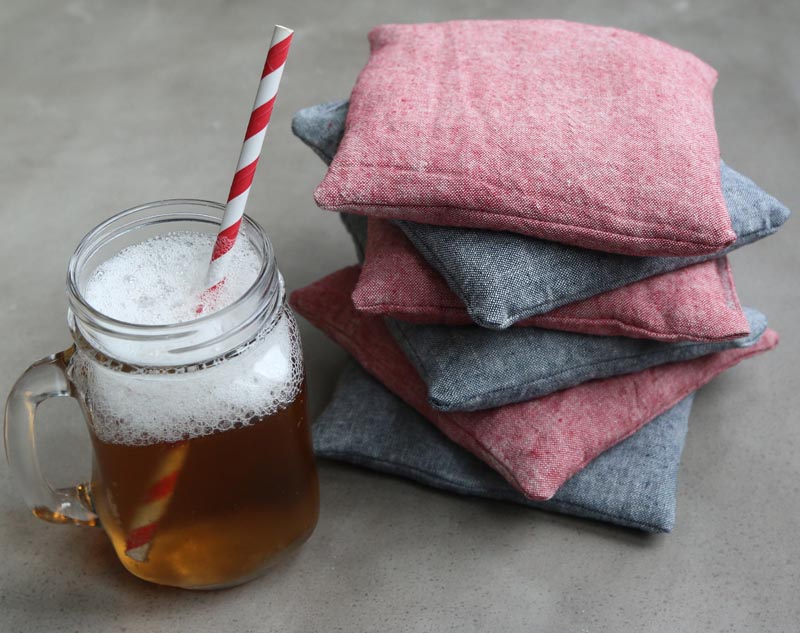
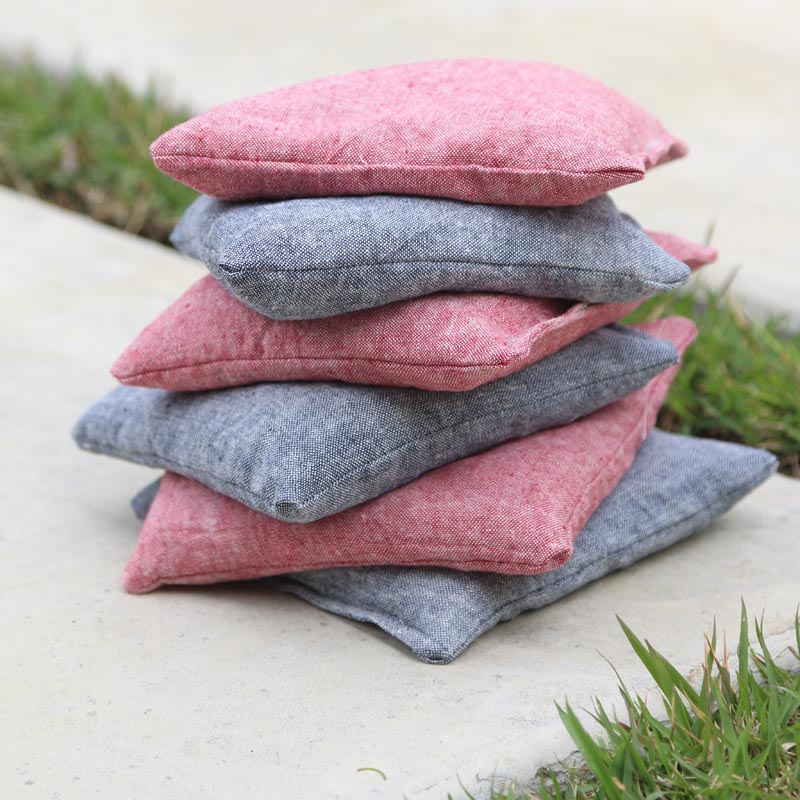
We used a pretty red and indigo chambray.
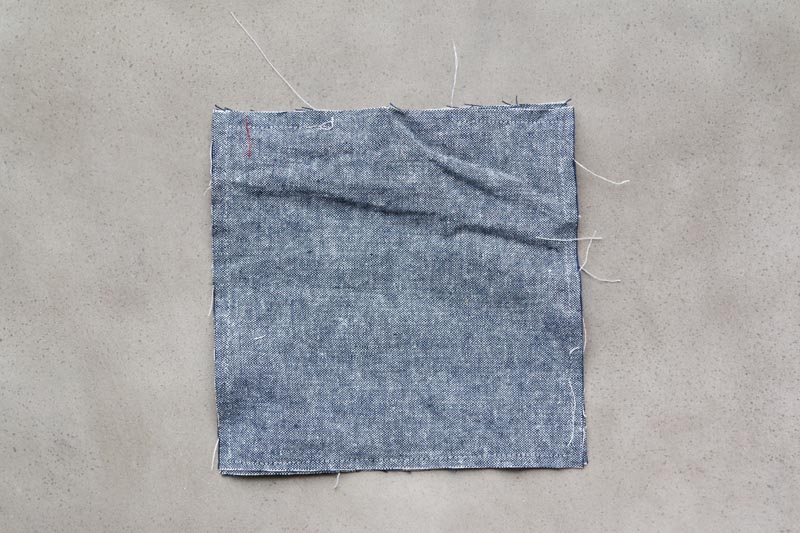
Layer two squares right-sides (the pretty side of the fabric) facing. Sew all the way around 1/4″ from the edge, leaving a 3-4″ opening.
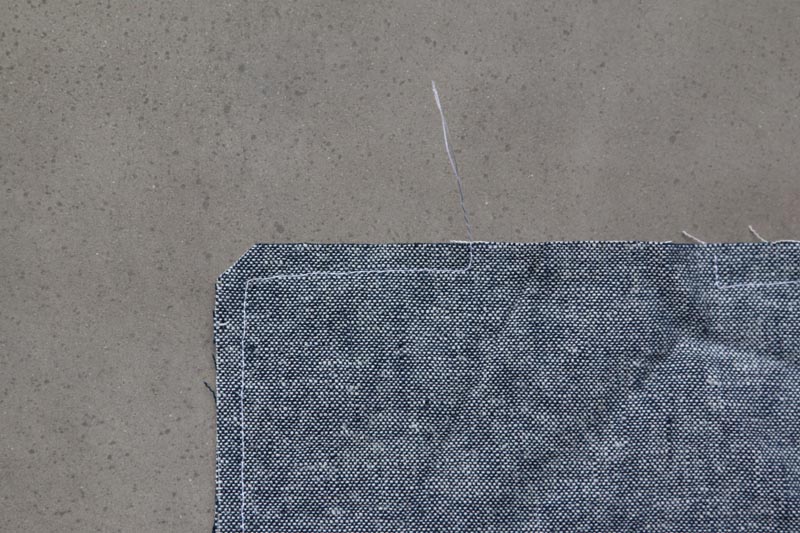
Sew in from the edge before turning 90 degrees to sew the seam. This will make turning and sewing up the holes even easier. Snip all 4 corners with sharp fabric scissors.
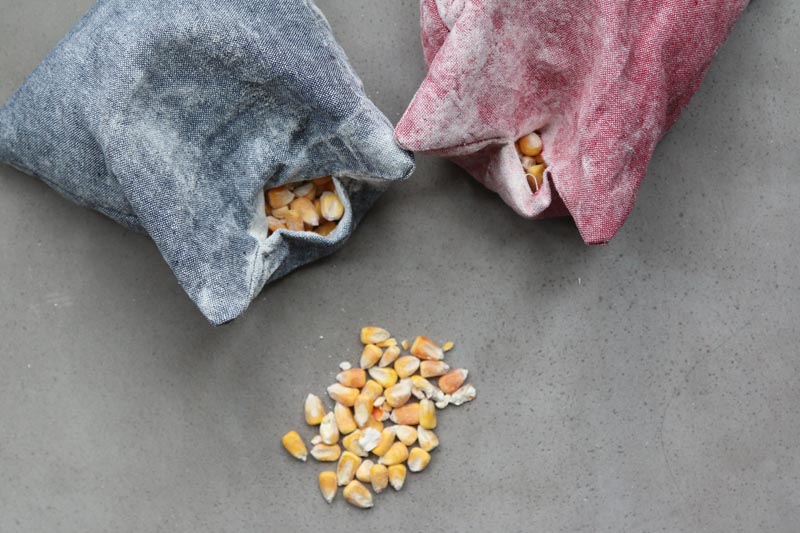
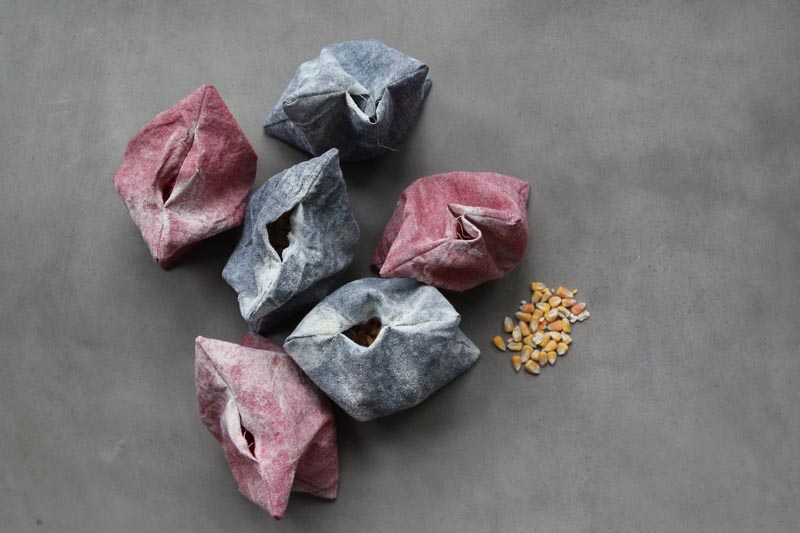
Turn right-side-out and use a food scale to fill each bag to 10 oz with deer corn which can be purchased at a feed store. You can also use beans or any other bean bag filler. I decided to stick with the corn because, well, Cornhole.
Use a zig-zag stitch to close up the side with the opening. Start and end with a few back stitches.
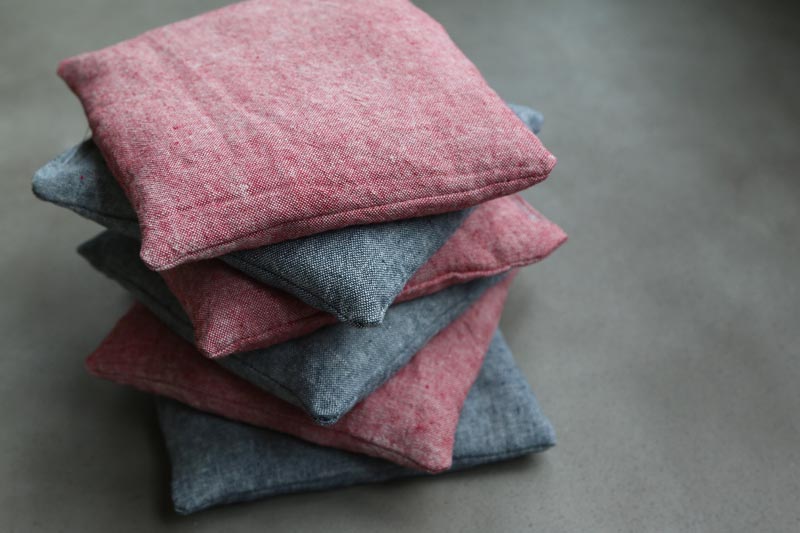
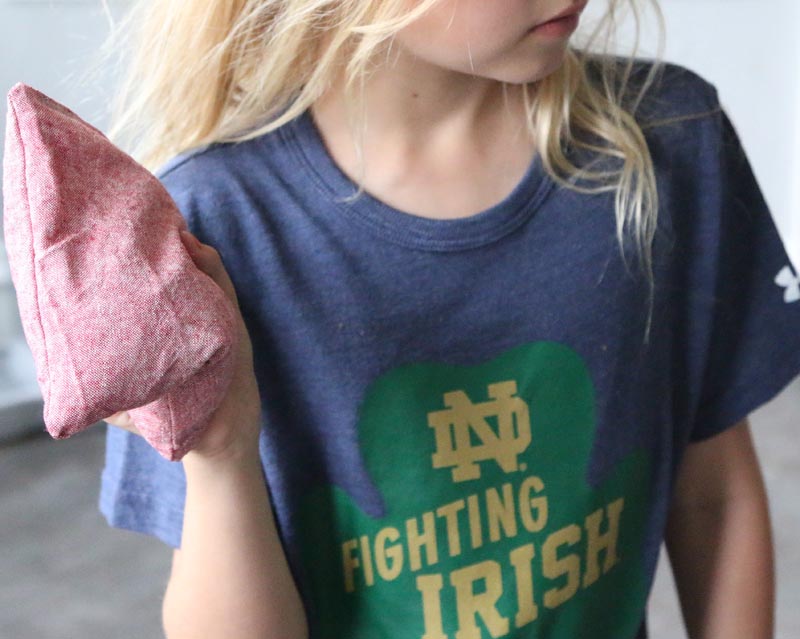
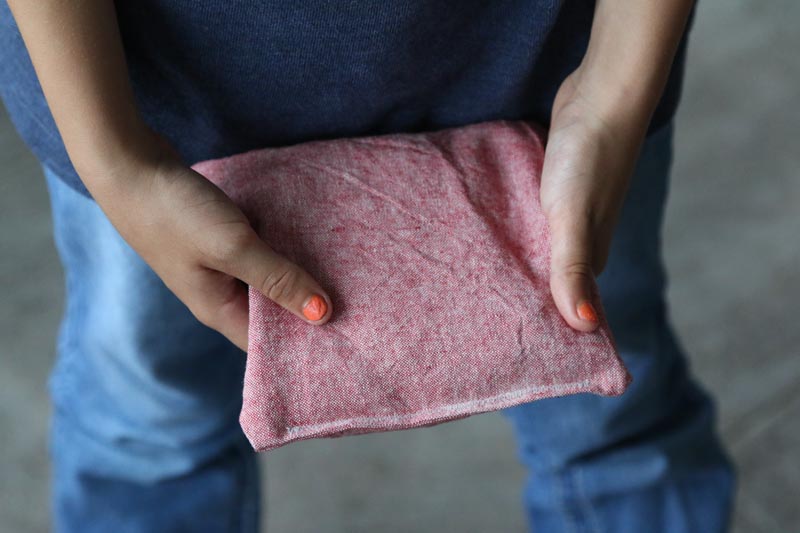
And that’s it! Make some more and enjoy the fun and games!