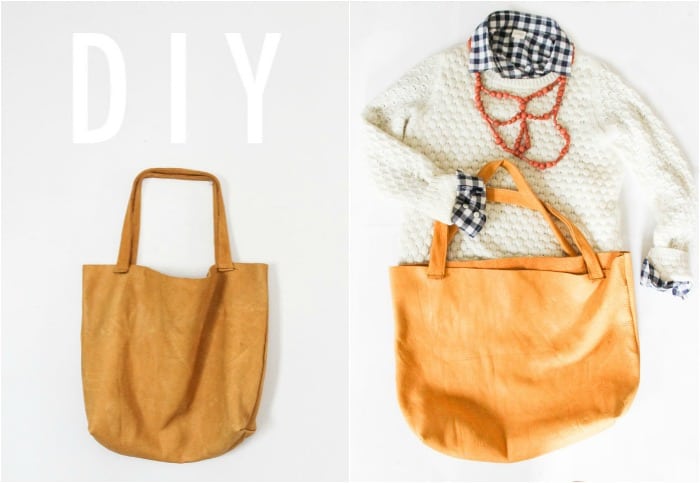
Shannon from Clad&Cloth is back again with another fantastic tutorial for you. Last week she shared the tasty Homemade Churros Recipe, today she is sharing this cute leather tote. This tote is perfect for a day at the farmer’s market or day at the beach. I have been dying to make this. You can use the excess leather to make a matching Leather iPad Case, Leather Bow Bracelet, or these Leather Baby Shoes.
For more crafting inspiration, head over to check out the Clad&Cloth DIY projects. You can find great projects for the home and for you!
Find out how to make the DIY Leather Tote after the jump…
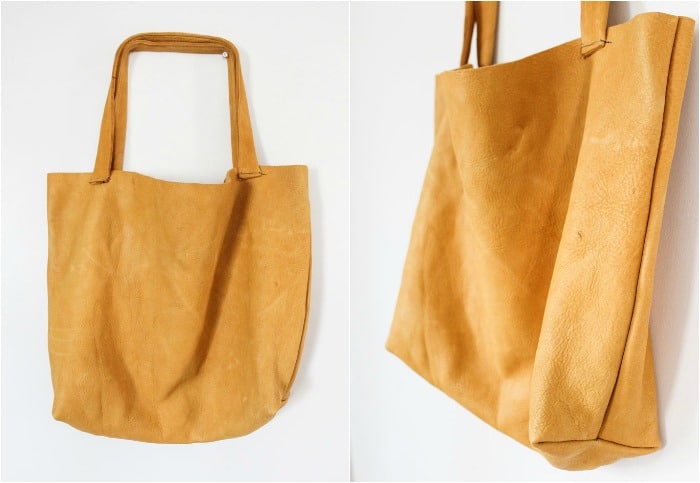
DIY Leather Tote
I was perusing around the internet and I found a DIY Leather Bag Tutorial. I fell in love. So ooooobviously I decided to make one for myself, especially since I have extra leather lying around. Before I get to the tutorial I have a confession to make (I know I make way too many confessions on here). I actually was a jock in high school and made fun of people who did crafts (it was a long time ago peepoe). I always thought sewing was cool but I did not have the patience to do it. I was so impatient that I would only make it past cutting the fabric. My mom the other day actually found some cut up denim in our dress up box from one of my many unfinished projects. I was really good at cutting things. So the moral of the story is anyone can be a crafter. Anyway on to the tutorial.
I’ve worked with leather quite a bit, so this may not be true for everyone, but this was not that hard. Here’s my play by play of how I made it.
Tools you’ll need:
1. Leather
2. Rotary Cutter
3. Ruler
4. Marking Pencil
5. Sewing Machine
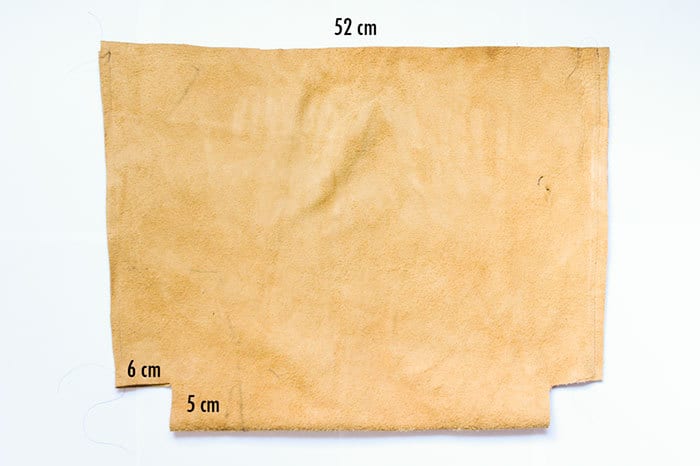
Here are the measurements. If you’ll notice the bottom of the leather is folded so that we avoid a seam on the bottom.
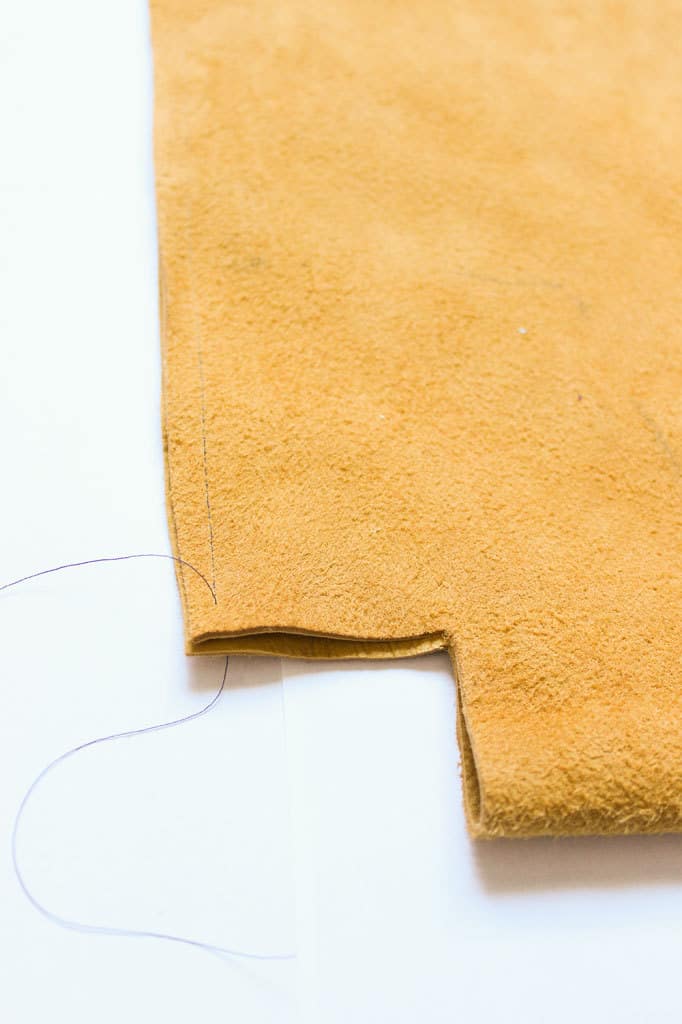
Sew up both sides of the bag, right sides together, using your sewing machine.
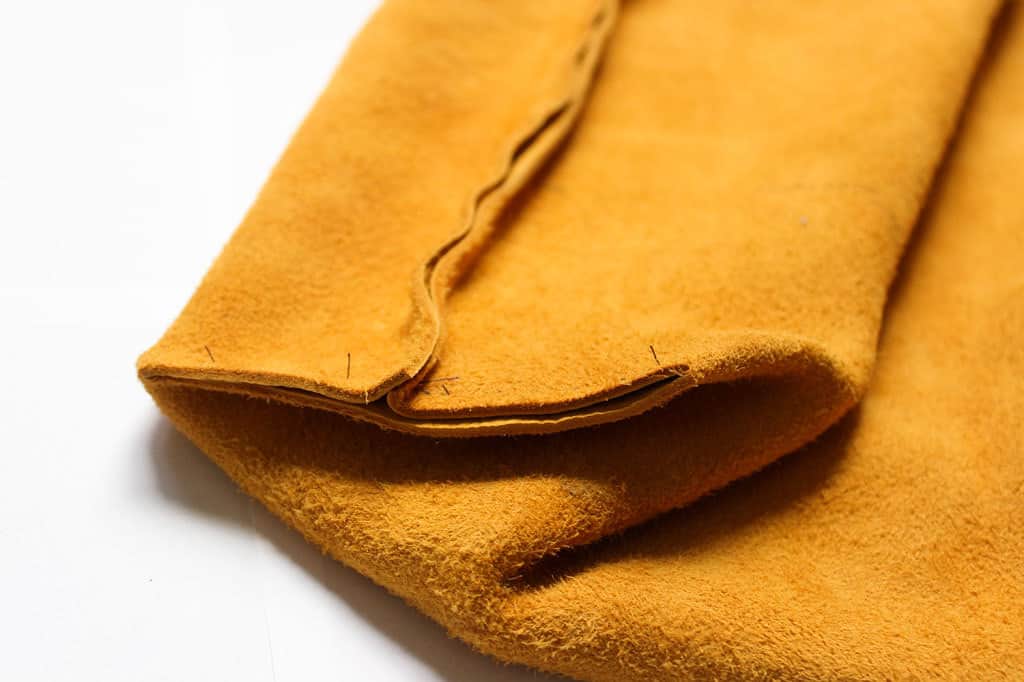
Now this part may seem really tricky but it’s really not. What you’ll do is put where you sewed the sides in the middle of your opening and then sew each side. This is making the bottom of the bag. Repeat for both sides. By the way, if this isn’t making sense leave a comment with your question(s).
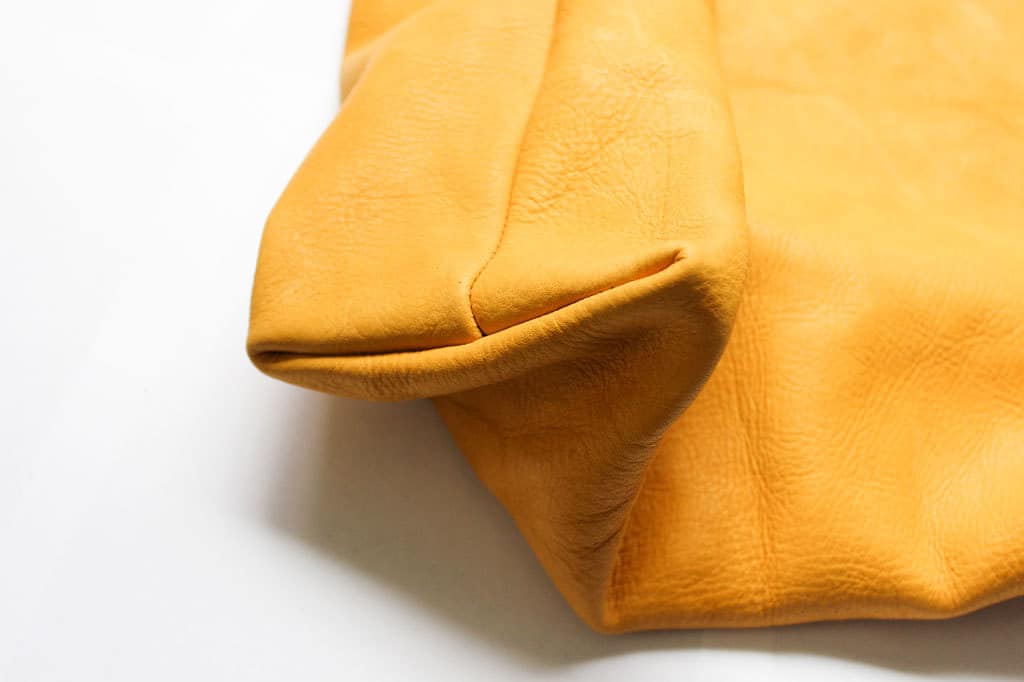
After sewing up both sides turn the bag right side out.
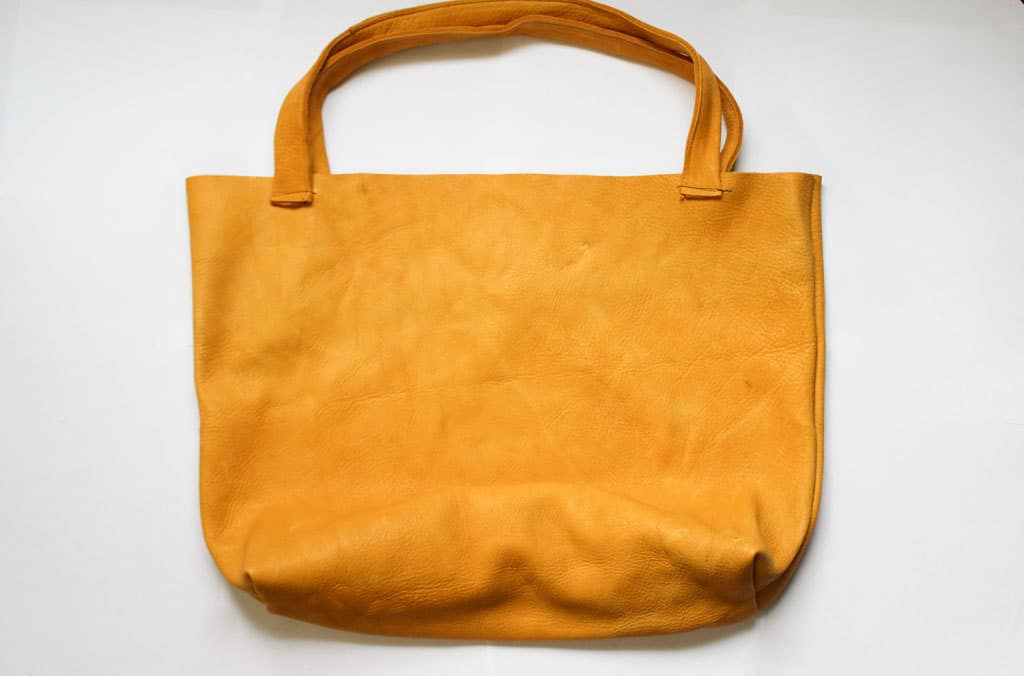
The next step is to make straps for your bag. You can make your own straps like me from your leather or use an old belt. To make the straps I cut out two long pieces of leather, folded them in half, and sewed up the folded side. After that I sewed in the straps to the bag.