


The weather has been heating up here in Southern California, so much so that it feels way more like the middle of summer than spring. There’s been a whole lot of skirts, sunshine, and swimming happening around these parts. Kelli, from True Bias, is going to show us how to fight off summer heat in style with the paperbag waist skirt. We have done elastic waist skirts, layer cake skirts, reversible petal skirts, but none with the paperbag waistline, so we are very excited.
I got lost in a world of amazing sewing projects and tutorials when I first found True Bias. Her Sewn section has inspiring projects she has made for women, children, men, and maternity. You can also see her adorable family and her sewn creations by following @Truebias on Instagram. Take it away, Kelli!
Check out the DIY Paperbag Waist Skirt tutorial after the jump…
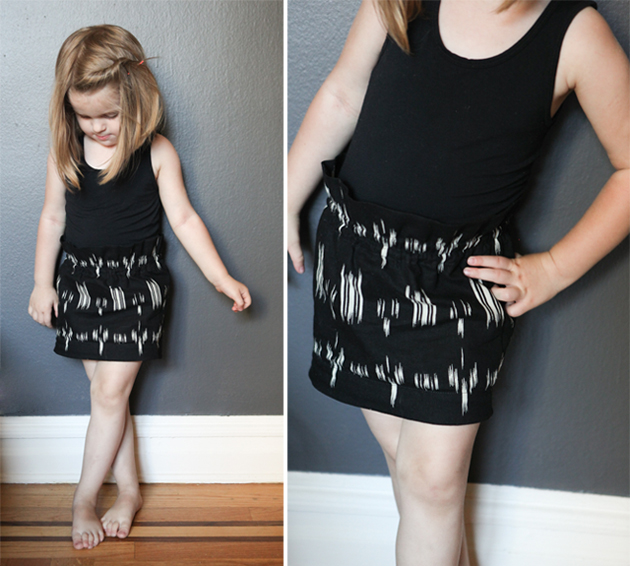
DIY Paperbag Waist Skirt for Girls
I love making clothing for my daughter in silhouettes that reflect clothing that I would want to wear. She has a closet full of gathered and circle skirts, but I wanted to make her something with a slimmer style. This tutorial will show you how to make up a child’s skirt that is straighter through the hips and thighs, with a gathered “paperbag” waistline.
Materials Needed:
– fabric (amount depends on the size of your model)
– matching thread
– 3/4″ elastic
– pins
– sewing machine
Step 1
Take the following measurements of your model:
hips
waist
length (from bellybutton to where you want the skirts hem to hit)
Now cut two pieces of fabric according to the following equations:
width = hips / 2 + ease (2″) + seam allowance (1″)
height = length + paperbag(1 1/2″) + facing (2 3/4″) + hem (1 3/4″)
Cut a piece of elastic to fit your model’s waist plus 1/2 inch for seam allowance.
*My fabric for a size 3T girl was 13 1/2″wide x 15″ height
Step 2
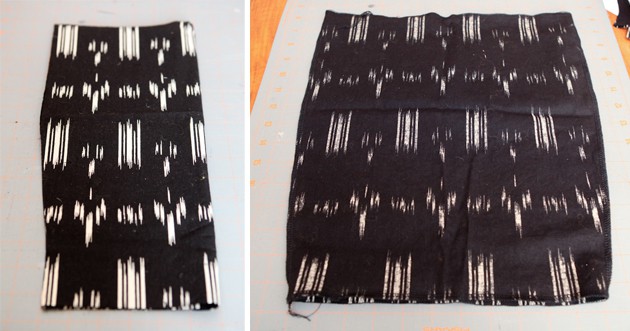
Fold both pieces of fabric in half lengthwise. Starting at about half way down (hip) gradually grade down width until 1 inch less at the hem.
Open and stitch the two pieces (right sides together) with a 1/2″ seam allowance.
optional – serge or finish edges on all sides.
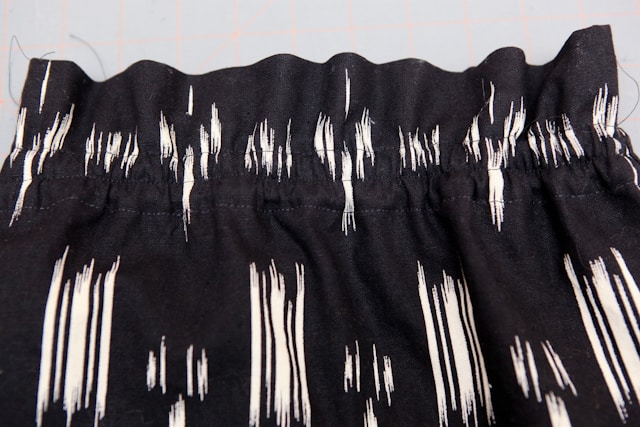
Step 3

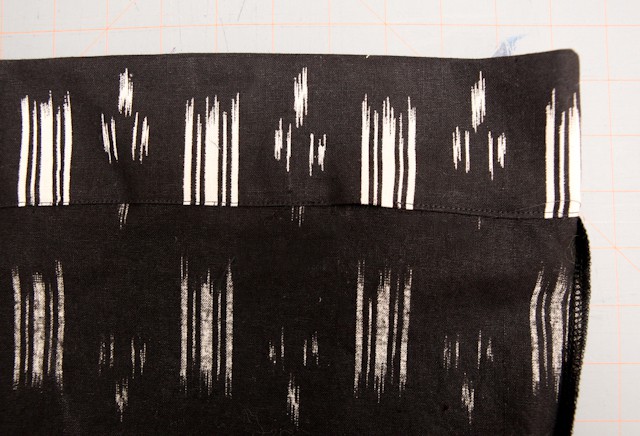
Fold down waist by 1/4″ and then again by 2 1/2″. Pin and press.
Fold the hem up by 1/4″ and then again by 1 1/2″. Pin and press.
Step 4
Stitch close to folded edge of waistband leaving a one inch opening for the elastic.
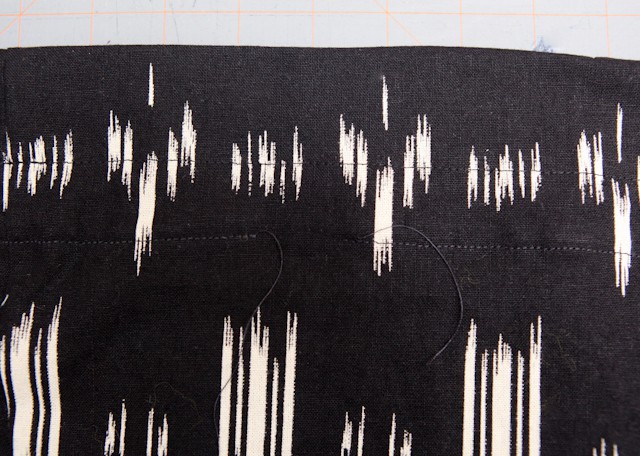
Stitch again one inch up from the first stitching.
Step 5
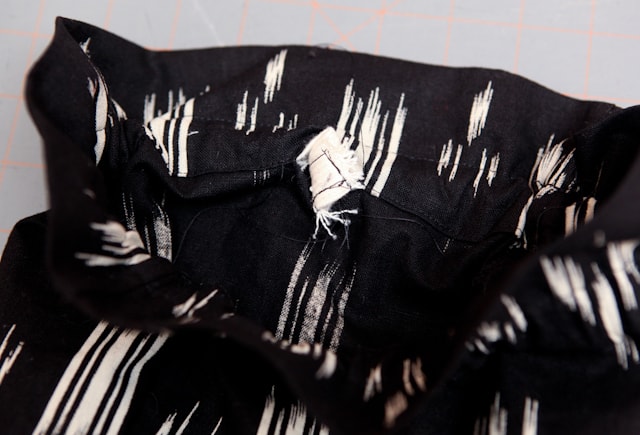
Thread elastic through the casing that you just created. Sew together elastic by overlapping ends by 1/4 inch. Sew up opening on skirt.

Stitch down the middle of the the elastic casing through both layers of fabric and elastic. Stretch elastic as you sew so that the fabric is flat.
Step 6
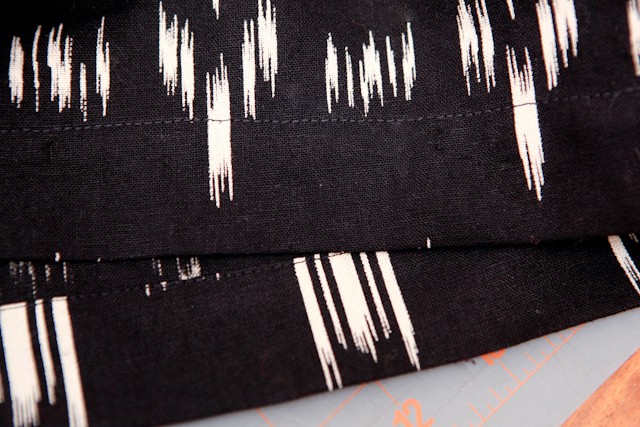
Stitch along hem fold at 1 1/2″ to finish the hem of the skirt.
Press everything.
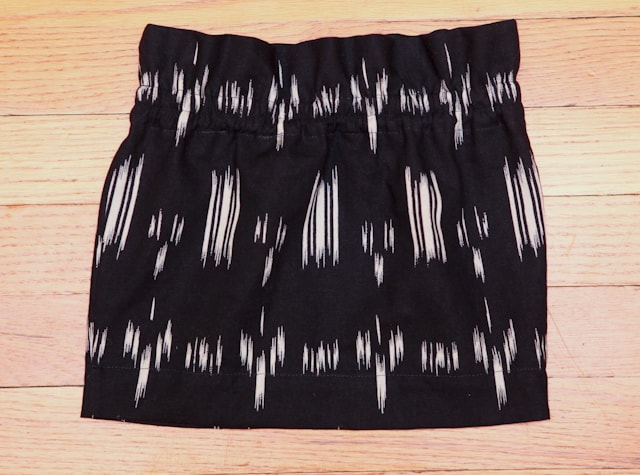
Finished!