


Wondering How to Sew Pants? Here’s a tutorial using something you already have as a pattern… pants!
See we make boy stuff! I can’t believe we’ve never posted any pants. It kind of makes me feel bad for boys, all never being able to wear dresses. Or I guess it makes me feel bad for moms of boys, HA kidding! Boys are great, you’re so lucky, yadda yadda 😉
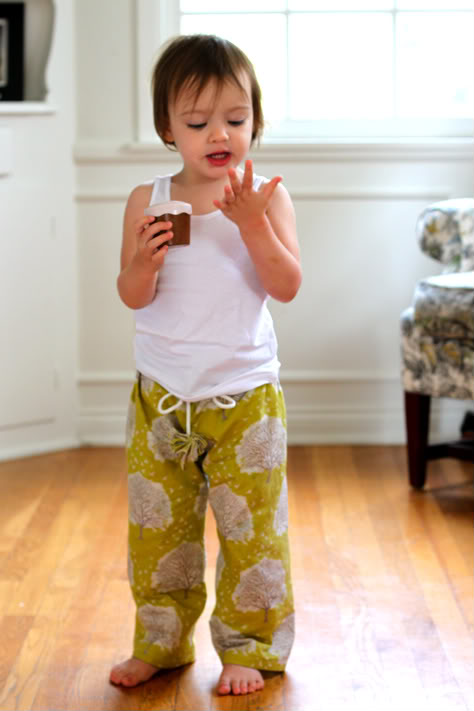
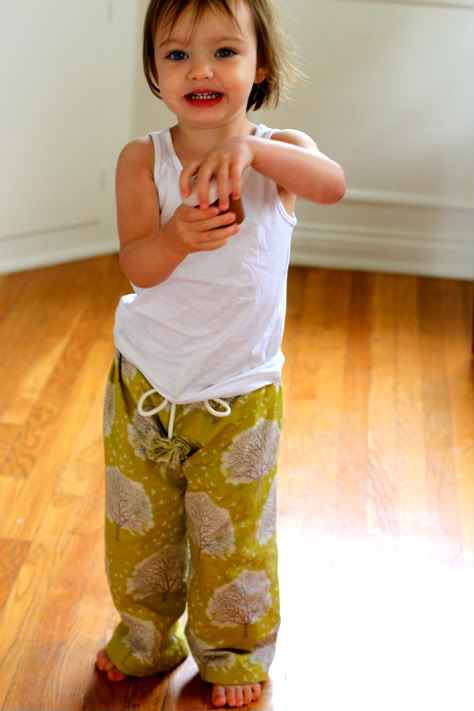
Anyhoo, I made these for Scarlet with a flat front, but that’s not required, this is just your basic how-to-make-pants beginner tutorial. You can totally do this. You can even make some pajama pants for dad if you have enough fabric. Flannel lounge pants would be so comfy. Easy Peasy.
Get the full How to Sew Baby & Toddler Pants Tutorial after the jump…
How to Sew Pants for Babies and Toddlers
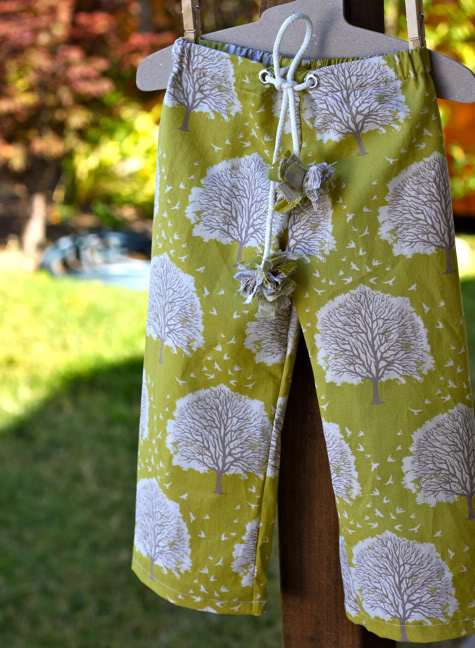
These pants are made with lovely Majestic Oak cotton fabric in Grass by Joel Dewberry.
Instructions for How to Sew Pants!
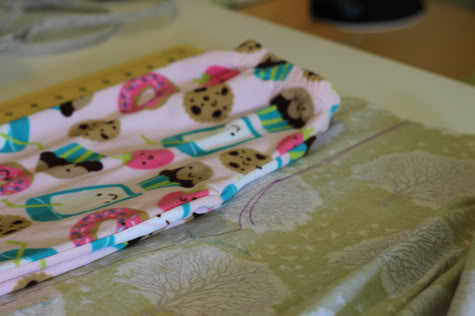
1. First you need to make yourself a pants pattern. That’s easy! Grab a pair of pants that fits your wearer and fold them in half. Lay them on the wrong side of your fabric against the fold (or if you’re smart you’ll do it on freezer paper or butcher paper so you can save the pattern pieces)
Now trace, adding about 1/2″ to the sides, and inch or so to the bottom of the leg, and about an inch and half at the top. Make sure you stretch the waist out when you’re tracing that area so you have enough fabric:
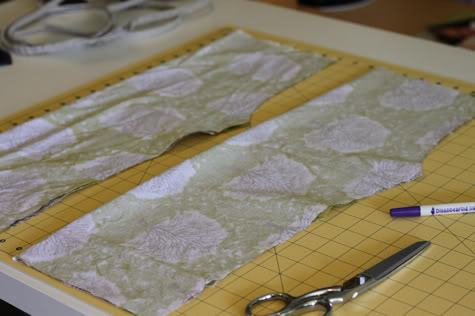
2. Cut that out. Trace it into your fabric again and cut another piece:
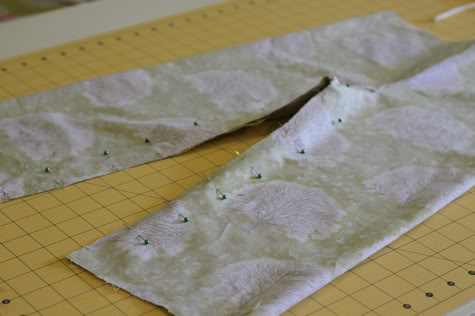
3. Now you’ll have two pieces. Lay them right sides facing so they are all lined up and pin the curved edges like so:
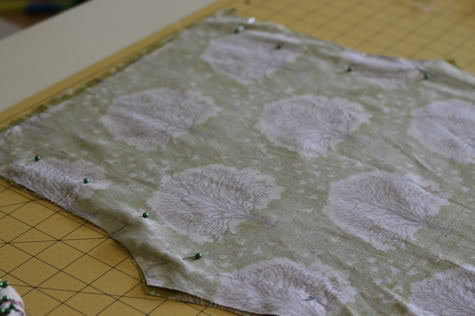
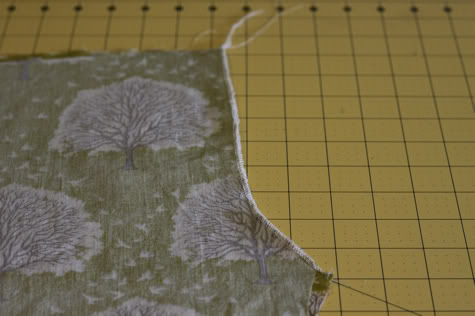
With a sewing machine, Sew the curves up with a 1/4″ seam allowance and finish the edge by serging, sewing with a zig zag stitch, or cutting with pinking shears.
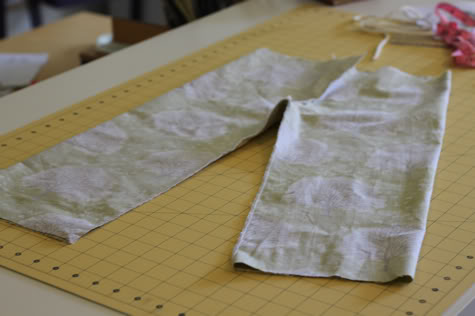
4. Now with your pieces still inside out, bring the seams to the center and pin the inside of the leg pieces together at the crotch seam:
Sew them with a 1/4″ seam allowance and finish the edges:
Are you with us so far? You almost know How to Sew Pants!
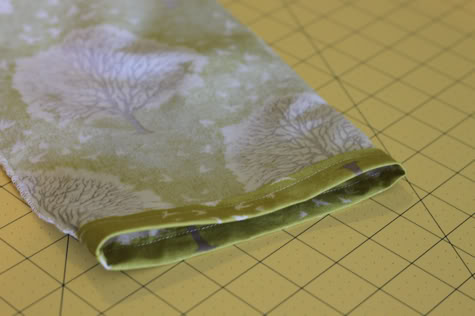
7. Now let’s hem our pant legs. This is a good time to try your pants on your model if your model will allow it. Fold in 1/4″ and iron, then another 1/2″ and iron, then sew in place all the way around:
8. Now you just want to check the height of your waist. You’re going to use about 1.25 to 1.5 inches to create your elastic casing, so if you cut your pants too high to fit your kid, you can trim them now (or try on your model, that never hurts, though it’s almost never realistic that they will model for you, i know).
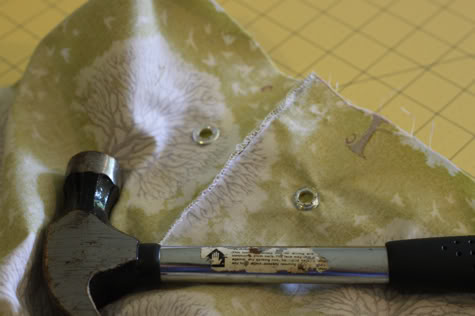
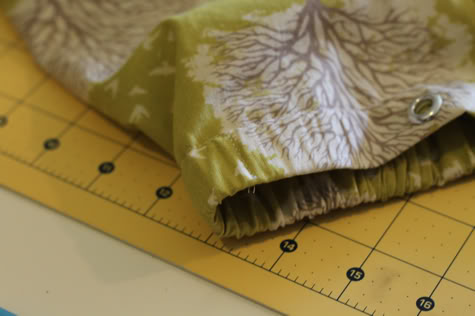
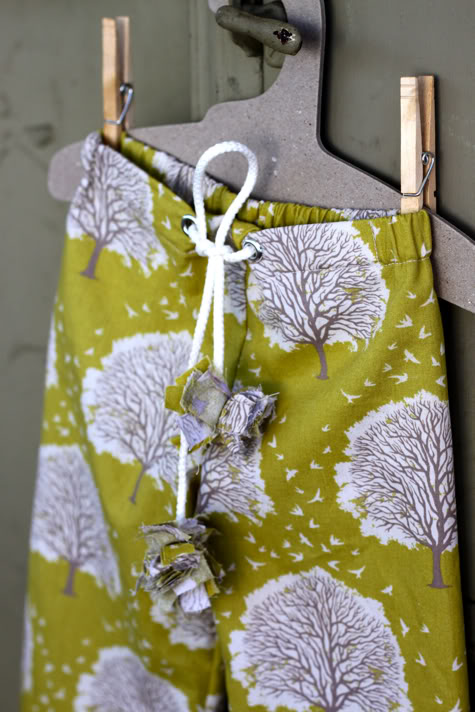
I added some grommets, which you can skip, or you can use to create simple drawstring pants. However these pants are just faux-drawstring:
Fold the waist down 1/4″ or 1/2″ and iron:

Then fold down another inch and iron:
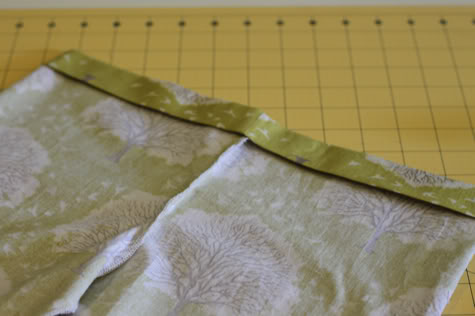
Sew your casing in place at the edge with a straight stitch all the way around, leaving a hole near the front seam, back stitching at beginning and end:
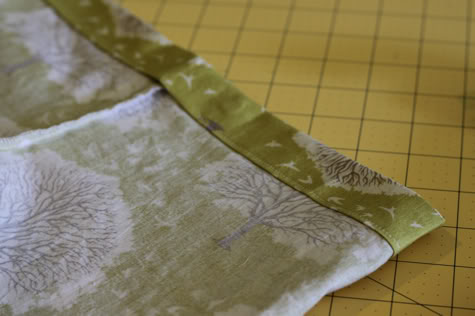
Now you have options.
9. If you added grommets you can run a drawstring all the way around and just have drawstring pants. If you didn’t add grommets you can run a strip of elastic (about 2.5″ longer then your kid’s waist measurement) all the way around and have basic elastic waist pants. For these I did a flat front with a faux (decorative) drawstring tie. To do this, grab a piece of 3/4″ no-roll elastic (no-roll is not required but WAY more comfy for your kid and much more pleasing to take in and out of the dryer without having to mess with the waistband to get it to lay flat). It should be about 2.5″ longer than half the measurement around your child’s waist. Feed the elastic waistband through the casing with a safety pin, all the way around and out the other side:
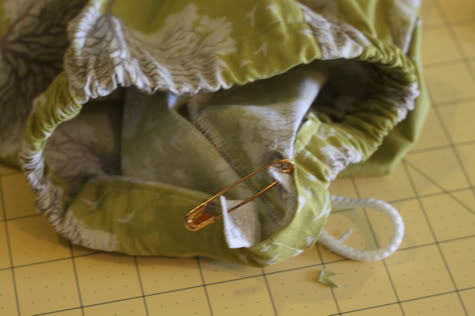
Push all the gathers to the back of the pants before releasing the end of the elastic. Get it settled in the middle of the back of the casing, then sew it in place perpendicular to the casing seam:
So now your pants look like this:

If you didn’t add grommets, go ahead and sew the hole closed and you’re done.
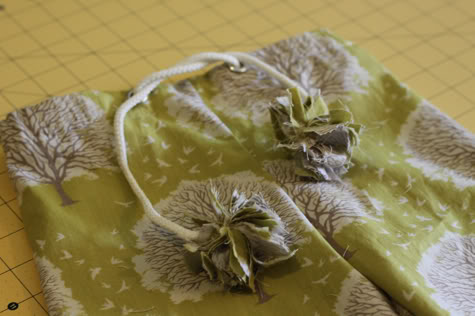
I added a tie with some fabric pom poms I hand sewed to it:
DONE!

Once you master this basic trousers project, you could add pockets, buttons, belt loops or even a zipper. You could also try a lightweight denim or linen fabric.
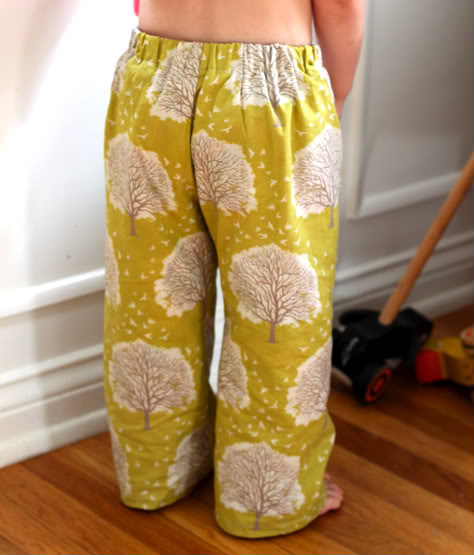
So just a note: the thing about pants is, they require a better fit than say, a skirt. So your first try, your pants might fit a little funky, be too tight on the thighs or bunch at the waist. That’s okay. You know your kid, you know his/her body, just make a few adjustments and create a new pattern that you know will look good on them. Like my friend Anna says, her kid can’t wear skinny jeans. Scarlet can’t rock capris. Make a few pairs and you’ll know exactly what fit is comfortable and flattering for your kid forever on, your kid will get bigger but the pants style will stay the same. So don’t be discouraged if your first pair isn’t perfect, it never is. OK, GO MAKE SOME PANTS!
oh, and then send us a picture.
If you are looking for more sewist projects for boys:
Reversible Baby Vest Tutorial w/ FREE Pattern
How to Sew A Bow Tie
Boy’s Brief Swimsuit: Baby Sunga! Free Pattern and Tutorial
DIY John John – Yay for boy stuff!
How to Sew a Cardigan Onesie
DIY Knight’s Tunic
How to Sew Pajamas from a T-Shirt
How to Turn a T-Shirt into Striped Jersey Shorts
Published June 2010, Updated October 2022