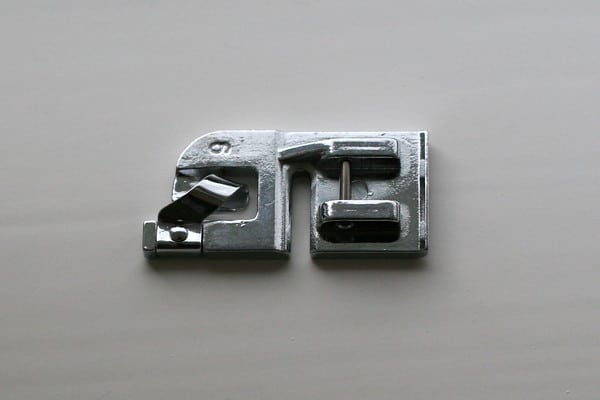
Way back when, we showed you the 5-Minute T-shirt Tunic. Here is a new version that I made using a narrow hem foot, my newest obsession for doing vast amounts of skinny seams quickly. Want to make a speedy voile scarf? This is your gal…
Read on for the 5 Minute Tank Tunic Part 2!
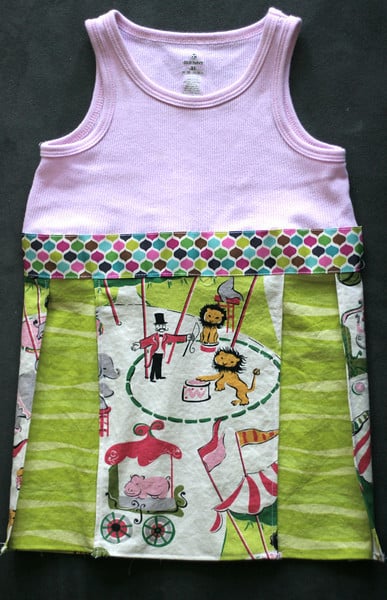
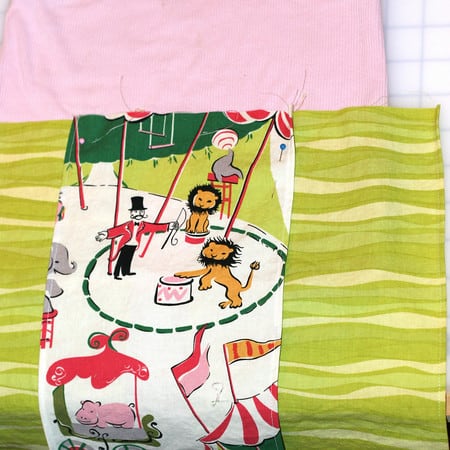
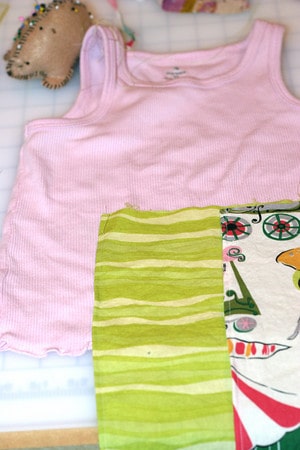
Can anyone ID this fabric? I love it so.
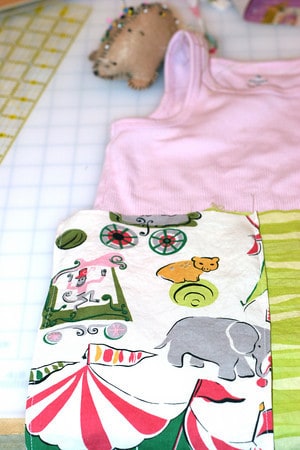
1. I started with two fat sixths. That’s basically a 12×22″ piece of fabric and also a name that (I think) I totally made up. Cut them in thirds so you have 6 – 12″ x 7 1/3″ rectangles. You could also use three hankies cut in half. That would be ADORABLE!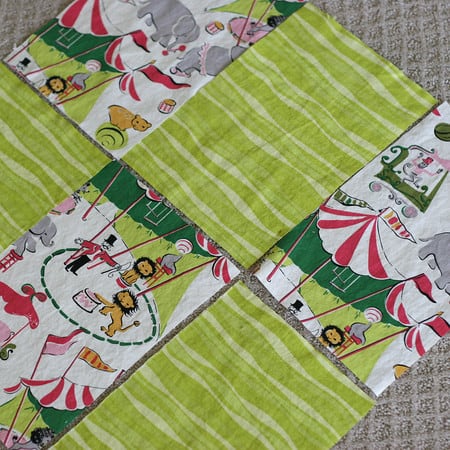
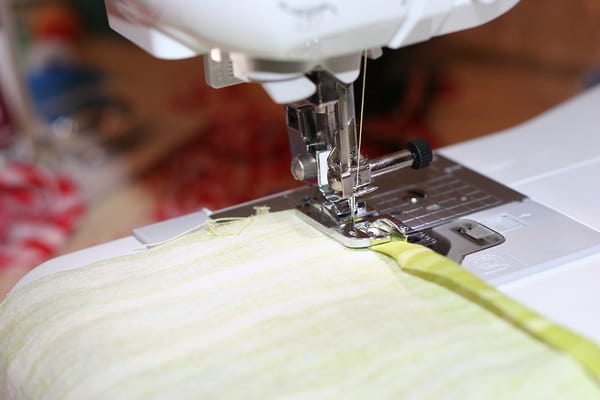
2. Narrow hem both long sides of each rectangle. First you roll over the edge twice to create a narrow “roll” of fabric the width of your hem. ie. the width of the center section of the foot where the fabric feeds in. In this case 5mm wide.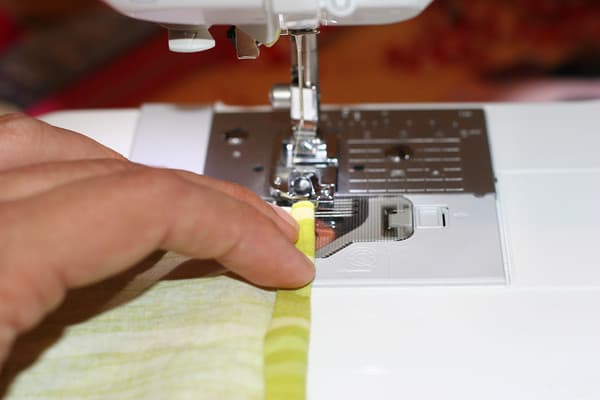
3. Slide your fabric roll underneath the foot and sew a straight stitch for about 1/2″ inch.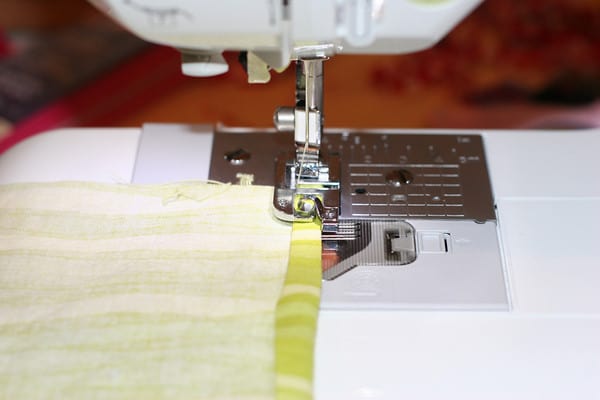
4. Now, pull your rolled fabric up into the space to the right of the metal curl of the foot and wrap your roll around the screw.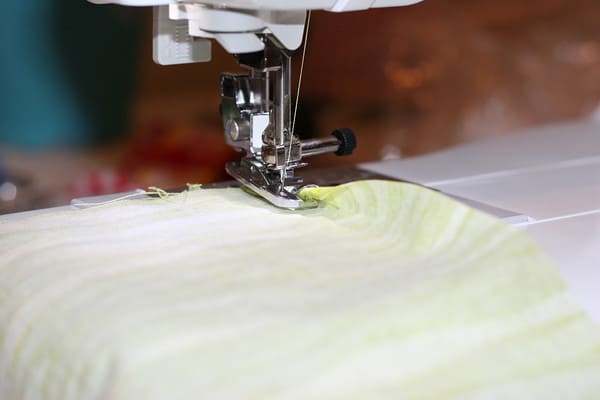
5. A few inches back from of the foot, keep the fabric rolled to the correct width and feed in in as it sews.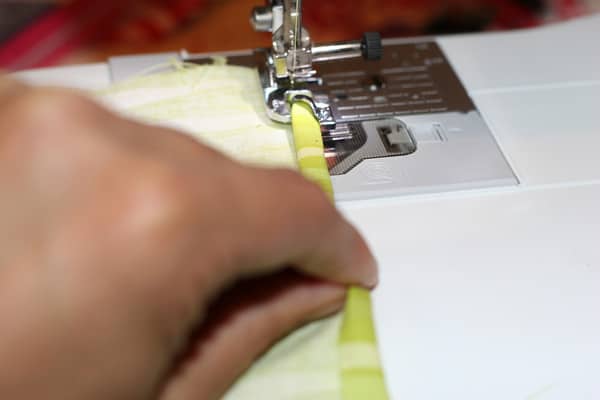
It will look like this…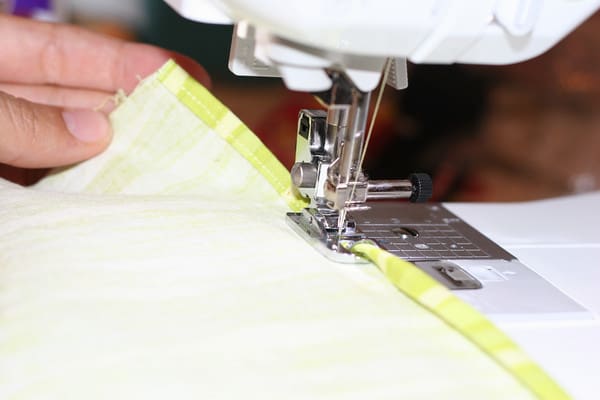
And this is one complete narrow hem.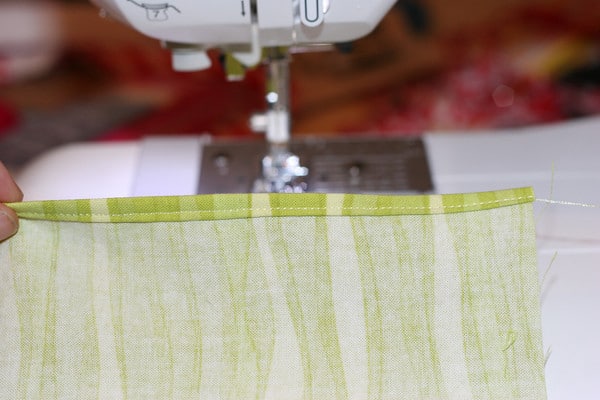
6. Finish the two long sides of each of the 6 pieces. For the bottom edge, you can try to narrow hem but I found it difficult to sew such a narrow hem over the thick corners. It looked good but probably would have been easier just to do a wider traditional seam.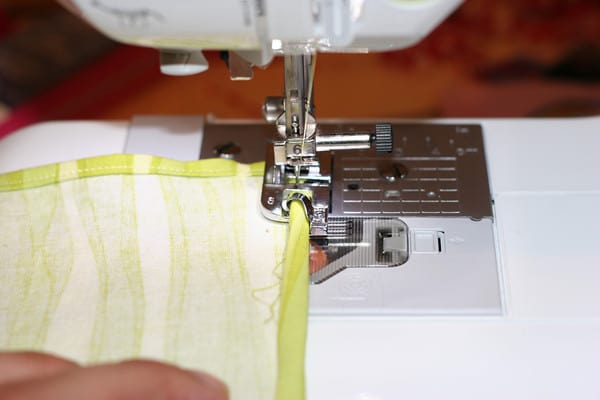
Your sides and bottoms of each piece are finished.
7. Arrange your three front panels on the front of your tank top or t-shirt. For a 2 yr old, my panels overlapped about 3″ each.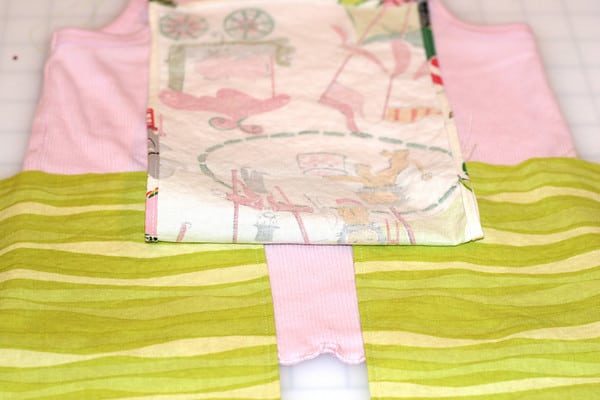
And hung over the side about 1.5″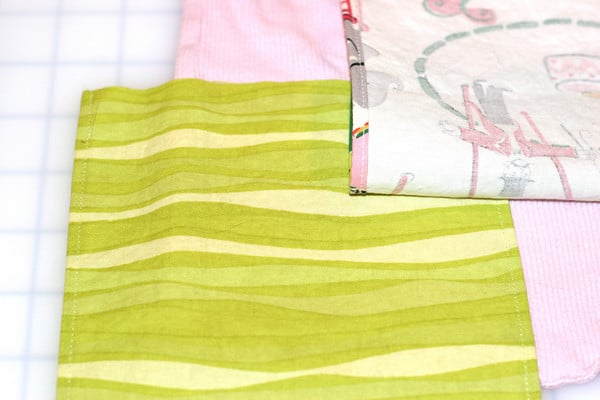
8. Pin the panels together but not to your shirt.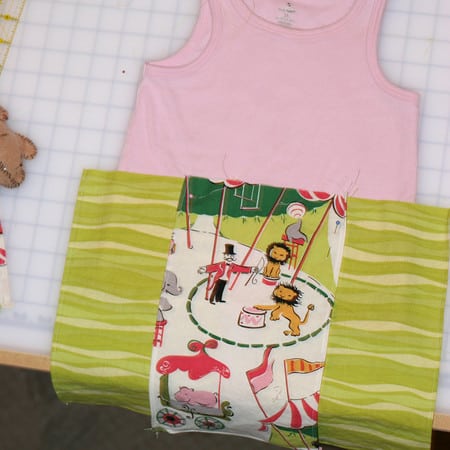
9. Wrap one overhanging panel around to the back and flip the tank top over.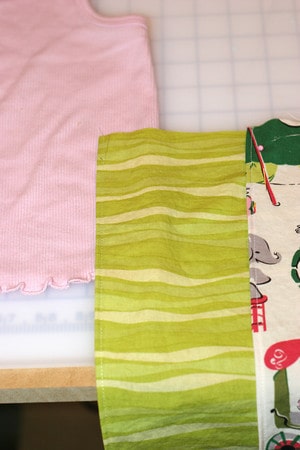
10. Add the back panels with similar spacing to the front.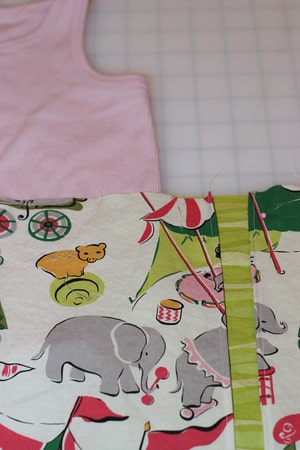
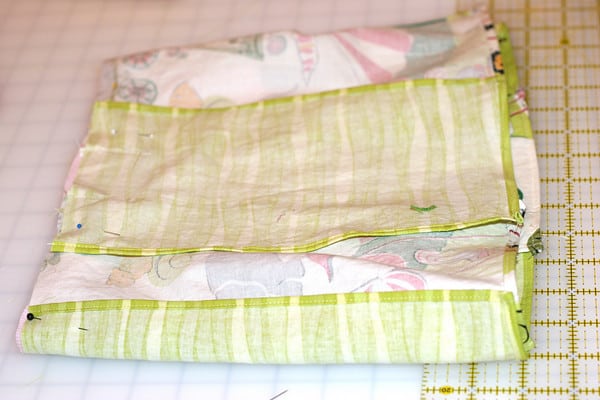
11. All 6 panels are now pinned together in a circle and you are happy with the spacing, right? The width should be close to the width of the t-shirt where you want your “waist” to be. Now (starting and ending with a back n forth stitch) sew the panels together where they overlap, approx 3″ long.
See, here’s the skirt!
12. With right-side-facing, pin the skirt to your tank top.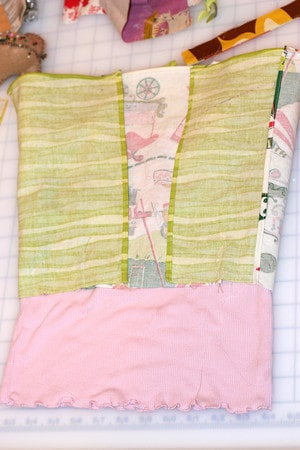
13. Lop off the bottom of your tank.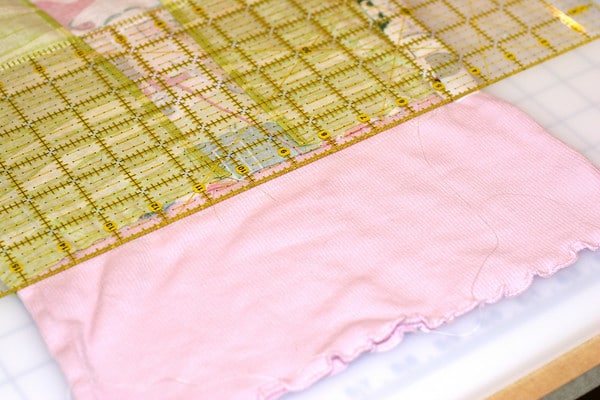
14. Pin in place all the way around if you haven’t already.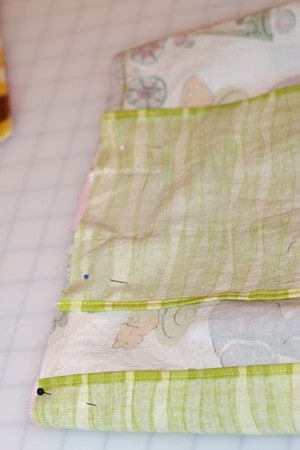
15. If you have a serger, this is the perfect time to use it. Serge all the way around to attach the tank top and skirt with a beautiful finished edge.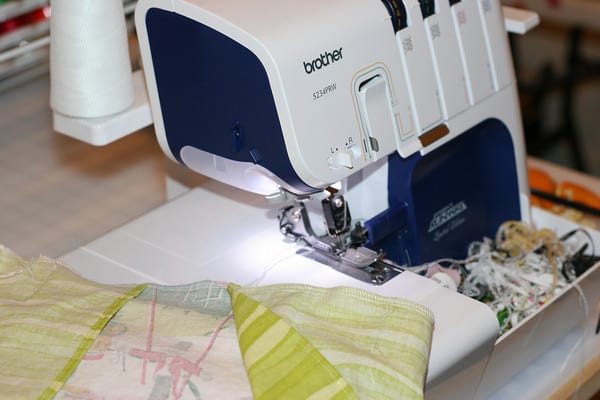
16. If you dont have a serger, sew with a straight stitch about 1/2″ in and then finish seam with a zig-zag/overlock.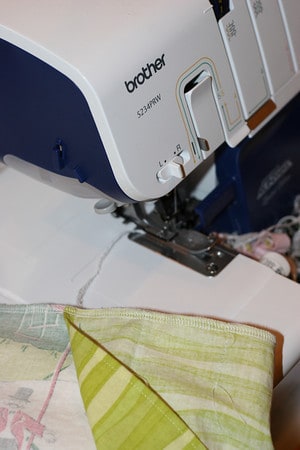
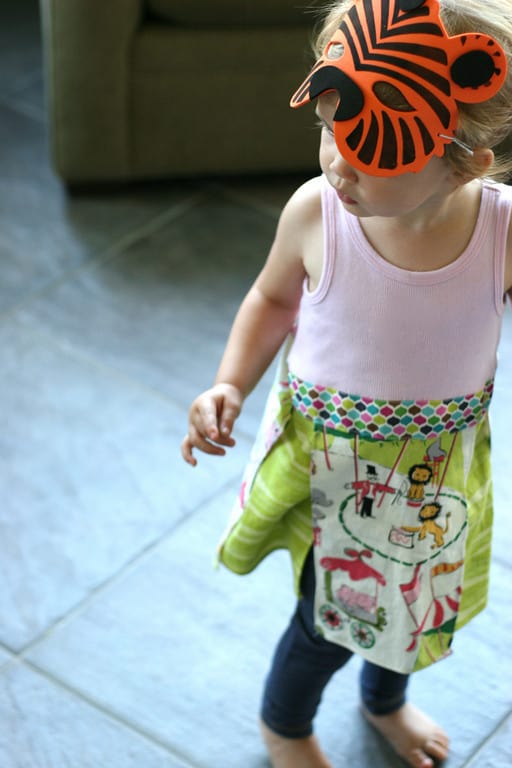
Looks cute but since this is a birthday dress let’s get fancy!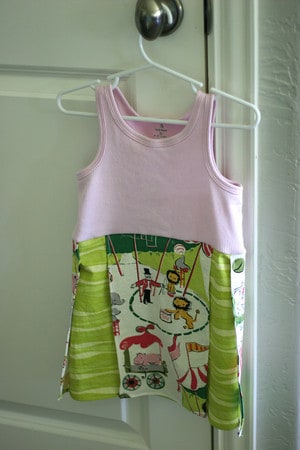
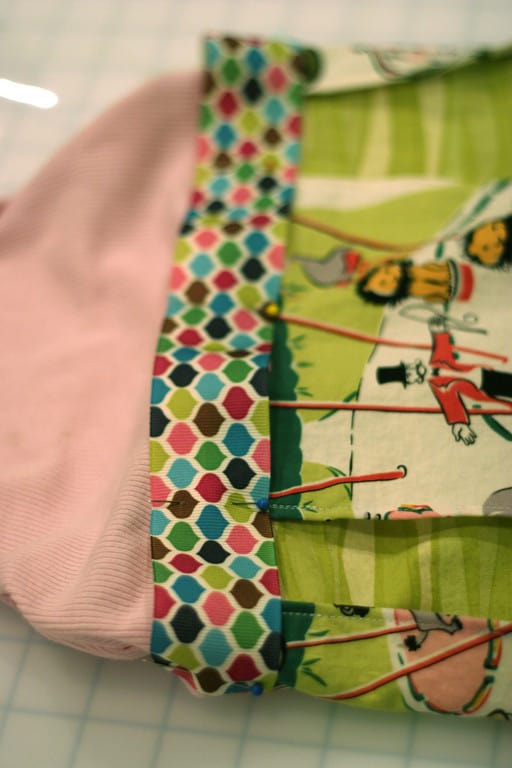
And add some ribbon across the front! Just pin in place and fold under at ends. Sew all the way around!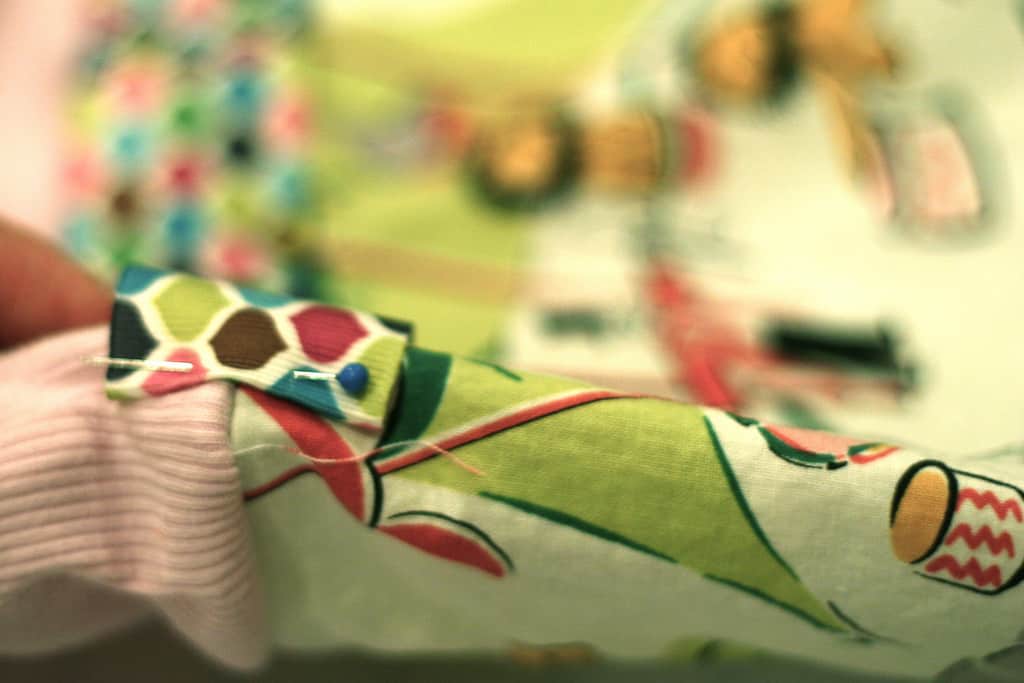
So easy and cute!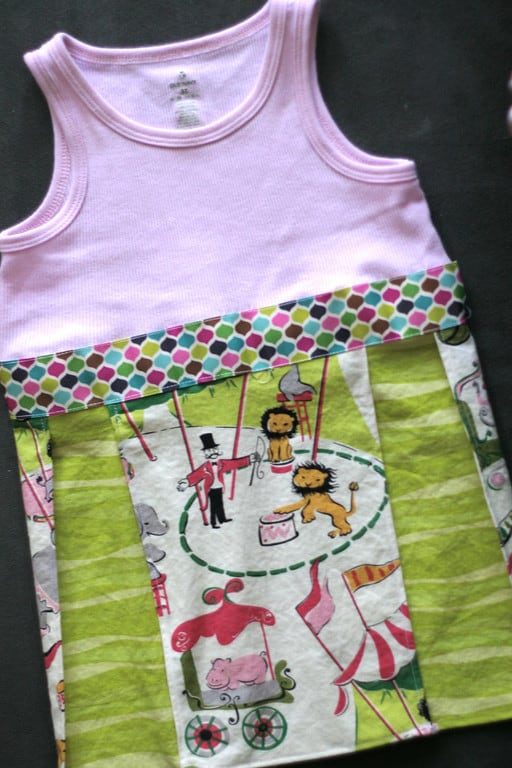
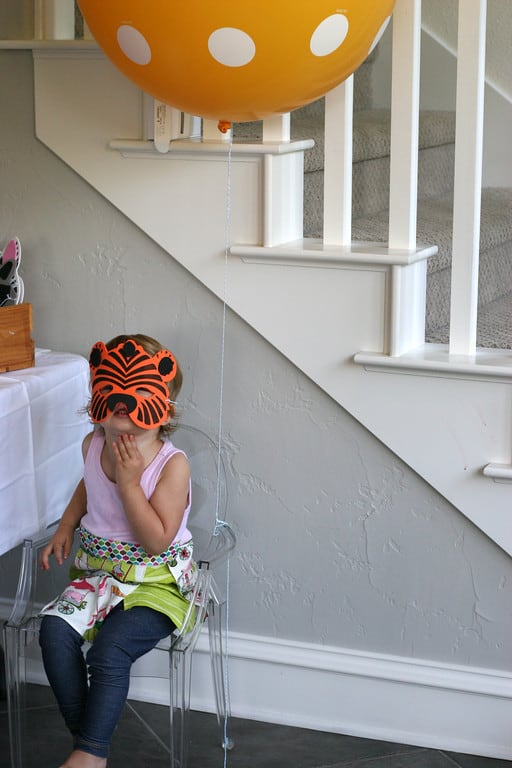
Le Tigre not included!