


 Scarlet and I were looking for a fun craft to while away an afternoon, and my studio contains massive amounts of tissue paper (we love tissue paper). She’d been wanting to make a sign to put on the door to her room, and I wanted to try a new way of making a tissue paper sign. So, we rolled a bunch of cute little rosettes and made her a beautiful “S”. This project is easy-peasy and turns out so pretty! Let me show you how we made our Tissue Paper Rosette Letter after the jump…
DIY Tissue Paper Rosette Letters
First you’ll need a letter. I free handed this S with a pencil on a piece of foam core I had lying around, then cut it out with a craft knife, but you can also pre-purchase a cardboard letter at most craft stores.
Now to make your rosettes. First you’ll cut some strips of tissue paper. Don’t worry if they are different sizes or have messy edges, it all adds to the charm. I like to make them 4 or 5 inches wide and between 10-12 inches long. 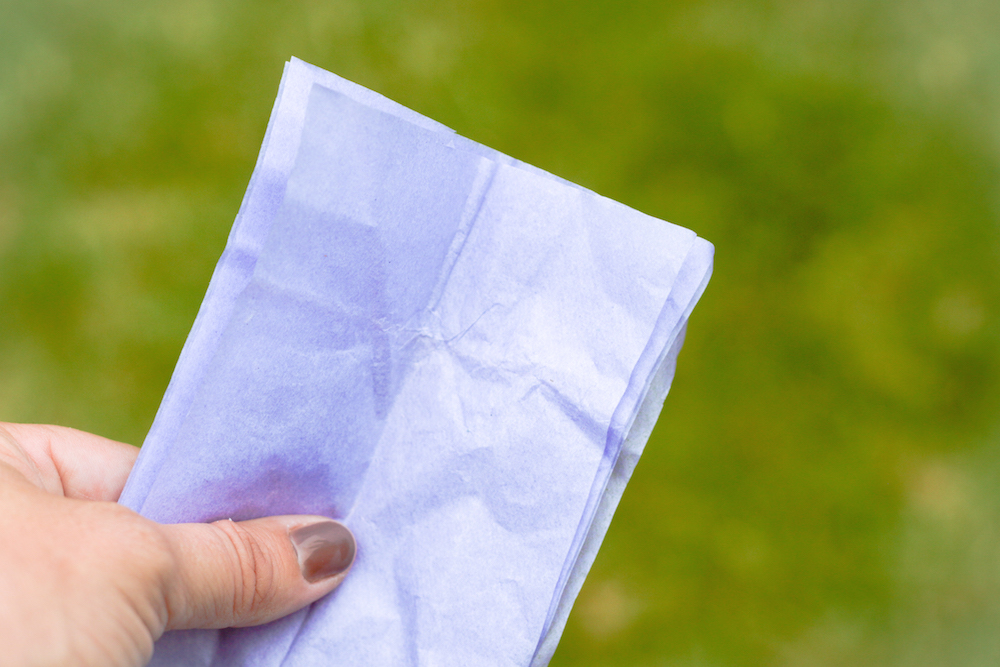
Now fold one strip of tissue paper in half. 
Hold on to one edge and start rolling and pinching, making sure the folded edge is on top. You can actually roll with the unfolded edge on top, but that will make a different kind of flower. For a rosette keep the folded edge up. Roll and pinch and then glue to your letter, or if you prefer you can make all your roses first and just staple each one on the bottom, then glue to your letter later. 
Attach with hot glue until your letter is covered. 
This was a fun way to spend an afternoon, and would be a great centerpiece for a party. We will hang ours on the door to Scarlet’s bedroom.