This DIY Baby Bonnet with Leather Ties is an adorable beginner sewing project for baby.

You know when you just love a fabric so much you hold onto it forever and then end up not making anything with it? Ya, I don’t know what that’s like either.
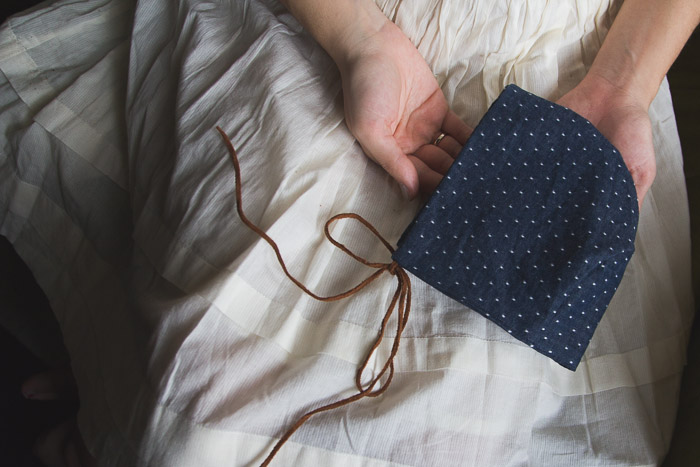
In order to get the ball rolling and actually use this fabric, I started by making this cute baby bonnet with leather ties. I ditched the ruffles on this one because I wanted to give it a more modern look, and added leather ties. Notice a theme this past week (ahem, Leather Mason Jar Mug and Leather Heart Keychains)? I adore how it turned out and am now on the hunt for a sweet baby to give it to. Know of any?
Check out the DIY Baby Bonnet with Leather Ties after the jump…
Start by opening and downloading the Bonnet Pattern and Tutorial.
Follow the tutorial for sewing the bonnet together,
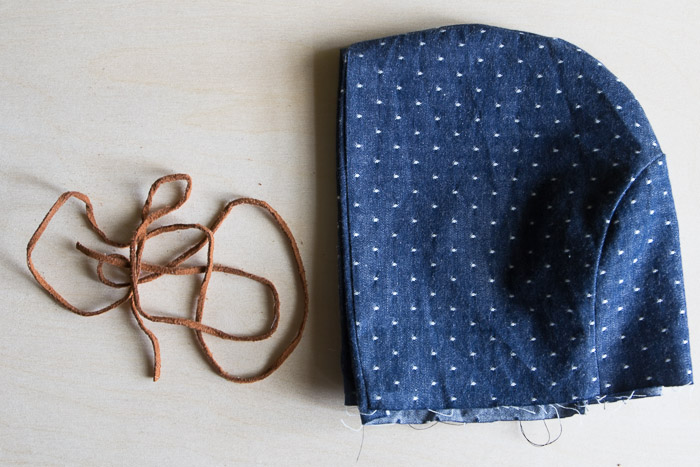
Once you have your bonnet and the lining, flip them inside out with right sides facing and wrong sides out. Sew the bonnet and lining together along the opening, leave the bottom open.
Flip right-side-out. It should now look like this image below.
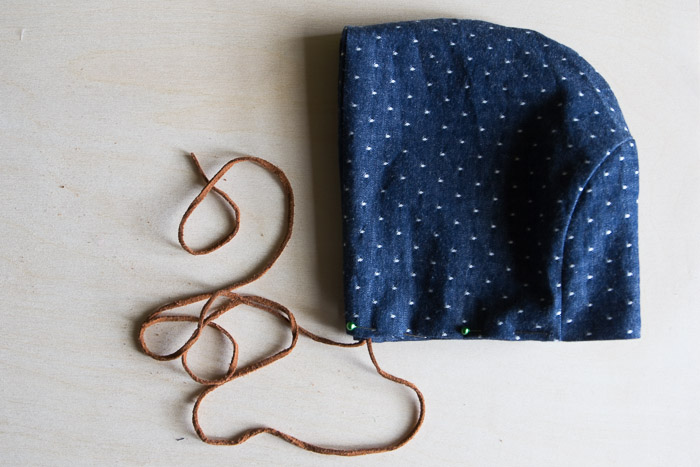
Place the leather ties near the front and pin down. For safety, PLEASE USE BEST JUDGEMENT for selecting length of ties depending on child’s age. Ties in images are for too long for use with young children.
Fold the raw edges of the bottom in a 1/4 inch, pin down, and sew around, sewing the leather ties in place.
Now it’s ready to wear! We are dying to see what it looks like on your little one, so please don’t forget to share a photo with us on Facebook, Pinterest, Twitter, and Instagram PrudentJacinda) #PrettyPrudent.