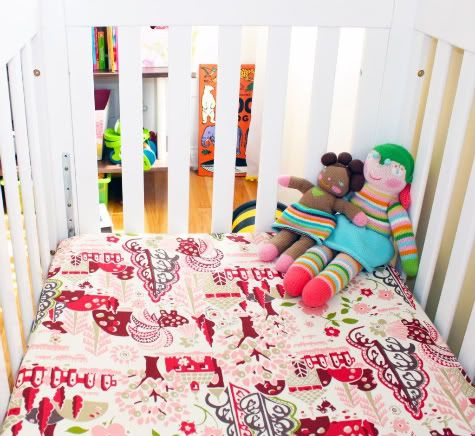
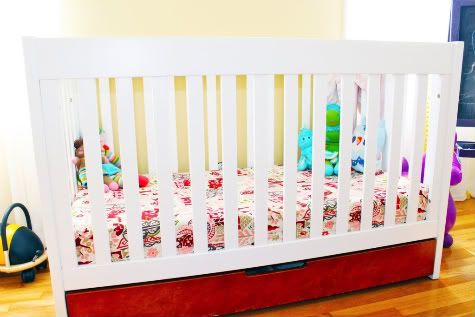
You know the nesting urge set in and you invested in a giant crib set only to find out within a few months that it was virtually useless. The bumpers are dangerous and come off before the baby even sleeps in it, and the skirt lasts a few months but comes off as soon as she learns to sit up. And if you’re like me, your child has one special blanket she insists on sleeping with, so you are left to play around with fanciful sheets.
With so many adorable fabrics available there’s no reason to stick to store-bought crib sheets, especially when it’s so simple to make them yourself. I made my first crib sheet today and I think I’ll do it a little differently next time, but it turned out great and took less then an hour!
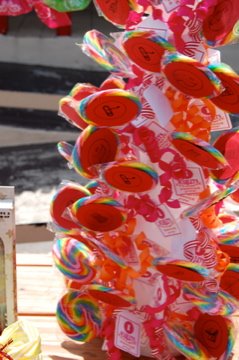
To celebrate Miss S’ first birthday last April we threw a legendary circus party and had a blast! These pics have floated about the Internet and I’ve had many emails requesting more info & how-to’s so I’ll post a bunch in the coming weeks, but for now check out some pictures and links to where to buy…
a simple homemade pennant…
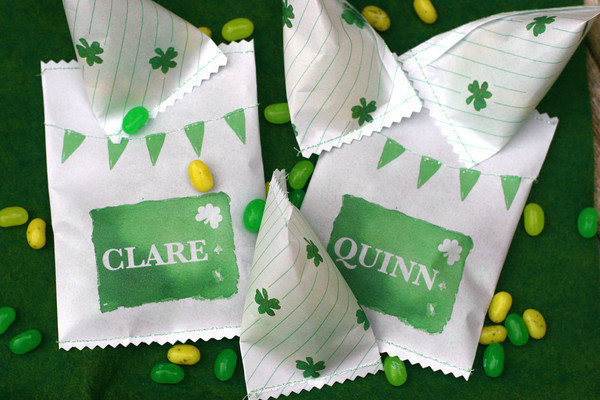
favor bags in neon bandanas also made bright decorations…
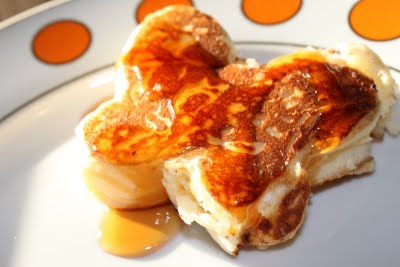
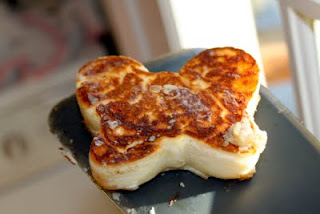
Jacinda made and shipped these amazing cookies all the way from Texas!
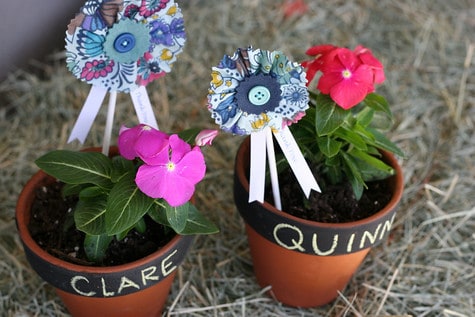
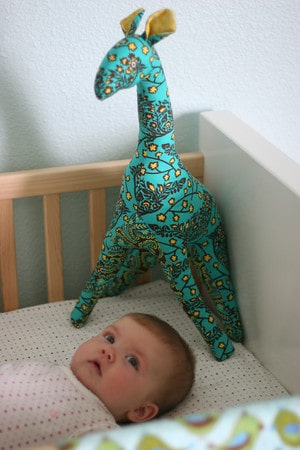
My super crafty sister-in-law made this gorgeous giraffe softy for Clare using Vogue Pattern 8349. It now resides in Quinn’s room, given the color scheme, and I’ve been feeling a bit guilty about the theft so I just ordered a copy of the pattern to make one for Clare. I would ask my sister-in-law to make another but she is working on her PhD (smarty-pants) so I’m guessing she has a 1-fabulous-giraffe-softy-per-year limit.
I also ordered this pattern which I think would look really cute in felt or a sweet cotton print. There are alot of new babies around. These would make a-dor-able holiday gifts.
Funny how the fabric choice truly makes-or-breaks these, no?
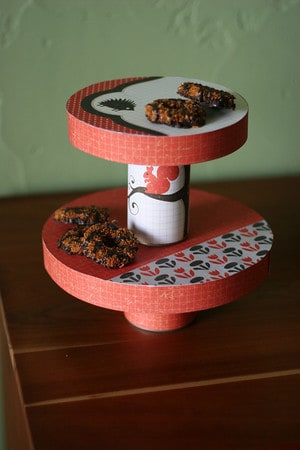
Amesh from Indonesia shared an adorable project with us today and it reminded me of a tip from one of my cake decorating classes. Using canned goods to create DIY cake stands! Instructions after the break…
What you need:
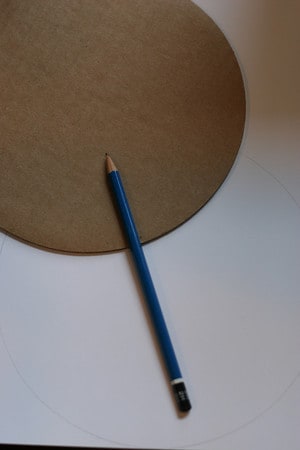
– Corrugated cake boards – Canned goods (unopened) – Several sheets of scrapbooking-weight paper – plus: x-acto knife, ruler, cutting mat, pencil, rubber bands, non-toxic glue (I prefer Aleene’s Tacky Glue.)
1. Trace closely around the edge of each cake board with the pencil and cut out your circles with your x-acto knife on the cutting mat
2. Apply glue fairly close to the edge of the wrong side of your paper circle and attach to your cake board. Repeat for each.
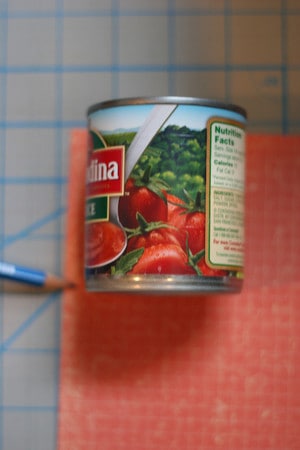
3. Measure the height of your canned goods and cut strips of paper to height.
4. Wrap paper around can, marking a 1″ overlap and trim length of paper.
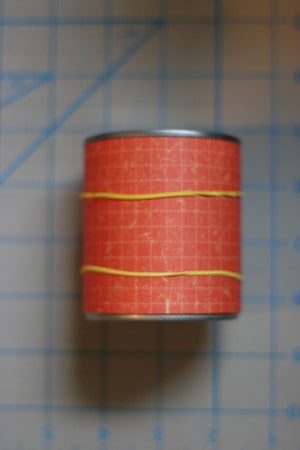
5. Apply glue to the length of the 2 short ends and wrap paper around canned good, overlapping and gluing down the end. Wrap with rubber bands to dry. Repeat for each.
6. Cut 1″ strips of paper to create the “thickness” of the “plates.”
7. Place cake board bottom-side up and apply glue along very top of the entire length of your 1″ strip and begin wrapping strip around edge of cake board. If there is a “front” of your cake-board, be sure to place paper seam towards the back. Repeat until the entire circumference of all of your circles is covered. Glue the strips of paper together as you go.
8. Place your largest can at the bottom and center your largest cake board on top. You can stop there for a pretty cake stand. You should glue your stand to the can (I would probably use a glue gun but haven’t tested this yet)
9. You can add additional tiers by centering another can on top of your first cake board and gluing another cake board on top.
These are great because they are sooo inexpensive to make, totally customizable and you never have to worry about leaving a pretty plate behind at a party!
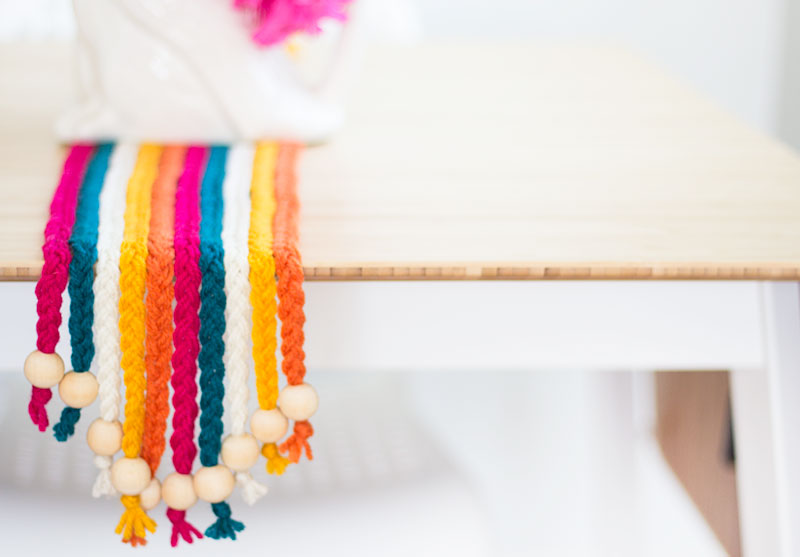
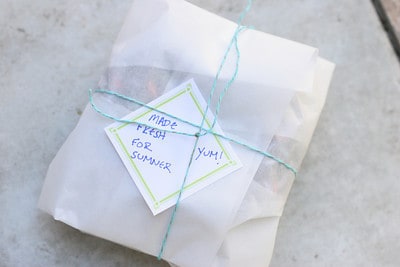
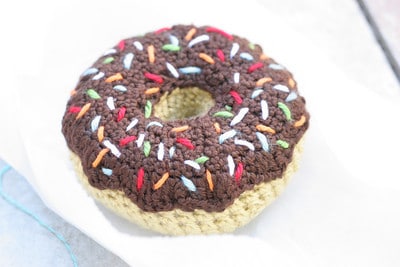
Now that it’s getting all Fall-ish, I’m thinking of getting back to yarn crafts. If you need a sweet handmade something for a little person, I highly recommend this. A simple and satisfying beginner project. Wrap it up in parchment paper and tie with baker’s twine for additional themey cuteness. These would also be super cute in multiples if you’re feeling ambitious. The pattern is free, courtesy of KTBDesigns.
PS. I sewed a few jingle Bells inside before closing mine up.
Perfect as a re-usable gift wrap, themed to tote party favors, or as storage for wayward blocks, this super-simple drawstring bag DIY from favorite site Purl Bee is a satisfying project to whip out after the kids go to bed:
Etsuka Furuya Echino home-decor weight fabric in yellow $16.95 per yard at superbuzzy…
…and in pink and a variety of other patterns and colors for $19.50 a yard right at Purl Soho
I made mine with leftover scraps of decor-weight fabric and ribbon I had on hand, but how cute would it be with thick rick-rack or this Matryoshka Ribbon from Reprodepot?
Some links may be affiliate links. Through Amazon Associates and other partnerships, we receive money if you buy something or take an action after clicking one of the links on our site.