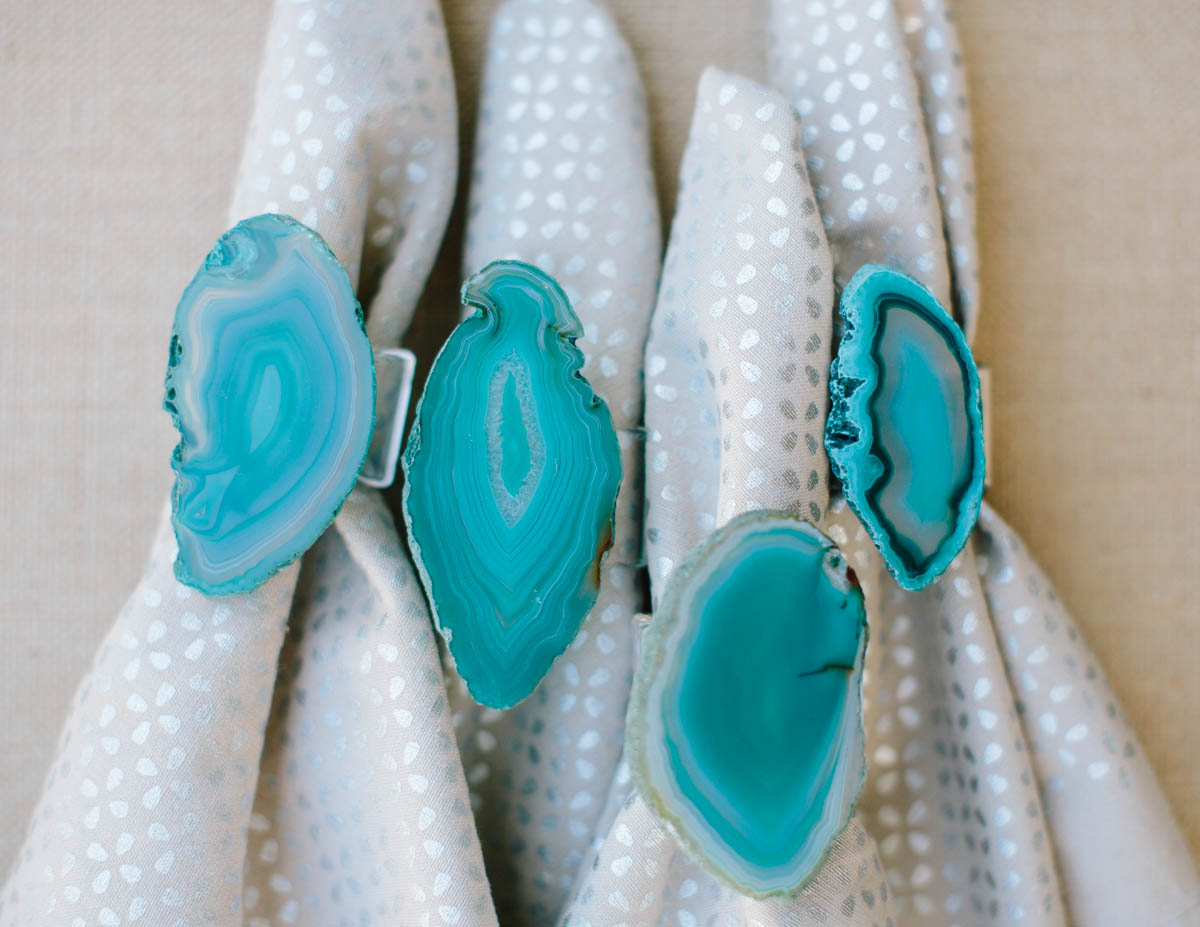
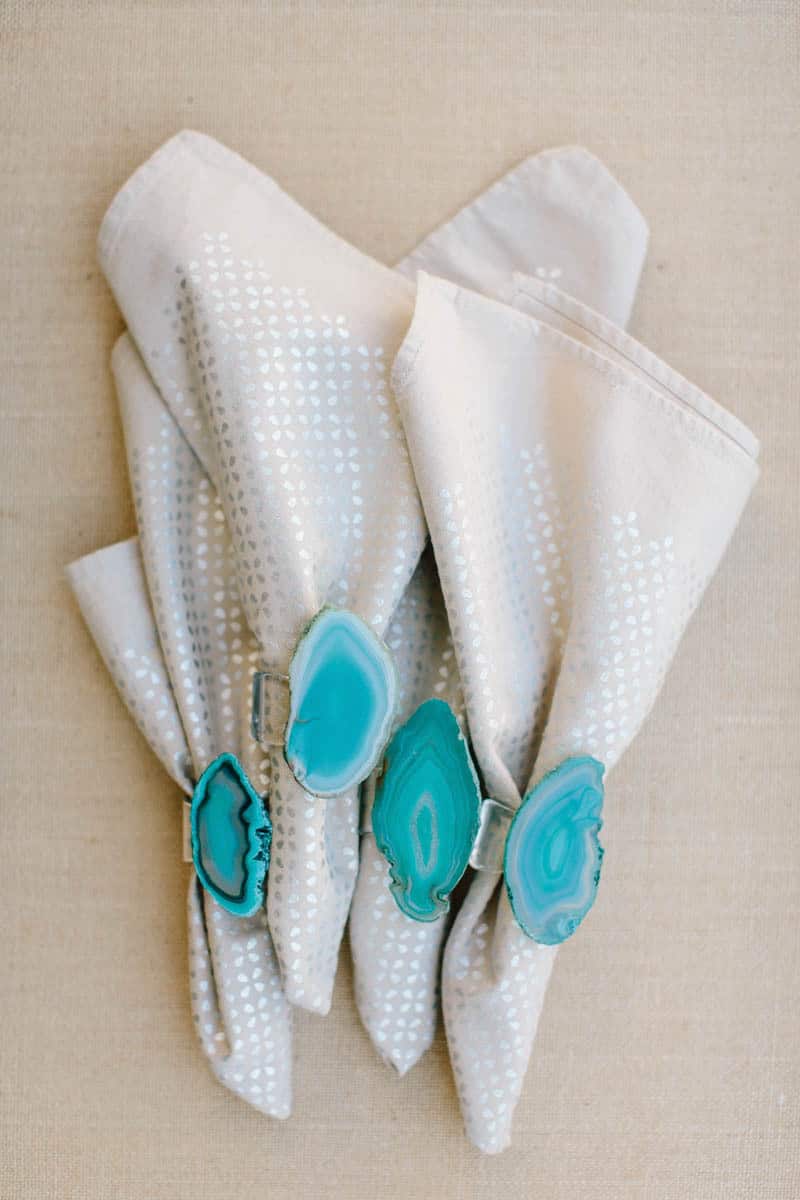
A slice of agate turns a store-bought napkin ring into a vibrant slice of nature with a distinctly modern twist. This project makes your table look elegant and on-trend, but it takes only a few minutes and costs a fraction of what you would pay at a designer shop.
How easy is it? Read on to find out how to make our DIY Agate Napkin Rings…
DIY Easy Agate Napkin Rings
This project could not be simpler. Just hot glue your agate slice to your napkin ring, let cool, and set the table.
We get our agate slices for a steal at Pelham-Grayson (about $1 each), and chose clear acryclic napkin rings from our local restaurant supply store, though a nice copper, hammered silver, or tortoieseshell would be lovely as well.
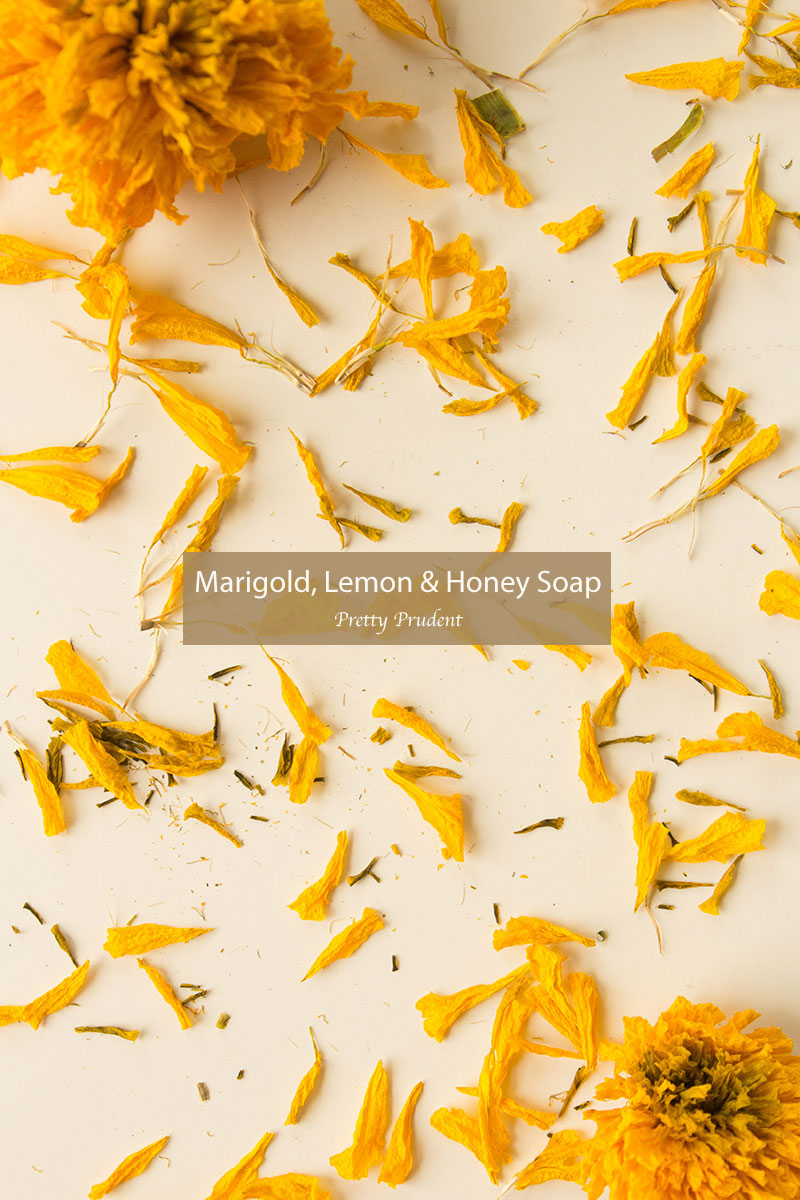
Marigolds have been in full bloom at the LA Flower Market these past few weeks, which means they are also coming at a great price. About a month ago, Grant and I spent Sunday afternoon enjoying a delicious breakfast at the new restaurant across from the Market – Poppy + Rose – and then headed in to pick up a few bouquets for our home. I hung them to dry and put the petals to use by making some wonderfully moisturizing soap (this California heat is killing us!).
Why I picked these ingredients: Marigolds (also known as Calendula) are known to help reduce inflammation and aid in treating eczema that can come from the dry winter air. Lemon has antiseptic benefits and shea butter and honey are both wonderfully moisturizing.
Learn how to make Marigold, Lemon, and Honey Soaps after the jump…
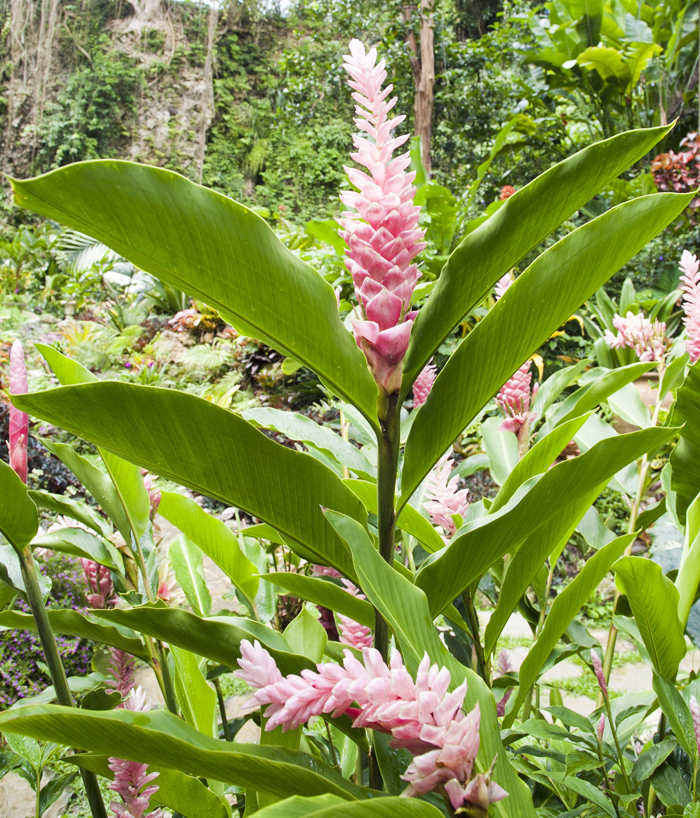
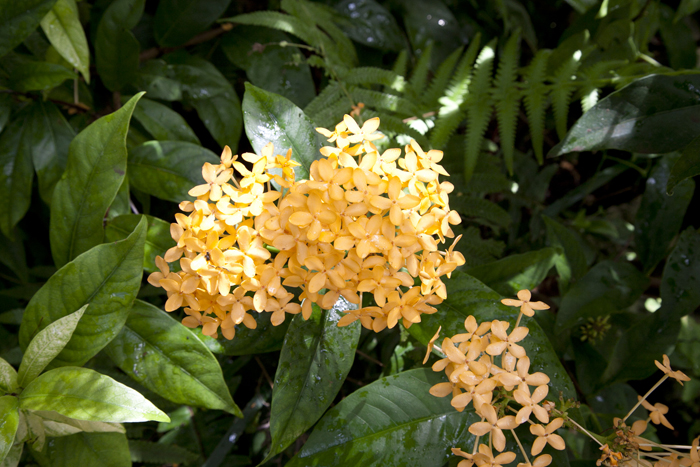
My “most perfect day” would always include packing up some art supplies and searching out a quiet outdoor space in which to paint. It would also include pizza, champagne, and a massage, but back to that painting. As part of our partnership with Carnival Cruise Lines, my sister Amanda and I just returned from a girls’ getaway cruise from Puerto Rico to the Eastern Caribbean islands of St. Thomas (and St John via Catamaran,) Barbados, St. Lucia, St. Kitts and St. Maarten. For our stop in Barbados, I left my sis relaxing on the beach and grabbed a taxi to a tropical paradise for a day of exploring, painting, and rum punch.
Located in a natural sink hole in Barbados’ rainforest, Hunte’s Gardens feels like it’s own magical world. Brilliantly designed with paths that twist and turn throughout the native palm trees, exotic floral vignettes and intimate seating inviting you around each bend, this tropical wonderland is awe and art inspiring... (more…)
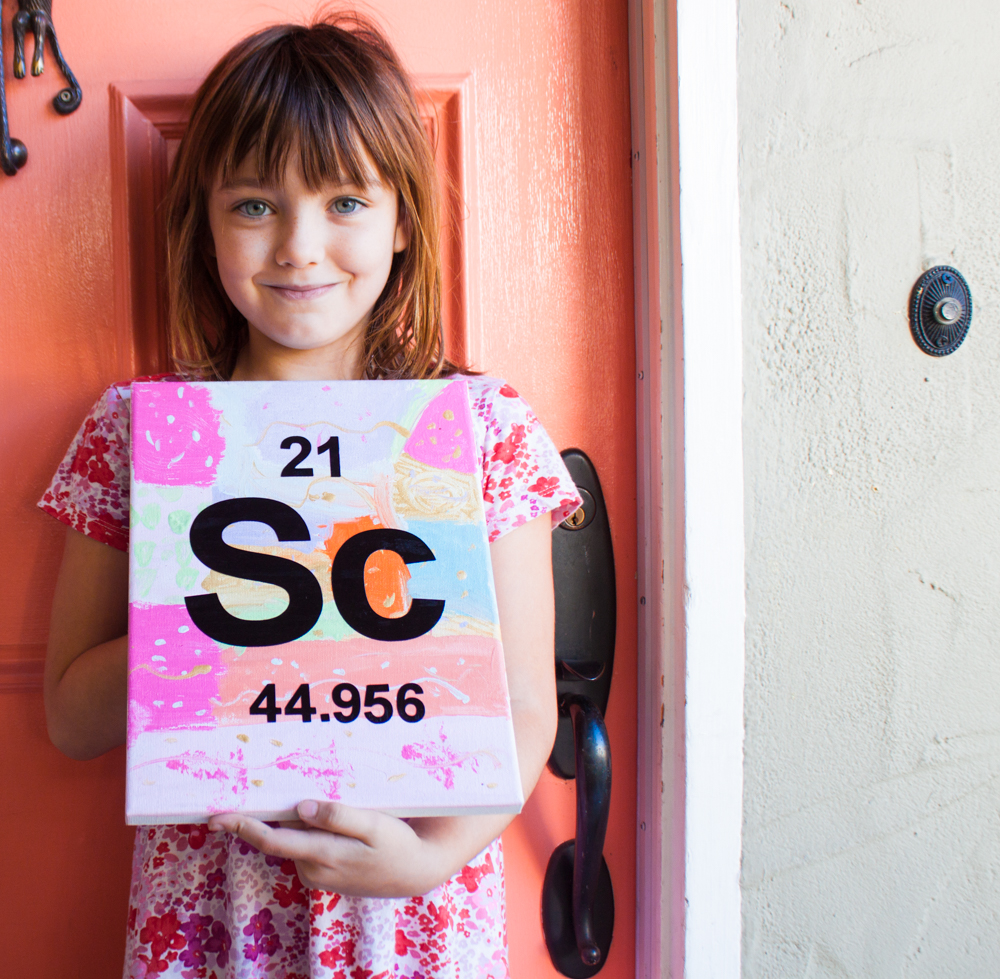
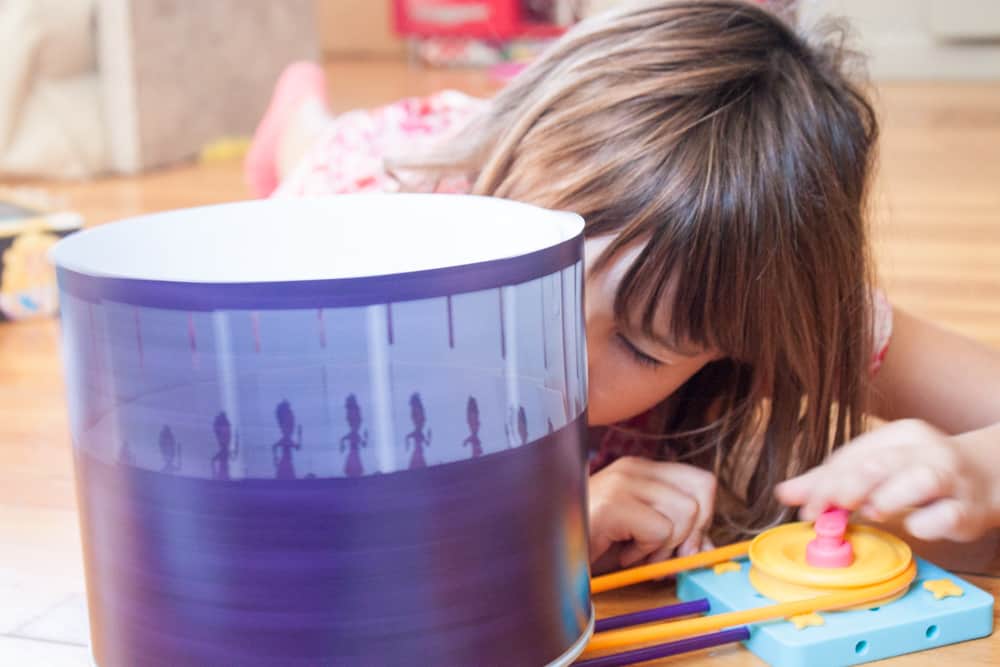
This post in inspired by scientists, little girls, and Goldieblox: three of our favorite things.
If you ask my daughter what she wants to be when she grows up, she replies confidently “Oh, I am going to be a scientist-artist.” Just like that. Done.
To me, this sounds like an awesome job. Or at least a good start at thinking about a future awesome job, so I am doing my best to encourage her science and art leanings. I love me some science, but I can’t say chemistry or physics education are really where I shine as far as parenting. We watch her favorite TV Show, Cosmos (find it on Netflix now, it’s awesome), together on the regular, and we do art projects. Could I think of some type of activity for us that would encompass both of her chosen careers?
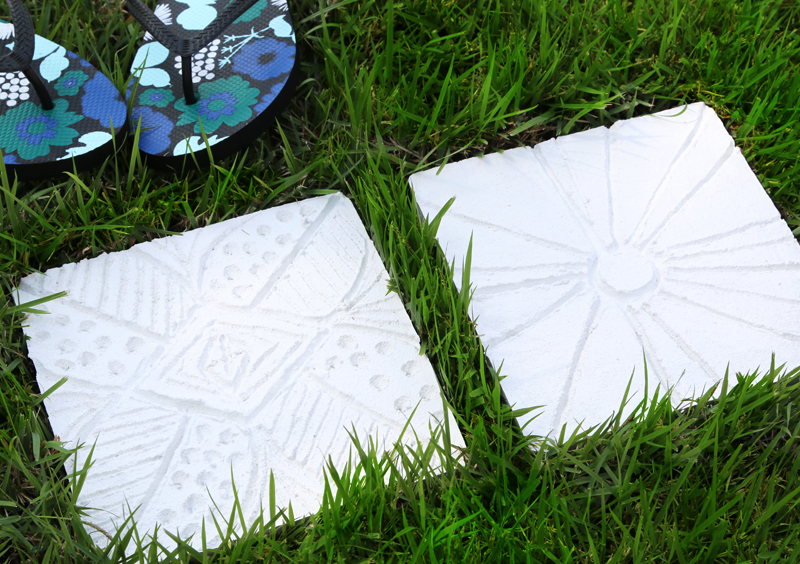
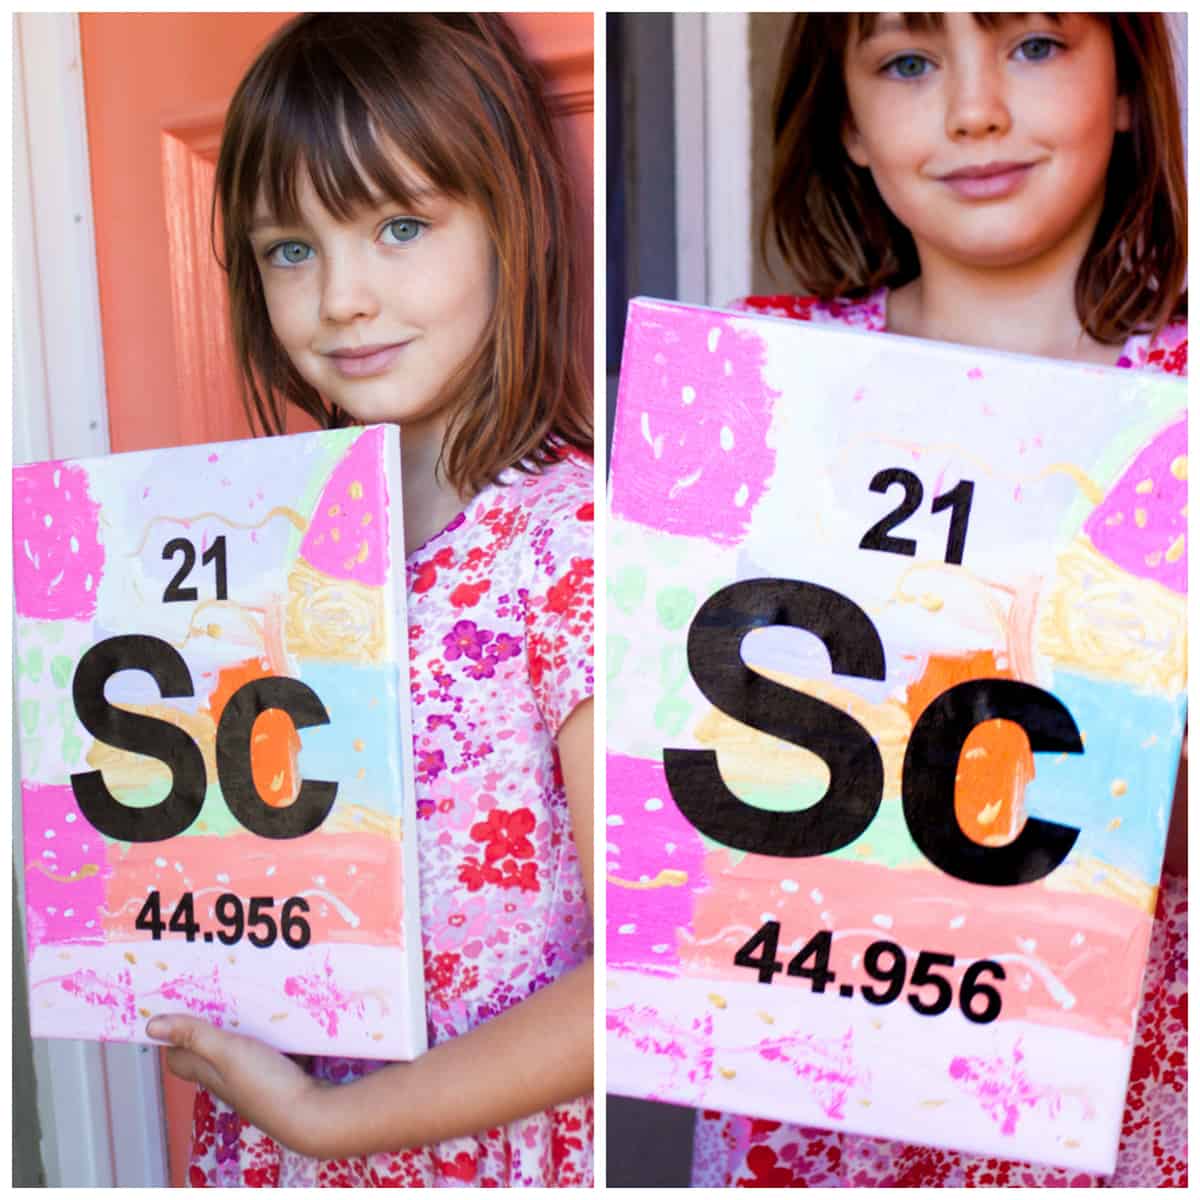
What I came up with is an exercise in abstract art combined with a lesson on the nature of the universe via the Periodic table. When we were done, she seemed pretty proud.
The weekend we spent working on this project was so fun and enlightening for both of us, and this project is easy-peasy for any family to do together. If you have a little scientist-artist on your hands, I wholeheartedly endorse this painting/stencil art project. I scoured the periodic table for an element that would connect with Scarlet… and scandium it was. Search for an element that your child will connect with, either by the initials or the properties, it really doesn’t matter at this age. This endeavor is just a window into talking about how the universe works. So pick one, then get to painting, stenciling, and talking about science with your little one.
Find out how we made our Periodic Table Stencil Art project (and enter to win a set of the Goldieblox engineering toys that inspired us) after the jump… (more…)
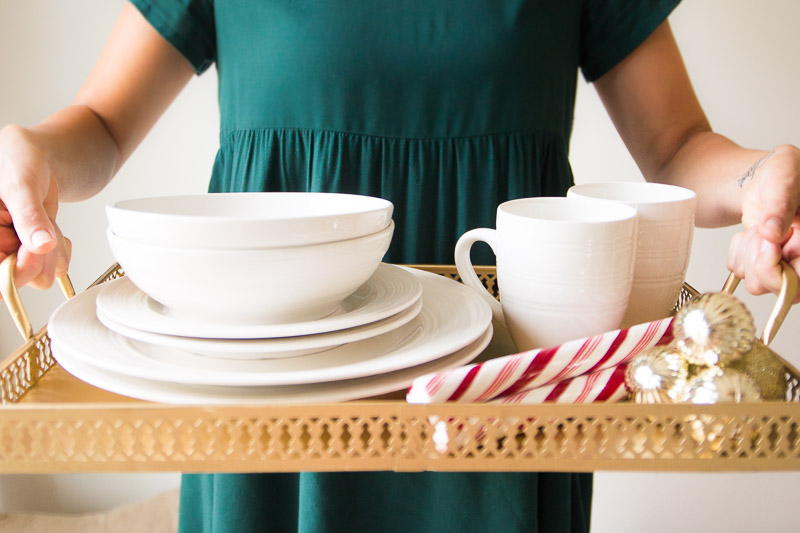
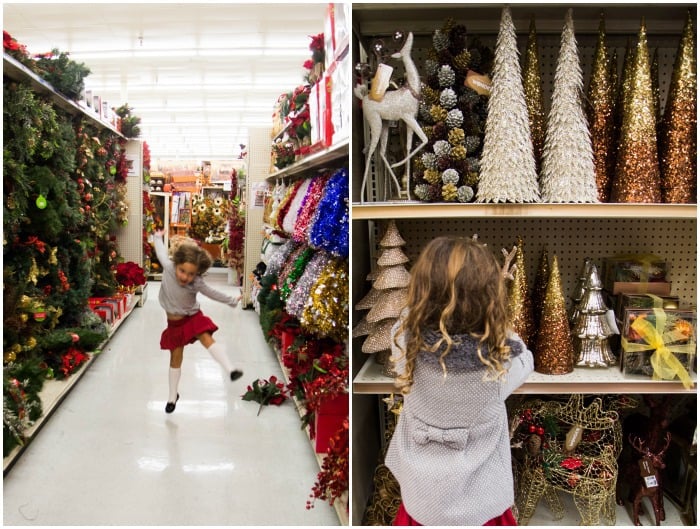
For this challenge we were asked to use a $250 Big Lots gift card to give a space in a home a holiday makeover, which we will reveal over National Decorate Your Home for the Holidays Week #BIGHoliday (November 16th to the 22nd). Since my house is decked out with ghouls and goblins, we decided to give Colleen’s sister’s home a ’tis the season facelift. Colleen’s niece, Anabelle, was thrilled to help us out.
Getting a head start on decorating for the season can be a great way to ease the stress that comes with the mad dash of holiday shopping and celebrating. With our gift card in hand, we went straight to shopping and decorating.
Get a sneak peek of what we bought after the jump…
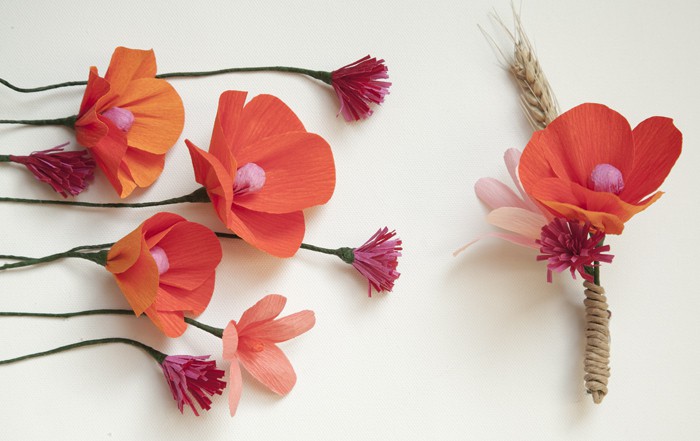
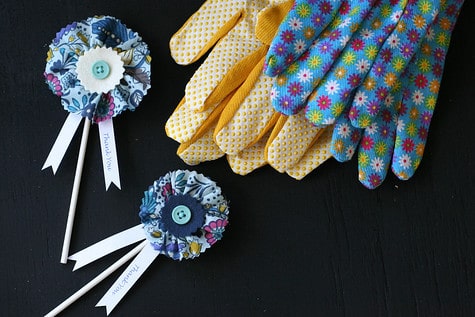
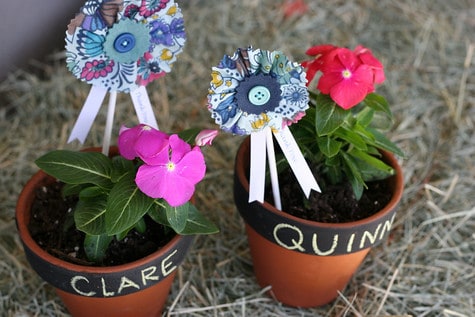
At our recent floral crowns workshops we heard so many of you say that you were making a gift for a special lady, or girl, in your life. We love that, and so we were inspired to share a floral project even more simple, but just as pretty, for all of your favorite gals this holiday season. After all, Thanksgiving is a wonderful time to let the people you love know just how much they mean to you with reckless mushiness.
Read on for the how-to on all of these gorgeous crepe paper flowers and simple instructions for turning them into a corsage. (more…)
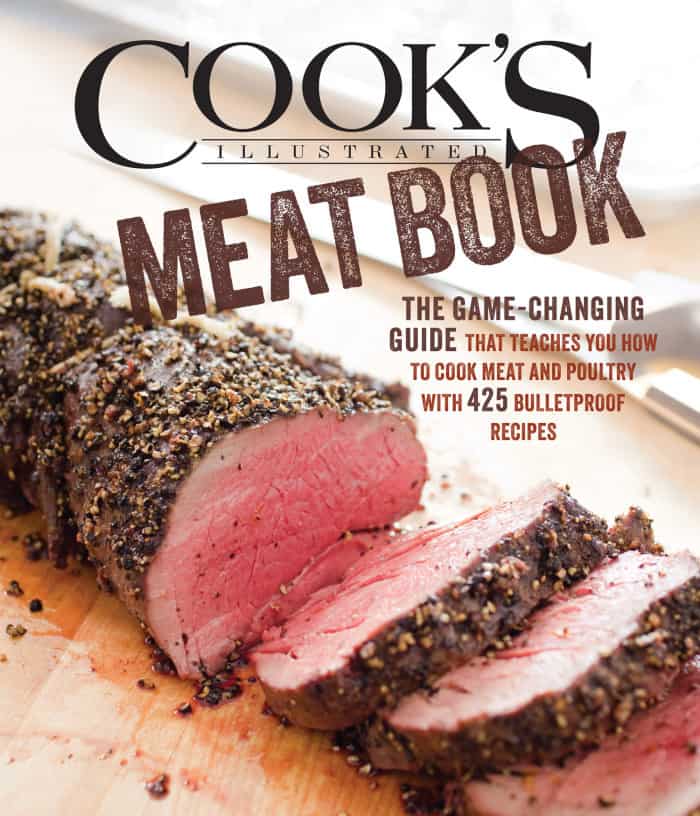
Get tips on the differences between meat labels (natural and organic), what to look for when you go shopping for meat, and how long you can keep cooked or raw meats. The Cook’s Illustrated Meat Book is the ultimate guide for cooking meats, with step-by-step photos to help you along the way.
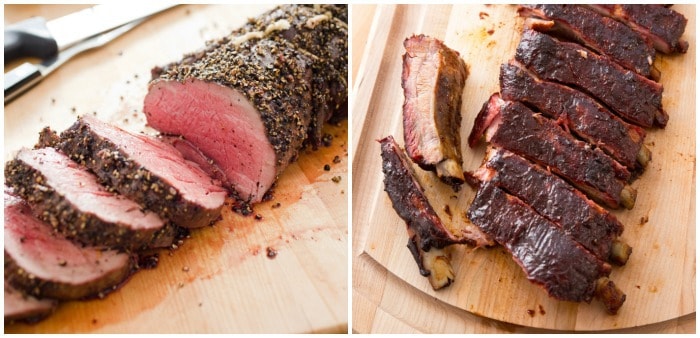
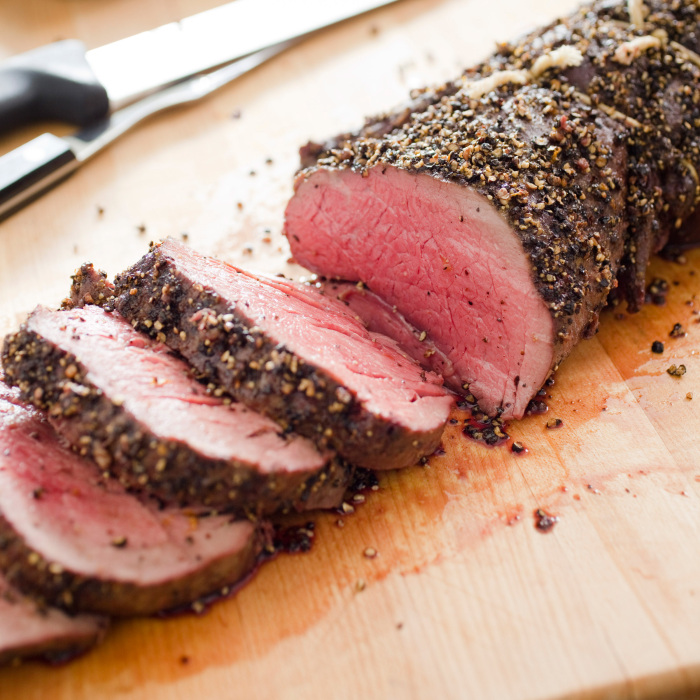
Today we are going to share one of our favorite recipes – Pepper-Crusted Beef Tenderloin Roast!
WHY THIS RECIPE WORKS: When it comes to special-occasion entrées, it’s hard to beat beef tenderloin. It’s easy to make—just oven-roast it until it’s done—and, as the absolute most tender cut of beef, it’s luxurious to eat. But that tenderness comes at a cost (beyond the hefty price tag): Tenderloin is not known for its beefy flavor. To give it a boost, we wanted to give our tenderloin a crunchy peppercorn crust that would stick to the roast without being punishingly spicy.
Glue On the Peppercorns: To make sure we ended up with a full pepper crust and not a scant scattering of pepper, we rubbed the roast with a mixture of coarse kosher salt and baking soda, which roughed up the surface and made it slightly tacky. We then pressed the cracked peppercorns onto the sticky surface. We also sprayed the twine with vegetable oil, so that it wouldn’t stick to the roast when we removed it and take our peppercorn crust with it.
Turn Down the Heat: We took two approaches to ensure our pepper crust wasn’t overly spicy. First, we added sugar to the salt and baking soda rub. Sucrose, which is found in sugar, has been proven to temper the spiciness of black pepper. Second, we simmered the cracked peppercorns in oil, which mellowed out some of the heat compounds in the pepper.
Amp Up the Peppery Character: Unfortunately, less heat came at a cost. Simmering the peppercorns in oil had drawn out not only their spiciness but also the nuanced piney and floral flavors that contributed much to making this dish so good. We learned that the compounds found in pepper are also found in high concentrations in orange zest and nutmeg. Adding both of these elements to the simmered peppercorns amped up the pepper flavor for a balanced finish.
Finish with a Sauce: To give an extra boost of flavor, we created a sauce that mirrored and enhanced the flavors we had used to prepare the beef.
Pepper-Crusted Beef Tenderloin Roast
Serves 10 to 12
Whole beef tenderloin is also known as whole filet. Not all pepper mills produce a coarse enough grind for this recipe; our top-rated pepper mill is the Cole & Mason Derwent Gourmet Precision Pepper Mill. Serve with Red Wine–Orange Sauce (recipe follows), if desired.
1½ tablespoons kosher salt 1½ teaspoons sugar ¼ teaspoon baking soda 9 tablespoons olive oil ½ cup coarsely cracked black peppercorns 1 tablespoon grated orange zest ½ teaspoon ground nutmeg 1 (6-pound) whole beef tenderloin, trimmed, tail end tucked and tied at 2-inch intervals
1. Adjust oven rack to middle position and heat oven to 300 degrees. Combine salt, sugar, and baking soda in bowl; set aside. Heat 6 tablespoons oil and peppercorns in small saucepan over low heat until faint bubbles appear. Continue to cook at bare simmer, swirling pan occasionally, until pepper is fragrant, 7 to 10 minutes. Using fine-mesh strainer, drain cooking oil from peppercorns. Discard cooking oil and mix peppercorns with remaining 3 tablespoons oil, orange zest, and nutmeg.
2. Set tenderloin on sheet of plastic wrap. Sprinkle salt mixture evenly over surface of tenderloin and rub into tenderloin until surface is tacky. Tuck tail end of tenderloin under about 6 inches to create more even shape. Rub top and side of tenderloin with peppercorn mixture, pressing to make sure peppercorns adhere. Transfer prepared tenderloin to wire rack set in rimmed baking sheet, keeping tail end tucked under.
3. Roast until thickest part of meat registers about 120 degrees (for rare) or about 125 degrees (for medium-rare) (thinner parts of tenderloin will be slightly more done), 1 hour to 1 hour 10 minutes. Transfer to carving board and let rest for 30 minutes.
4. Remove twine and slice meat into 1/2-inch-thick slices. Serve.
Red Wine–Orange Sauce
Makes 1 cup
2 tablespoons unsalted butter, plus 4 tablespoons cut into 4 pieces and chilled 2 shallots, minced 1 tablespoon tomato paste 2 teaspoons sugar 3 garlic cloves, minced 2 cups beef broth 1 cup red wine 1⁄4 cup orange juice 2 tablespoons balsamic vinegar 1 tablespoon Worcestershire sauce 1 sprig fresh thyme Salt and pepper
1. Melt 2 tablespoons butter in medium saucepan over medium-high heat. Add shallots, tomato paste, and sugar; cook, stirring frequently, until deep brown, about 5 minutes. Add garlic and cook until fragrant, about 1 minute. Add broth, wine, orange juice, vinegar, Worcestershire, and thyme sprig, scraping up any browned bits. Bring to simmer and cook until reduced to 1 cup, 35 to 40 minutes.
2. Strain sauce through fine-mesh strainer and return to saucepan. Return saucepan to medium heat and whisk in remaining 4 tablespoons butter, 1 piece at a time. Season with salt and pepper to taste.
by Pretty Prudent
Some links may be affiliate links. Through Amazon Associates and other partnerships, we receive money if you buy something or take an action after clicking one of the links on our site.


 At our recent
 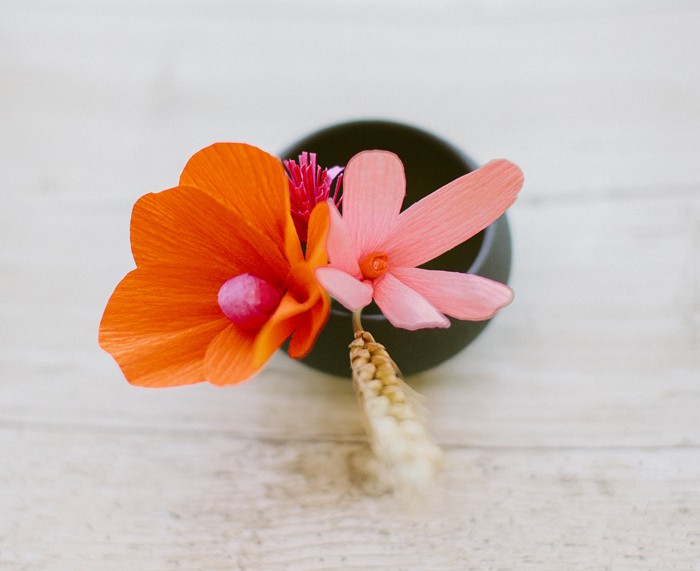 Read on for the how-to on all of these gorgeous crepe paper flowers and simple instructions for turning them into a corsage.