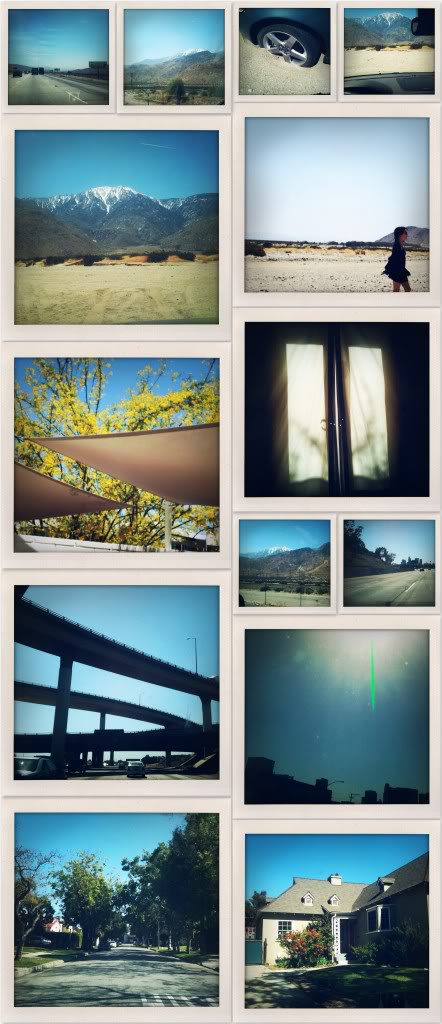
I do a lot of work out in the desert. For years I dreaded the 2-hour drive out there. These days I look forward to it with great anticipation. Sweet, sweet silence. When did a long drive become my idea of luxurious alone time? Oh, wait, I remember… And there’s nothing like coming home, rounding the corner on my pretty street, knowing there’s a little bean waiting to scream “MOMMY!!!” when i walk in the door. Where do you find your moments of peace?
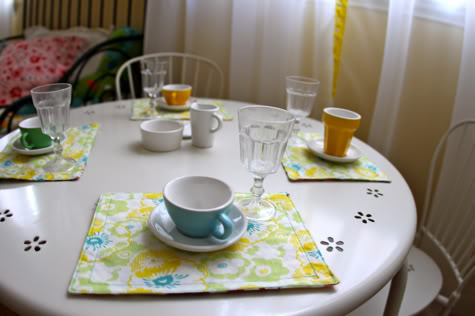
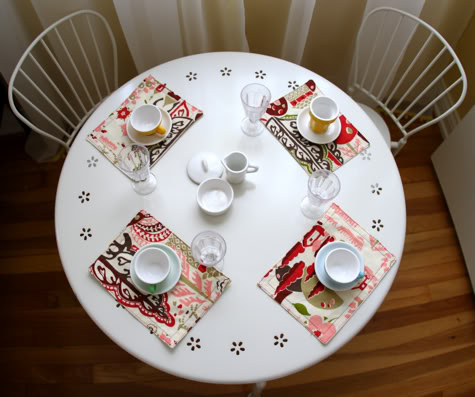
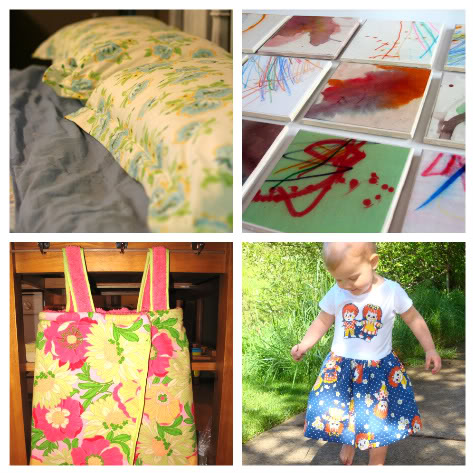
You know how, when you make a changing pad cover or a crib sheet, you have little extra squares of fabric leftover? I’ve been saving ’em up. They’ve been making me crazy actually…I needed to do something with them to get them out of my line of sight besides shove them deeper into a box. So when Scarlet recently took up tea parties I gathered ’em up and made some reversible mini-placemats. Pretty fancy for a little lady, huh? Super simple, completed during naptime, and the same DIY works for grown-up placemats too. And since I know you’re going to ask: the table, chairs, and mini stoneware tea set are all from Ikea. And so are the umm, plastic play wine glasses. Pretend mommy juice!*
*Please tell me my child isn’t the only one who says “mommy juice”
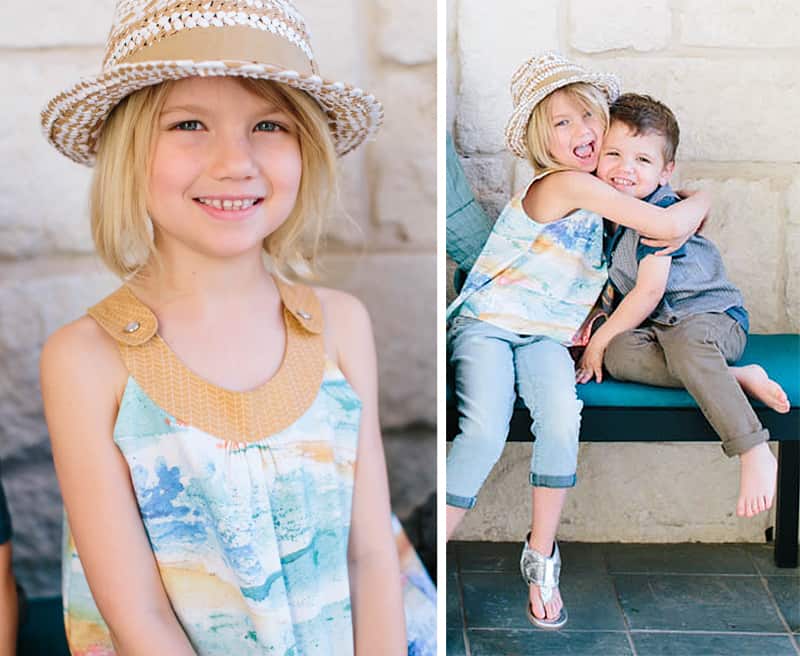
This DIY Reversible Bonnet & Free Downloadable Pattern is the cutest! If you make one, please share a photo with me!
In an effort to make good on my 6-month-old promise to give you the pattern for the Fleece Bonnet, I tried the same pattern in cotton, finished the edges and made it reversible! Unfortunately the pattern is now about 6-months to small for Quinn. But look at all the fun we had stuffing her giant head in there anyway to take a picture! Quinn wants you to make one so her annoyance is not in vain.
Click through for the Free Reversible Bonnet Pattern and full instructions.
1. Print out the pattern. You could get pretty close to the right size by measuring from the top of baby’s head, down over ear to jawline and adding 3/4″, then printing pattern so your measurement is equal to the arrow-to-arrow height of the Bonnet pattern. At 100% this pattern would likely fit a 3-6 month old.
4 sides – 2 Fabric A (right side and wrong side) & 2 Fabric B (right side and wrong side)
1 strip for ruffle – 3″x 28″
(not shown) 1 strip for strap/tie – 3″ x 28″ (for snap closure), longer for tie/bow style
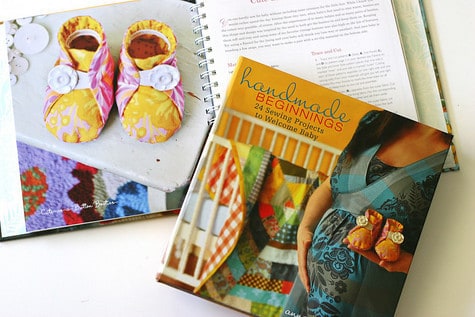
I used Anna Maria Horner Buttoned Up Plum fabric.
And a mystery scrap from my stash.
3. Place sides of Fabric A together, right side facing, and sew along top edge leaving 3/8″ seam
4. Iron seam open. Starting at the center, pin back to sides all the way around. Sew around edge with 3/8″ seam. Be sure to sew top seam opened flat.
5. This is what it will look like turned right-side-out.
Sorry about the creepy doll head!
6. Repeat steps 3-5 for Fabric B. Set both aside.
7. Fold ribbon strip in half the long way and iron. Sew up the 2 short ends with 1/4″ seam.
8. Reverse right-side-out and iron flat.
9. Using a basting stitch (the longest straight stitch your machine offers, likely a 5) sew along the open length of the ribbon at 1/4″ seam.
10. Pull the end of the thread you just sewed and begin to gather ruffle. (If you are not lazy, you can trim off all those ugly threads, or even trim with pinking shears)
11. Wrap the ruffle around the top of your hat as shown below. You want the ruffle to end 3/4″ above bottom of hat (more then what’s shown here, obviously) Adjust the tightness of your ruffle for the correct length.
12. Pin the ruffle in place as shown. Pin from the back through all layers.
13. Reverse Fabric B hood over Fabric A hood (with ruffle, shown above), align front edge and pin in place on same side as existing pins.
14. Sew through all layers with a straight stitch, 5/8″ from edge.
15. Reverse hat.and set aside.
16. Fold neck tie in half the long way and iron.
17. Open, fold both long edges over 1/4″ and iron edges.
18. Find the center of the strap and pin to the center of the back of the hoods, encasing both layers of the hood with both layers of the strap. Covering the bottom 1/2″ of the hood edge. Note: I pin horizontally like this because I am left-handed but it is fine to pin vertically as well.
19. Work your way around the hat pinning all layers until you reach the edge of your hood as shown below.
20. Sew strap in place from hood edge to hood edge, leaving remaining strap seams open.
21. Cut a 3-4″ piece of elastic. Shorter for a tighter gather at the back of the neck.
22. Slide the elastic into the opening of the strap.
23. Push the elastic in until the edges are aligned with the back seams of the hood. Push the elastic to the bottom of the pocket and pin in place as show. There will be a gather.
24. Using a tight straight stich, do several forward and backward stitches to secure elastic in place. I’m pointing at the stitch in the second photo.
25. Open both ends of strap and fold over 1/4″. Iron.
26. Fold in corners as shown here. Iron. Fold back in half along crease and re-iron.
27. Here is where you can add some customization. If you are tying a bow, skip to step 28. If you would like to do a snap but not have it show, add the snap between the two layers of the strap.
I wanted this classic Girl Scout tie look so I did my snap through both layers, in which case, I could have added the snap after step 28, making the final stitching much easier.
28. Stitch the open seams of your strap closed. I used a zig-zag and went around the entire strap again to secure a few spots where I had missed sewing the strap to the hat earlier but I think the hat would have looked a bit nicer with a straight stitch. Also, baby may find the zig-zag scratchy.
And that’s it! Your reversible bonnet is complete!
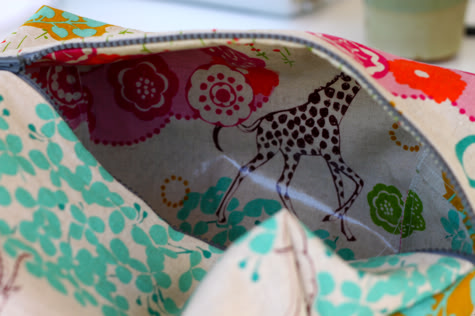
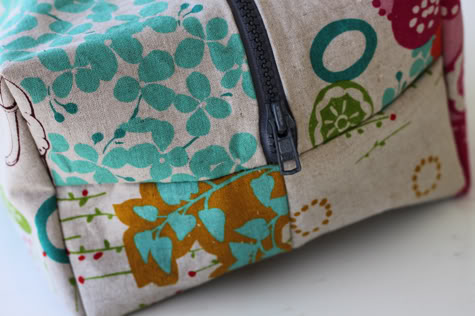
Look! Something you can make for a man! Father’s Day anyone?? OK, so this one is for my friend Felice. Not a man. But a woman who enjoys cosmetics and bags and just had a birthday. It has a canvas outside and oil cloth inside for spill containment and easy wiping clean. But oil cloth not required. Get the full Boxy Toiletry Bag DIY after the jump… (more…)
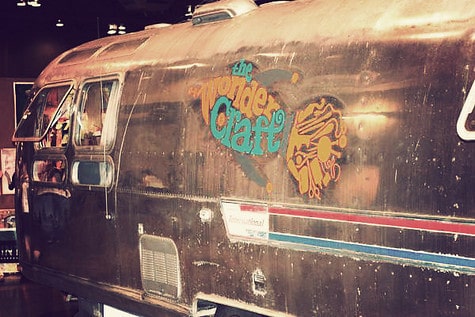
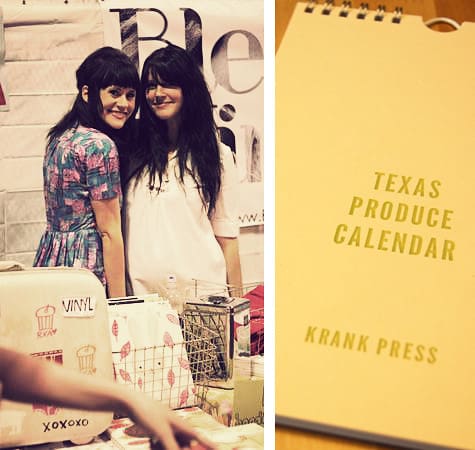
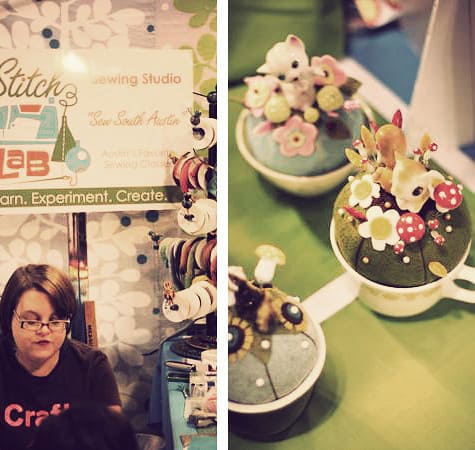
We are back from our whirlwind visit to Austin for Renegade Craft Fair. It was such a gorgeous day for a road trip! But really, I can’t believe that we spent 7 hours in the car to go to a craft fair. I am officially off of my rocker. So, here are a few pix and a few links to some of my new loot. Check it out! And feel free to tell me that I’m not crazy for going and that you would totally do the same, especially if someone else was driving! right?!? Elsie from Red Velvet Art and James from Bleubird Vintage were there looking as adorable as you may have expected and showcasing an array of cuteness. I bought a few “Howdy Y’All” t-shirts for the girls. I’m still such a Texas tourist, I swear.
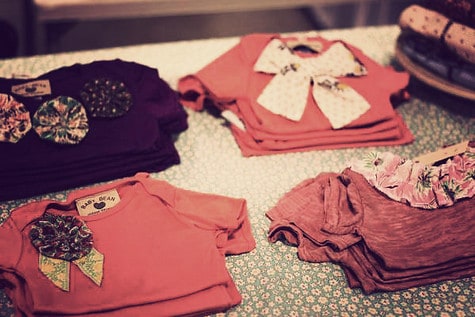
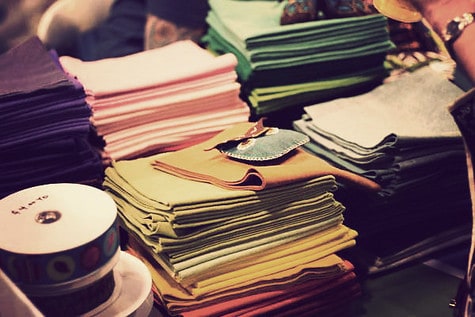
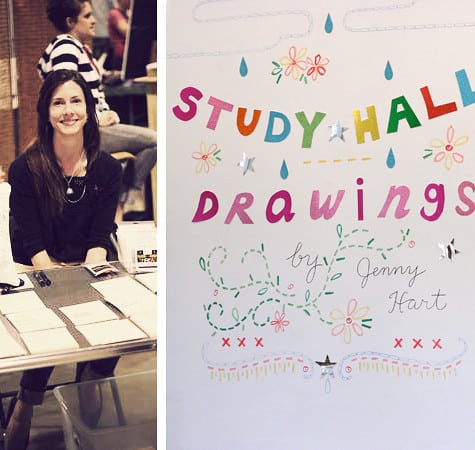
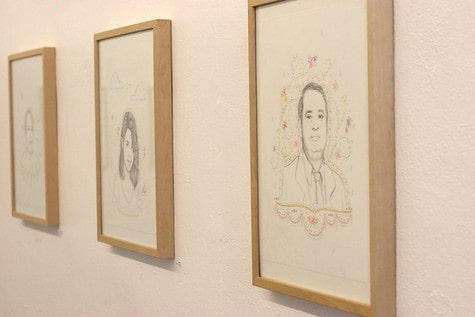
While visiting Jaime in December, I fell in love with the produce calendars from Krank Press. So much so that I bought the Southern California version even though I don’t live there anymore (moment of silence.) But NOW they have a Texas version, WITH OKRA, so I bought that one too! Our friend Christine from Little Bean was there showcasing her collection. I loved these yo-yo, bow and ruffle t’s! Cut Out and Collect was there with a gorgeous assortment of handmade bags featuring many of the Japanese Import Fabrics that we have been eying at Fabricworm.com. But they really won me over when they gave cranky Clare an adorable fawn-covered bean bag. She loves it! Thank you! It was about this point that we lost Rick and Clare to the fountain outside. I did a quick drive-by at Stitch Lab’s workshop. The next time I’m in town, I’d love to take a class with them. Perhaps they would teach me how to make one of these amazing tea-cup pin-cushions! And I snagged a rainbow of wool felt! But in the process almost got a beat-down for picking up a pile that a lovely woman had spent an hour finely curating. She was really quite nice about it. And on my way out the door, I said a nerdy star-struck “hi” to Jenny Hart and pick up one of her delightful embroidery patterns. She had postcards for her Solo Show, Study Hall Drawings at DOMY Books and I had been told that DOMY was a must-see book store. So as a reward for actually meeting my family on time after the craft fair, the huz agreed to stop in, and then Clare ran about touching and we left. But the show was pretty great. Congrats to my new BFF Jenny Hart. And I must add that I picked up a perfect Tad Carpenterposter for Quinn’s bedroom. Back in the day when Jaime and I were perky young executives, we would discuss things like “what would be appropriate (and non-sucky) artwork for a baby’s bedroom.” And we agreed that well-designed music posters would make an excellent choice. So I’m finally making the hopes and dreams of 25 year old Jaime and Jacinda a reality. But just the poster dream for right now, not the dream of creating a cable network for old people named Geezer-net, not YET anyway. But really, these posters are pretty great. Check them out.
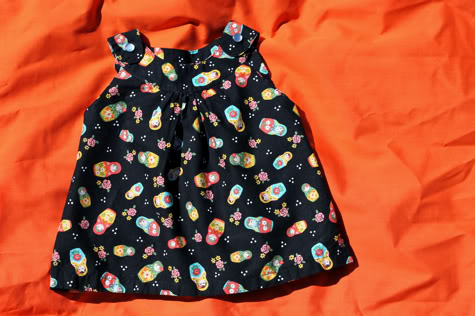
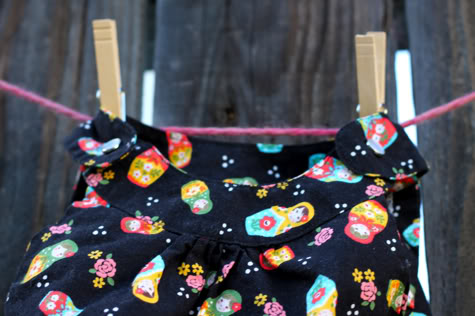
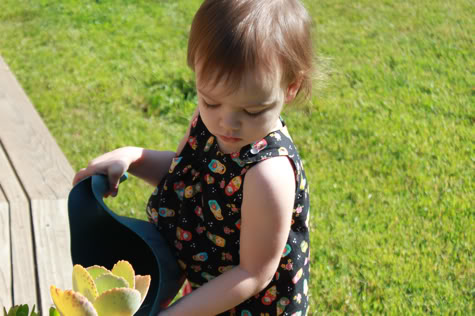
I often make things that don’t turn out as planned and never make it to the pages of Pretty Prudent, then gulp a glass of champagne, send Jacinda numerous whiny emails, and stew over the wasted time and my own lameness. But this was not one of those times! The Snappy Toddler Top Free Pattern is a success and a beginner sewing project that I highly recommend. Be sure to check out our collection of free sewing patterns and projects. This shirt left me feeling energized and thrilled with the results, so I’m really excited to share the pattern with you! And drink more champagne! It’s a snap collar top, but you can make yours a dress. AND Jacinda styled up one of her beautiful, free downloadable patterns from my ridiculous drawing. I promise, it’s much easier then you would think. Get the Snappy Toddler Top free pattern & tutorial after the jump! (more…)
And then in the morning, we are packing up the car and driving down to Austin for the city’s first Renegade Craft Fair. I’m really looking forward to it! Is anyone else going? Look for me, I’ll be the genius with two toddlers at a giant craft fair (please don’t point and laugh.) And if you can’t make it (because you live in France or Boise or have a Jazzercise class) I’ll have a full report next week!
by Jacinda
Some links may be affiliate links. Through Amazon Associates and other partnerships, we receive money if you buy something or take an action after clicking one of the links on our site.